PssdffJay wrote:These are looking great! Is this the flat black on top of the silver undercoat?
I wish I could see our packs side by side to see the difference between yours with the flat and mine with the satin black. I debated on this a lot!
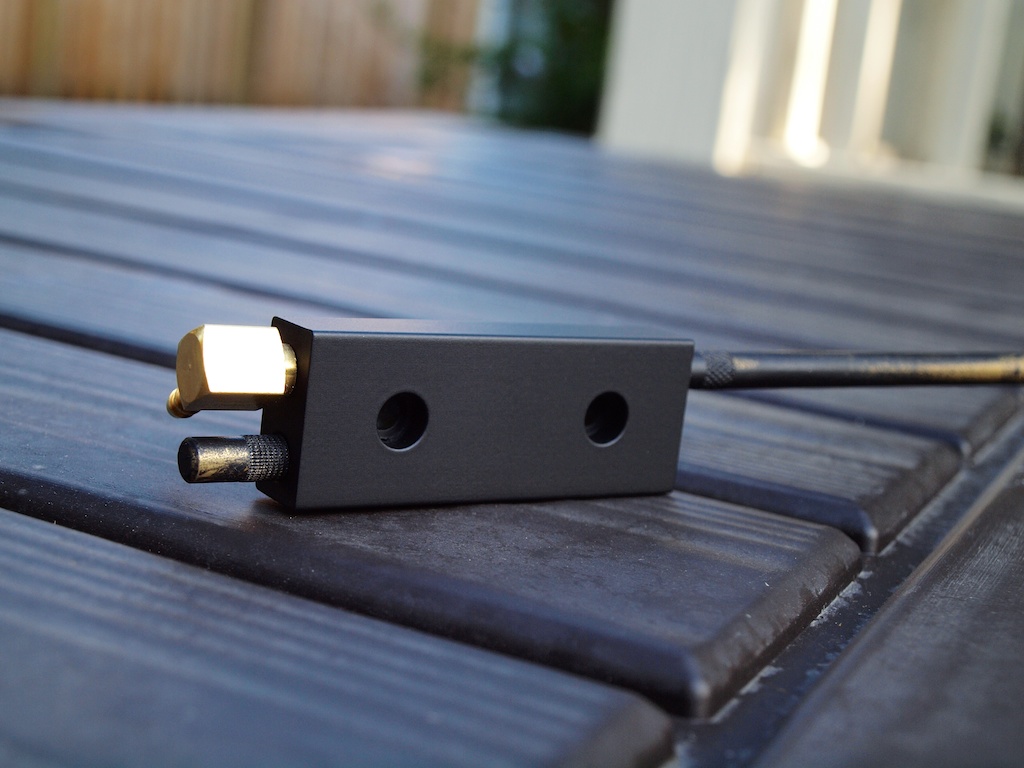
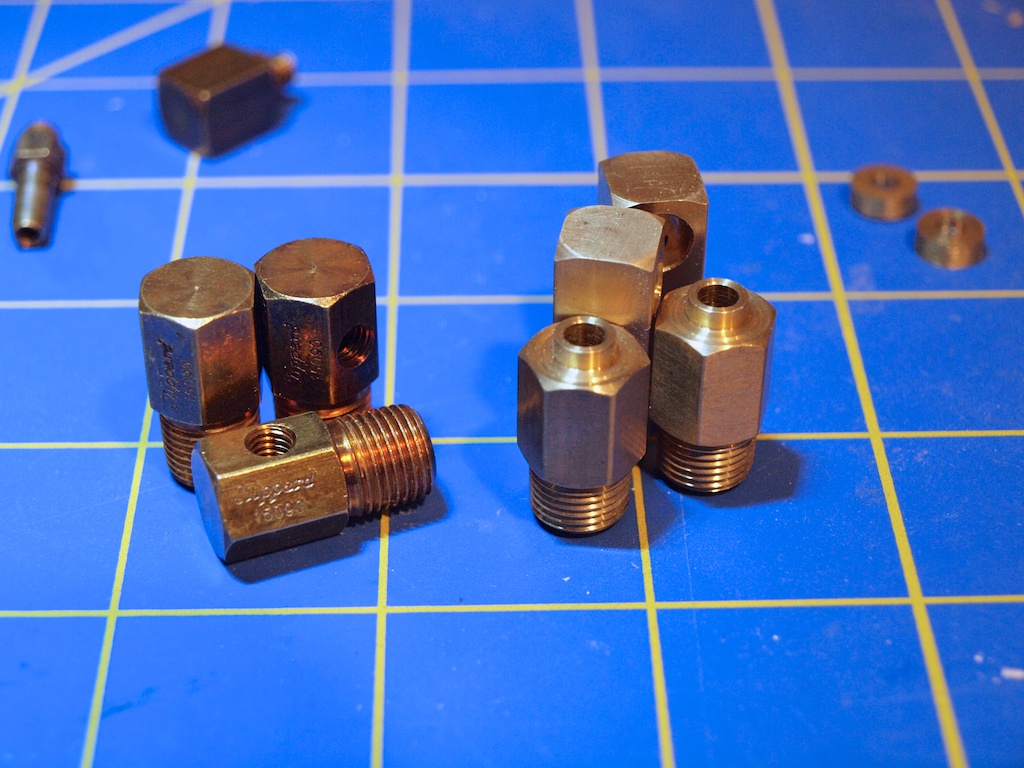
I also need to add some black to my brass rods on the end cap! Thanks for the reminder. You said smearing. Did you spray some on your finger and wipe it on?
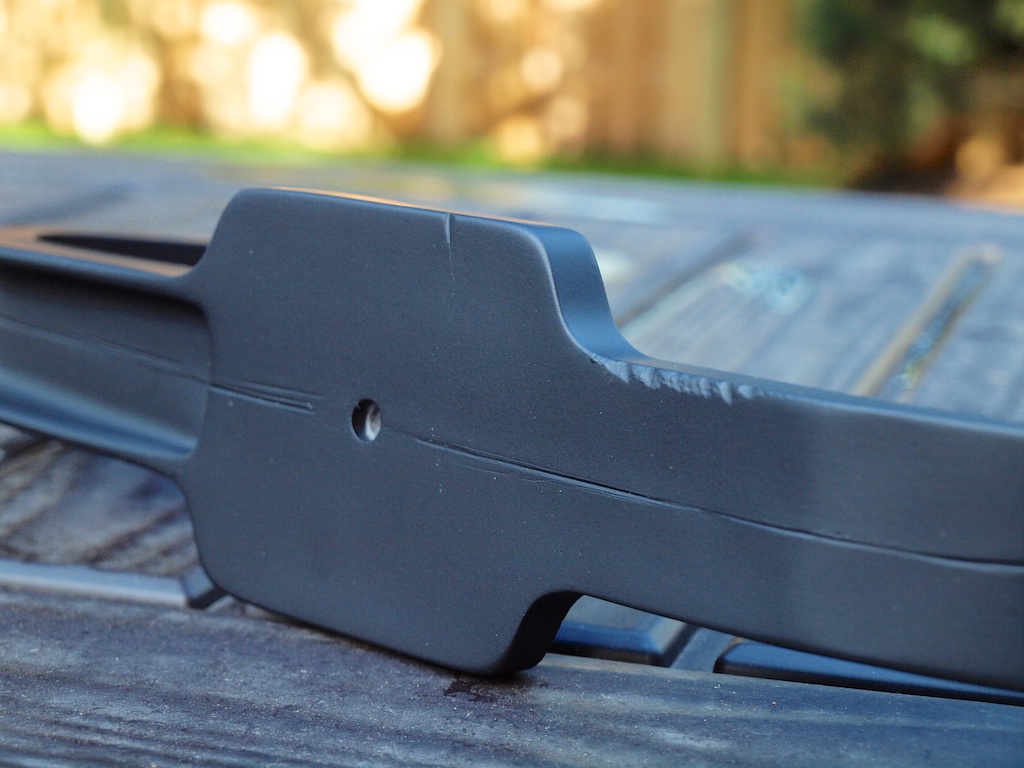
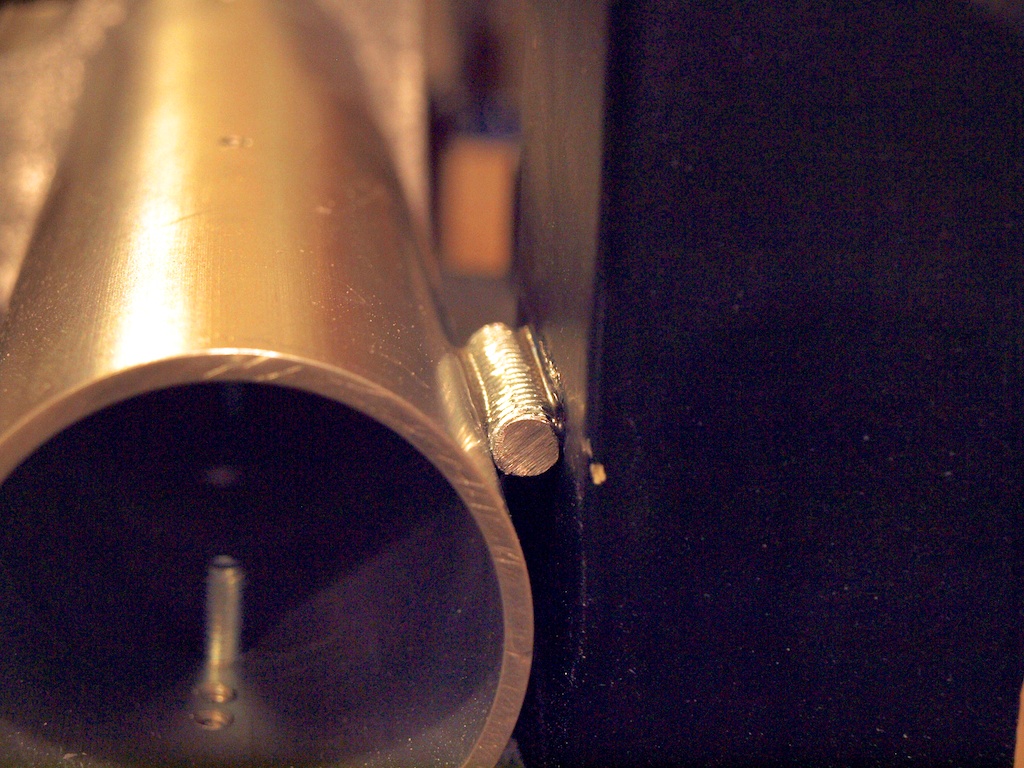
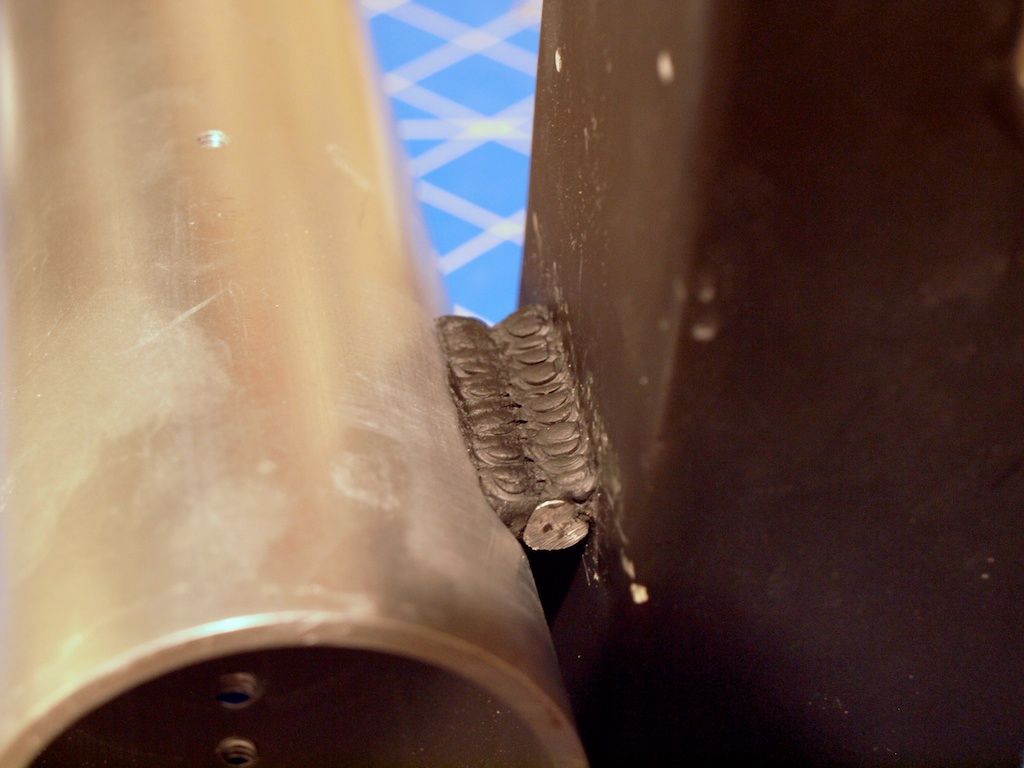
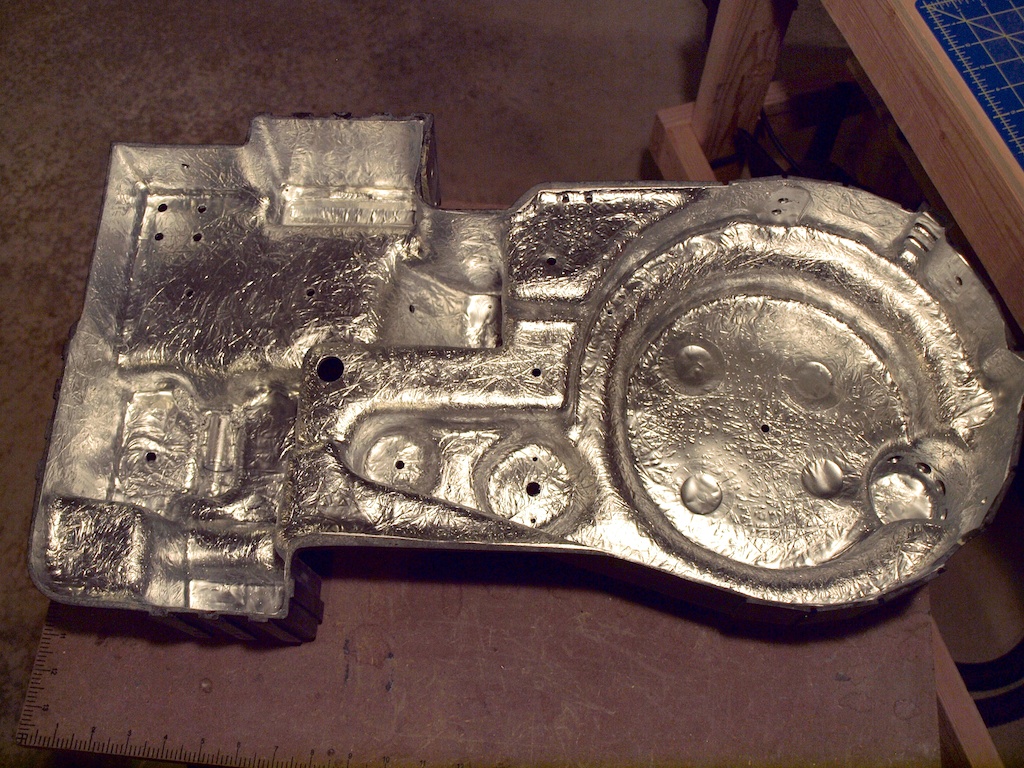
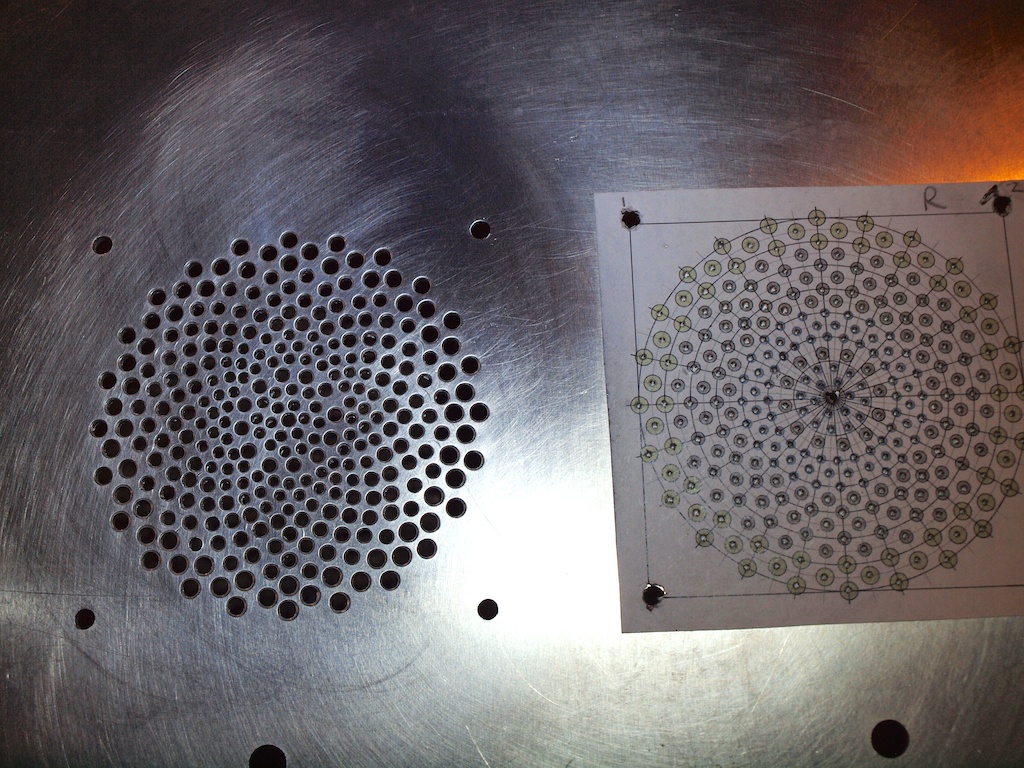
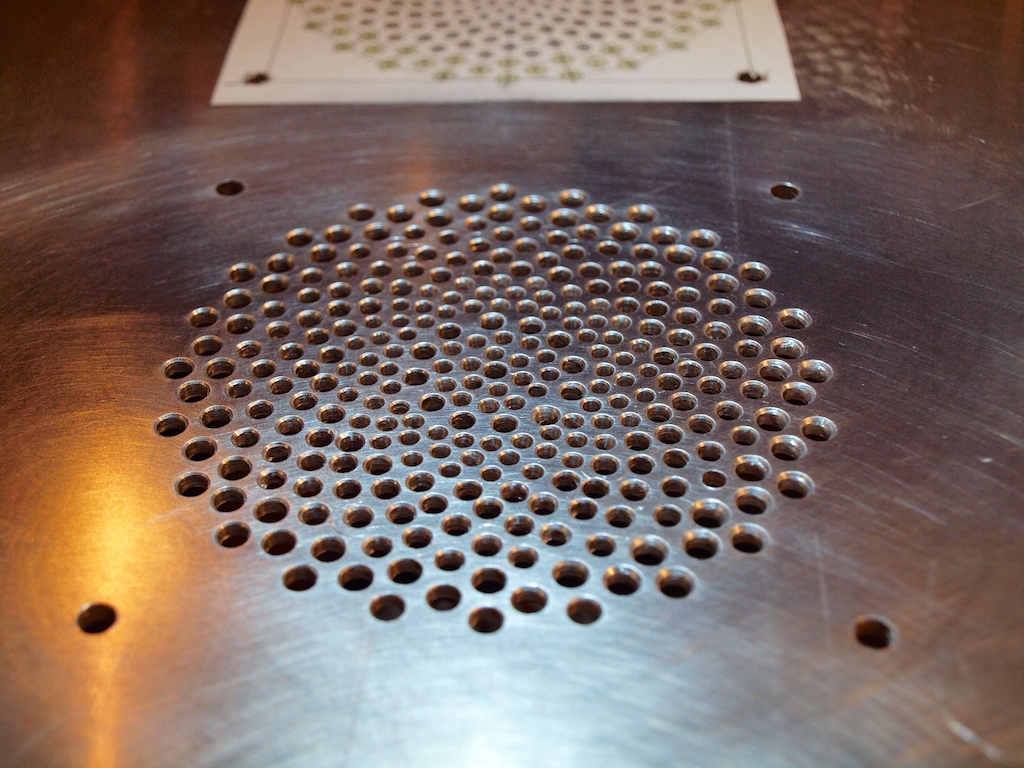
The circle on the PPD was so good, I didn't realize you added that! I thought it was aluminum with a resin core!
Thank you for the kind feedback Jay.
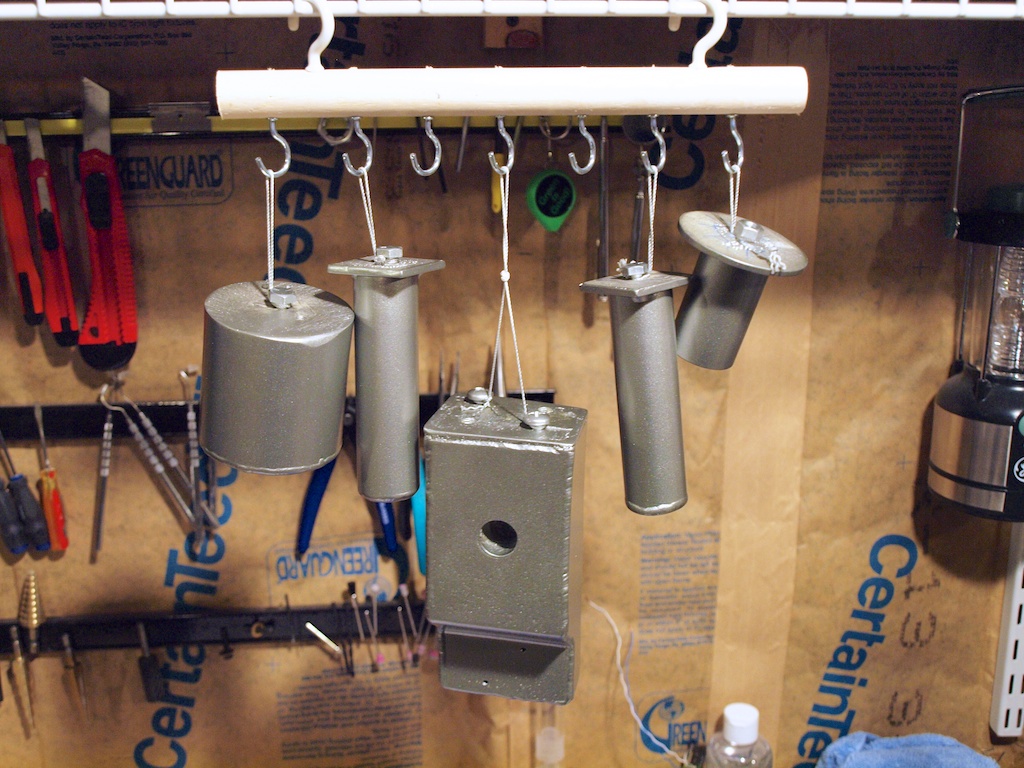
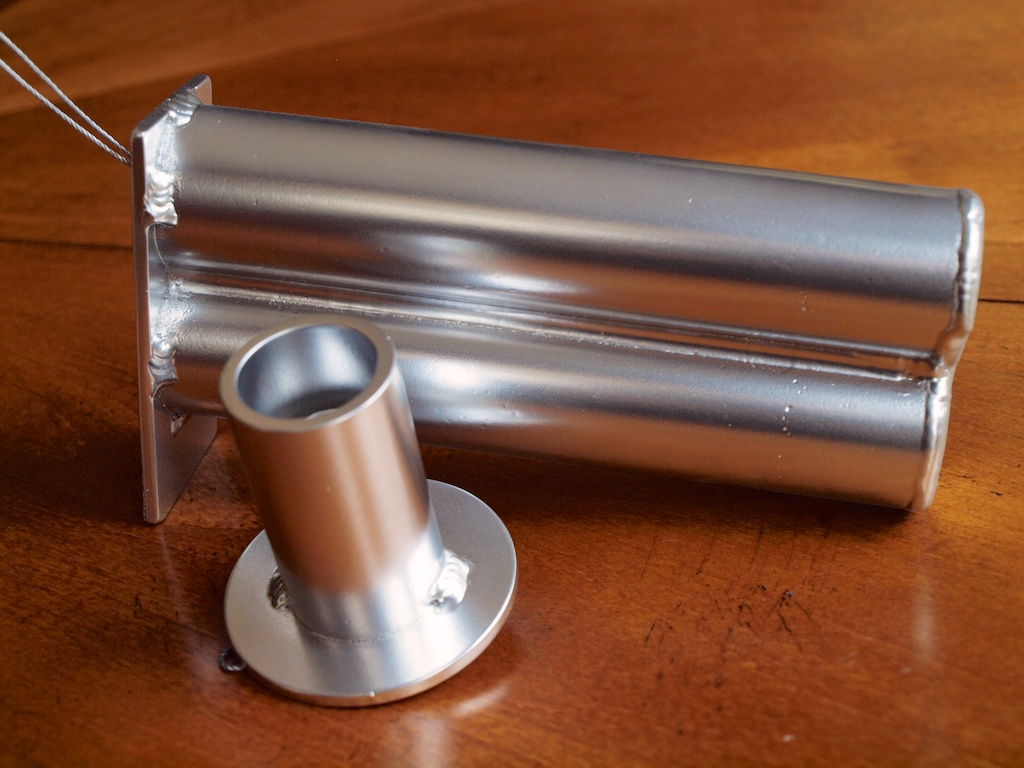
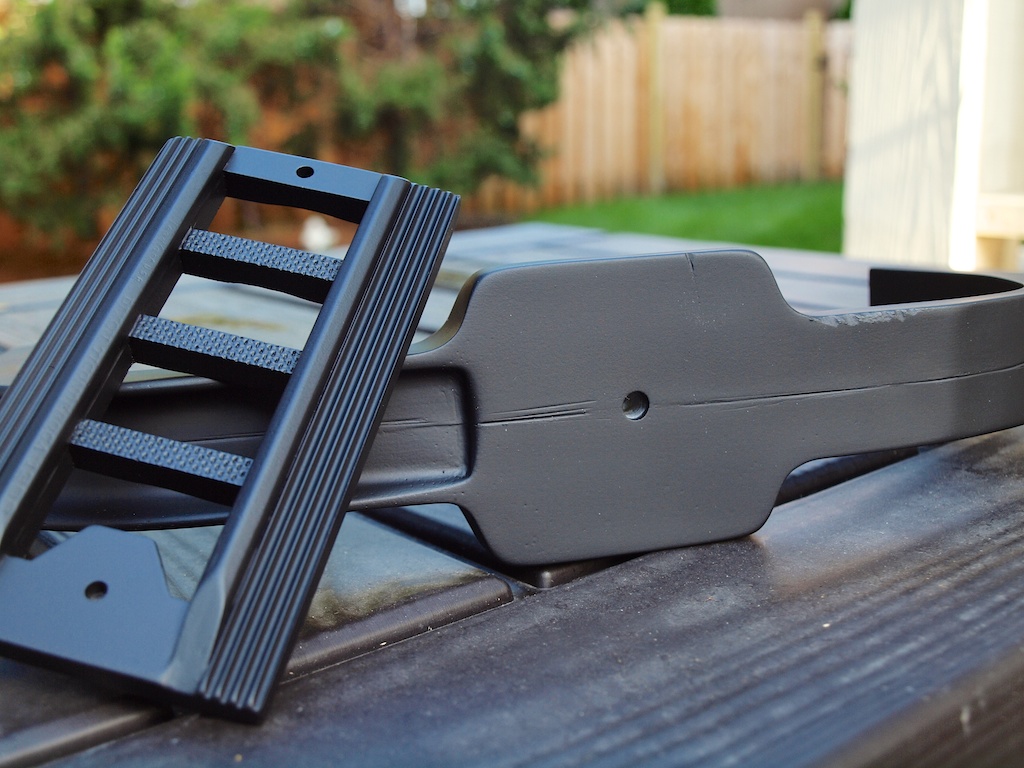
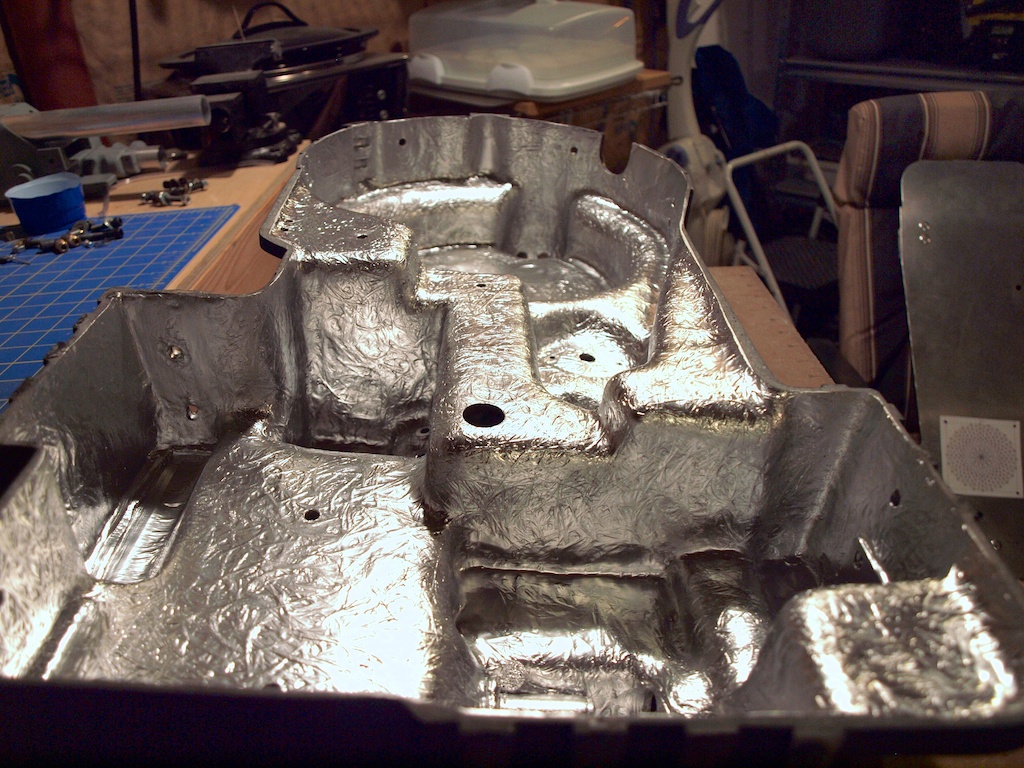
Flat black over the silver undercoat, correct. Not sure it will be worth the effort but wanted to give it a shot. I considered satin as well but flat won me over. I hope my pack ends up looking a nice as yours.
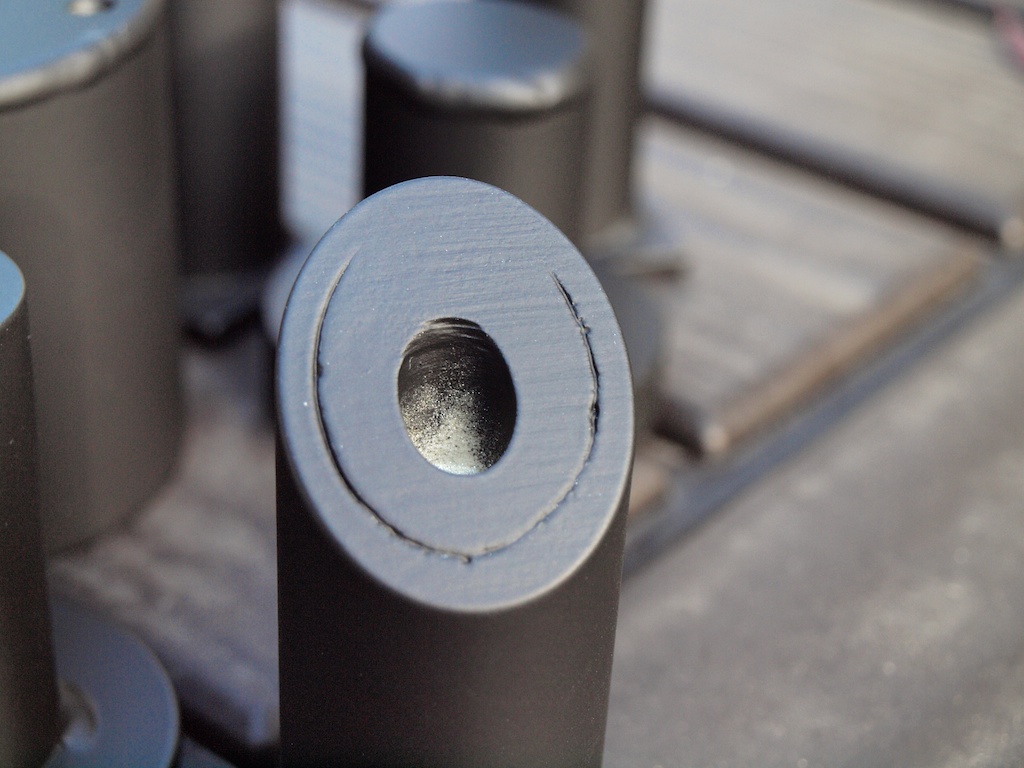
When spraying, I wear nitrile gloves. For the brass rods, I sprayed a coat directly on the rods, set the can down and then smeared it away from the threaded portion with my finger several times until it started getting sticky. I wanted to keep the part of the rod near the aluminum heavy black but have the brass show through everywhere else. At least that's the effect I could see on the reference photos.
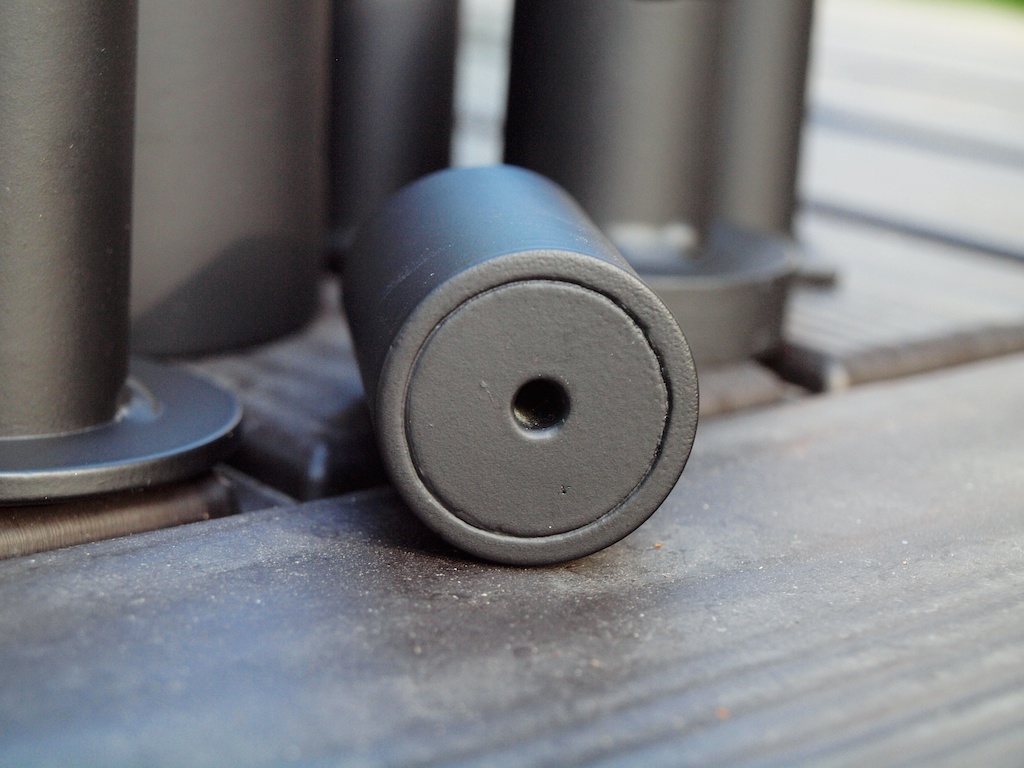
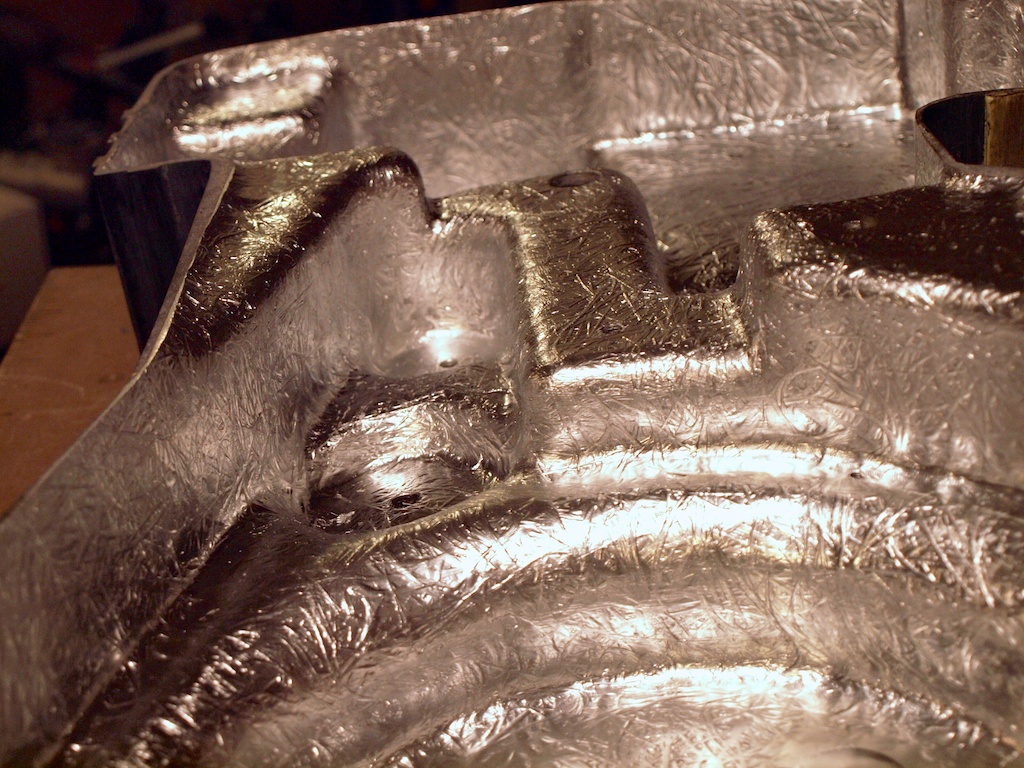
Took me forever to decide how to engrave that groove on the bottom of the PPD. I ended up using a washer centered on the PPD with a bold and then scratched an outline with a straight test probe. I followed that up with the end of a nail to get a wider cut .
I am anxious to get the shell going, but the humidity here really needs to break before I attempt any painting on that. I feel the tock clicking away towards my arbitrary Halloween deadline.
Pack build ====>
viewtopic.php?f=2&t=37102ECTO-H2O ====>
viewtopic.php?f=13&t=45376Prototype belt pack ====>
viewtopic.php?f=43&t=37057MagSafe Leg Connector ====>
viewtopic.php?f=42&t=36691Spongeface Gizmo build ====>
viewtopic.php?f=7&t=37170Cheap Gizmo holder ====> viewtopic.php?f=42&t=37036
MT500 antenna conversion ====> viewtopic.php?f=42&t=37182
Wall clock ====> viewtopic.php?f=42&t=37547
 GB1 and GB 2 Uniform Build Thread: http://www.gbfans.com/community/viewtop ... =4&t=34828


 - By GhostbusterRN
 - By Shred Dog20
 - By mrmichaelt