
- July 26th, 2013, 6:15 am#452650
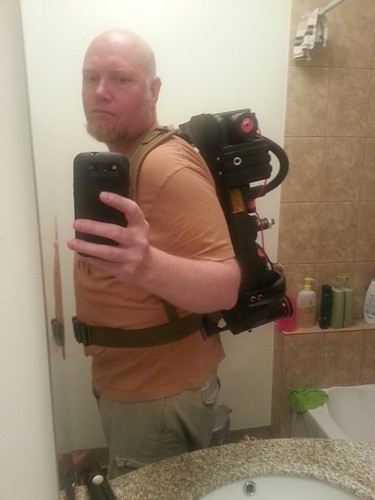
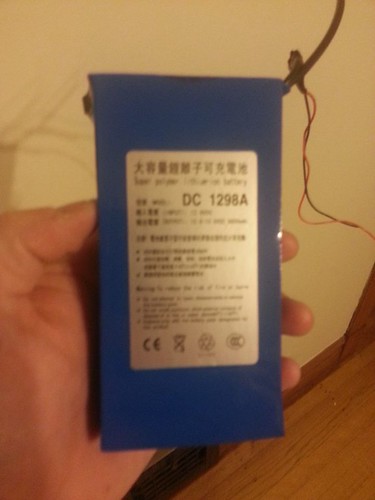
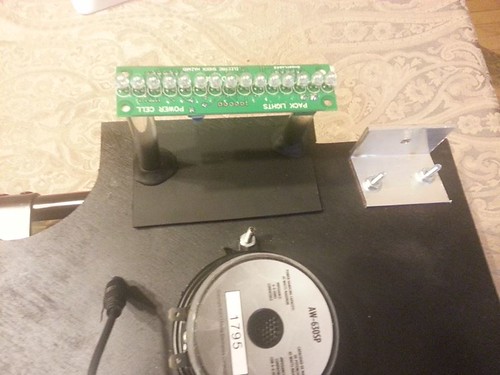
It's that time a year again! Wizards World Chicago is two weeks away and JUST like last year I am trying to whip together a pack for a friend in less than 40 days. (I honestly don't know why I keep doing this...) This time we needed to replace the last of our original Styrofoam packs. We sold that for $600.00 which then became our budget for this build. I had already been stashing away parts to build a stunt pack for myself so I decided that I would donate those and scratch build everything that I could. I also got a lot of AWESOME parts from Jack Doud. Lights and sound are coming from the GBfans kit and of course a Studio Creation shell.
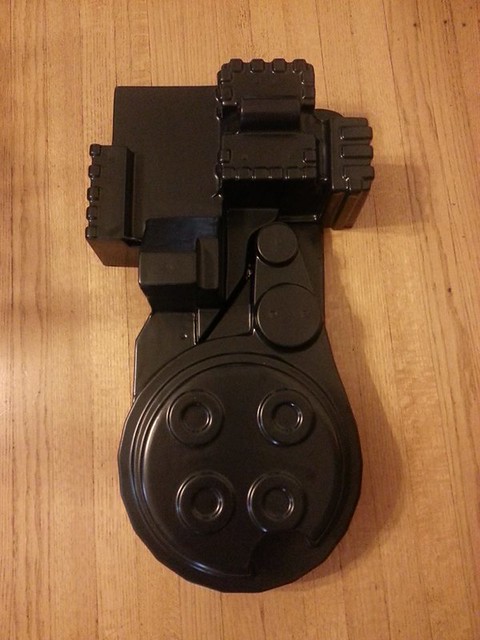
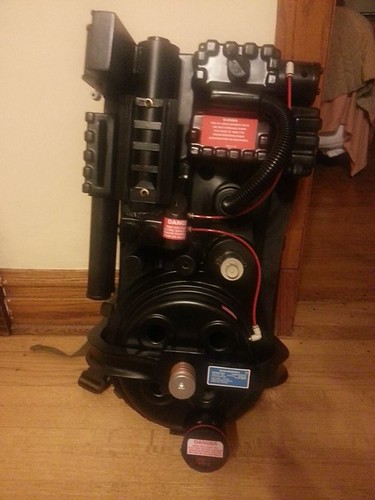
I have to say, I am actually pretty impressed with this. I expected the shell to be more flimsy but it was actually firmer than I thought it would be.
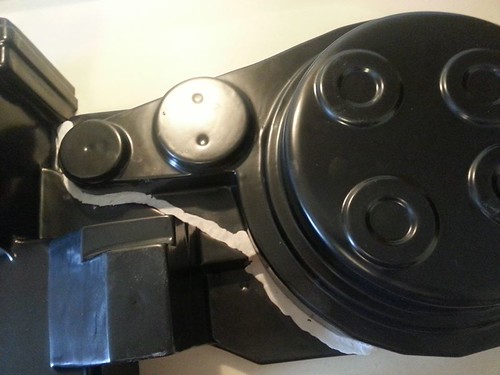
Joined the two halves and then fiberglassed the back. The was my pal's first time fiberglassing. (Give a man a fish... yada, yada.)
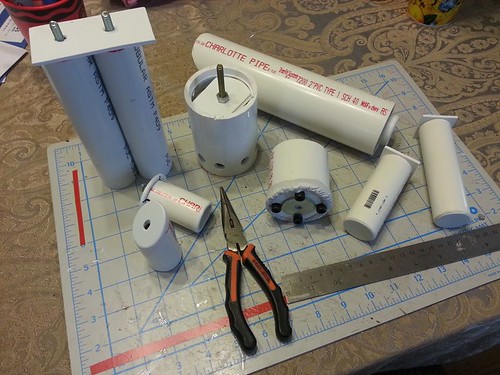
I had some quite time one night when the wife and kids were gone so I GOT BUSY! Made all of this in one night. Not perfect, but.. Not bad.
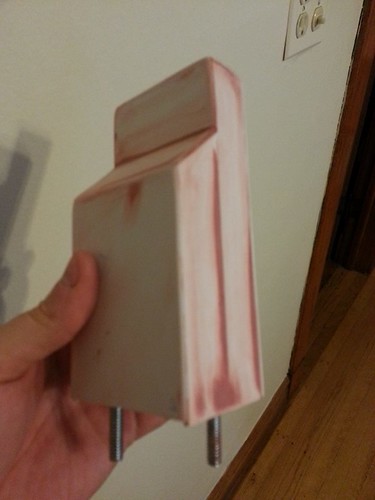
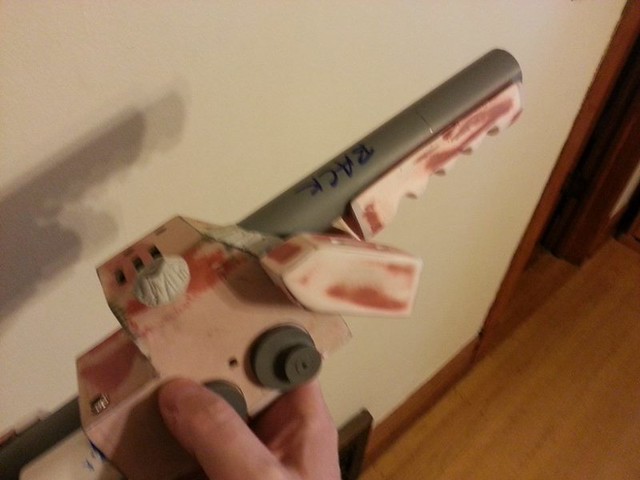
I had made a Pep Ion Arm for this pack, but it was a bit wonky so I whipped up this.
** Please, don't ask me for these files. They are not mine to give out and the original creator (Proton Charger) has removed them from the web.**
Starting to come together -
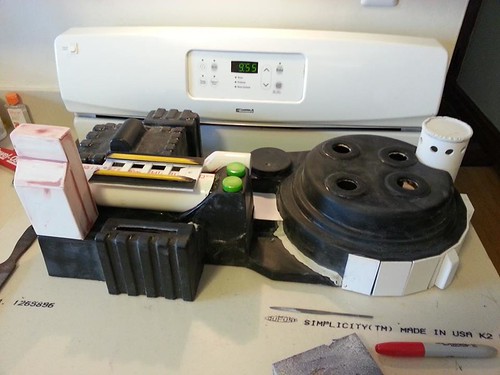
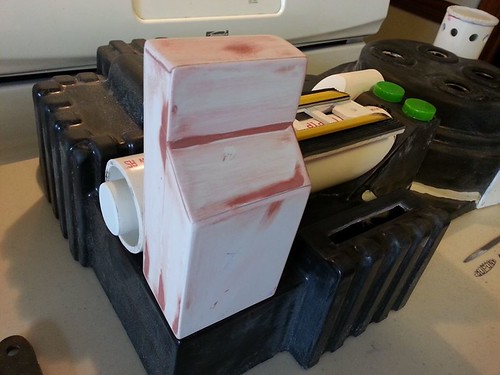
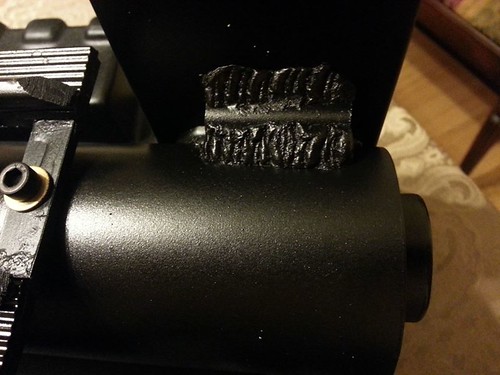
I decided to attach the Ion Arm and Boother Tube as one unit (via bolts and Industrial Hot Glue) and then place expoxy putty welds. Ala' a GB2 semi-hero. So this is my slug. Just needs epoxy welds.

The only thing that gets me about this shell is that to make it so the the shell would release from the buck, all the walls are slanted. Which makes getting parts to line up a bit of a grind.
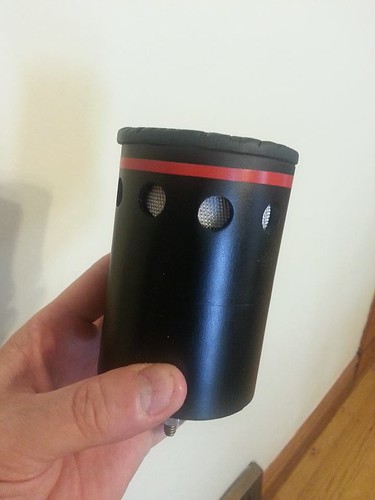
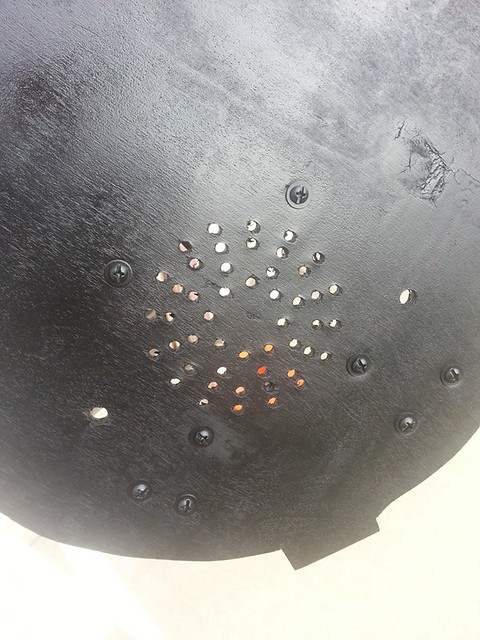
N-filter -
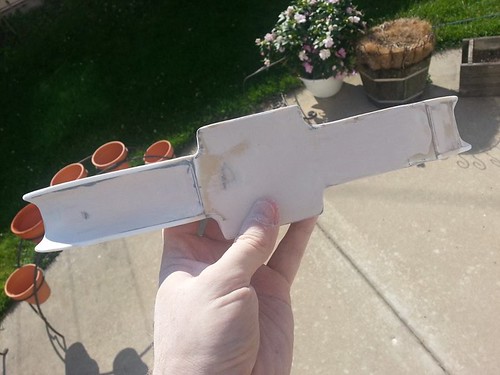
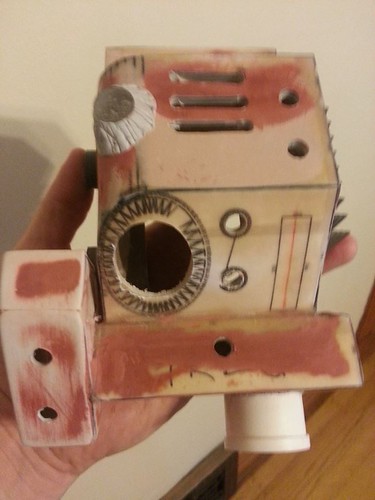
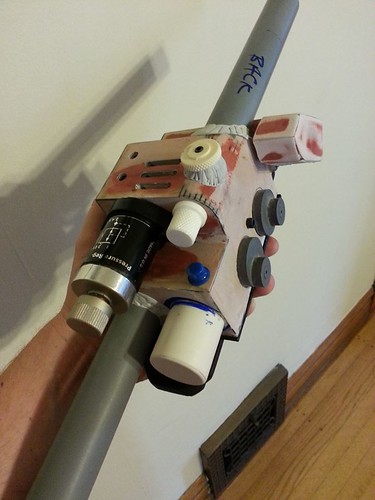
I had the bumper from my Pep pack hanging around (I got a used Exoray bumper from a buddy and used that) and I whipped up a thrower body for him.

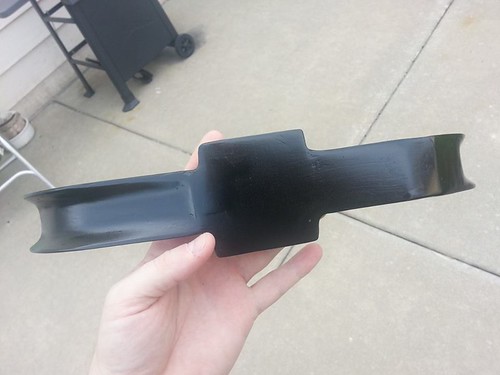
After a little bit of bondo work and paint -
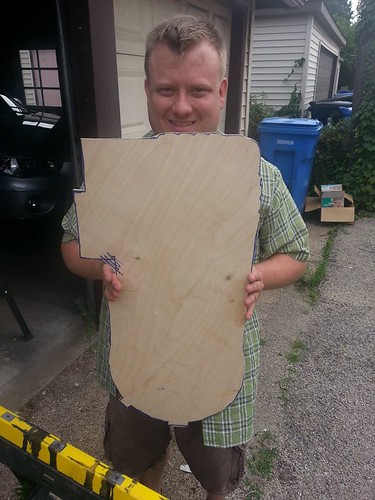
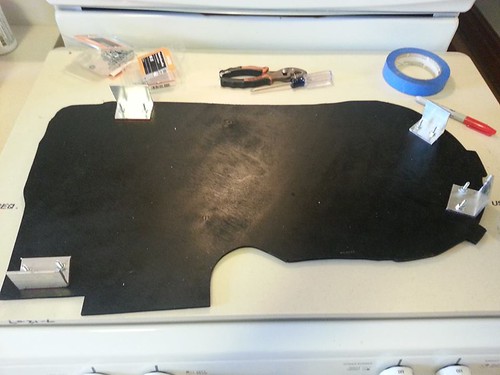
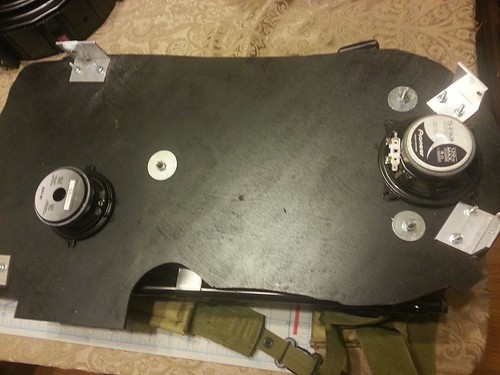
We made a motherboard out of 1/8" hardwood and rough cut some aluminum brackets.
I'm putting him to work...
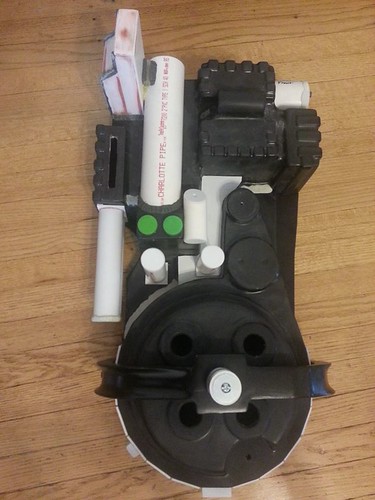
Motherboard attached and most of the parts are on -
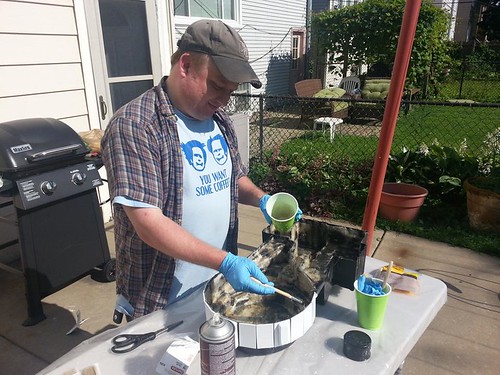
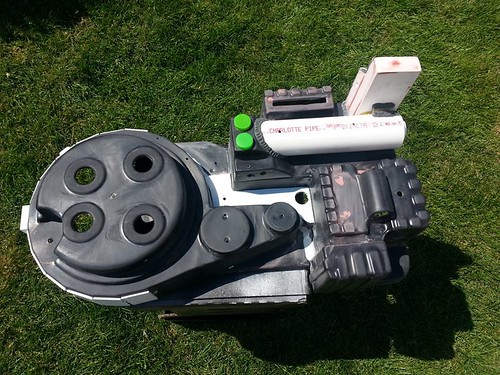
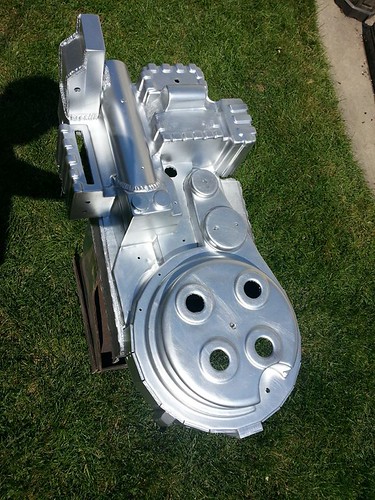
And now for paint!
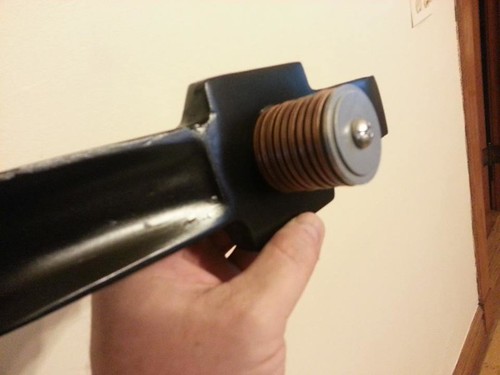
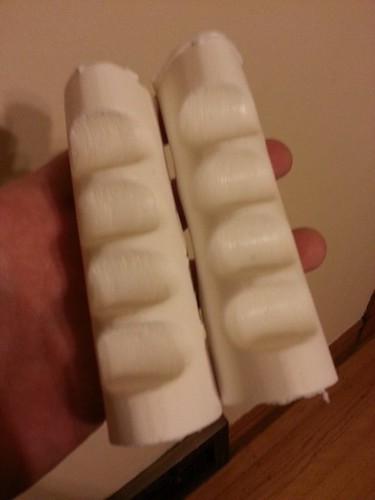
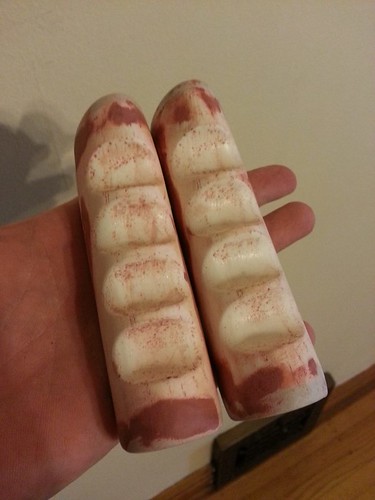
I don't have the time to make a styrene bellows like I have in the past so I went with the washer method. But, the looked... Off. So I decided to add a little flare -
Originally, I was planing on swapping this out for a better one. But I kind of dig it now.
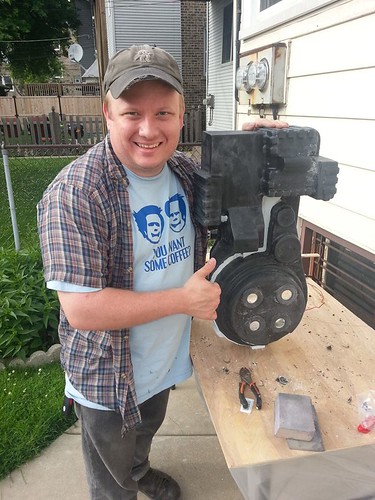
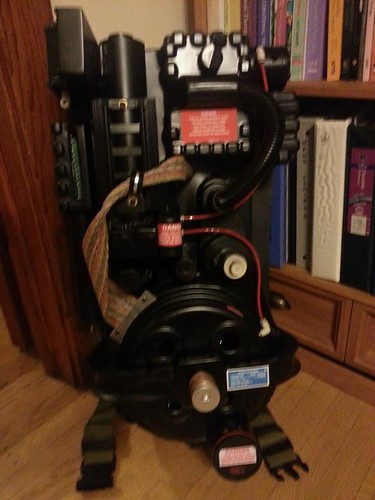
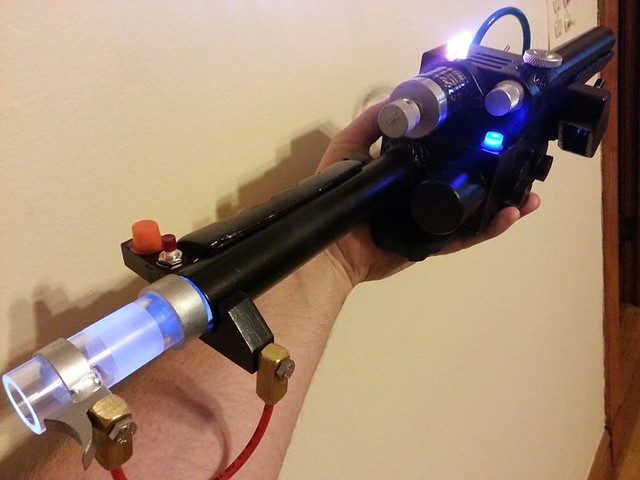
I think this looks BAD A**!
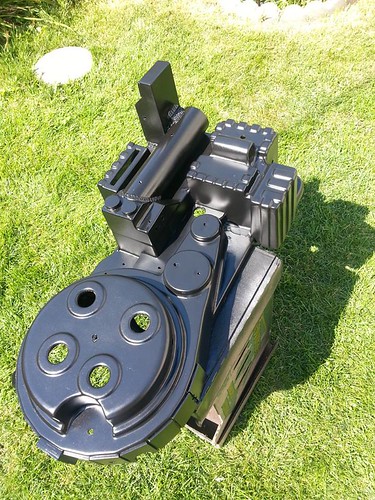
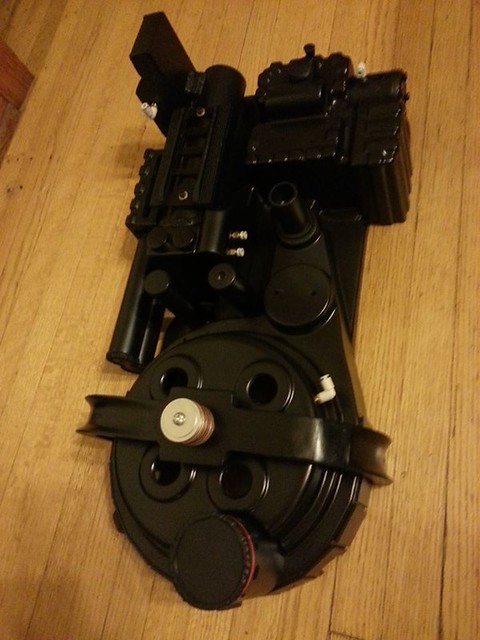
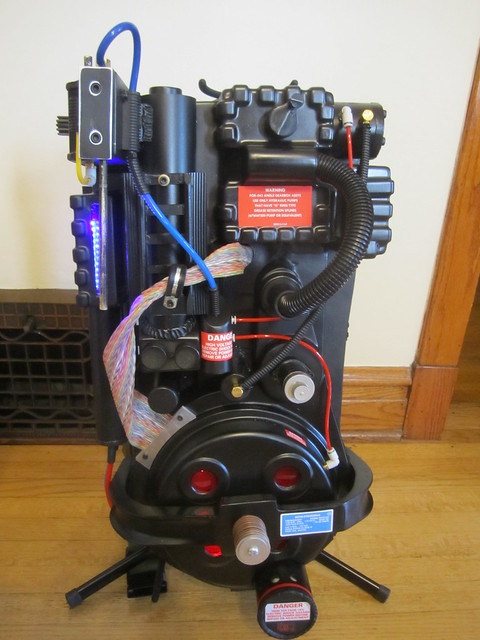
And where it stands this morning. I have 14 days to finish this and the thrower. Yeesh...
I have to say, I am actually pretty impressed with this. I expected the shell to be more flimsy but it was actually firmer than I thought it would be.
Joined the two halves and then fiberglassed the back. The was my pal's first time fiberglassing. (Give a man a fish... yada, yada.)
I had some quite time one night when the wife and kids were gone so I GOT BUSY! Made all of this in one night. Not perfect, but.. Not bad.
I had made a Pep Ion Arm for this pack, but it was a bit wonky so I whipped up this.
** Please, don't ask me for these files. They are not mine to give out and the original creator (Proton Charger) has removed them from the web.**
Starting to come together -
I decided to attach the Ion Arm and Boother Tube as one unit (via bolts and Industrial Hot Glue) and then place expoxy putty welds. Ala' a GB2 semi-hero. So this is my slug. Just needs epoxy welds.
The only thing that gets me about this shell is that to make it so the the shell would release from the buck, all the walls are slanted. Which makes getting parts to line up a bit of a grind.
N-filter -
I had the bumper from my Pep pack hanging around (I got a used Exoray bumper from a buddy and used that) and I whipped up a thrower body for him.
After a little bit of bondo work and paint -
We made a motherboard out of 1/8" hardwood and rough cut some aluminum brackets.
I'm putting him to work...
Motherboard attached and most of the parts are on -
And now for paint!
I don't have the time to make a styrene bellows like I have in the past so I went with the washer method. But, the looked... Off. So I decided to add a little flare -
Originally, I was planing on swapping this out for a better one. But I kind of dig it now.
I think this looks BAD A**!
And where it stands this morning. I have 14 days to finish this and the thrower. Yeesh...


 - By The_Y33TER
 - By edspengler