- September 20th, 2014, 8:13 pm#4810485
FINALLY started my pack. It was a long and grueling process of sourcing the parts I wanted and then funding them. It happened, I have them, and now im attempting not to ruin all these amazing parts and real items in the process. I have the next 2 weeks off, minus the weekends sadly, and I'm going to have a TON of questions I'm sure. Luckily most questions have been answered in the dozen plus threads i have book marked. With that said...
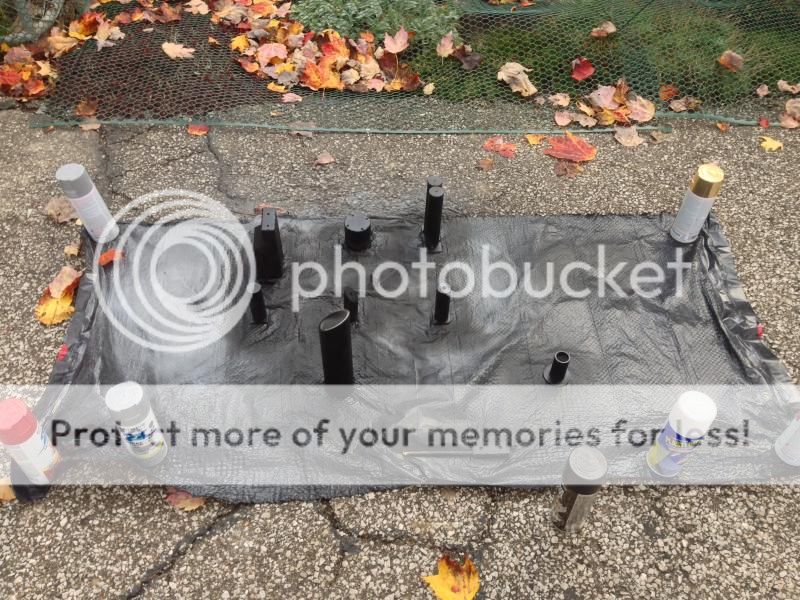
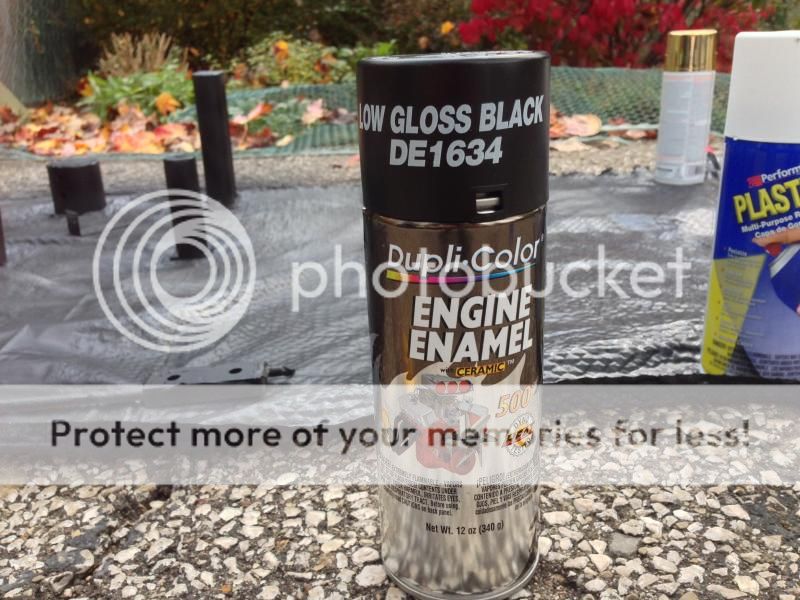
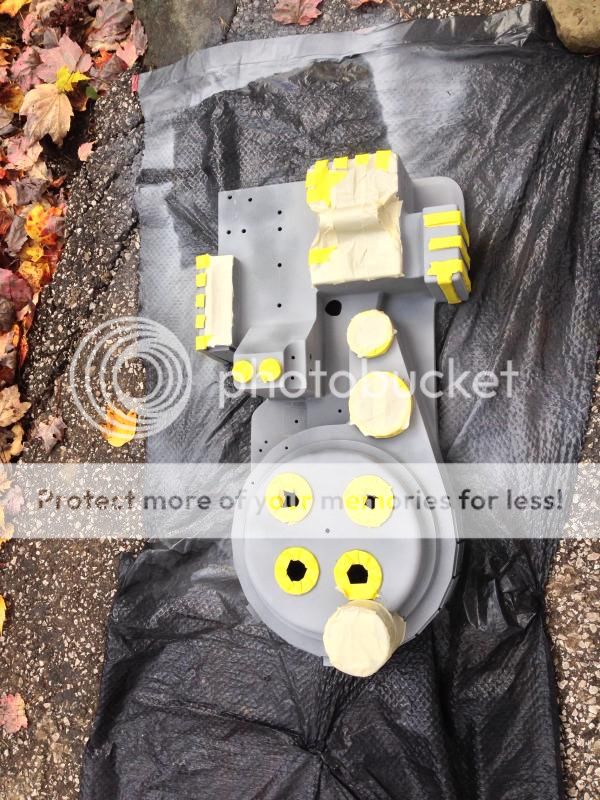
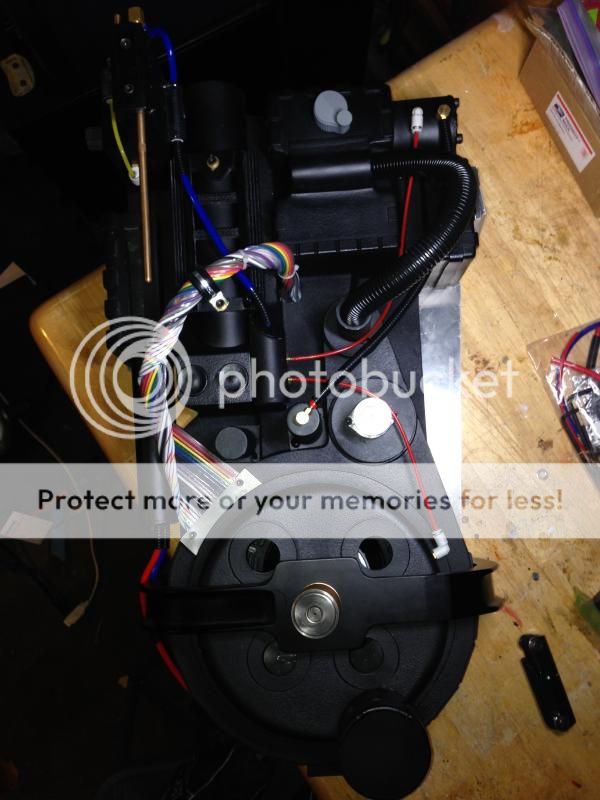
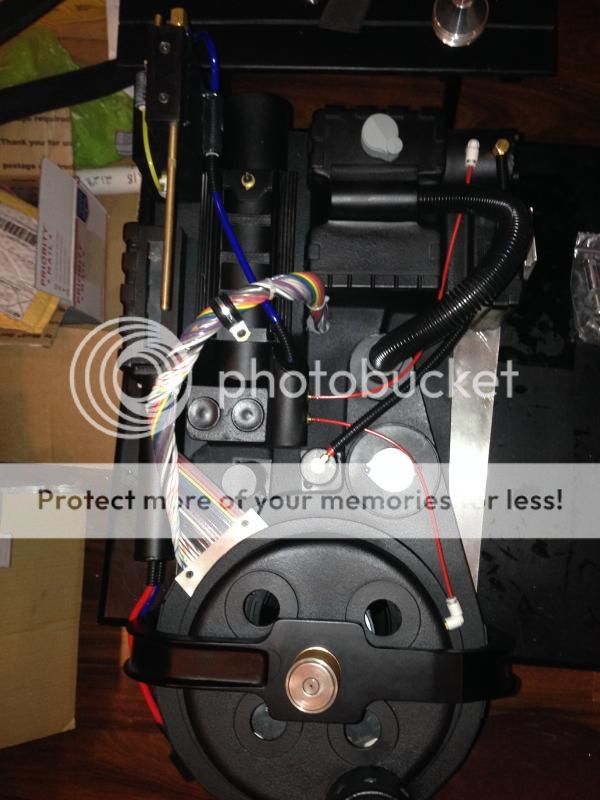
Here is what I have so far. (I'll have a LOT more pictures and progress over the next 48 hours.)

And my only real concern so far has been mounting the booster tube. It wants to torque (maybe rotate is a better word) to the right, making this gap appear on the left. My drilling wasn't all that great and im sure thats why, any advice is appreciated. I'm not too worried as i'll have to apply a fake weld anyway.
Second concern is attaching the booster frame. I cant hide a bad alignment if i mess that one up. Techniques for drilling tapping or just plain or attaching it some other way, would be appreciated as well.

Parts list.
Vincezo330
Shell + motherboard and mounting
Thrower body and handles (Vince is making my thrower. I decided I didn't want to chance it with all the awesome parts I bought)
JoeLuna33
Aluminum pack labels
Straight legris
SpongFace
GB:TVG cyclotron kit
E-Cig upgrade board
Gekx
Full Screw set
Umoribawar
Bango tips and screws
Front and rear cylinders
Barrel extension lever
S hook plus mount
Aceblackbelt
Power cell and cyclotron lenses
Wiz-GB008
Bumper V2
Booster Frame
Franchesky
Injector tube
Ion arm
Ion rod
Booster tube
HGA
Locking split less loom system
Gun track
Wand knobs
Wand regulator knobs
Trigger tip assembly
GBFans shop
Soundboard
Pack lights
Crank generator
Ribbon cable
Cable clamp
Heatsink
Clipards
Tubes, all sizes and colors
Hat lights and hat light sockets
Alice frame
Gun grips
Metal bellow
Vinyl pack labels
All other pieces not mentioned as well.
Here is what I have so far. (I'll have a LOT more pictures and progress over the next 48 hours.)

And my only real concern so far has been mounting the booster tube. It wants to torque (maybe rotate is a better word) to the right, making this gap appear on the left. My drilling wasn't all that great and im sure thats why, any advice is appreciated. I'm not too worried as i'll have to apply a fake weld anyway.
Second concern is attaching the booster frame. I cant hide a bad alignment if i mess that one up. Techniques for drilling tapping or just plain or attaching it some other way, would be appreciated as well.

Parts list.
Vincezo330
Shell + motherboard and mounting
Thrower body and handles (Vince is making my thrower. I decided I didn't want to chance it with all the awesome parts I bought)
JoeLuna33
Aluminum pack labels
Straight legris
SpongFace
GB:TVG cyclotron kit
E-Cig upgrade board
Gekx
Full Screw set
Umoribawar
Bango tips and screws
Front and rear cylinders
Barrel extension lever
S hook plus mount
Aceblackbelt
Power cell and cyclotron lenses
Wiz-GB008
Bumper V2
Booster Frame
Franchesky
Injector tube
Ion arm
Ion rod
Booster tube
HGA
Locking split less loom system
Gun track
Wand knobs
Wand regulator knobs
Trigger tip assembly
GBFans shop
Soundboard
Pack lights
Crank generator
Ribbon cable
Cable clamp
Heatsink
Clipards
Tubes, all sizes and colors
Hat lights and hat light sockets
Alice frame
Gun grips
Metal bellow
Vinyl pack labels
All other pieces not mentioned as well.
Last edited by Lundo12 on October 29th, 2014, 8:25 pm, edited 1 time in total.



 GB1 and GB 2 Uniform Build Thread:





 - By pda4ever