

- February 12th, 2015, 6:58 am#4826729
CLICK THE ABOVE BANNER TO BUY HIGH QUALITY PROP PARTS!
FEEDBACK.....http://www.gbfans.com/community/viewtop ... =32&t=5689
Looking great! My advice for the ion arm is to cut a block of wood that fits snuggly inside the arm and bolt this to the shell, then epoxy glue the ion arm to the wood block. Add some counter sunk screws for added support if needed.
CLICK THE ABOVE BANNER TO BUY HIGH QUALITY PROP PARTS!
FEEDBACK.....http://www.gbfans.com/community/viewtop ... =32&t=5689

- February 13th, 2015, 10:06 am#4826807
Looking great, man!
Curious about your MDF motherboard. That's 1/4" thickness you are using, right? Do you notice a significant weight difference between that and the aluminum one?
Curious about your MDF motherboard. That's 1/4" thickness you are using, right? Do you notice a significant weight difference between that and the aluminum one?
- February 13th, 2015, 10:14 am#4826811
Thanks! Yes it is 1/4", and I think it's a little bit lighter than an aluminum one.

- February 14th, 2015, 7:41 pm#4826943
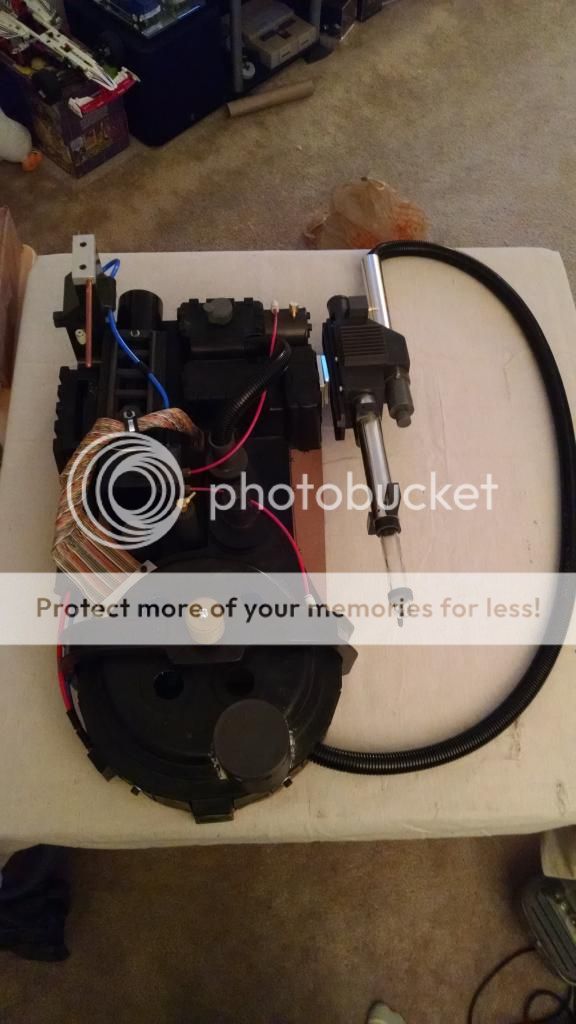
Thanks Alan! That's the plan, but I ran into a problem test fitting the electronics. Everything worked just fine laid out on the table, but when I ran all the switches and wires through the gun body to the pack, I lost the shutdown and steam fire sounds. But other than that it should be ready for parade day.
- February 14th, 2015, 7:44 pm#4826945
Yeah, I wouldn't sweat the sound. No one will hear it over the crowd.
- February 14th, 2015, 7:52 pm#4826946
True, it's just frustrating that I had it all working until I installed it. Oh, I haven't posted the pic yet, but I borrowed your speaker template from one of your builds. Had to change it slightly to fit the 5" speaker I have, but I worked out nicely.
- February 16th, 2015, 12:45 pm#4827078
Anyone got any good tips for mounting the grips to the handles? I've been racking my brain trying to come up with something but have been unable to. I'd like the grips to be easily removable.
- February 16th, 2015, 12:49 pm#4827079
Also if someone could tell me what size screws to use for the gun knobs. I'd like to use screws for them so down the road I can easily upgrade from resin to aluminum ones
- February 16th, 2015, 6:16 pm#4827117
CLICK THE ABOVE BANNER TO BUY HIGH QUALITY PROP PARTS!
FEEDBACK.....http://www.gbfans.com/community/viewtop ... =32&t=5689
The screen used rear grips wer pop riveted to the handle and the front was held in place by bolts through the lock block and front ear. You could pop rivet the front too and counter sink them so you can putty over the heads to make them invisible.
CLICK THE ABOVE BANNER TO BUY HIGH QUALITY PROP PARTS!
FEEDBACK.....http://www.gbfans.com/community/viewtop ... =32&t=5689
- February 18th, 2015, 5:52 pm#4827282
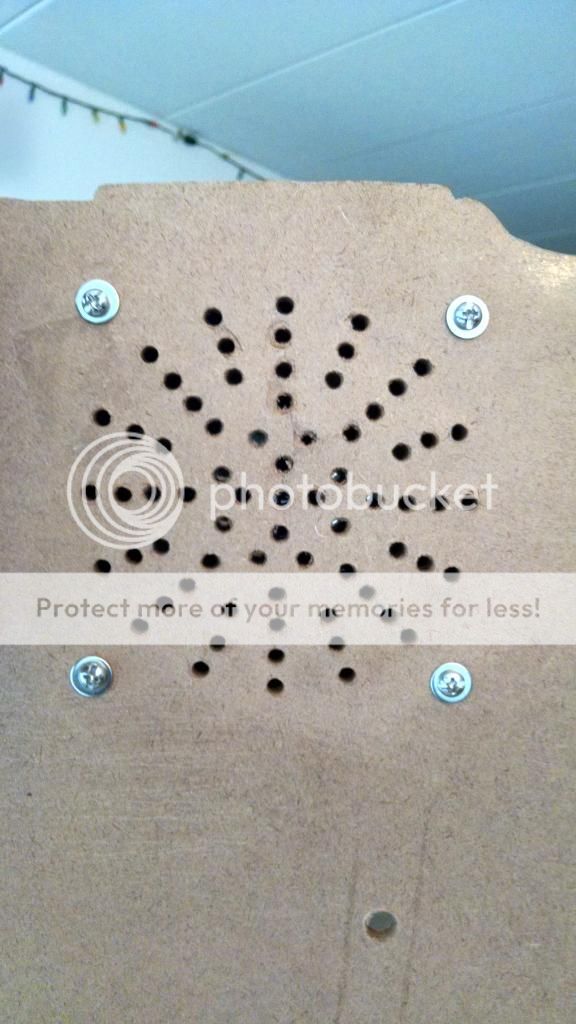
Got to drilling the holes for the speaker thanks to a speaker template from Alan Hawkins. Had to change it slightly to accommodate the speaker I have but it worked out nicely.
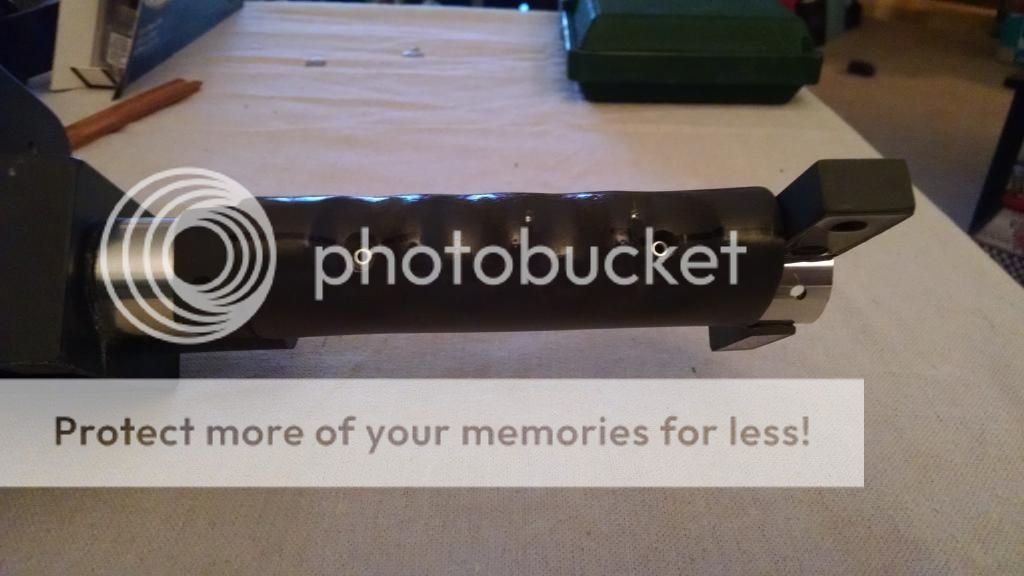
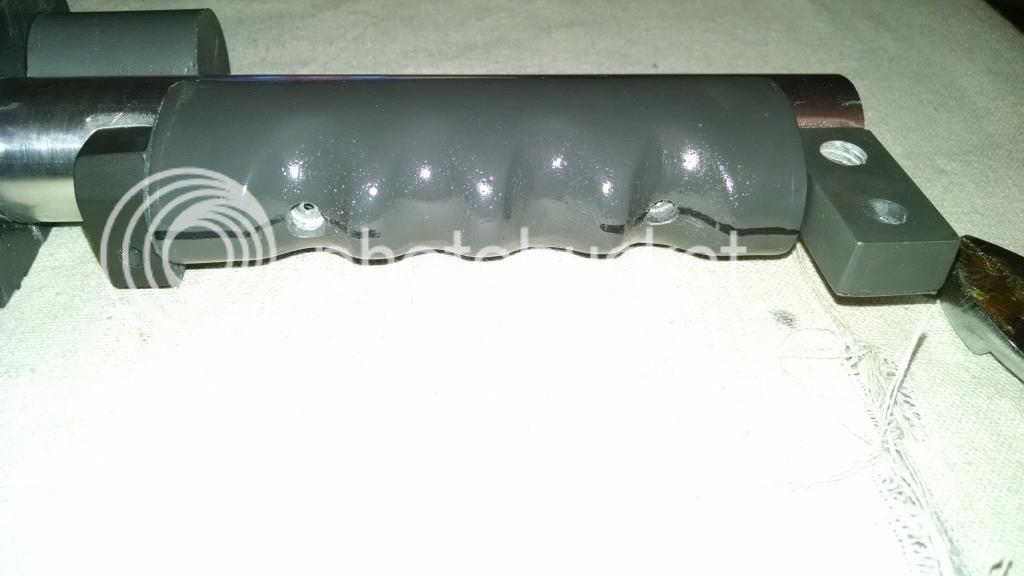
started to paint some of the parts over this past weekend
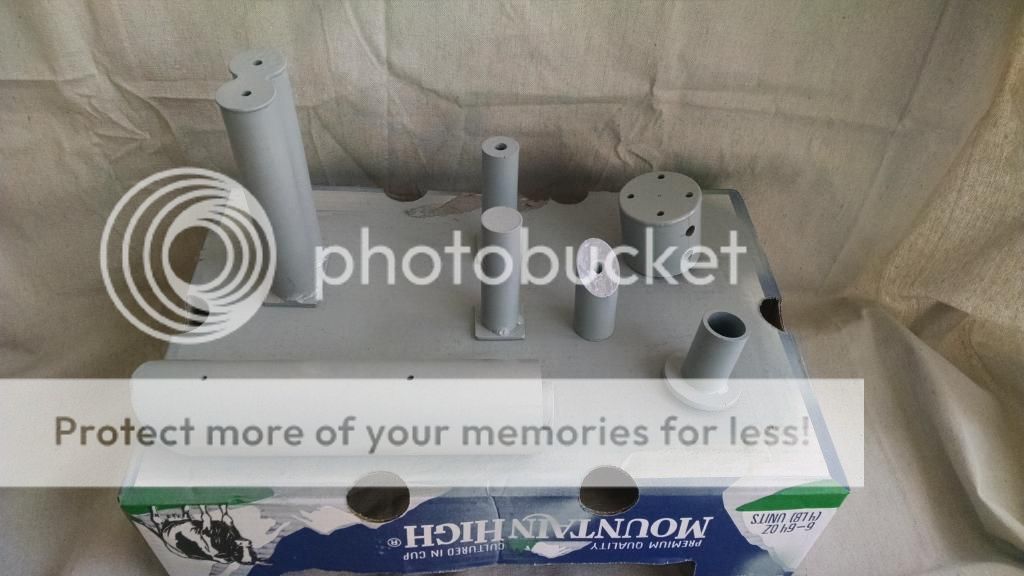
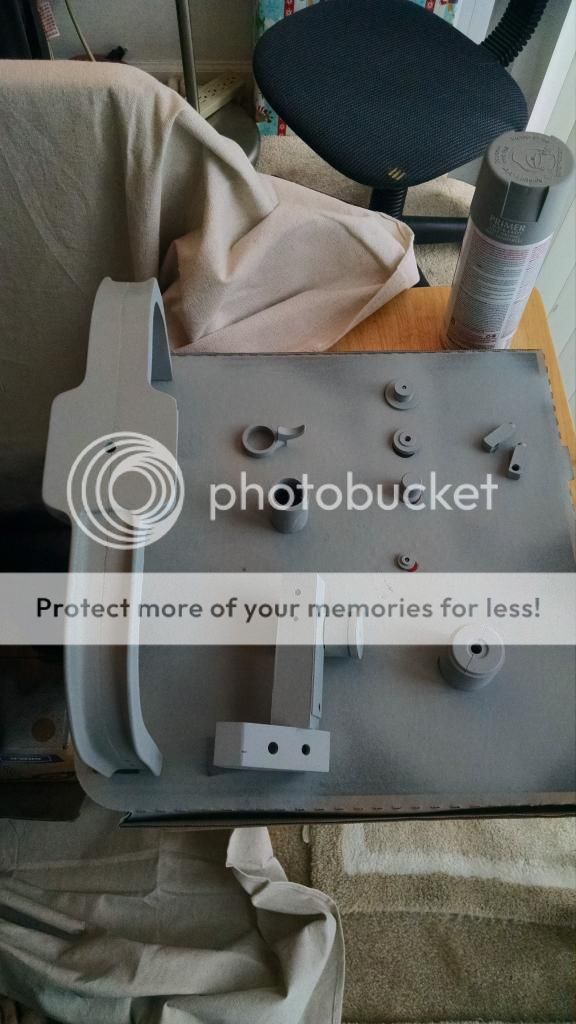
I don't know what happened with some of them, but the paint didn't stick to parts leaving spots everywhere. I'll have to sand and repaint them
started to paint some of the parts over this past weekend
I don't know what happened with some of them, but the paint didn't stick to parts leaving spots everywhere. I'll have to sand and repaint them
- February 18th, 2015, 5:56 pm#4827284
i had that problem originally with some bits...
make sure you wash the parts thoroughly in hot soapy water and give them a fine sand over... the odd paint effect seems to be caused by residual silicone from the moulding, not really an issue once you've washed and sanded them slightly
make sure you wash the parts thoroughly in hot soapy water and give them a fine sand over... the odd paint effect seems to be caused by residual silicone from the moulding, not really an issue once you've washed and sanded them slightly
- February 18th, 2015, 5:58 pm#4827285
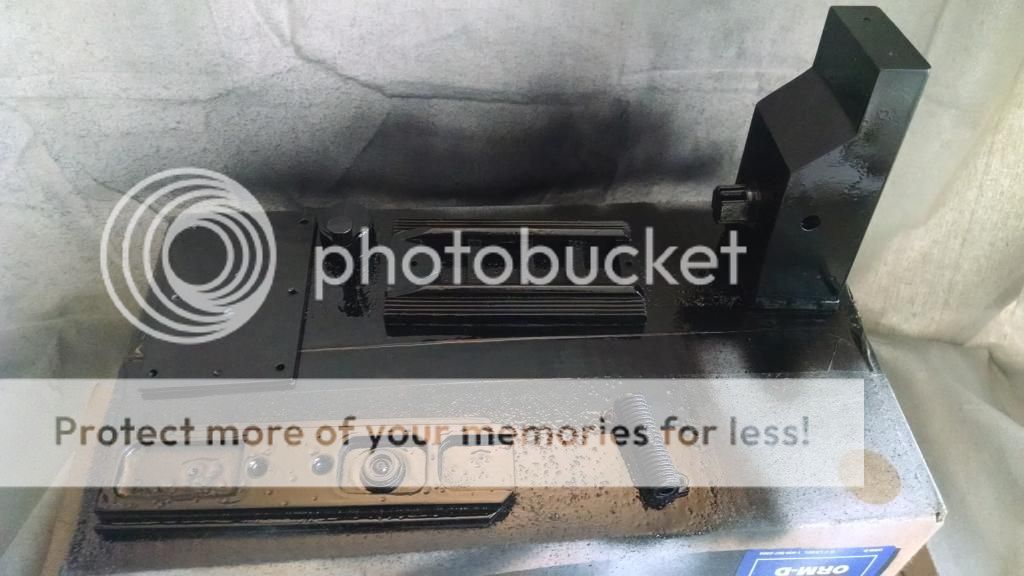
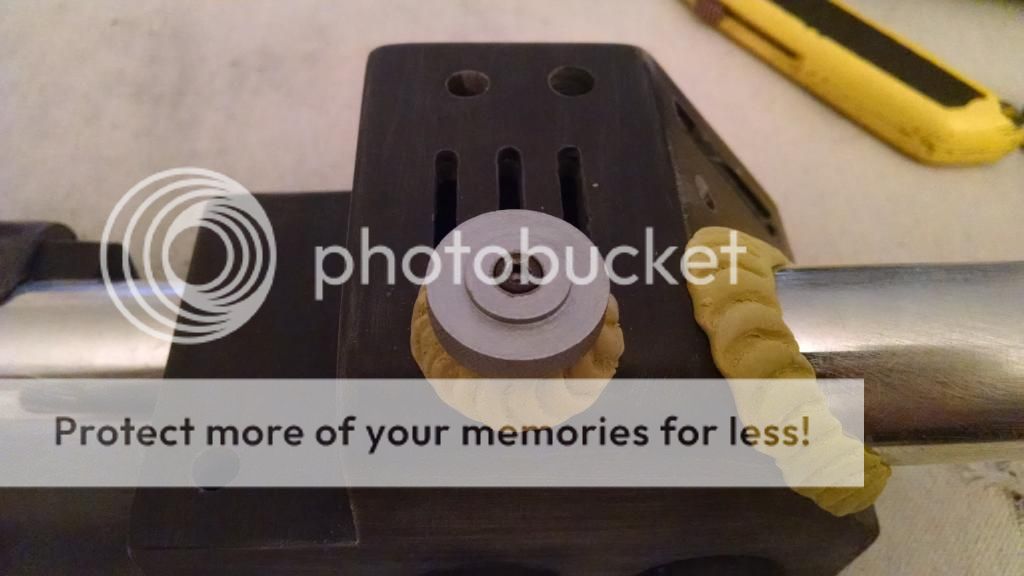
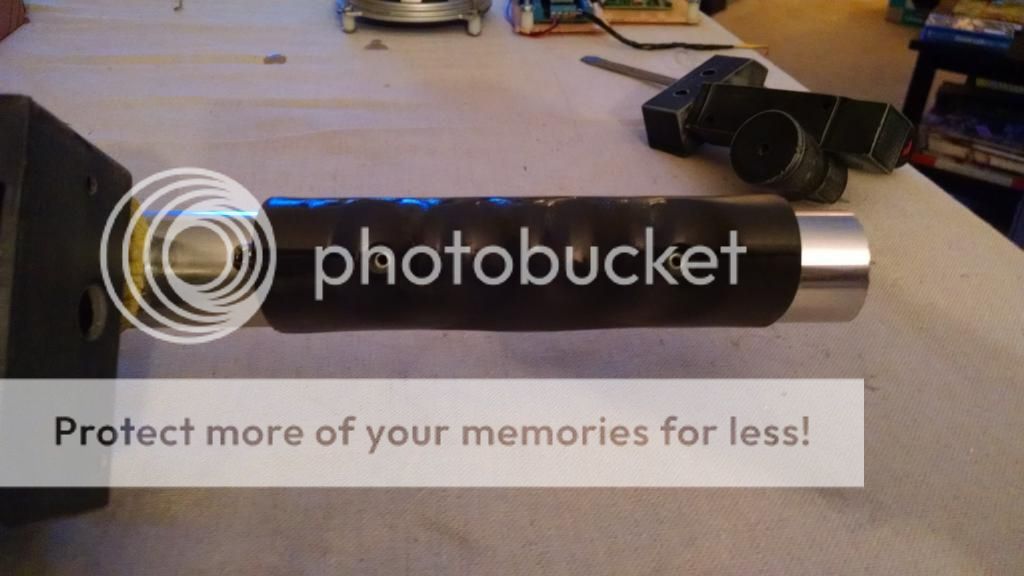
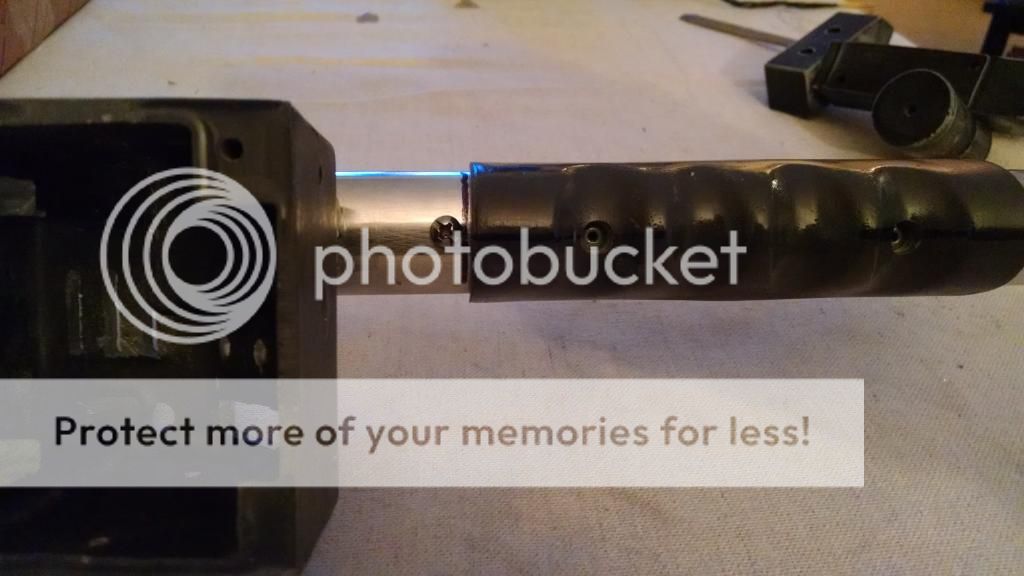
Finally got brave enough to do the fake welds on the thrower.
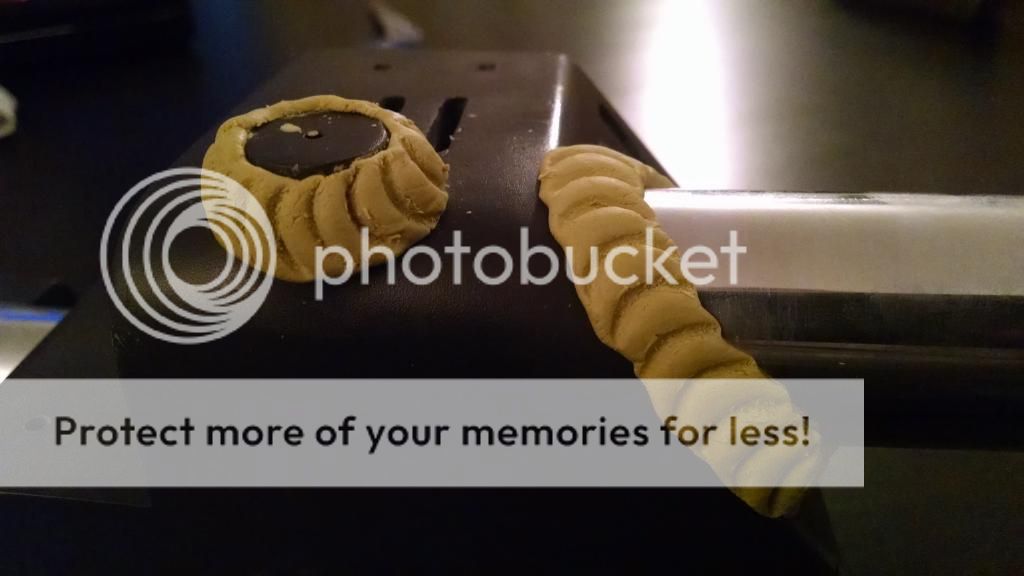
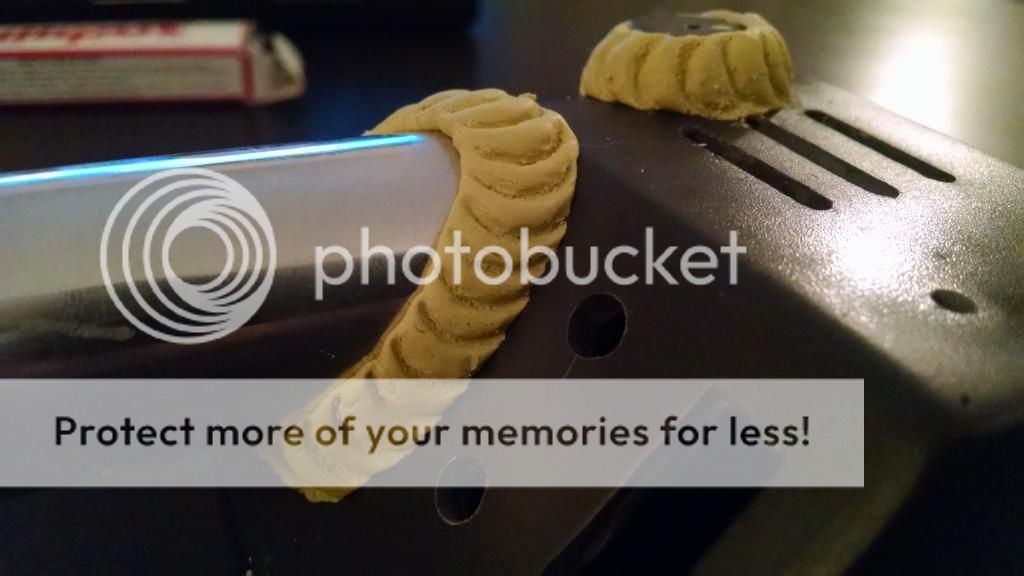
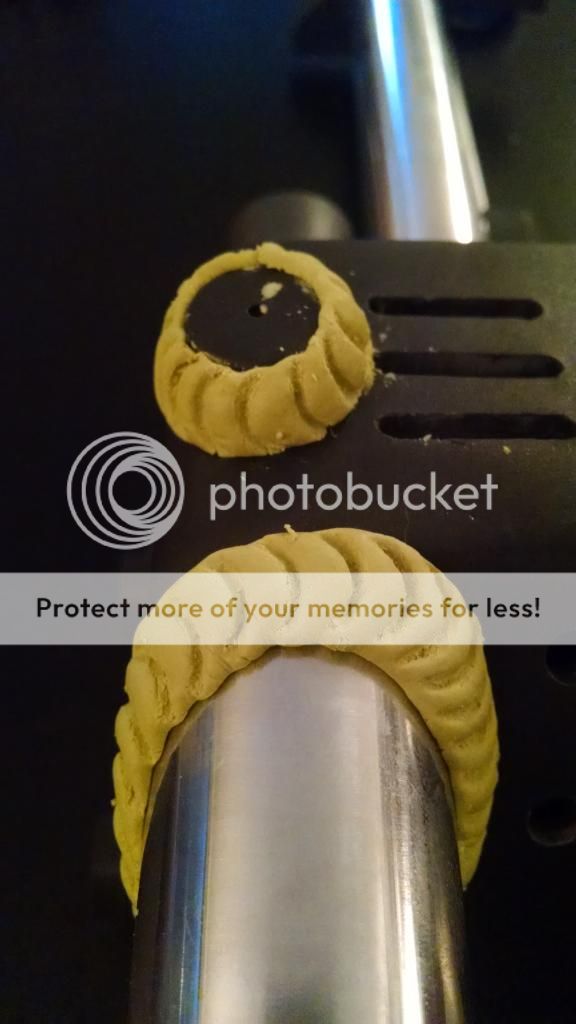
Didn't turn out too bad I think. I used Milliput and a paperclip to make the marks.
I'm still debating of doing the weld lines on the ion arm and n-filter. I kinda like the clean look but then again I've seen some really good weld lines done on those, so I guess it really depends on if I'm feeling brave enough to try those out.
- February 18th, 2015, 6:02 pm#4827286
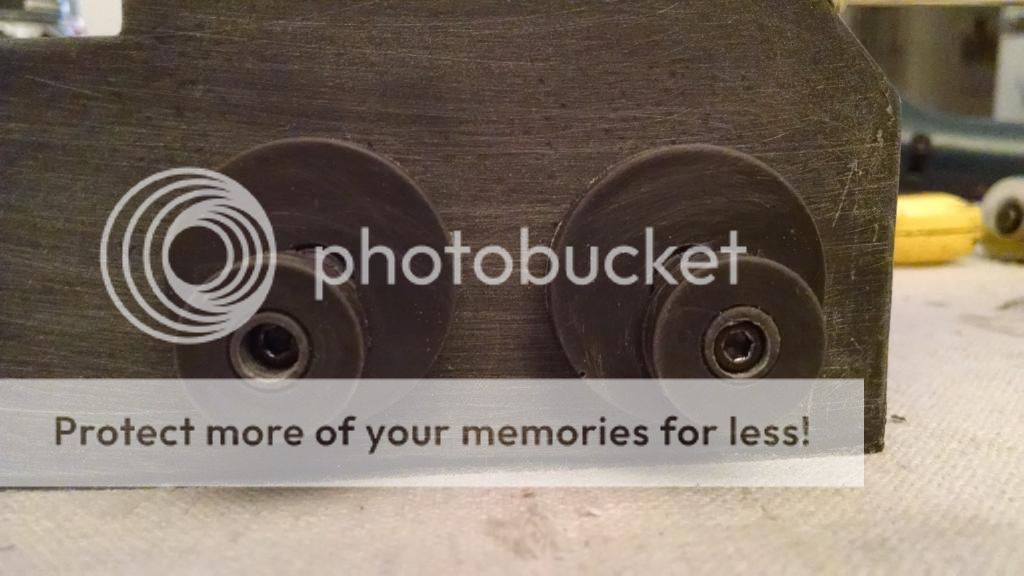
After much debate, I decided to rivet the front grip to the handle since I epoxied on the lock block and front ear piece already.
I'm still trying to figure out something for the rear grip as it needs to be removable to access the screw I'm using for the wire loom. I also am not sure if I wanna cover up the rivets or leave them exposed. I kinda like the look of the exposed rivets.
I'm still trying to figure out something for the rear grip as it needs to be removable to access the screw I'm using for the wire loom. I also am not sure if I wanna cover up the rivets or leave them exposed. I kinda like the look of the exposed rivets.
- February 18th, 2015, 6:10 pm#4827288
I did wash everything, however I didn't pre sand every part so maybe that's where my issue was. Live and learn right?! LOL
methos2523 wrote:i had that problem originally with some bits...
make sure you wash the parts thoroughly in hot soapy water and give them a fine sand over... the odd paint effect seems to be caused by residual silicone from the moulding, not really an issue once you've washed and sanded them slightly
I did wash everything, however I didn't pre sand every part so maybe that's where my issue was. Live and learn right?! LOL
- February 18th, 2015, 6:59 pm#4827295
yup, learning is definitely part of the pack building process lol
- February 18th, 2015, 7:12 pm#4827298
CLICK THE ABOVE BANNER TO BUY HIGH QUALITY PROP PARTS!
FEEDBACK.....http://www.gbfans.com/community/viewtop ... =32&t=5689
When using my own cast parts I give everything a good wash and prime with halfords grey before the halfords satin black. I don't sand the parts and never have the "oily" spots issue. Are you trying to paint the black coat in one go?
CLICK THE ABOVE BANNER TO BUY HIGH QUALITY PROP PARTS!
FEEDBACK.....http://www.gbfans.com/community/viewtop ... =32&t=5689
- February 18th, 2015, 7:21 pm#4827302
nick-a-tron wrote:When using my own cast parts I give everything a good wash and prime with halfords grey before the halfords satin black. I don't sand the parts and never have the "oily" spots issue. Are you trying to paint the black coat in one go?No, I did 2 coats of primer before the first coat of black
- February 18th, 2015, 7:23 pm#4827305
CLICK THE ABOVE BANNER TO BUY HIGH QUALITY PROP PARTS!
FEEDBACK.....http://www.gbfans.com/community/viewtop ... =32&t=5689
And how many coats of black did you do? Did the primer go spotty too?
CLICK THE ABOVE BANNER TO BUY HIGH QUALITY PROP PARTS!
FEEDBACK.....http://www.gbfans.com/community/viewtop ... =32&t=5689
- February 18th, 2015, 7:37 pm#4827307
the parts that have the spots only got one coat of black. I didn't get to the second coat for that set.
- February 19th, 2015, 3:20 am#4827336
CLICK THE ABOVE BANNER TO BUY HIGH QUALITY PROP PARTS!
FEEDBACK.....http://www.gbfans.com/community/viewtop ... =32&t=5689
It looks to me like you're putting the black on a bit too heavily. After the primer the first coat of black should be just a mist with about 75% primer still showing. Keep misting on layers until all the primer is covered. Normally takes me about 6 layers.
CLICK THE ABOVE BANNER TO BUY HIGH QUALITY PROP PARTS!
FEEDBACK.....http://www.gbfans.com/community/viewtop ... =32&t=5689
- February 23rd, 2015, 4:25 pm#4827764
After several attempts to get my Crix light/sound kit to work correctly, I have decided to forgo the crix kit and I just ordered the GB fans kit. The main issue is with the sounds, all the lights work the way they should. So with that being said, I'm willing to sell my crix kit to anyone who might want to tinker with it and see it they can get it to work correctly. It keeps losing certain sounds like stream fire, start up and shut down, even though I've wired and rewired it, then it will start working and then just stop. I've made sure the batteries and all connections are good and still keep encountering these issues. I've lost my patience with the kit and and ready to move on to the kit that I should have bought to start with. ***note*** As stated I'm willing to sell the crix kit, but not until after I receive the GB fans kit and it is installed to my pack.
- March 3rd, 2015, 9:44 pm#4828390
got a nice shipment from the GBfans shop the other day
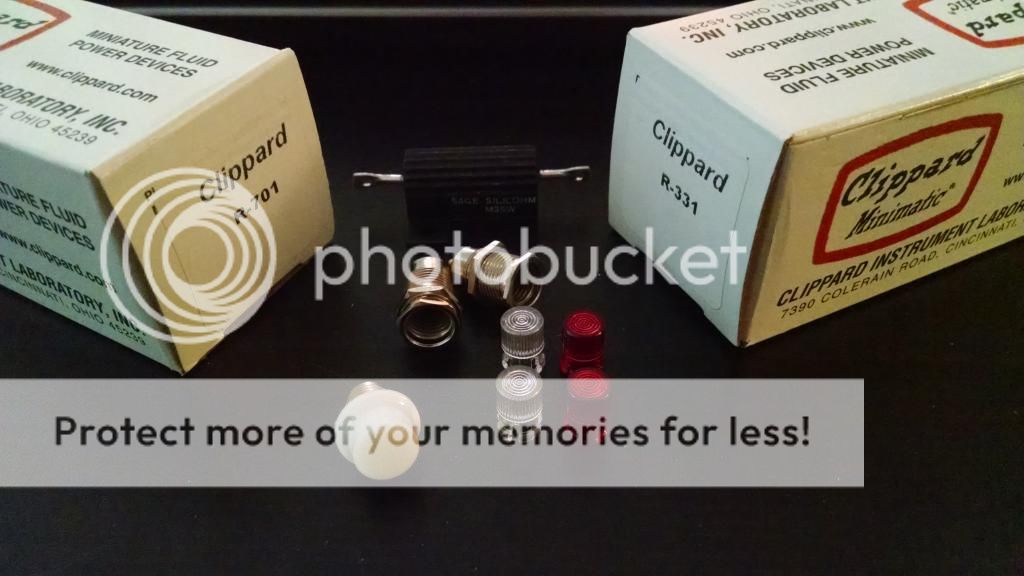
got some screws for the top knob, side knobs and the heat sink
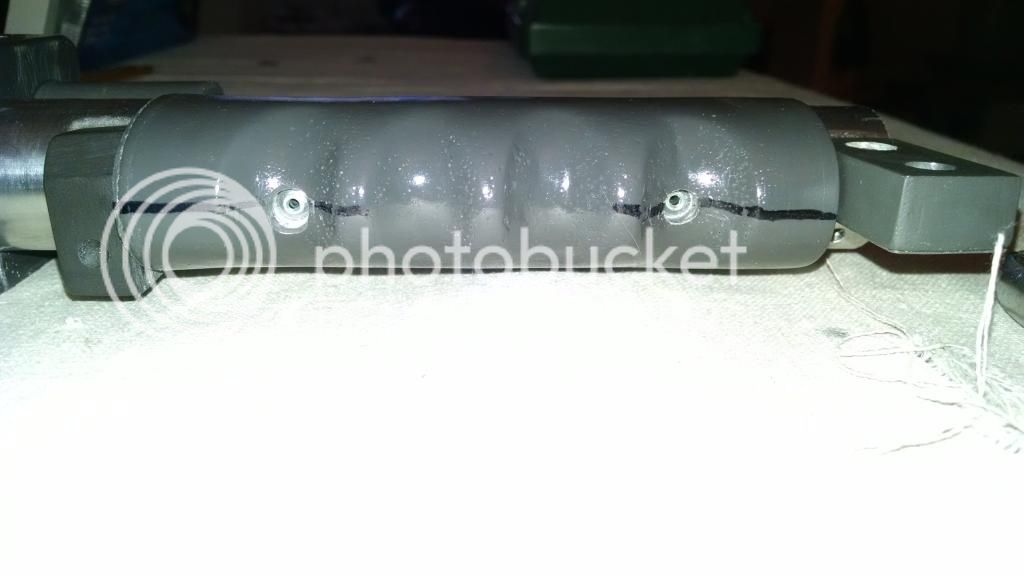
drilled a bit too deep for the left one
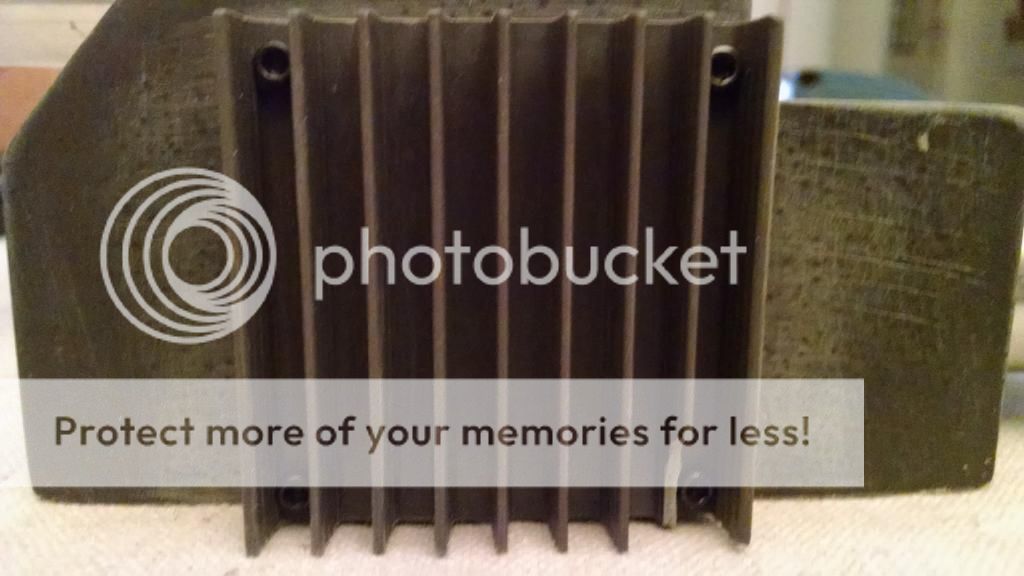
broke a rib on the heatsink while drilling the holes for the screws
got some screws for the top knob, side knobs and the heat sink
drilled a bit too deep for the left one
broke a rib on the heatsink while drilling the holes for the screws
- March 3rd, 2015, 9:47 pm#4828392
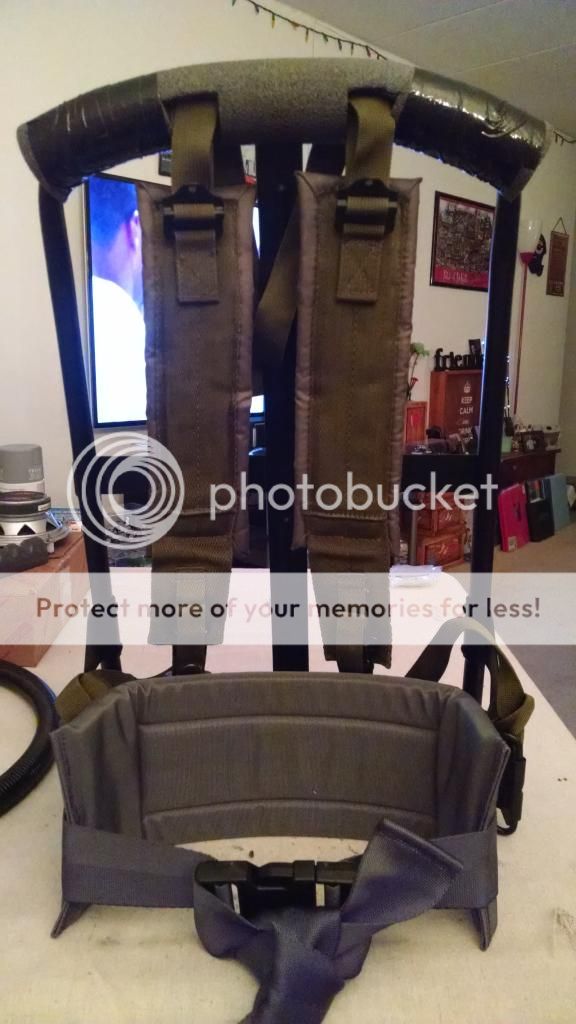
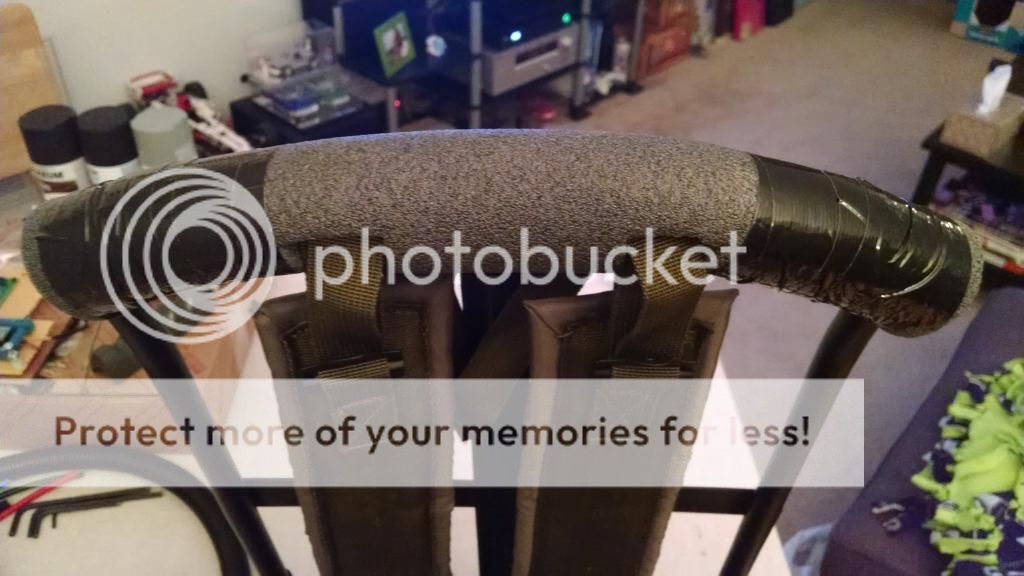
the weather here is sucking big time and delayed painting, so I decided to set up my ALICE frame and straps
- March 3rd, 2015, 9:49 pm#4828393
decided that I would just rivet down the rear grip, and because of this I had to relocate the screw I'm using to hold the wire loom in place, to just in front of the grip
- March 3rd, 2015, 9:55 pm#4828394
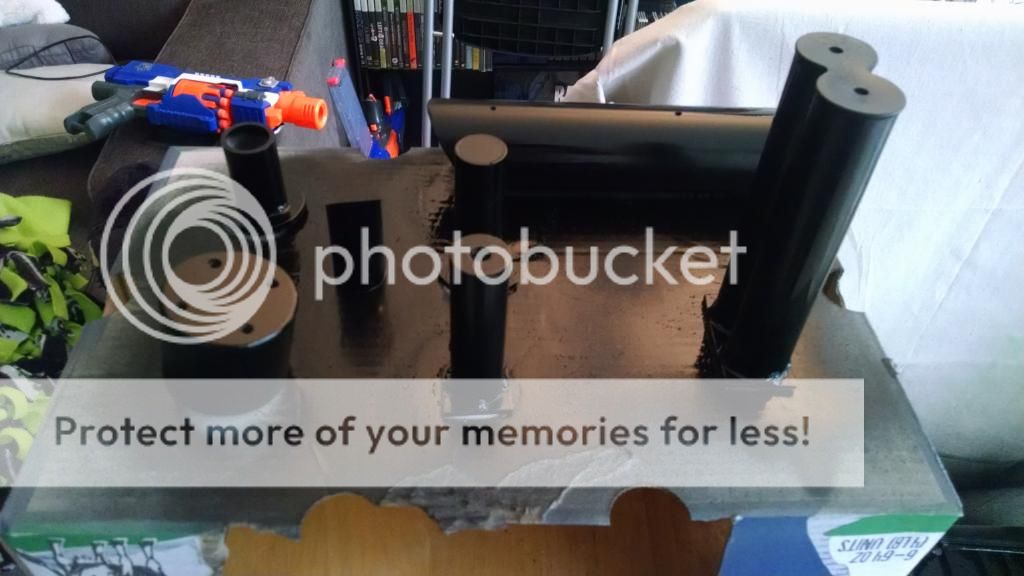
finally got to paint everything this past Saturday.


everything is painted!


everything is painted!
- March 3rd, 2015, 10:05 pm#4828395
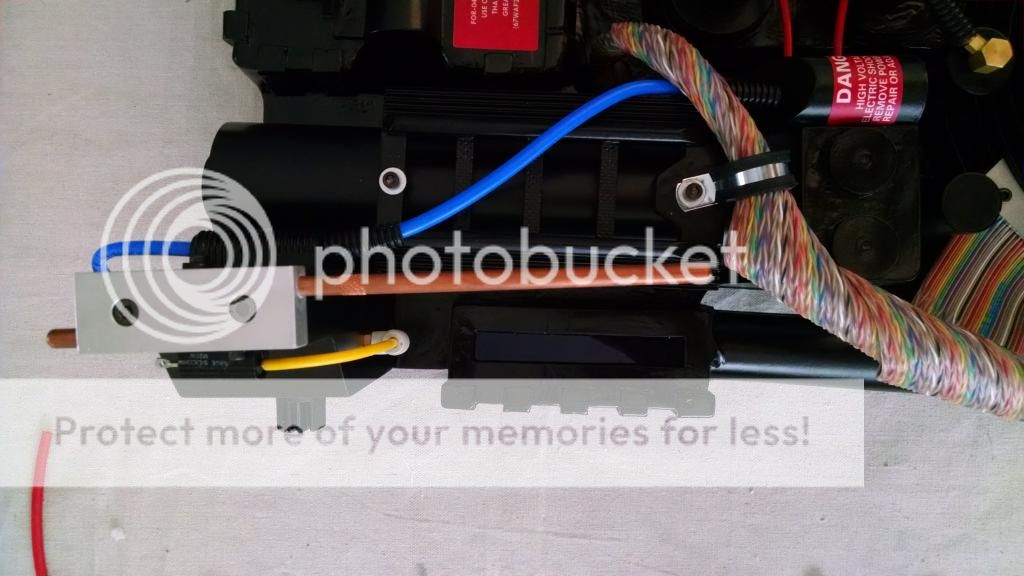
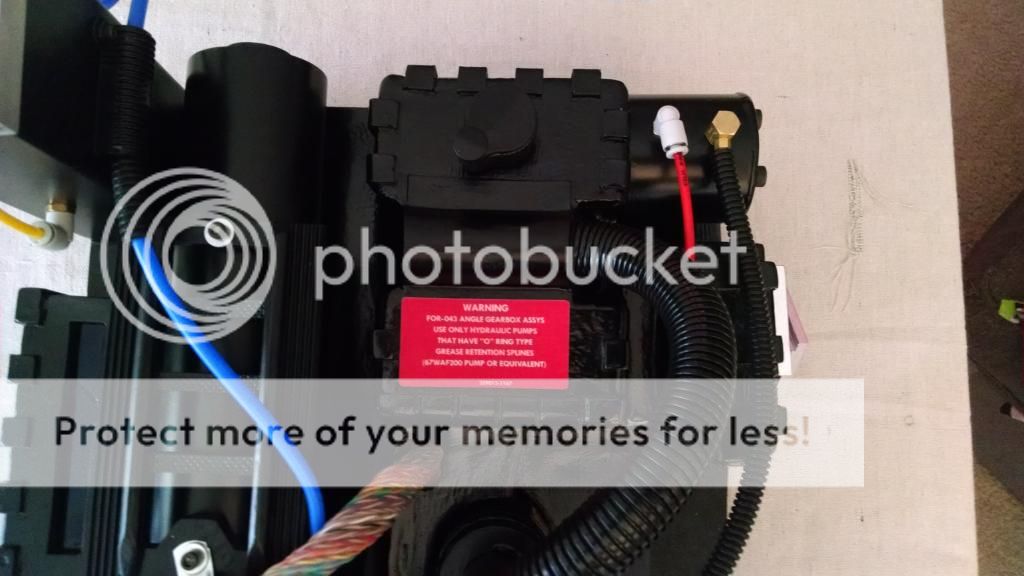
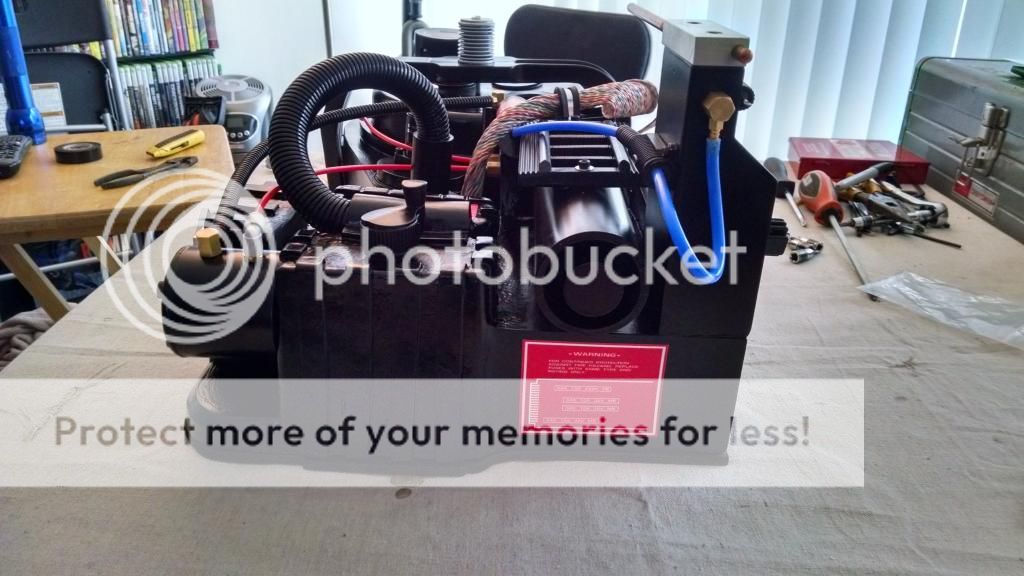
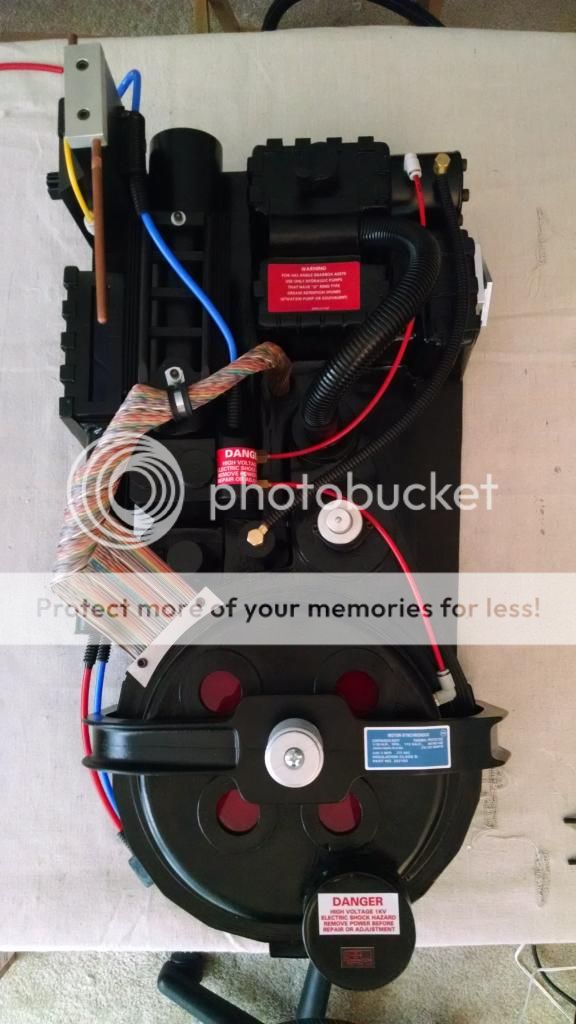
started assembling the pack and got the cyclotron lenses and reflectors mounted
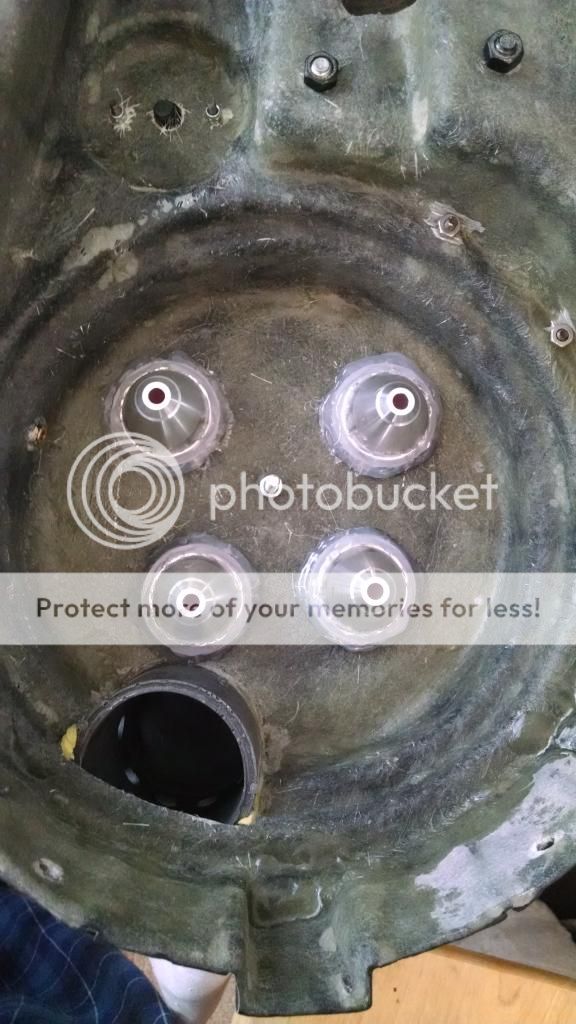
I used white diffusers behind the red lenses, I'm not sure why but I like the look of the lights this way over not using the diffusers
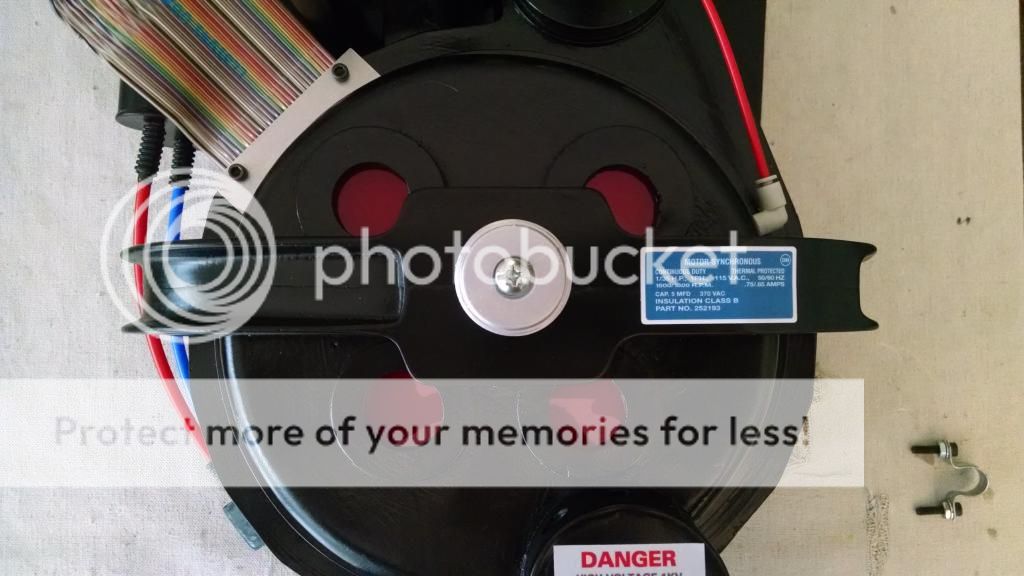
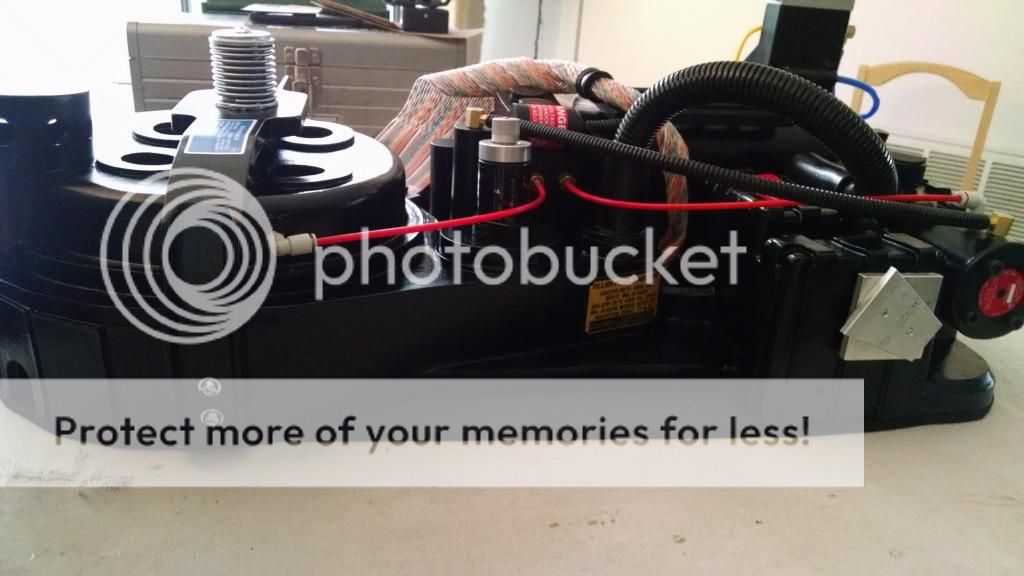
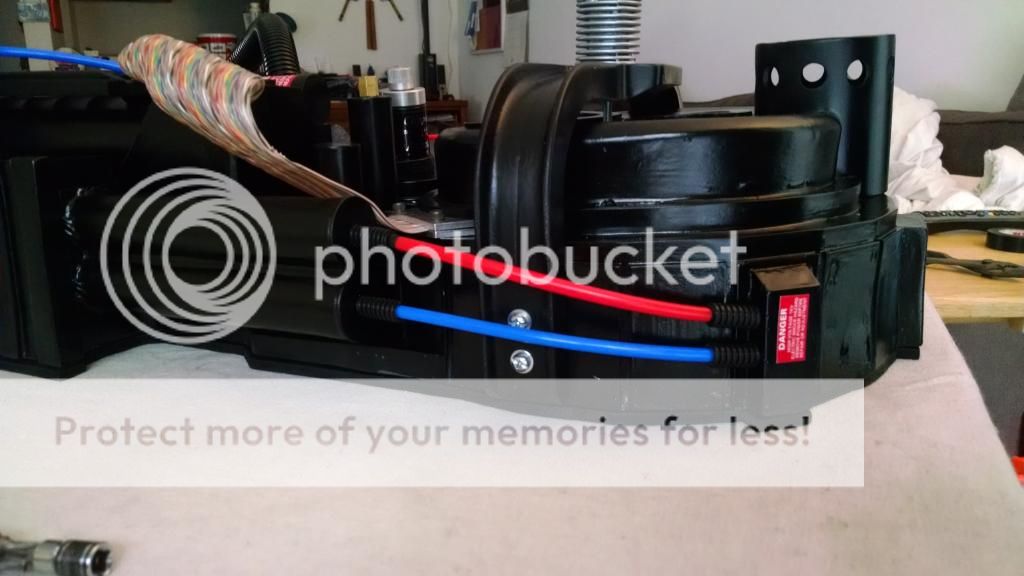
Got the main pack fully assembled!!! please tell me if I missed something with the labels or anything else
[imghttp://i1383.photobucket.com/albums/ah289/Jason_Staadt/IMG_20150301_162931257_zps4ojst0dy.jpg][/img]
I used white diffusers behind the red lenses, I'm not sure why but I like the look of the lights this way over not using the diffusers
Got the main pack fully assembled!!! please tell me if I missed something with the labels or anything else
[imghttp://i1383.photobucket.com/albums/ah289/Jason_Staadt/IMG_20150301_162931257_zps4ojst0dy.jpg][/img]
GBFANS Ghostlabs light kit
 - By prodestrian
When you say you only have the proton pack light k[…]
Pchrisbosh1 GB1 Hero Shell 3D Model for 3D Printing! Updated 4/23/04
- By prodestrianI'm not familiar with this one (is it a model?) […]
Frozen Empire GB Jumpsuit (Khaki)
Also somewhat related question...I don't see giz[…]
Ghostbusters Day 2024
 - By tylergfoster
Even if Frozen Empire somehow made a billion dol[…]