User avatar
By GohstTarp
#4796918
bishopdonmiguel wrote:Dude, that's the best part! I just ordered my kit. I'll be going to school on this thread so keep those updates coming! :wink:
LOL... I know what you mean... Just a little uncertain about the best way to get those things installed correctly. I'm going to try doing one or two tonight and then I'll be in 'the zone' and won't want to stop :)
User avatar
By GohstTarp
#4797155
Hoot wrote:I know how you feel. One thing I noticed is your protected helping hands. Good call. My unprotected helping hands did scratch it up a bit.
Thanks for the props, Hoot. I used two layers of shrink tube on each side of the clip and it still provides a nice firm grip. It's the first time I've used one of these things and I like it. Easy to move, flip, turn around and stand the board you are working with.
#4797361
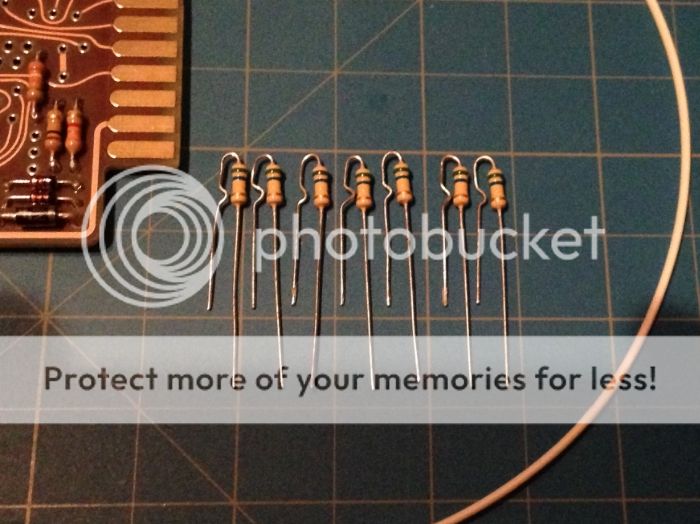
Shrinking those tubes was fun. I cut sections of tubing just over 1cm in length for these. The instructions recommended 1/2" sections, but that seemed too long.

Image

Then I soldered them to the board and repeated everything for the 7 remaining standing resistors. Here is what I have so far...

Image

I'm feeling more confident with this section complete and I'm looking forward to the transistors, while trying not to think about the IC leg pins that await me.

I've really enjoyed it so far... my favorite part is how solid the components feel after they are soldered to the board... very cool!
shootforit liked this
#4797401
That Gizmo is looking great! I just got my kit from spongeface and wanted to track my build along with yours. But I got so involved in the assembling the awesomeness that I worked straight through until I mounted the black ICs. I screwed the mounting of those up so watch out there. My build thread is here.
#4797776
GohstTarp wrote:darned responsibilities keep getting in the way!
You're telling me dude. Being an adult sucks. I had to build my scratch pack in five minute spurts because of baby responsibilities. With having to take care of my boy who was less than a year old at the time, I didn't have long stretches of time to work on anything! I think while making my pack, there was ONE time when I had TWO WHOLE HOURS of interrupted build time. it was amazing how much I got done in that time.
#4800816
I'm definitely overdue for an update here, so let's begin...

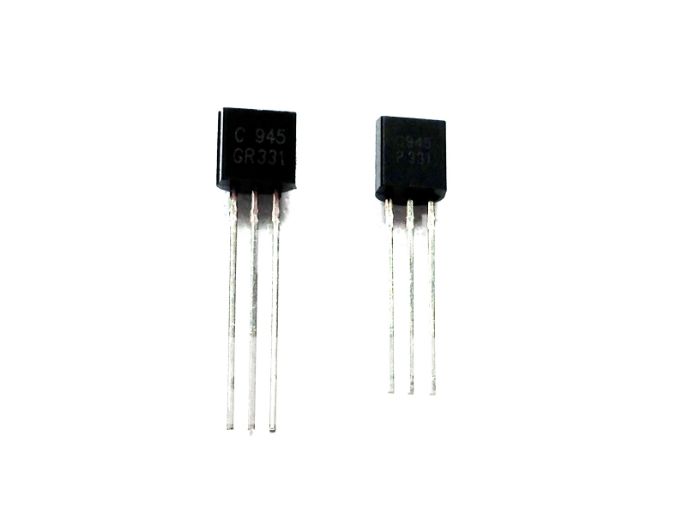
When I started looking at the transistors and trying to figure out the best way to mount them, I noticed there were two kinds of transistors in my kit...

Image

I had...
8x - C45 GR331 - slightly larger
2x - C45 P331 - smalle with shorter leads

I was careful to use the two smaller C 45 P331 transistors as the two that aren't grouped together. That way, the group of 8 are all the same size.

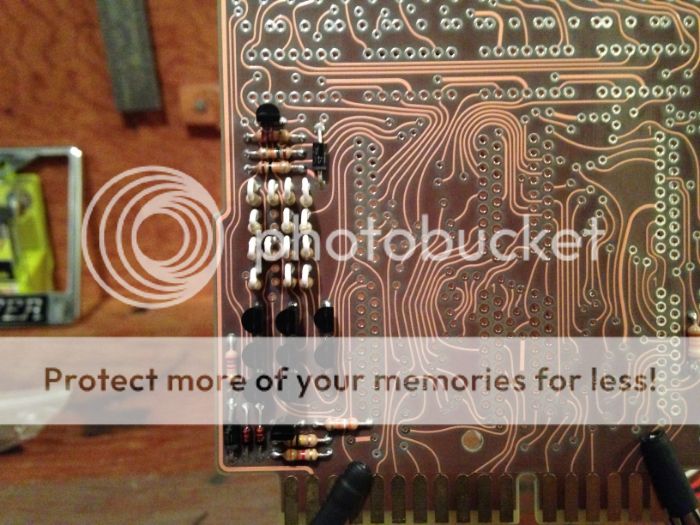
The board with added transistor goodness...
Image

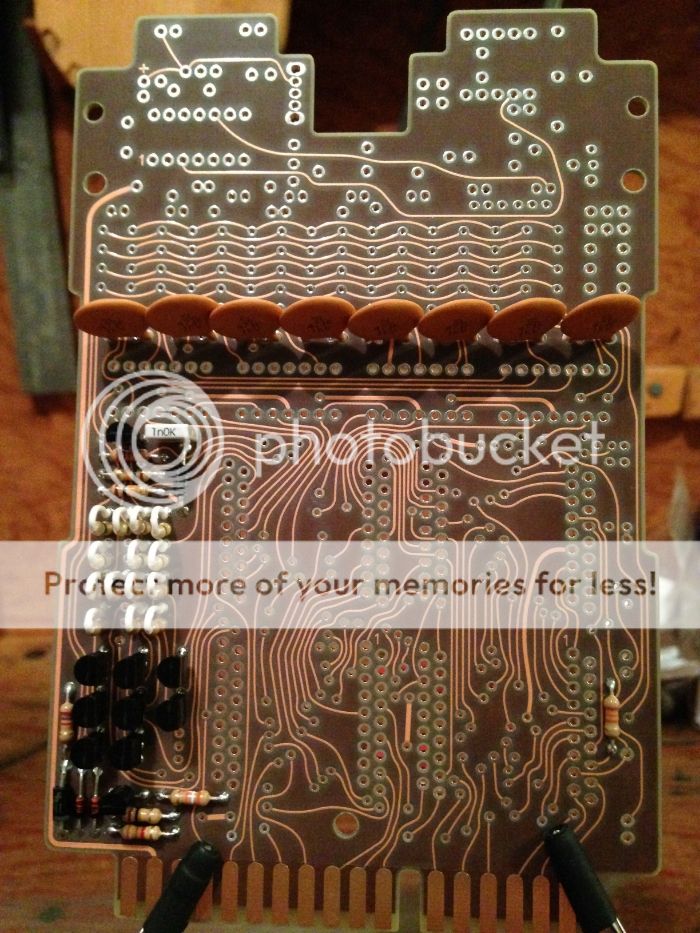
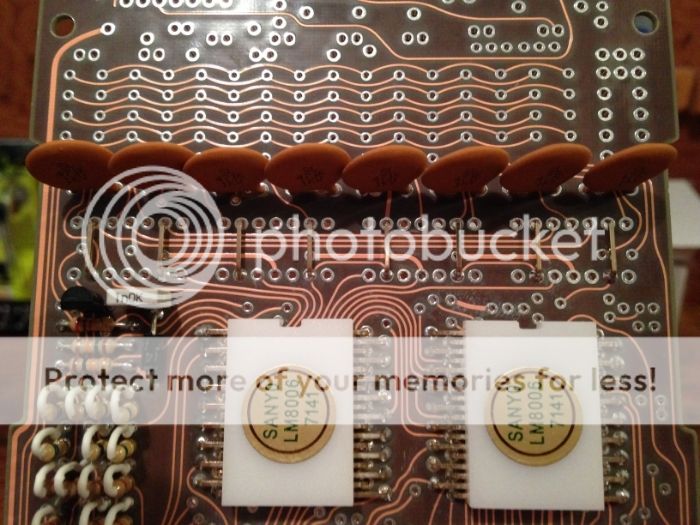
A few days later, and the capacitors and the white resistor were added...
Image

Then, I took my time and got this over with...
Image

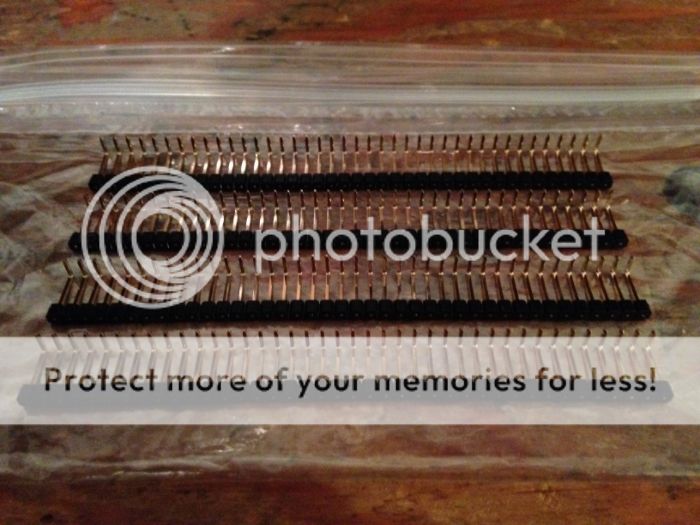
When heating up the black plastic to loosen the wires, you want to stop before it starts melting (as the instructions state). If you carefully watch the black plastic strip as you are heating, you can see when it JUST starts to melt. If you see that, STOP right away and you should be fine. Just try to heat the next section a little less.

Looking forward to soldering those bastards on very soon.
#4802083
Hello Again… After being a bit busy with work travel, I'm back with some Belt Gizmo Updates.

First up are the soldered IC pins. The only issue I had here was that the last black guide piece can't be removed because the pins above block it. I ended up with something like this…

Image

Luckily, my friend bishopdonmiguel (thanks, man!) had already figured this out in his thread, so I just followed his lead and and slightly trimmed the pins blocking the black piece and I was on my way…

Image

I had a hard time removing the paper coverings from the white plastic "IC" parts, so I just soaked them in Windex for 30 mins and they came off pretty easy. After rinsing them off and drying, I placed the stickers on, more or less centered.

Super glueing the IC's to the pins make me a bit nervous, but I ended up having plenty of time to adjust the placement before they set. Before I knew it, they were all on there nice and secure…

Image

Very excited to try the dry rub transfers on the black "IC's". Stay tuned!
#4802084
That board is looking great! Careful when mounting the black ICs if you are gluing directly to the board. There is NO time to adjust.
GohstTarp liked this
User avatar
By GohstTarp
#4802281
Applied the dry rubs last night and thought they turned out acceptable. I had trouble with the little 'HI's', they just didn't want to stick. Also had trouble with not deforming the 'T 4125' text.

Does anyone have any tips for future applications?

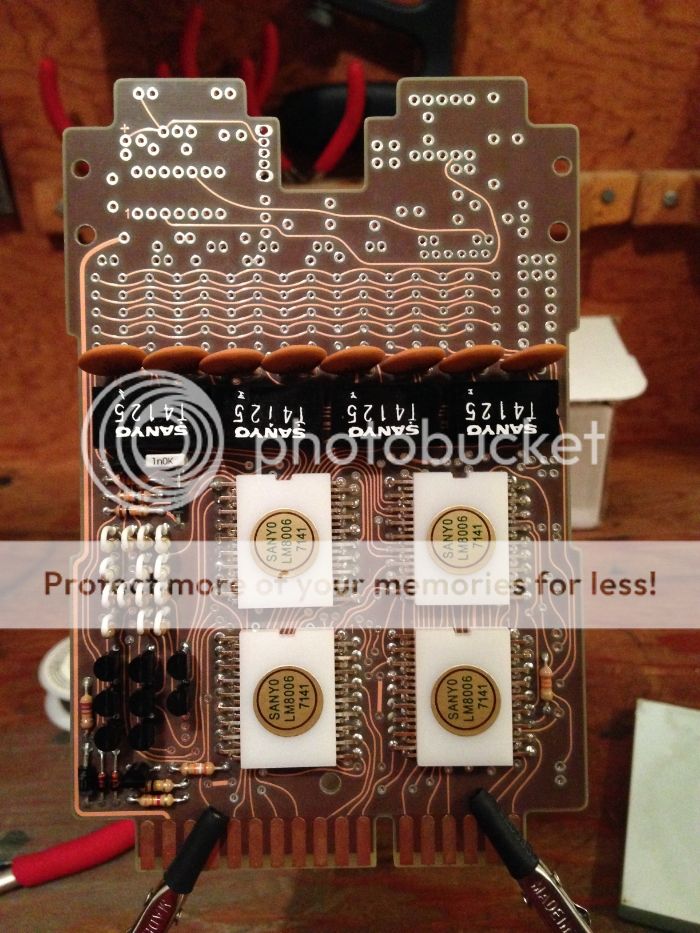
Tonight, I was able to solder in those pins…

Image

I would say I had a little over a second to adjust the black IC's. It's certainly better than the instant bond you get without pins, but certainly not as much time as you get with the white ICs. In the end, I also found the placement of the black ICs to be acceptable…

Image

So far, so good!
Sutton621 liked this
#4802311
GohstTarp wrote:Does anyone have any tips for future applications?
I achieved good results by trimming the excess paper around the transfer, then using scotch tape to temporarily hold it in place. Using a ball-point pen (medium classic style, not fine tip or gel), I rubbed each "letter" using a combination of circular, vertical and horizontal patterns avoiding the areas without letters. When finished, I slowly peeled away the tape & paper keeping the ball-point pen ready to assist with any stubborn letters, but they all transferred cleanly.

Your results look great! Keep the updates coming.
#4802394
bishopdonmiguel wrote:I achieved good results by trimming the excess paper around the transfer, then using scotch tape to temporarily hold it in place. Using a ball-point pen (medium classic style, not fine tip or gel), I rubbed each "letter" using a combination of circular, vertical and horizontal patterns avoiding the areas without letters. When finished, I slowly peeled away the tape & paper keeping the ball-point pen ready to assist with any stubborn letters, but they all transferred cleanly.
Thanks for the tips! That's very similar to what I did, but instead of a straight-up pen, I used a stylus tool that I used to make fold lines in my papercraft projects. I'll have to try a pen and your "combination of circular, vertical and horizontal patterns" next time.
bishopdonmiguel wrote: Your results look great! Keep the updates coming.
Thanks for the encouragement and kind words, bishop!
User avatar
By GohstTarp
#4804209
This post may contain an affiliate link that helps support GBFans.com when you make a purchase at no additional cost to you.

Boots
Since I had some family visiting recently, I took a break from the Belt Gizmo to work on customizing my Corcoran 995 boots...

Image

It allowed me to chat with guests while moving my Uniform build forward, so it was a win/win!

I have the Profoot Custom Insole with Vita-Foam boot insoles listed in my first post, but I ended up using the Profoot 2oz. Miracle Custom Molding Insoles models instead. The other model was too much of a tight fit. Here is a pic of the insoles along with the mink oil I used...

Image

I had to remove the built-in insoles from the boots and they didn't come out cleanly and had to slowly pull it out a little bit at a time. If you do this, be very careful removing the foam under the heal. There are some nails there holding the sole to the boot and sometimes they aren't hammered in all the way. Just take your time and you should be just fine.

After placing the new insoles, I was ready to give the boots the mink oil treatment. I used my heat gun the melt the oil a little bit, then just used my fingers to scoop some out and rub it all over the leather areas, give special attention to the seams/stitching. Then, I left them in my warm attic for 24 hours. Finally, I removed the excess with a rag and they felt much more soft and supple.

My next customization was to remove the leather zipper flap and paint the flap " snap buttons" black, for added screen-accuracy. Hopefully, the zipper will stay up without the flap, but if it becomes an issue, I will just glue the pull tab in place.

Finally, I painted the zipper pull tab, teeth and box silver with a fine tip silver paint pen. I masked the boot and zipper a bit when I painted the pull tab...

Image

And here is the visually pleasing final result...

Image
User avatar
By pyhasanon
#4804215
Corcoran 995s are awesome! I've been in the military for almost 10 years, but I've never worn boots that comfortable before! Did a 3 mile walk in them once, got a couple of blisters, but nothing compared to what other boots would have done to my feet! Definitely well worth the money!
User avatar
By pyhasanon
#4804219
Well, I painted the zippers with the intent to make them look weathered, so I use the zipper all the time without even thinking about the paint... still looks fine to me, haven't had the urge to touch them up yet...
#4804253
Those boots look great!!! Well done, sir!
User avatar
By GohstTarp
#4805238
Alright... time to get back to the Belt Gizmo build :D

I made some good progress and was able to cut up the little shrink wrap wire insulation pieces per the instructions using a digital caliper and apply them to the nixie leads...

Image

Next, I started bending the nixie leads just so, causing the ends of the insulation line up. Also, I cut the LED wires down to size, but I did not cut off any of the black shrink insulation, as suggested by the instructions. I tried doing that with the first LED, and it lead to trouble, so I repaired with a little black shrink insulation I had on hand and moved on :) After the cut and a little bending, the LED's were ready...

Image

Now that everything was cut and bent into shape, I was ready to super glue to LED's to the nixies, but first I tested them all with my 9v battery and they all worked! (thanks for the suggestion in your thread, bishopdonmiguel!) I applied one small drop of super glue gel directly to the bottom of the nixie toward the front and then held the LED in place for about 30s. After they were all finished, I let then dry a few hours...

Image

Now here is where all the careful measuring and bending really paid off. I highly recommend taking the effort to cut up the little shrink wrap wire insulation pieces to just the right size per the instructions. Once I got all the leads for a nixie inserted, it was already in an almost perfect position. Here is a shot of the first nixie soldered on and the second one just inserted...

Image

It's very rewarding to see those nixie tubes mounted. I was able to get the first six soldered on last night and should be able to get the last two tonight. Fun!

This is awesome, One time. I love reading explanat[…]

And, lastly, for now, the video that prompted me t[…]

At some point, probably just better off opening up[…]

Spengler/84 wand Gun Track

So...I had more than a little problem with dis[…]