Talk about the your favorite Ghostbusters Collectibles from Mattel, Kenner, and more.
User avatar
By CaptCyan
#384439
Or I should get the Game and play it. :lol:

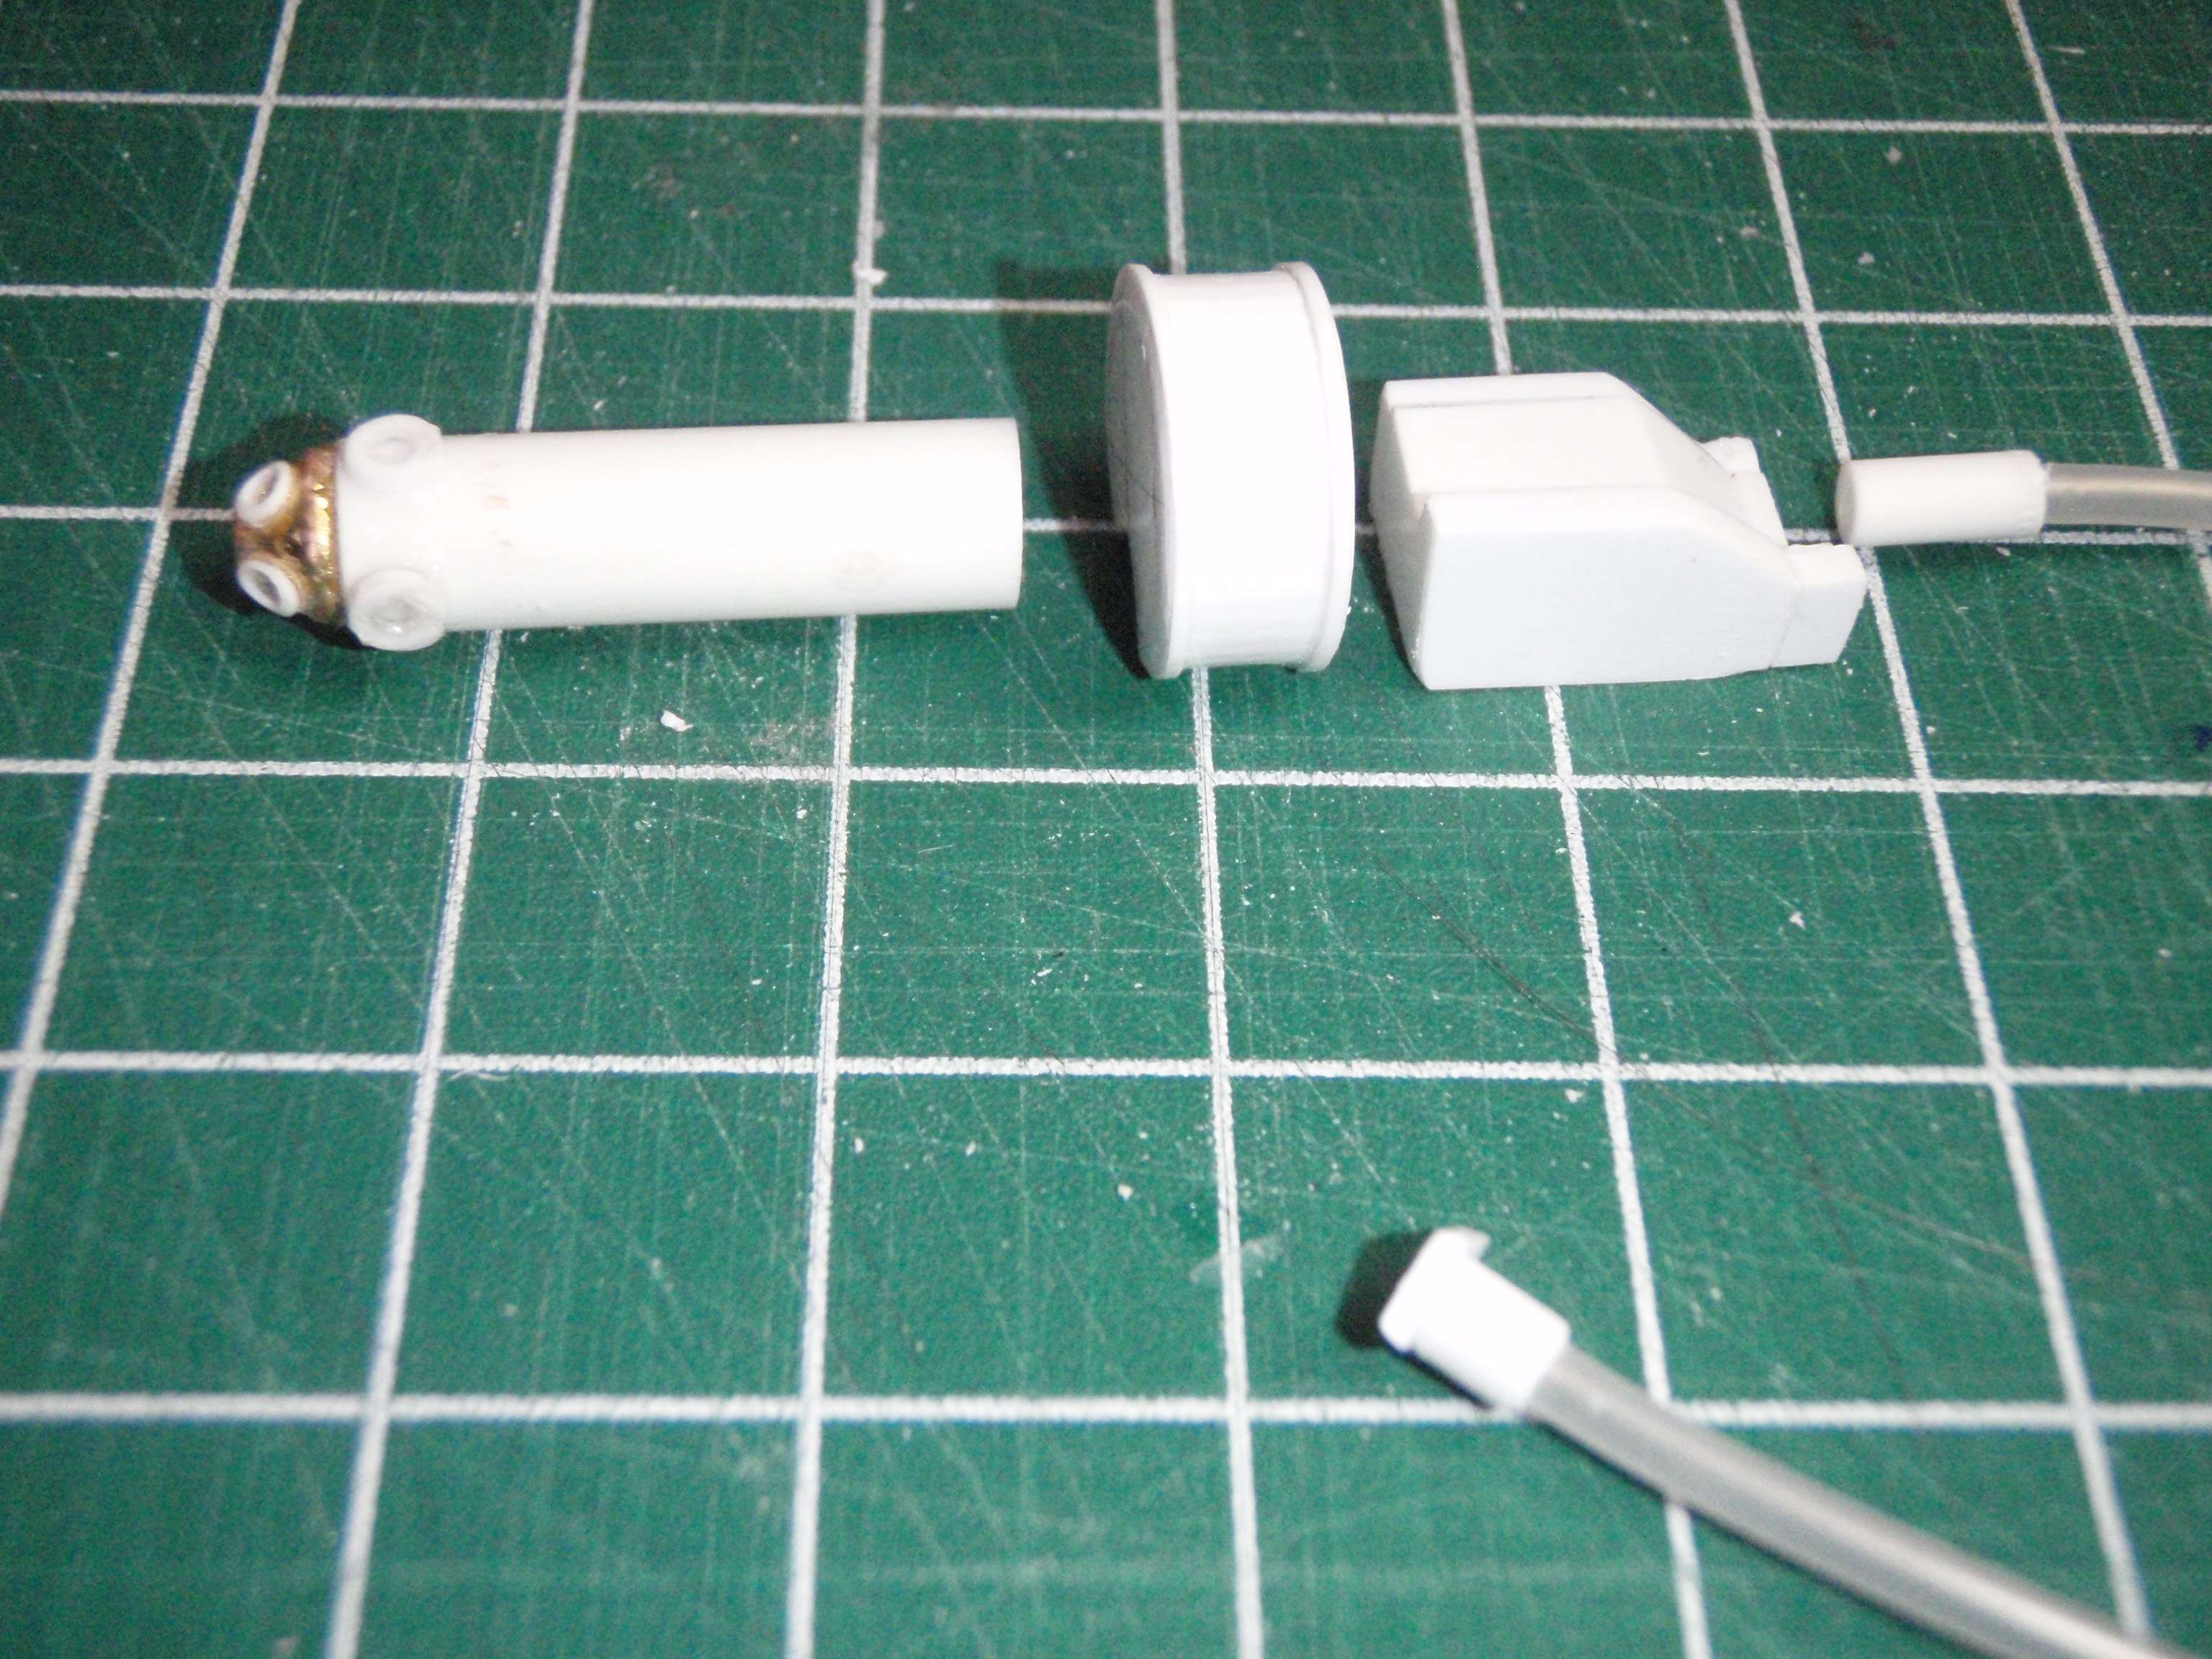
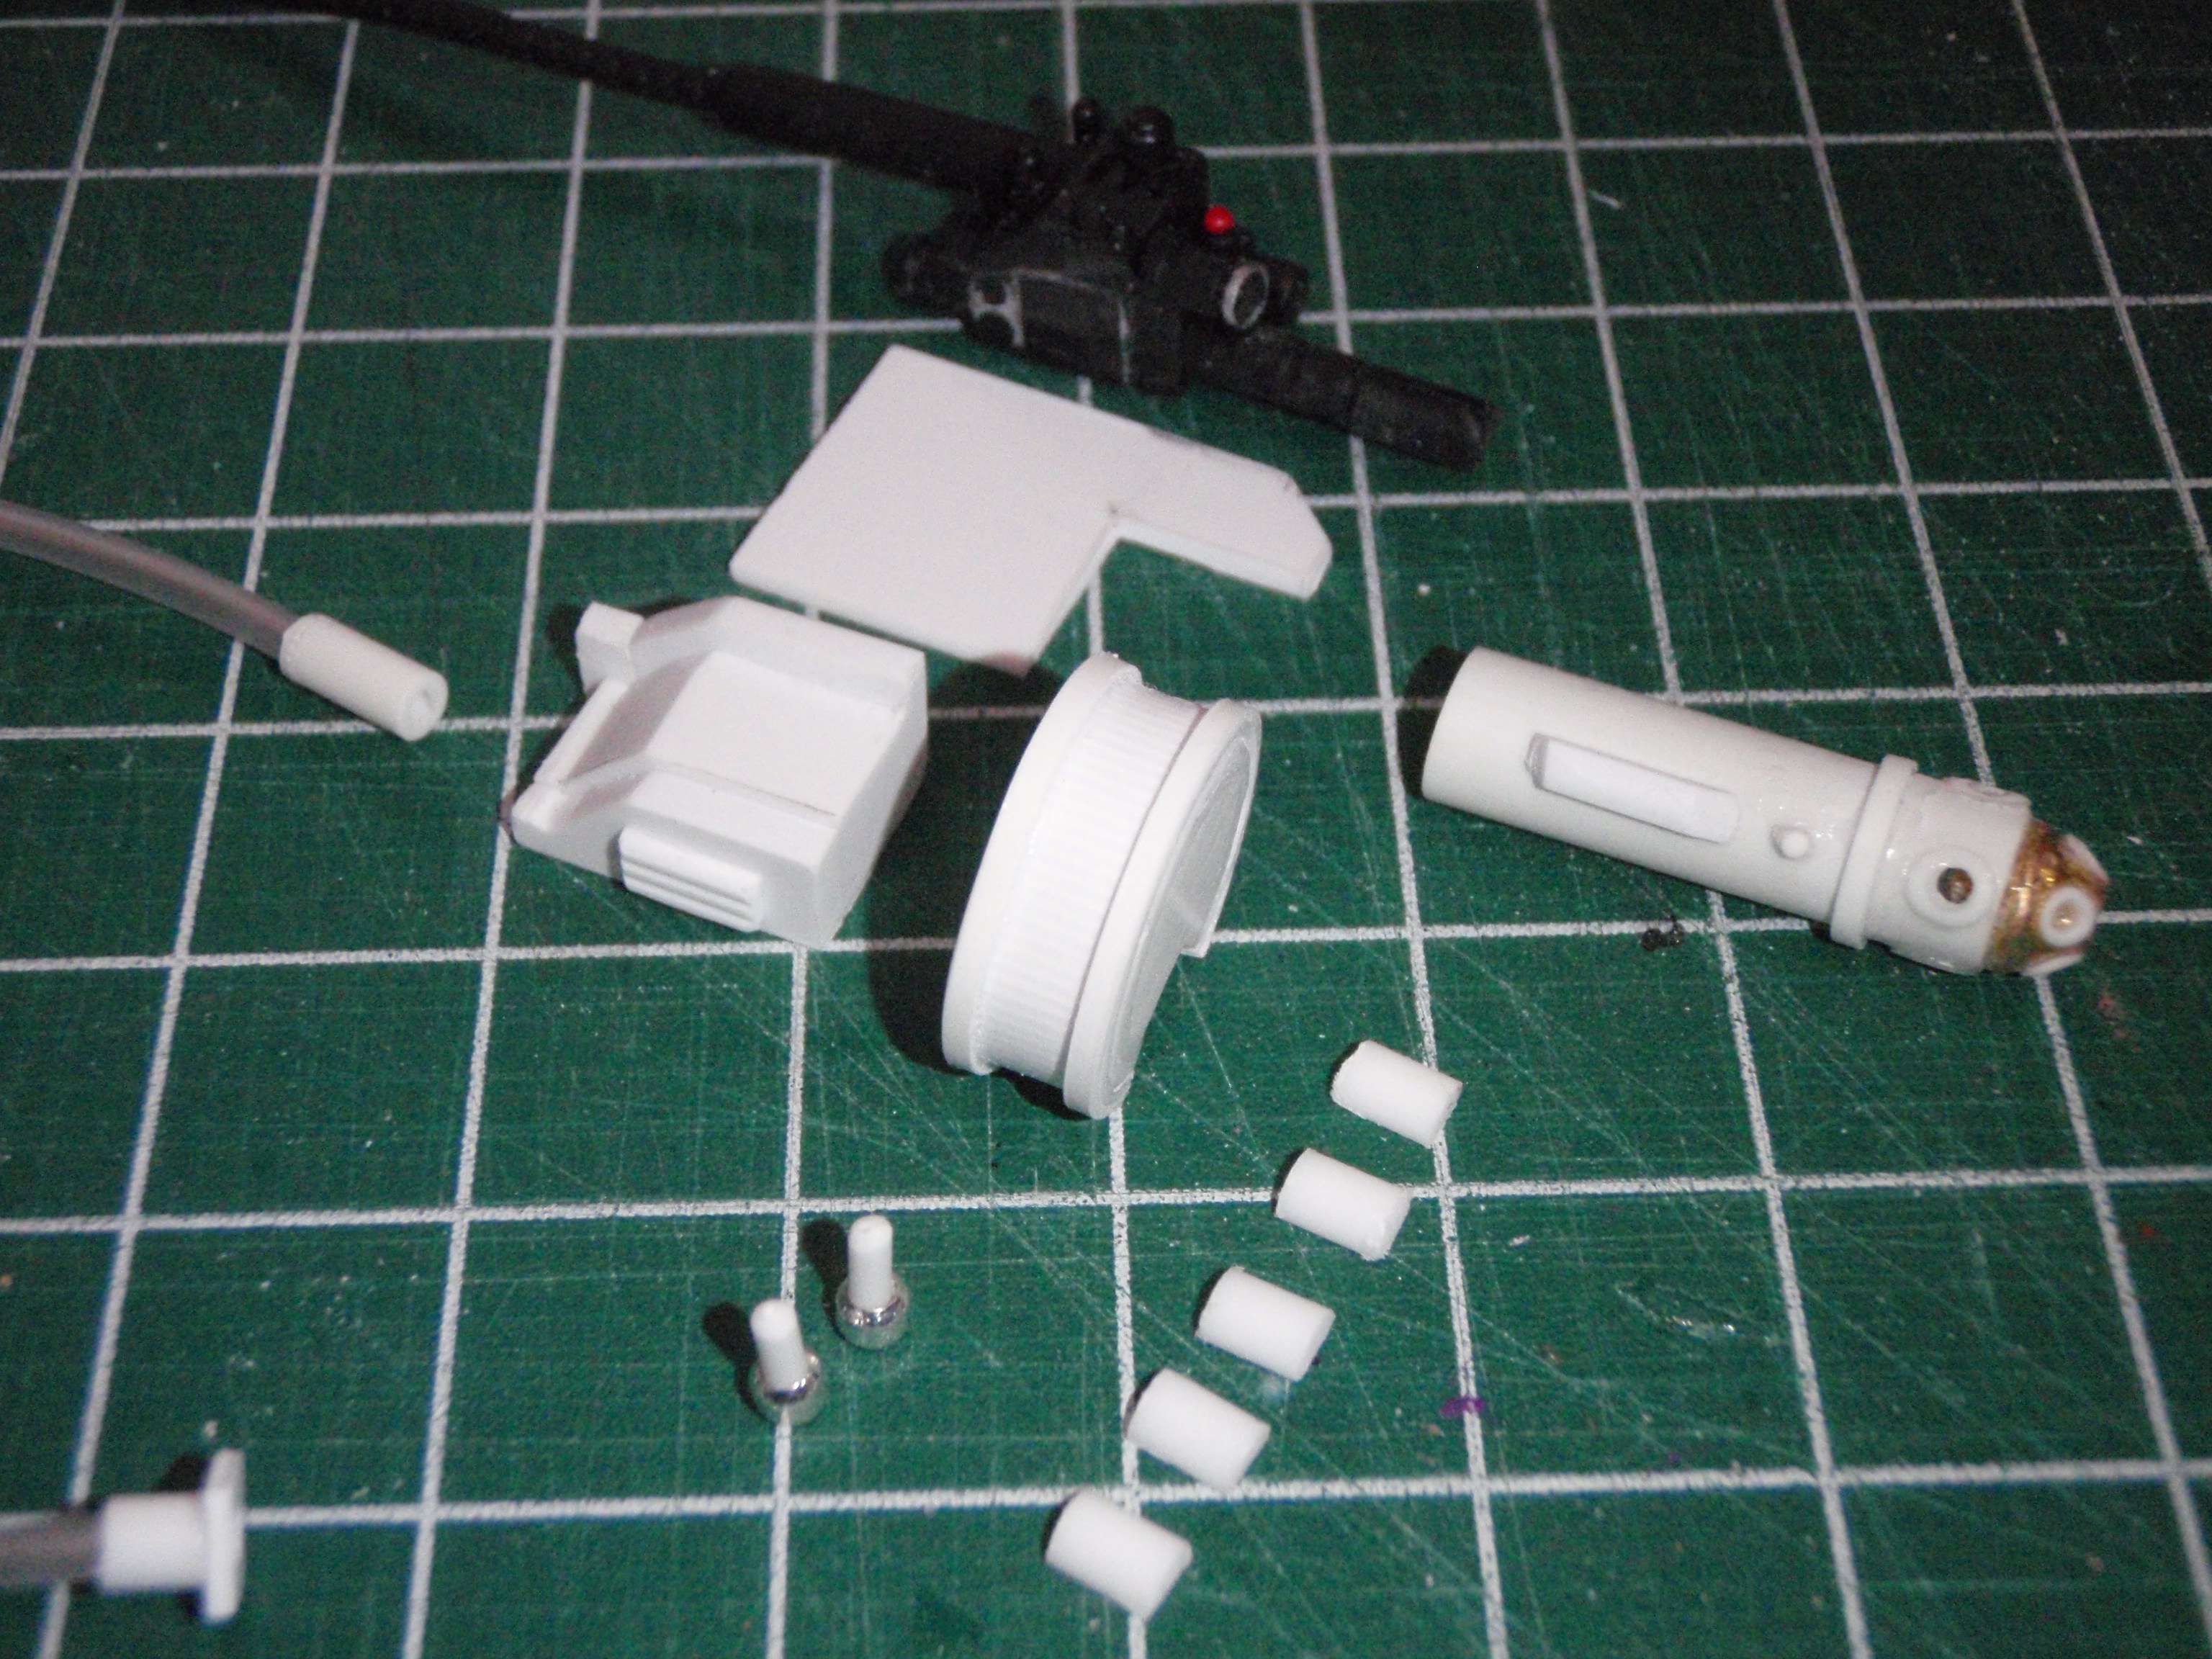
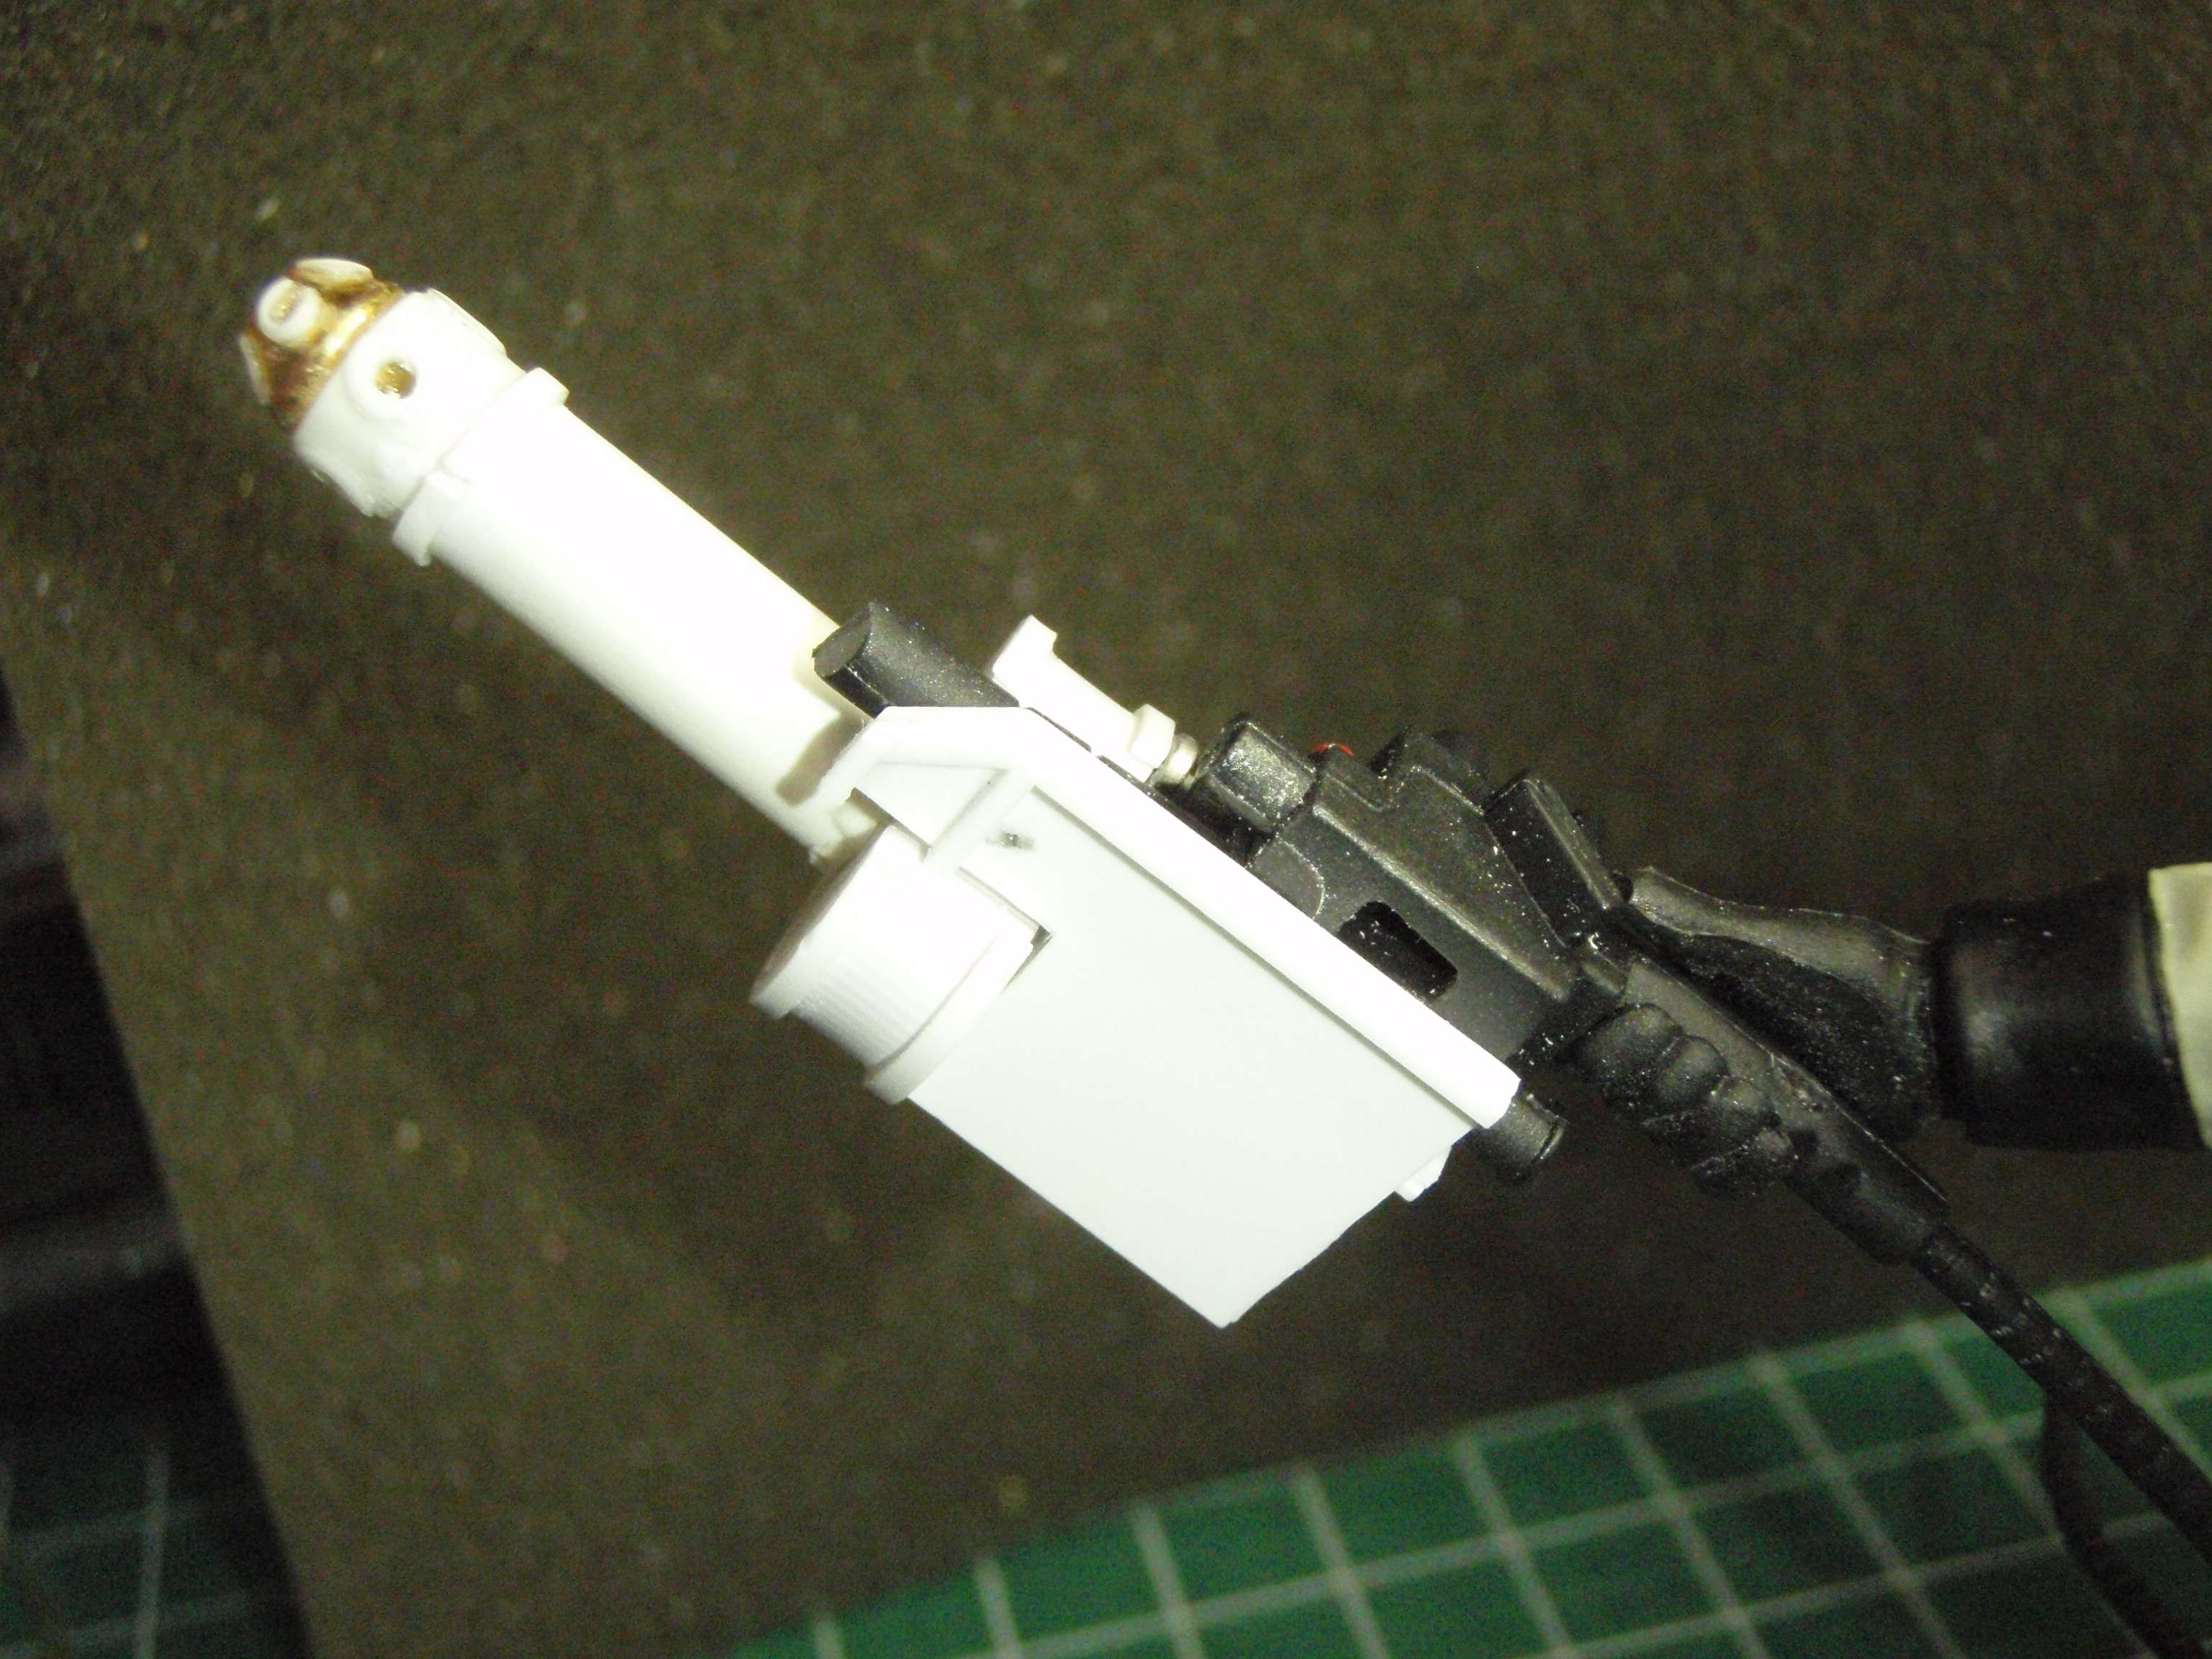
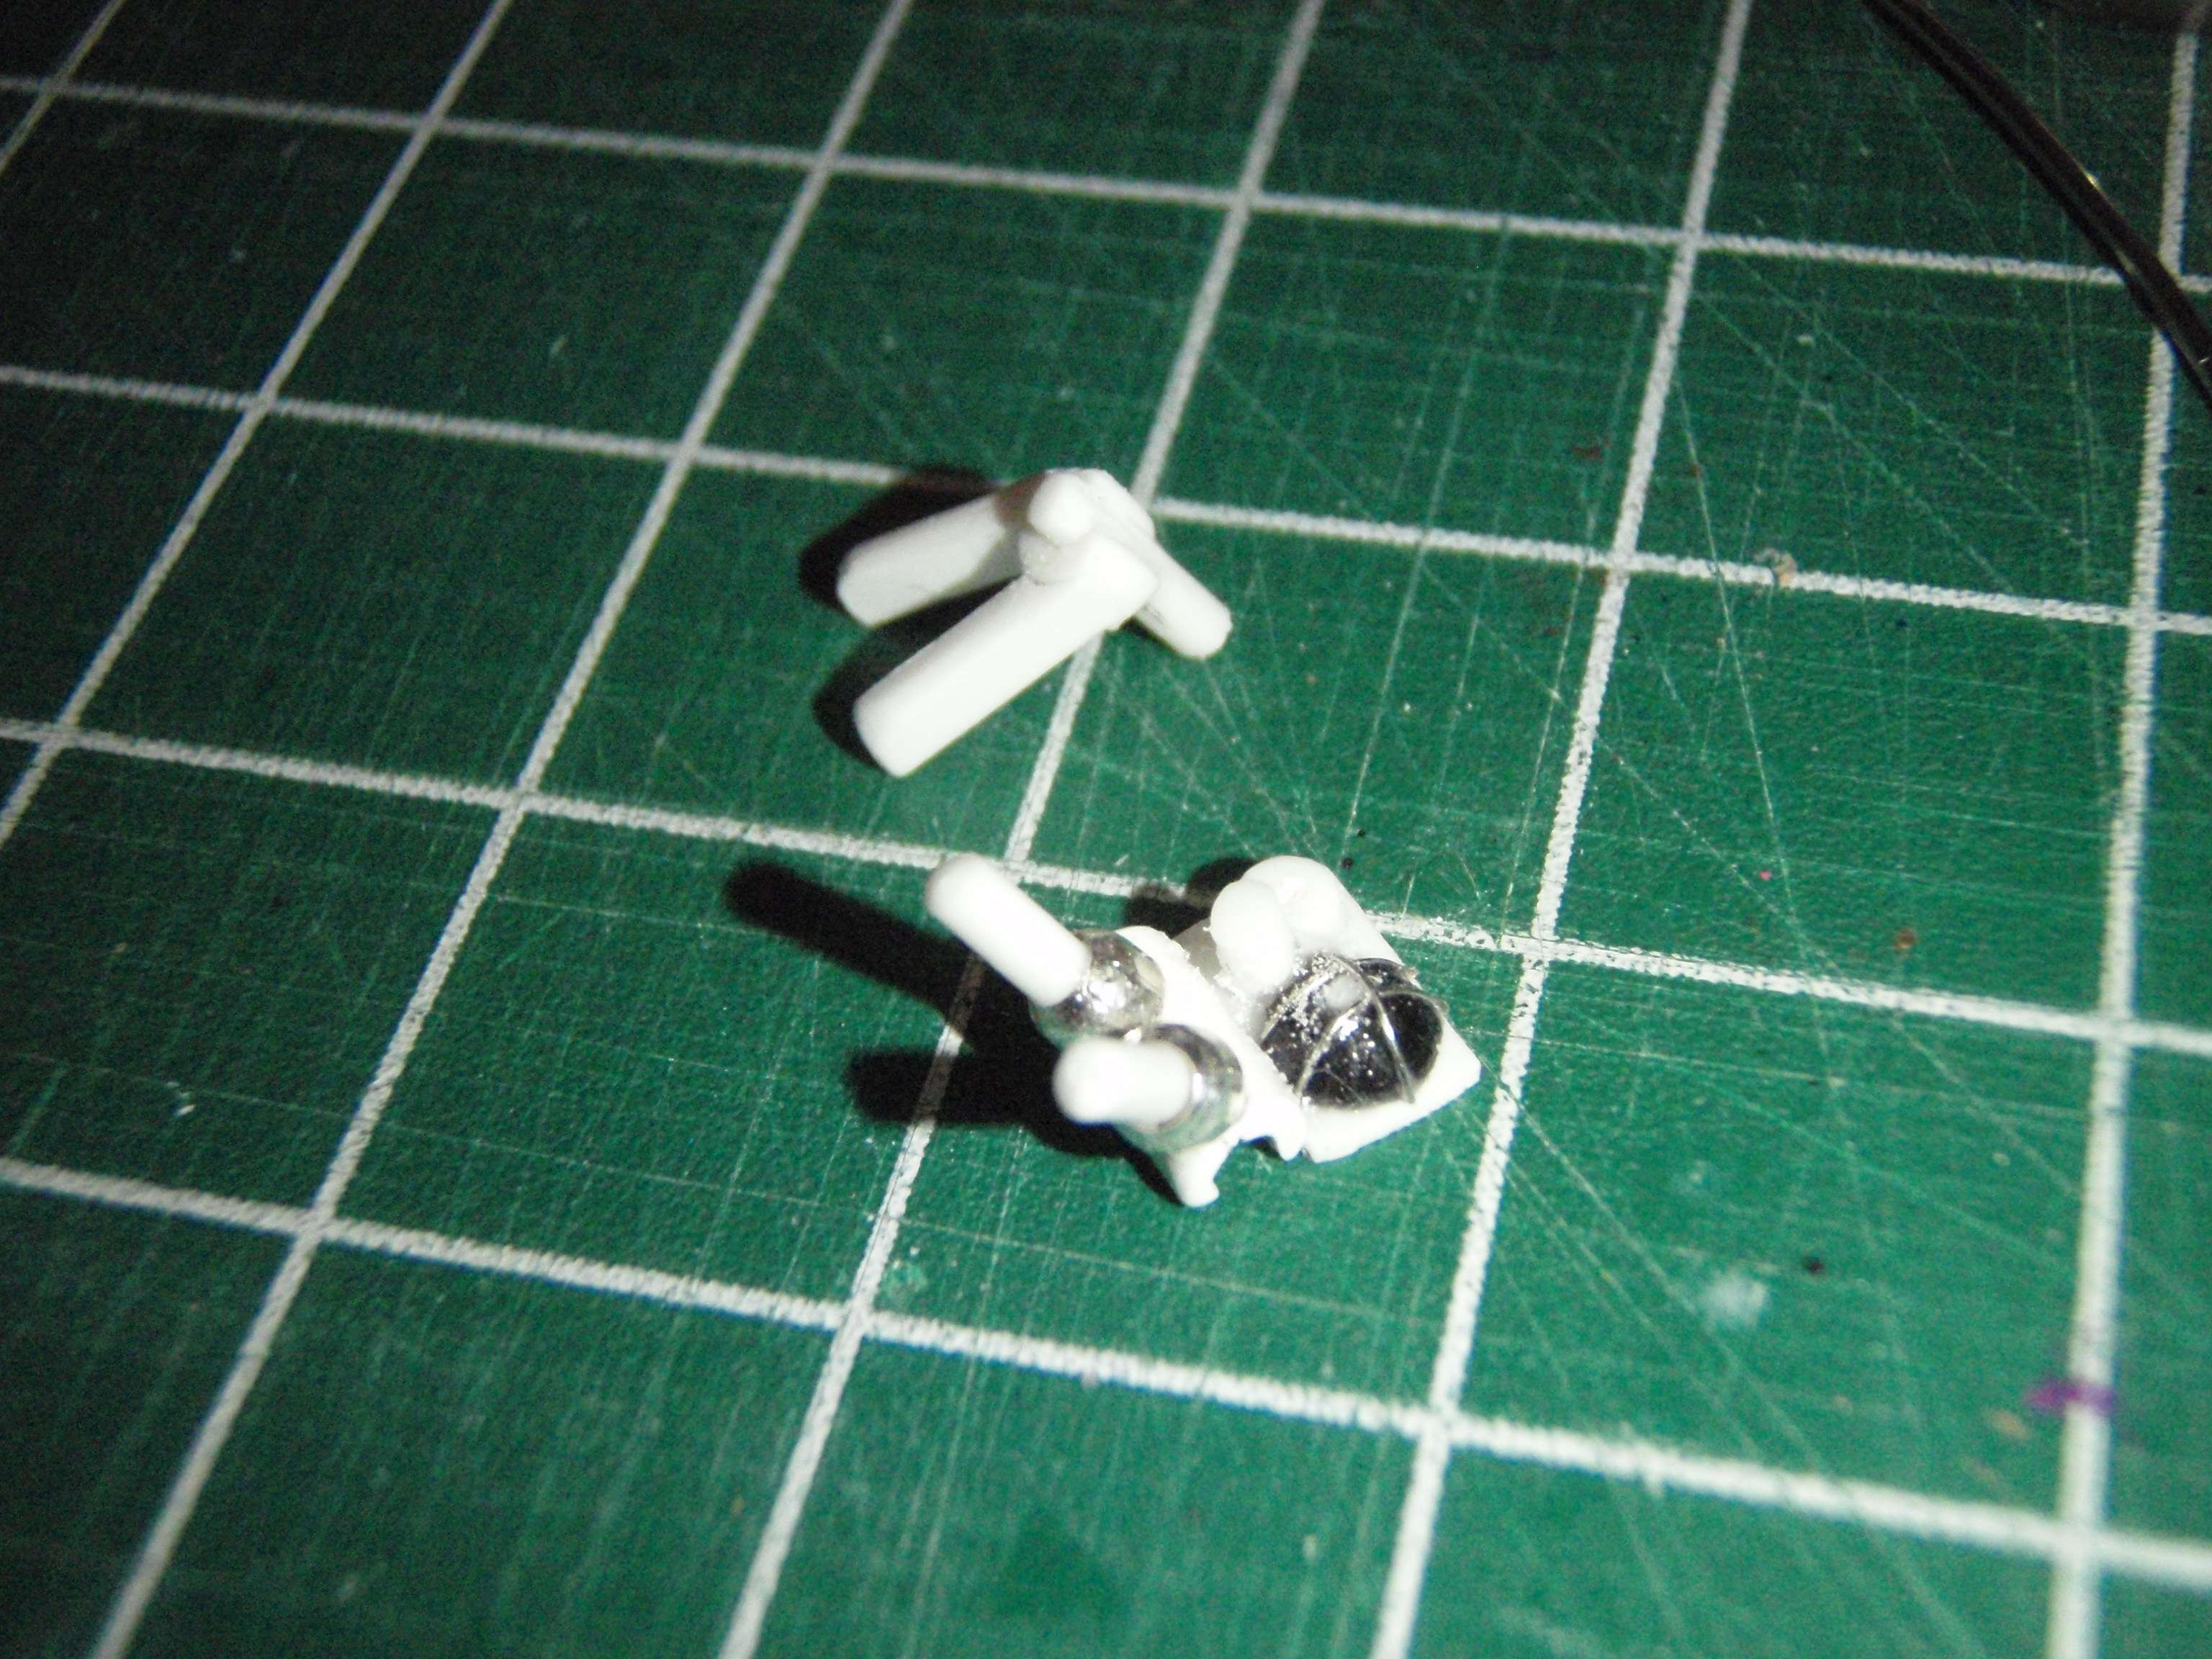
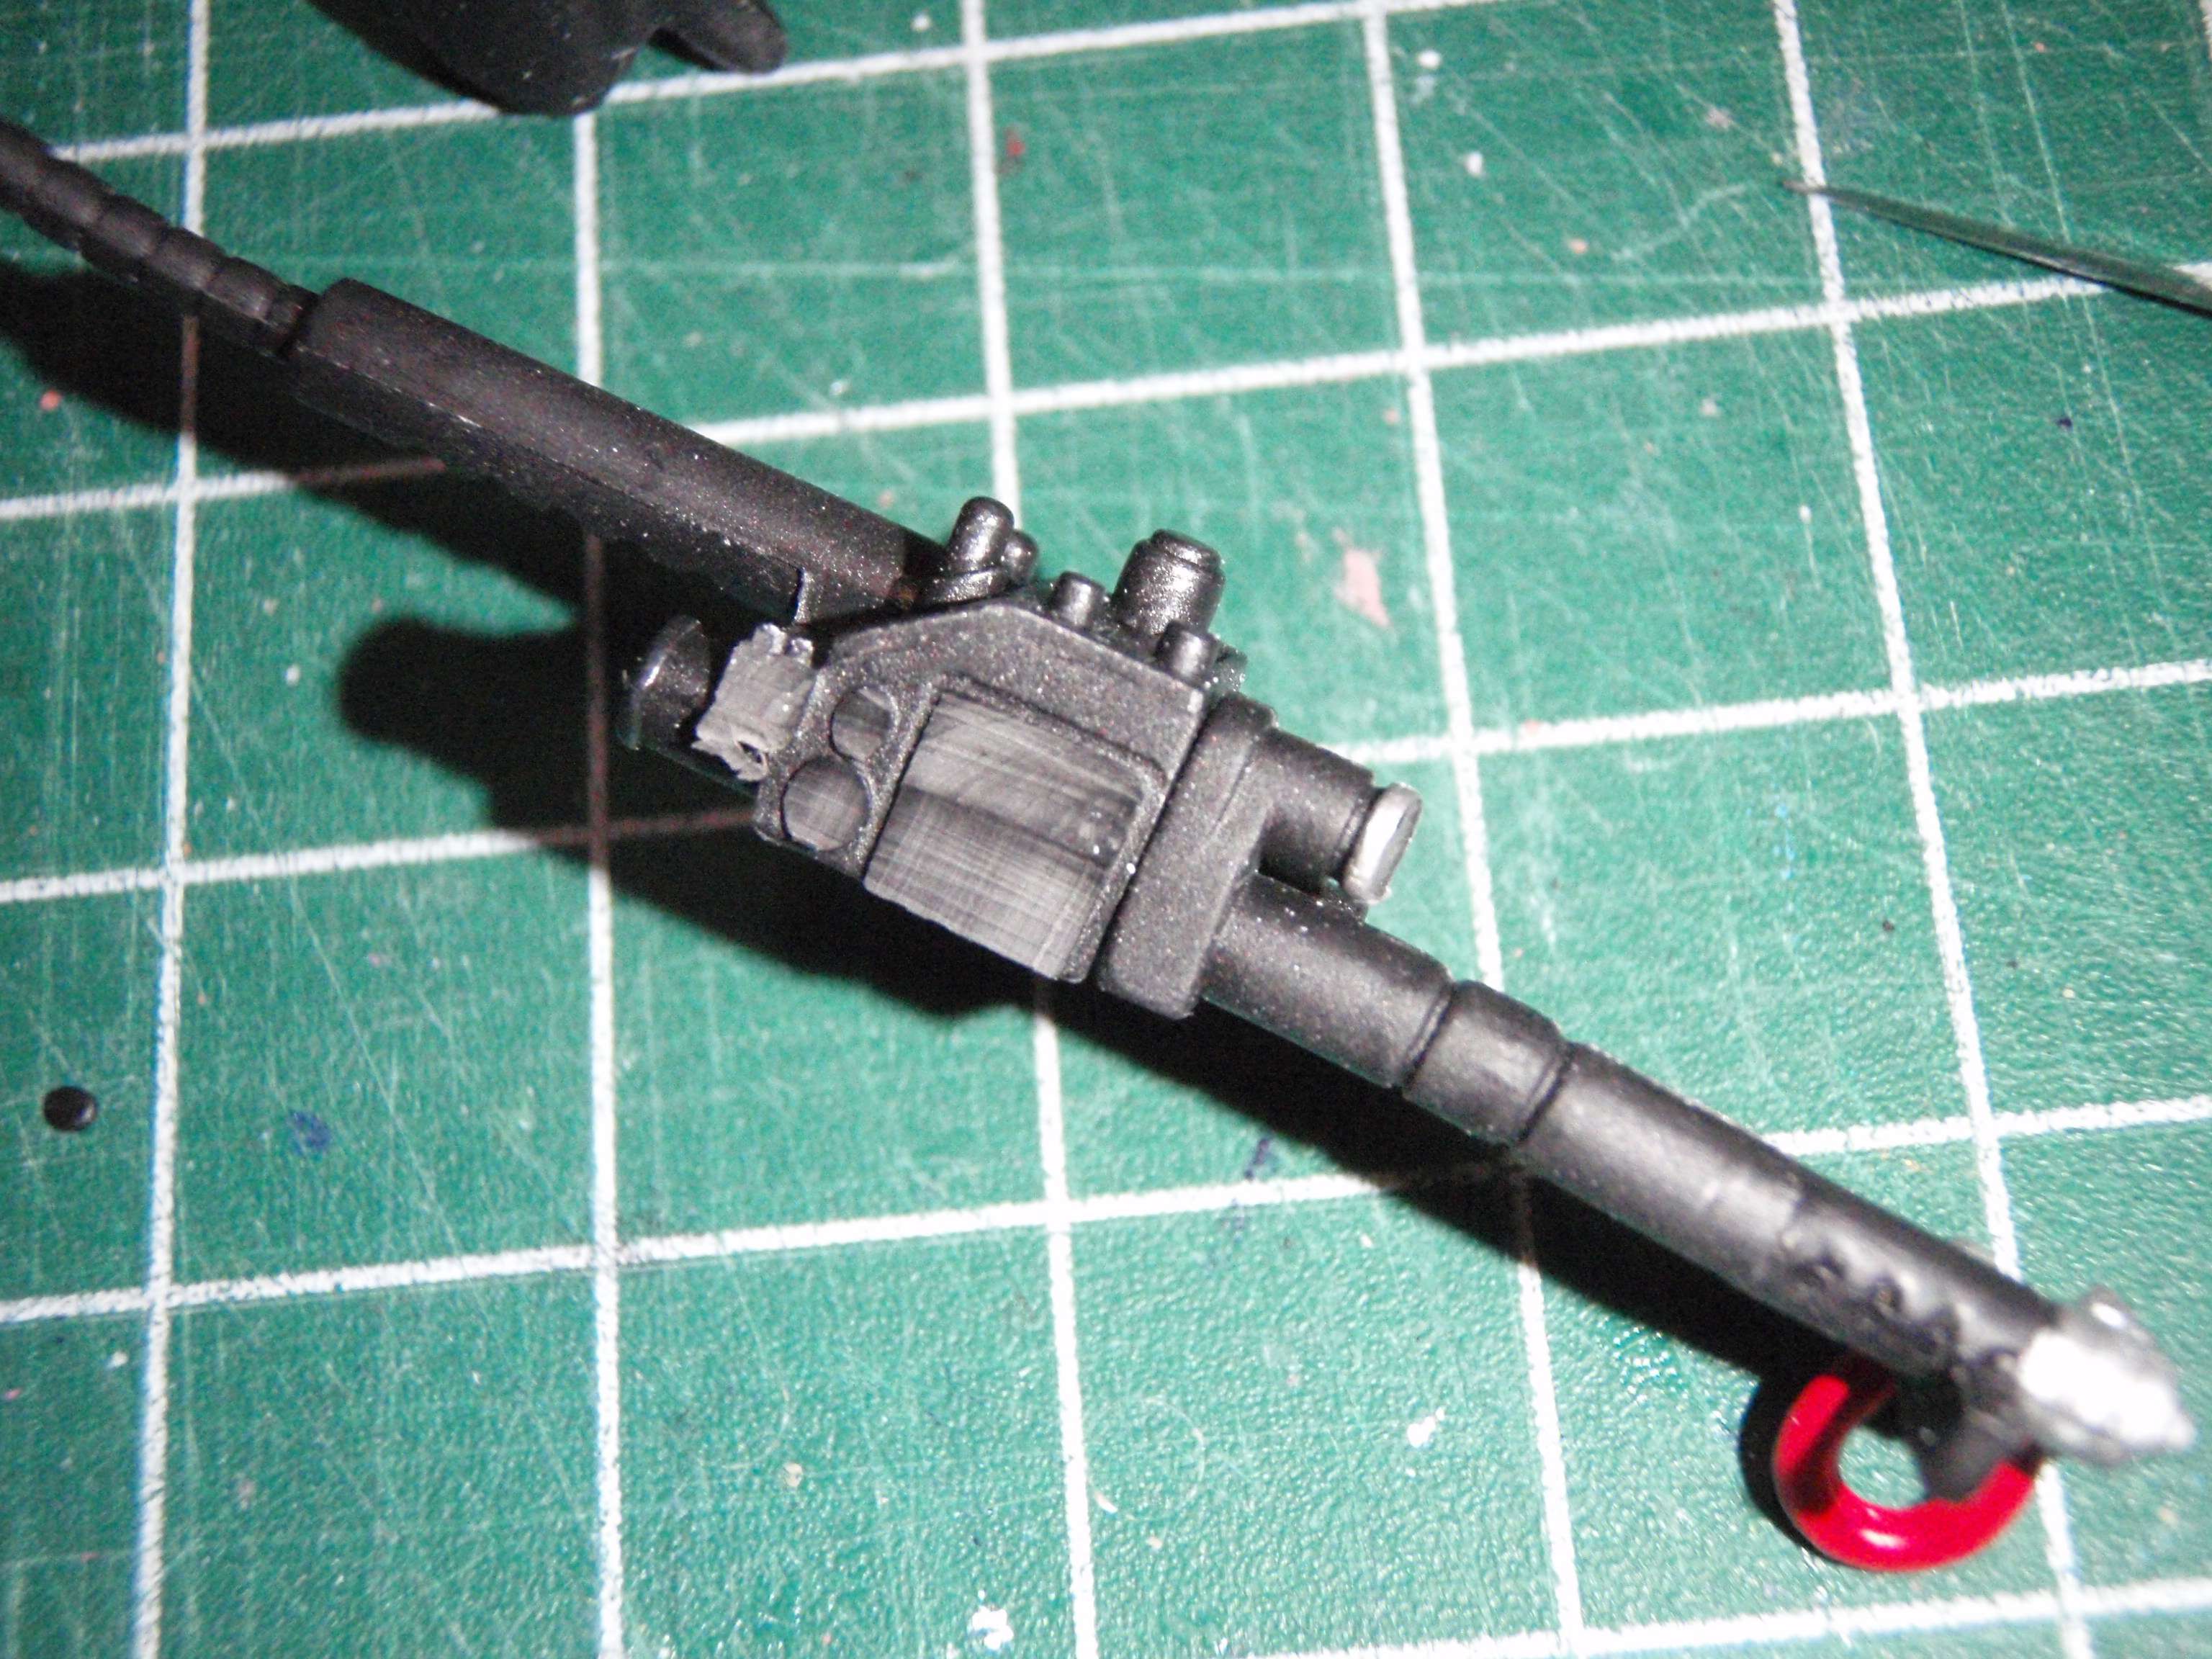
Starting on the dreaded Slime Thrower Combo, I sliced off the Heat Sink and nipped the end off the Clippard...


Image

...and started shaping the Gun Box Extension. I glued some Ports to the Slime Barrel but they need a lot of sanding to get them to contour to the Nozzle.

Image

More pictures tomorrow, any comments today?
User avatar
By CaptCyan
#384446
Guess I should have said "questions" like "are you going to keep it so the Thrower still mounts to the Pack?" or things like that. :wink:
By henz
#384450
Are you going to keep it so the thrower still mounts to the pack? lol

Assuming that you are making the thrower expansions with casting in mind, how many pieces do you think it'll need to be to cast successfully? I've worked a little with casting and I know it can be a nightmare, especially on small bits. How many seperate pieces do you think you're facing when selling this planned upgrade kit? Seeing as you're cutting things off of the original thrower and attaching new pieces, is the plan to eventually cast the whole thrower or just the extra details?

I'm just nosey about your casting process in general tbh. I had very mixed results with my attempts, and am not in any rush to try again haha
User avatar
By Mereel
#384454
Love the quick pace of these updates!

Do you think there would be any way to recess the three holes on the front & tip of the slime blower? I know with the tip being metal it would be tough to do, but I was thinking if you could mold and cast it, then be able to drill out the holes and perhaps either fill them in with fixit or styrene tubing that would leave a little recessed gap.

Either way, I'm still impressed with how quickly its all coming together!
User avatar
By CaptCyan
#384476
Are you going to keep it so the thrower still mounts to the pack? :lol:

Hey Henz!

Glad you asked that question. :wink: Yes, when I make the Base Plate I plan to keep the Peg Cutout in the same location so the Thrower can be mounted to the Pack


Assuming that you are making the thrower expansions with casting in mind, how many pieces do you think it'll need to be to cast successfully?

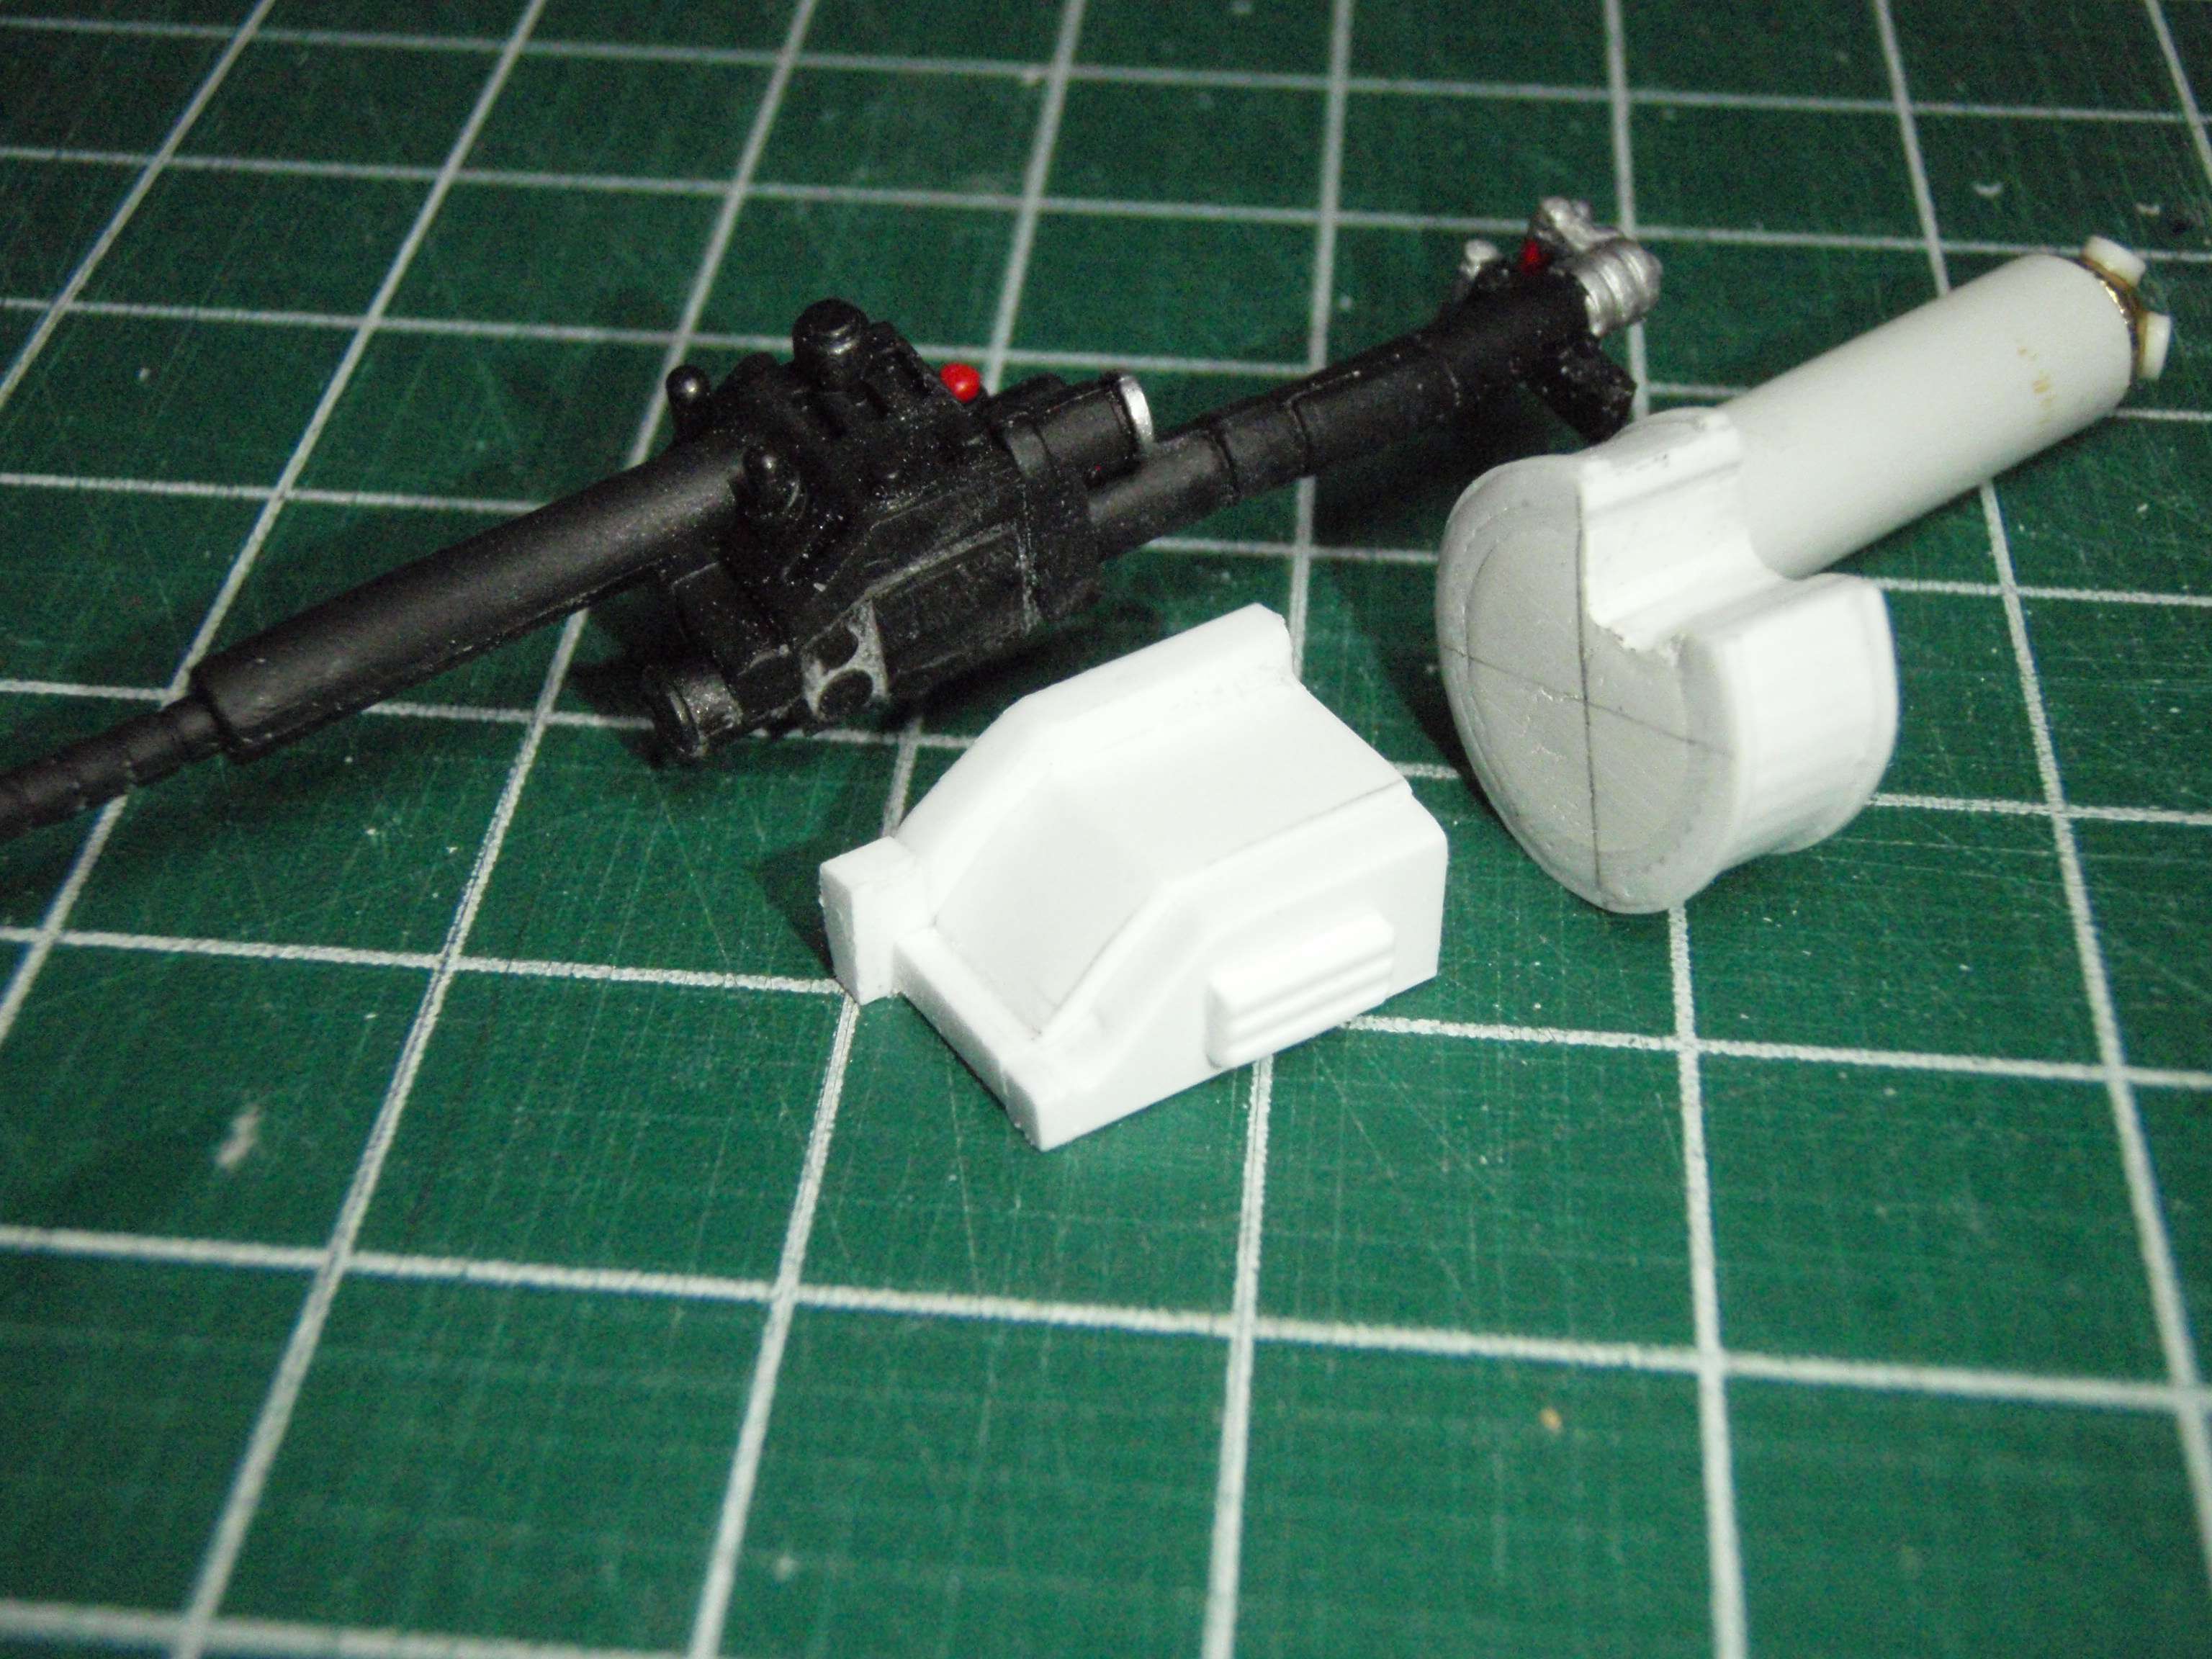
I'm hoping to keep it to 3 cast pieces to glue onto the existing Thrower. Casts would be of the Gun Box, Drum/Thrower and Base Plate plus one piece of Clear Acrylic Rod for the Thrower Barrel and a whole bunch of wire.

How many seperate pieces do you think you're facing when selling this planned upgrade kit?

It helps if you read it like Ray going over the parts for the Ecto.

Flashlight, Radio, Lifegard, Slime Tank, Tank Control Box, Pack Light, Slime Reservoir, 2 - Jumper Clamps, Red Pack Light and Tubes, Lights on right side of Pack, "Life "indicator "Lights, 2 part Trap Upgrade and 3 piece Thrower Upgrade. So it looks like about 17 pieces not counting the Wire and Slime Tube. You know, the stuff Matty forgot.
User avatar
By CaptCyan
#384478
joeghostbuster wrote:I just assumed it will connect to the pack, though I cant remember if the Rookie 1.0 had that feature. he looks cooler holding the gun anyway :)
Rookie 1.0 has no connector so he has to hold the Thrower, it builds strong arm muscles that way. :wink:
Mereel wrote:Love the quick pace of these updates!

Do you think there would be any way to recess the three holes on the front & tip of the slime blower? I know with the tip being metal it would be tough to do, but I was thinking if you could mold and cast it, then be able to drill out the holes and perhaps either fill them in with fixit or styrene tubing that would leave a little recessed gap.

Either way, I'm still impressed with how quickly its all coming together!
It's much easier the 2nd time around knowing how to make the parts and just improving on them.

You would think it would be easier to drill the holes, but I have a hard time lining them up on both ther verticle and horizontal. At that scale, being just alittle bit off makes it look like crap, bigtime. I'm stuck with oversized "holes" unless I think of another way around it. :-?
User avatar
By CaptCyan
#384562
A small update, did a lot of sanding and shaping on various parts. I manages to do the Couplings for the Slime Tube and puty the 2nd row of "Ports" on the Slime Barrel.

Image
User avatar
By CaptCyan
#384608
Hey Slay!

This is the tutorial. :wink: At least it will be once I have all the parts made. I'll cast up a set and build the figure right on this thread.
By rahum
#384670
cannot wait for this, if you haven't already guessed, count me in for one of these sets.

i just want to give you a big hug.
User avatar
By CaptCyan
#384676
Thanks rahum! :lol:

Save the hugs for after the castings 'cause that's when we all will know if it works or not.

One picture update but lots of stuff done.

Cut the tip off the Thrower as I will be replacing it with Clear Acrylic Rod. I mapped out the Base Plate and sliced one out of Sheet Styrene. I still have to work out the hole to keep it attached to the Pack. When I made the Base Plate, I found that the Drum was too small so I added a layer or two to flesh it out.. I cut the 5 "Bee Sting" Bumps from some Half Round Styrene Rod and have them ready along with the 2 "Tubes" for the outside of the Drum. Last thing I did was sand down the "ports" and add some details to the Slime Thrower Barrel.


Image
User avatar
By CaptCyan
#384694
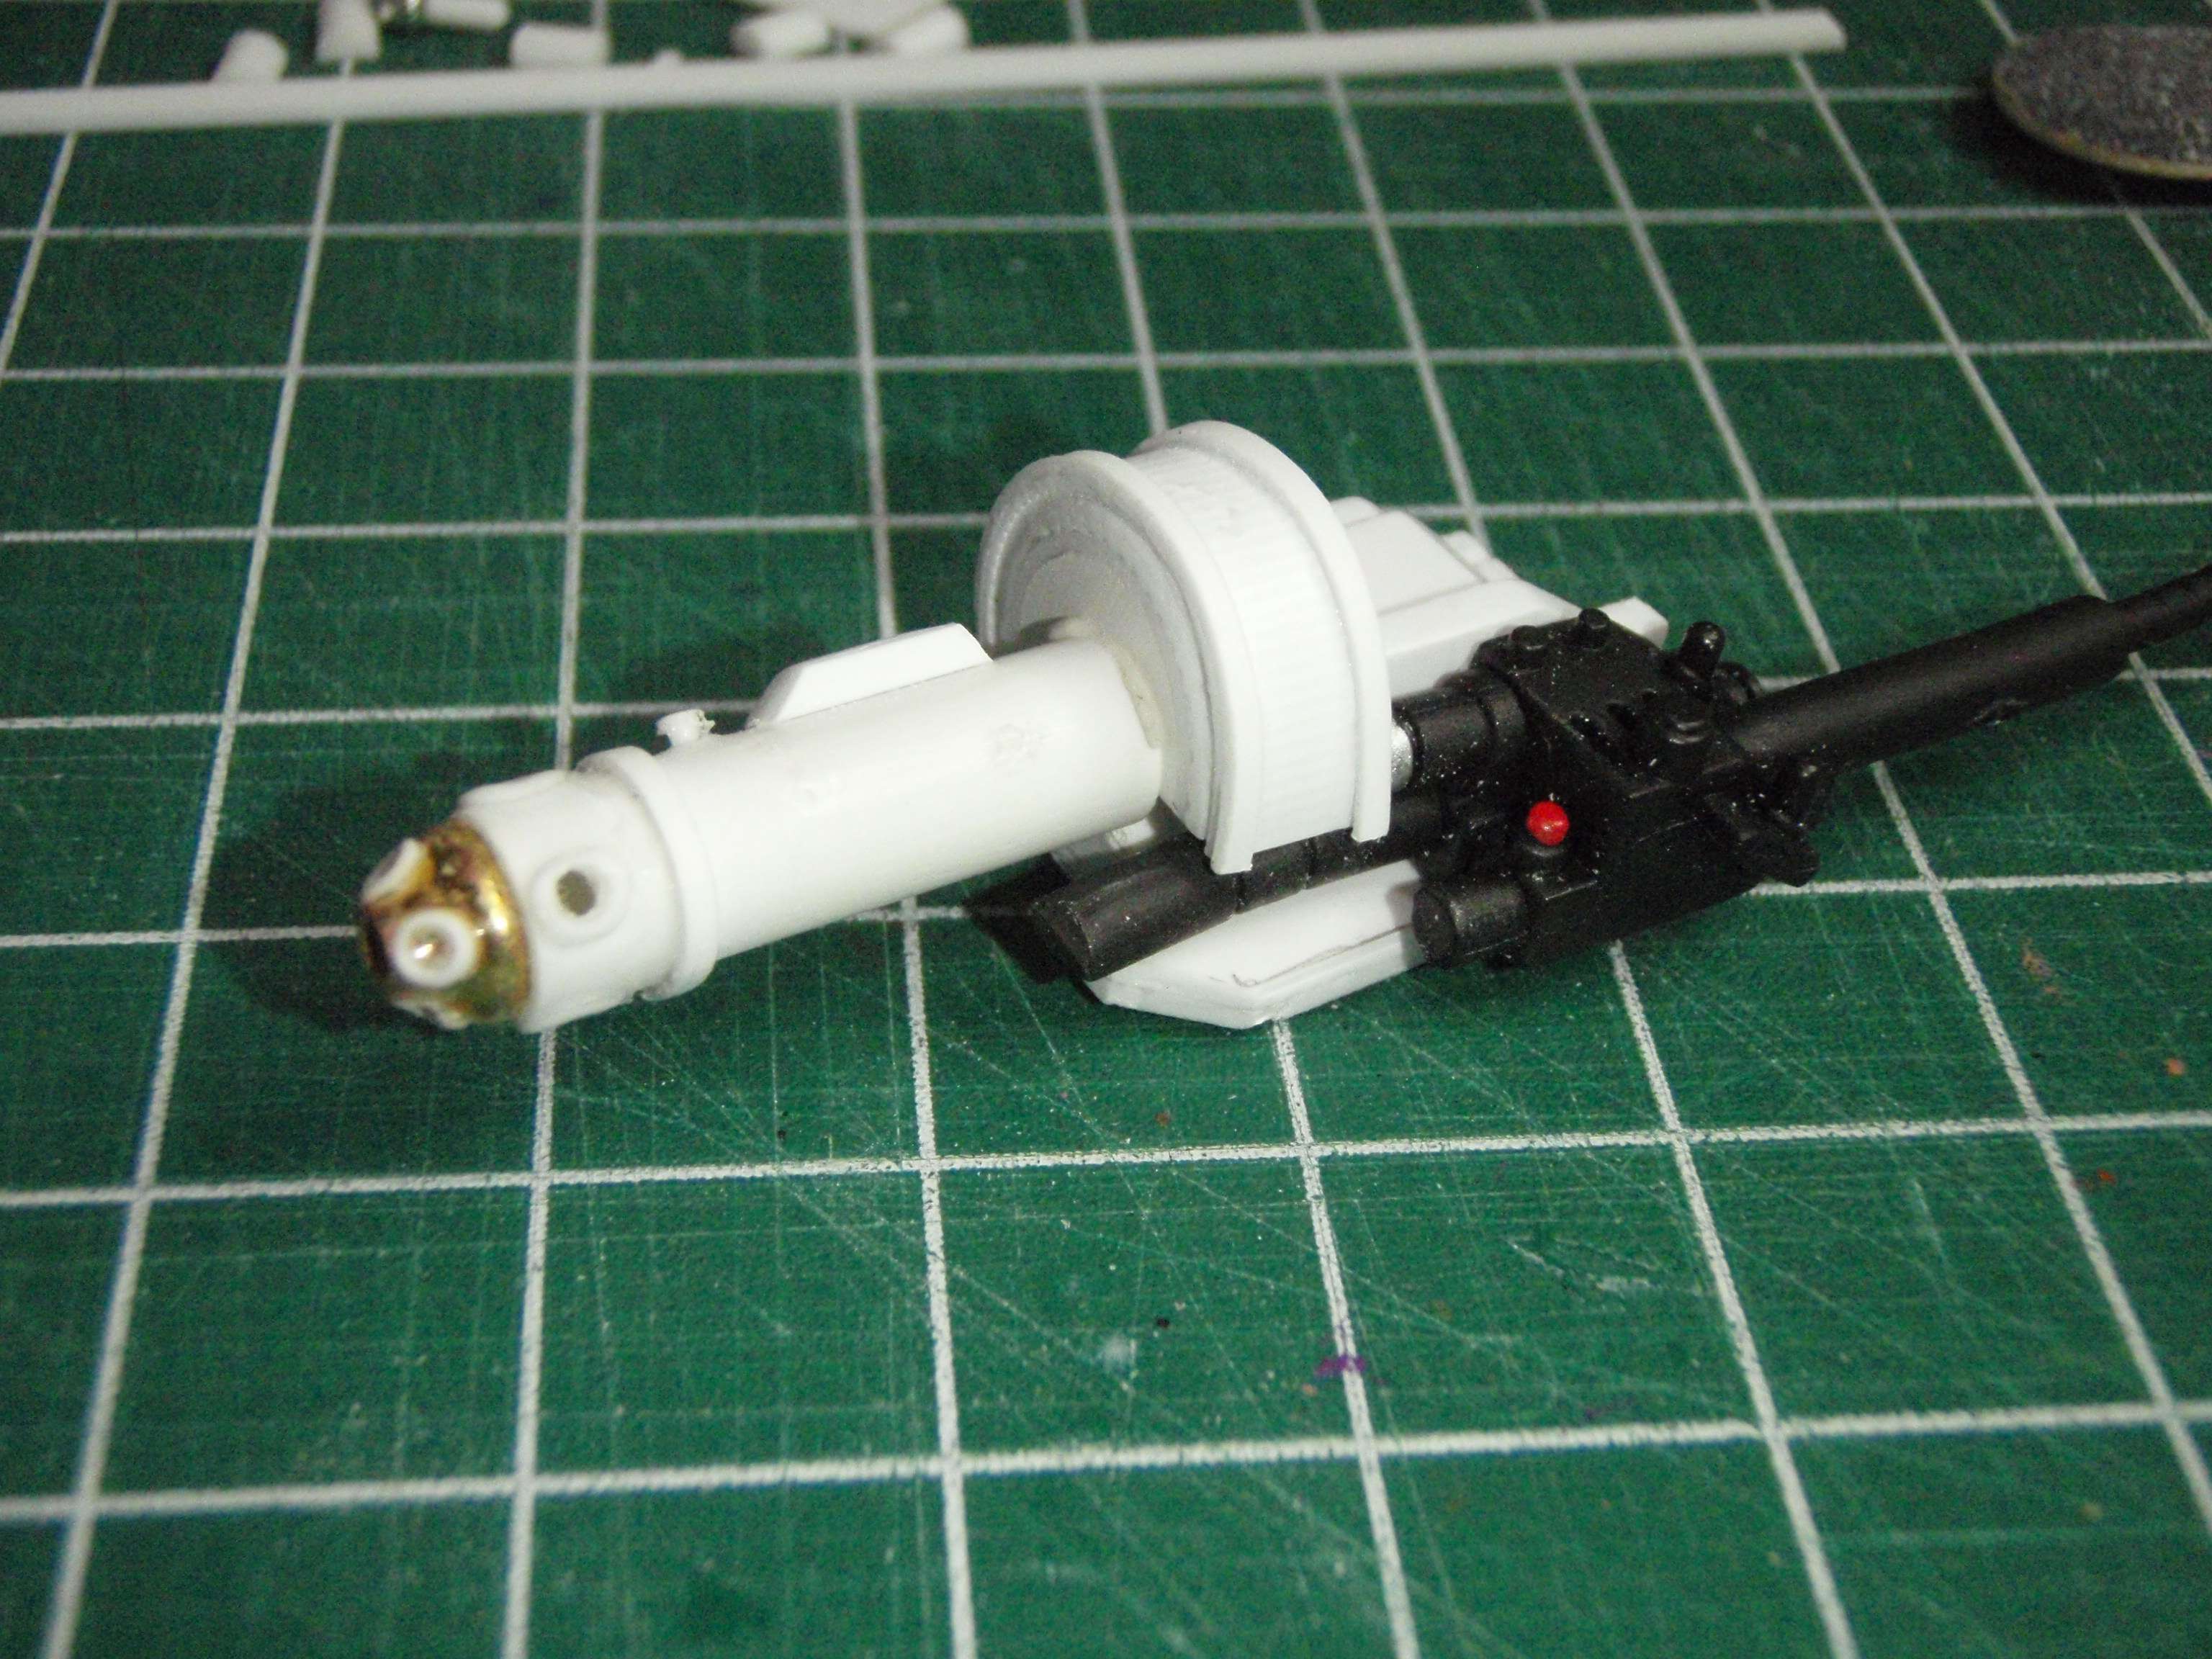
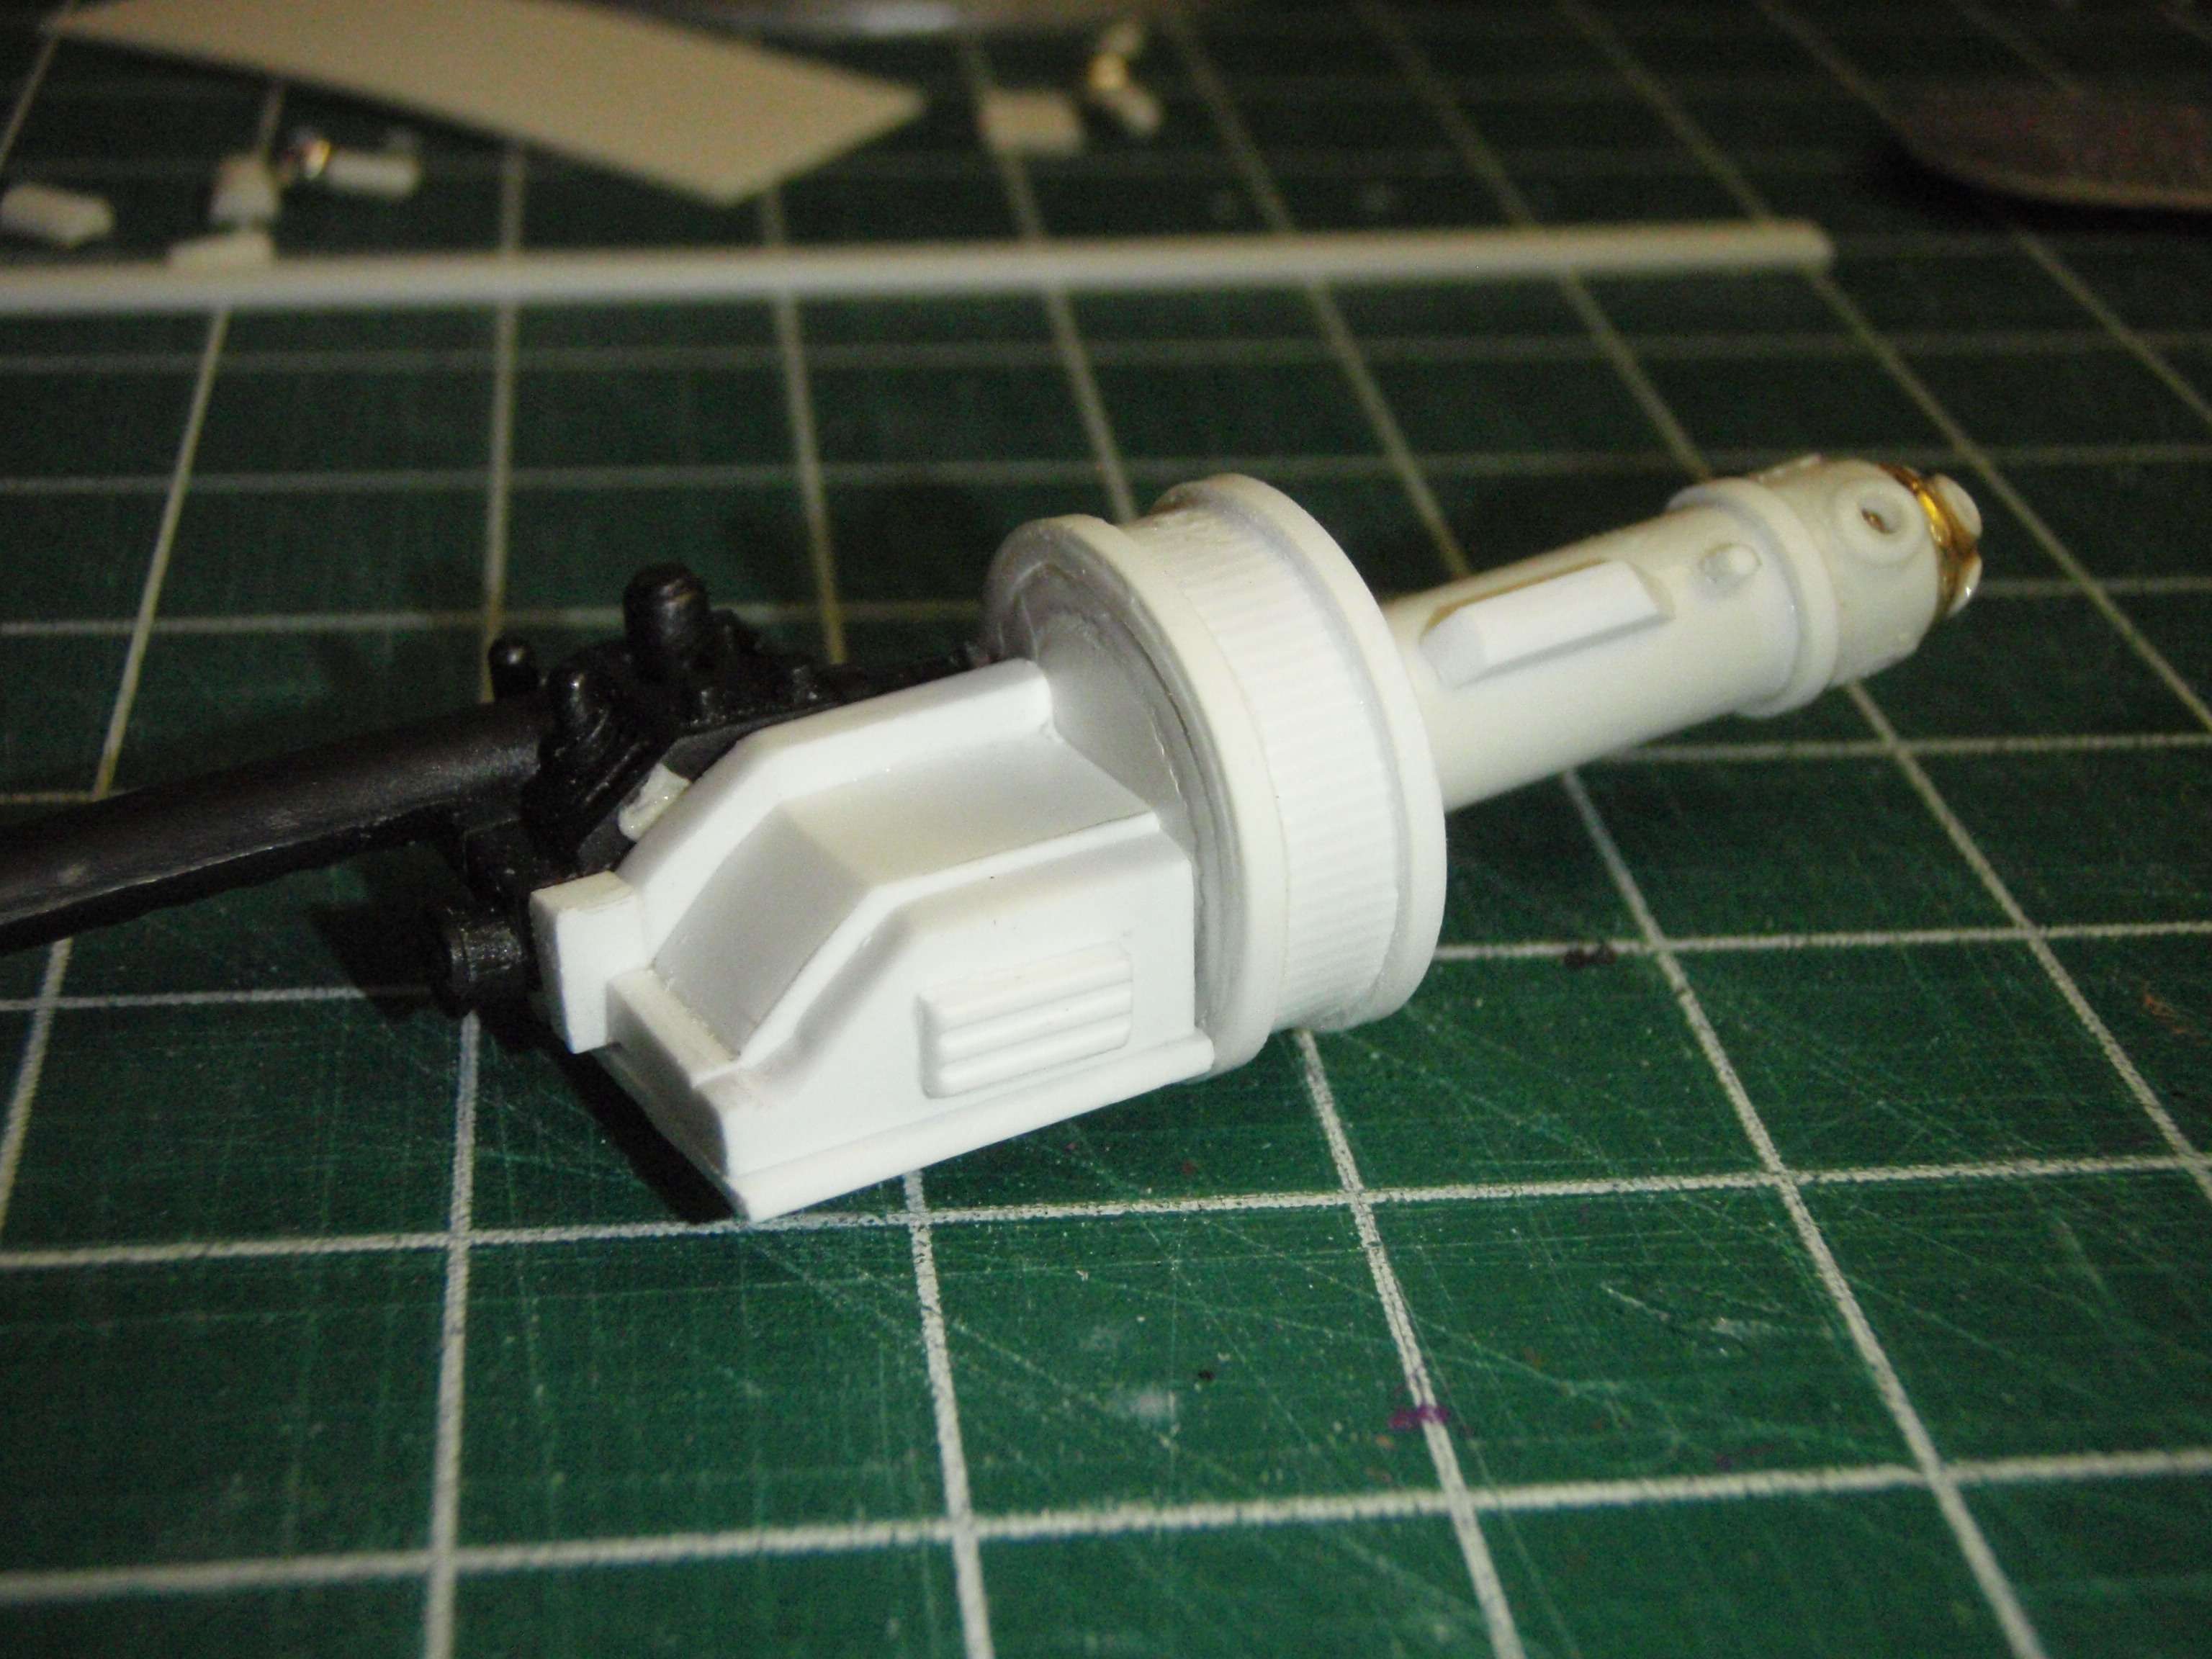
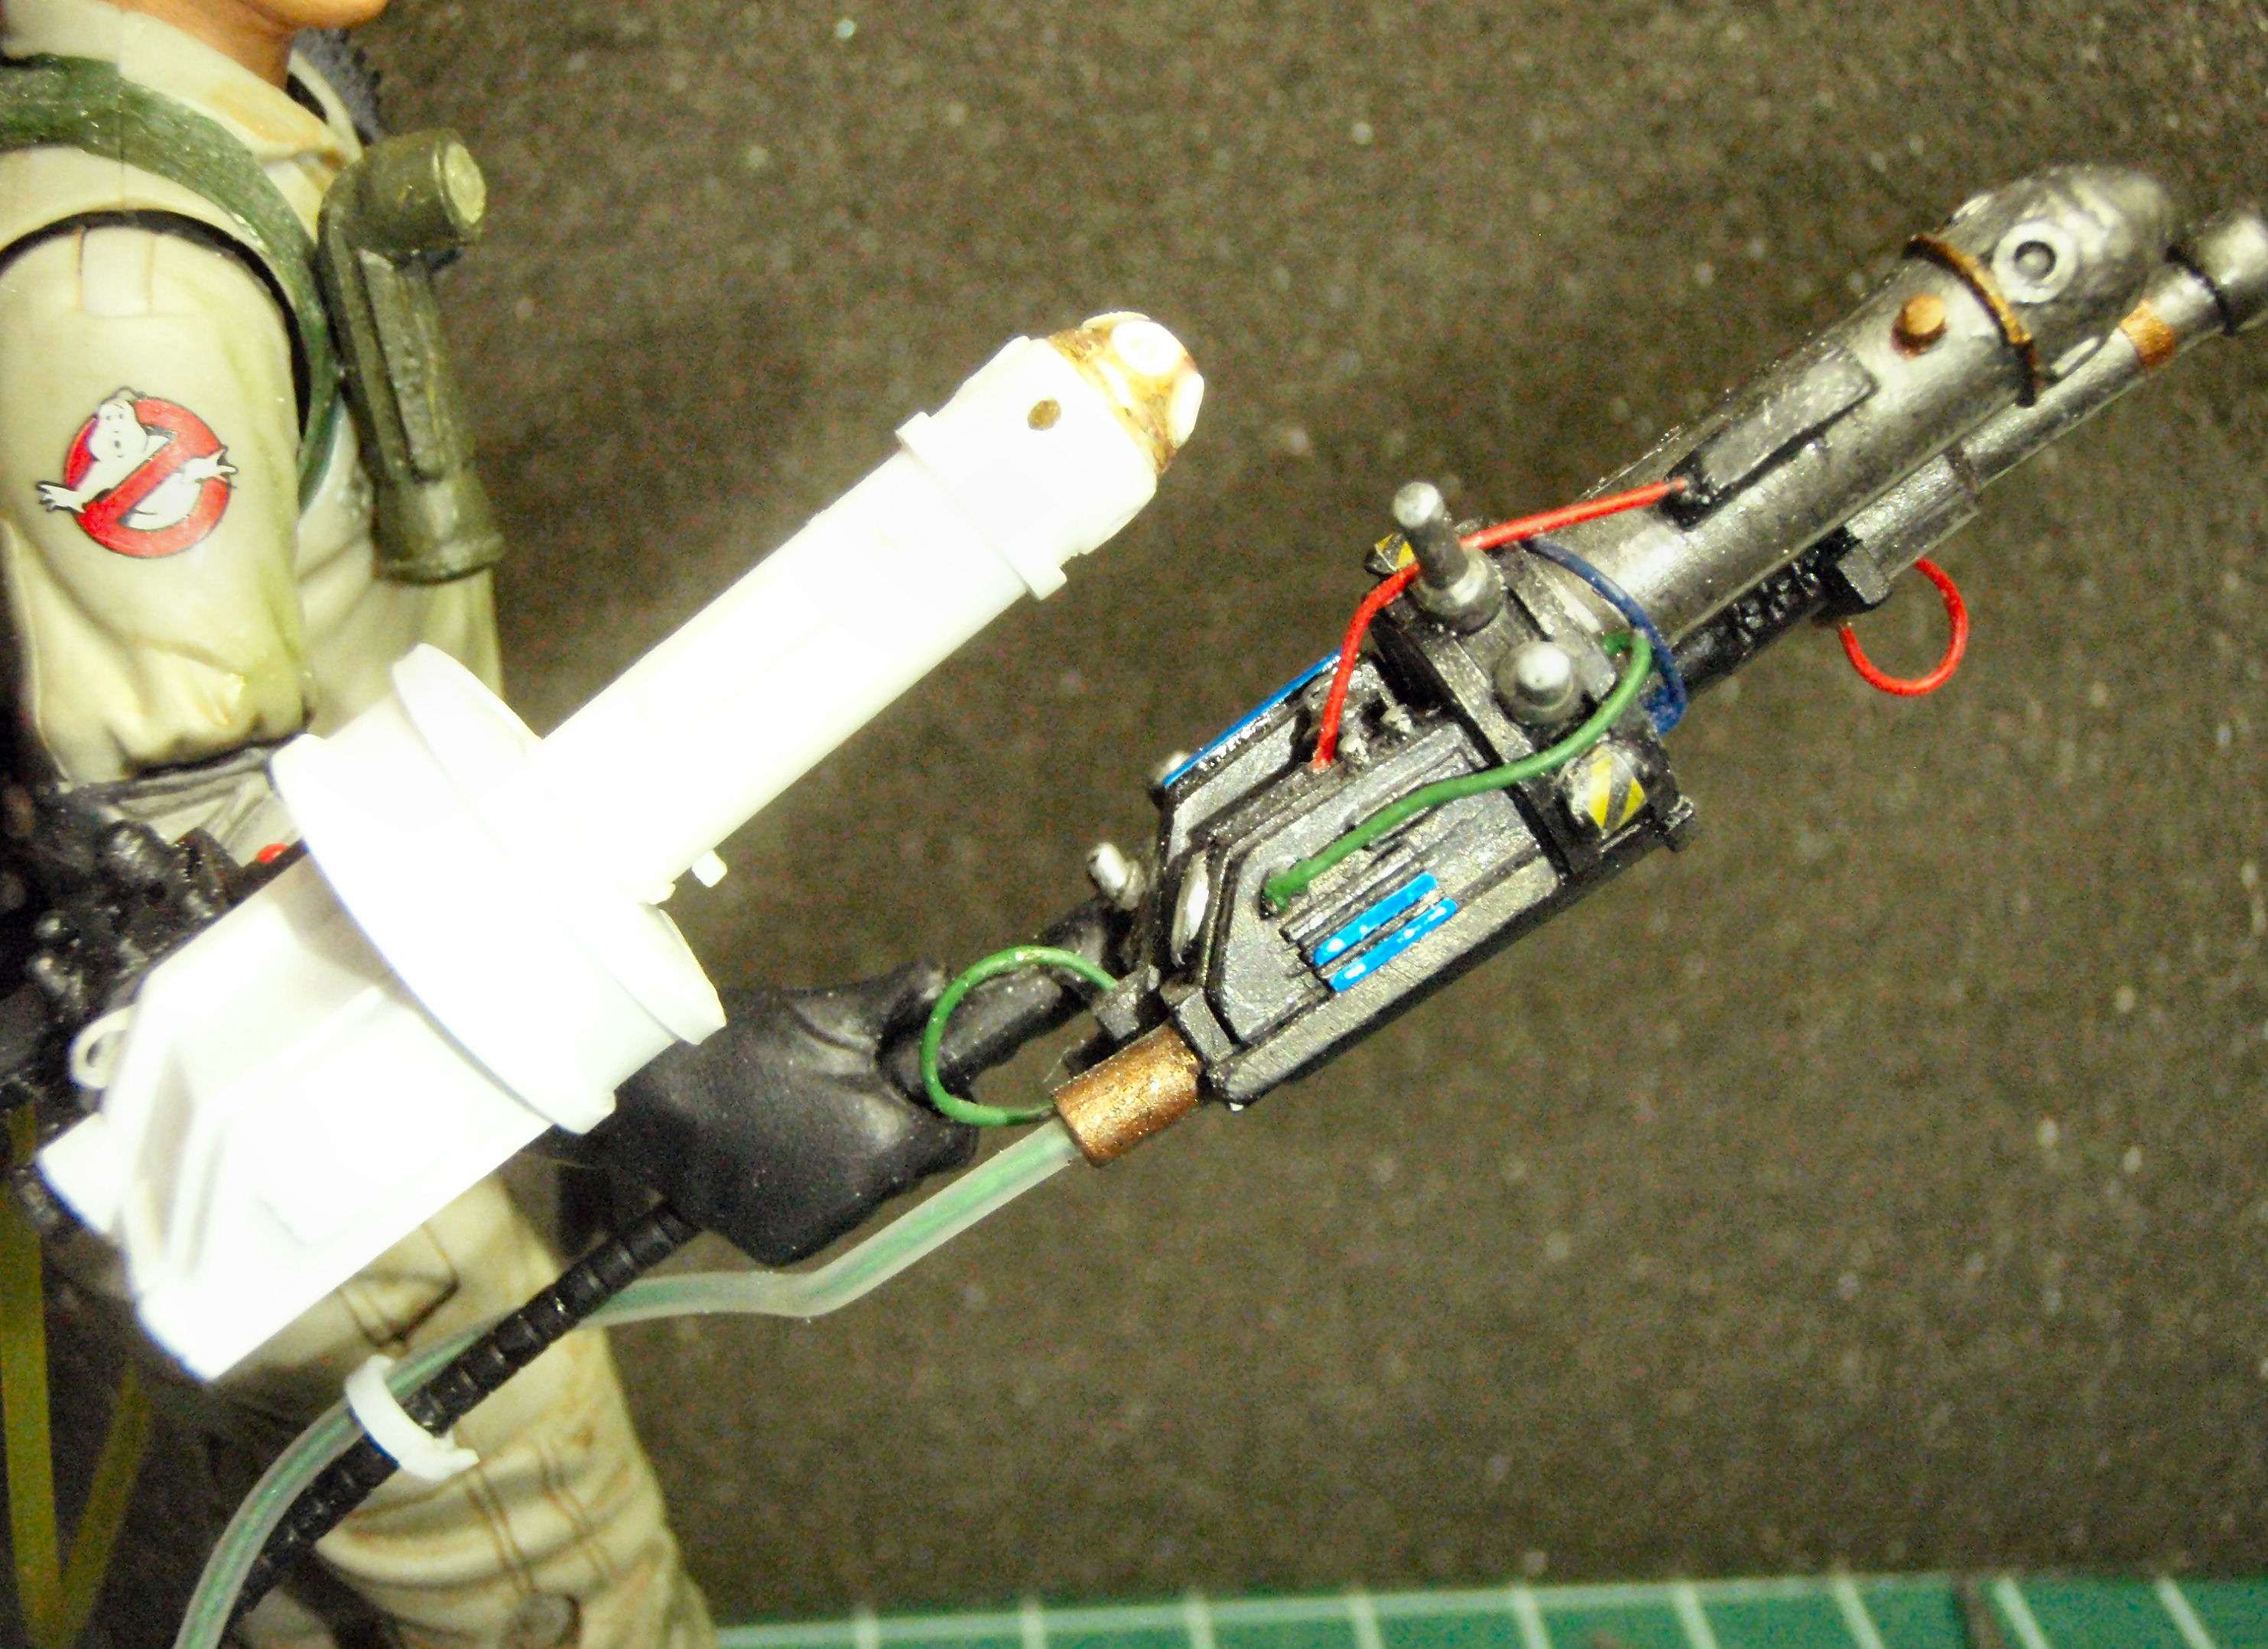
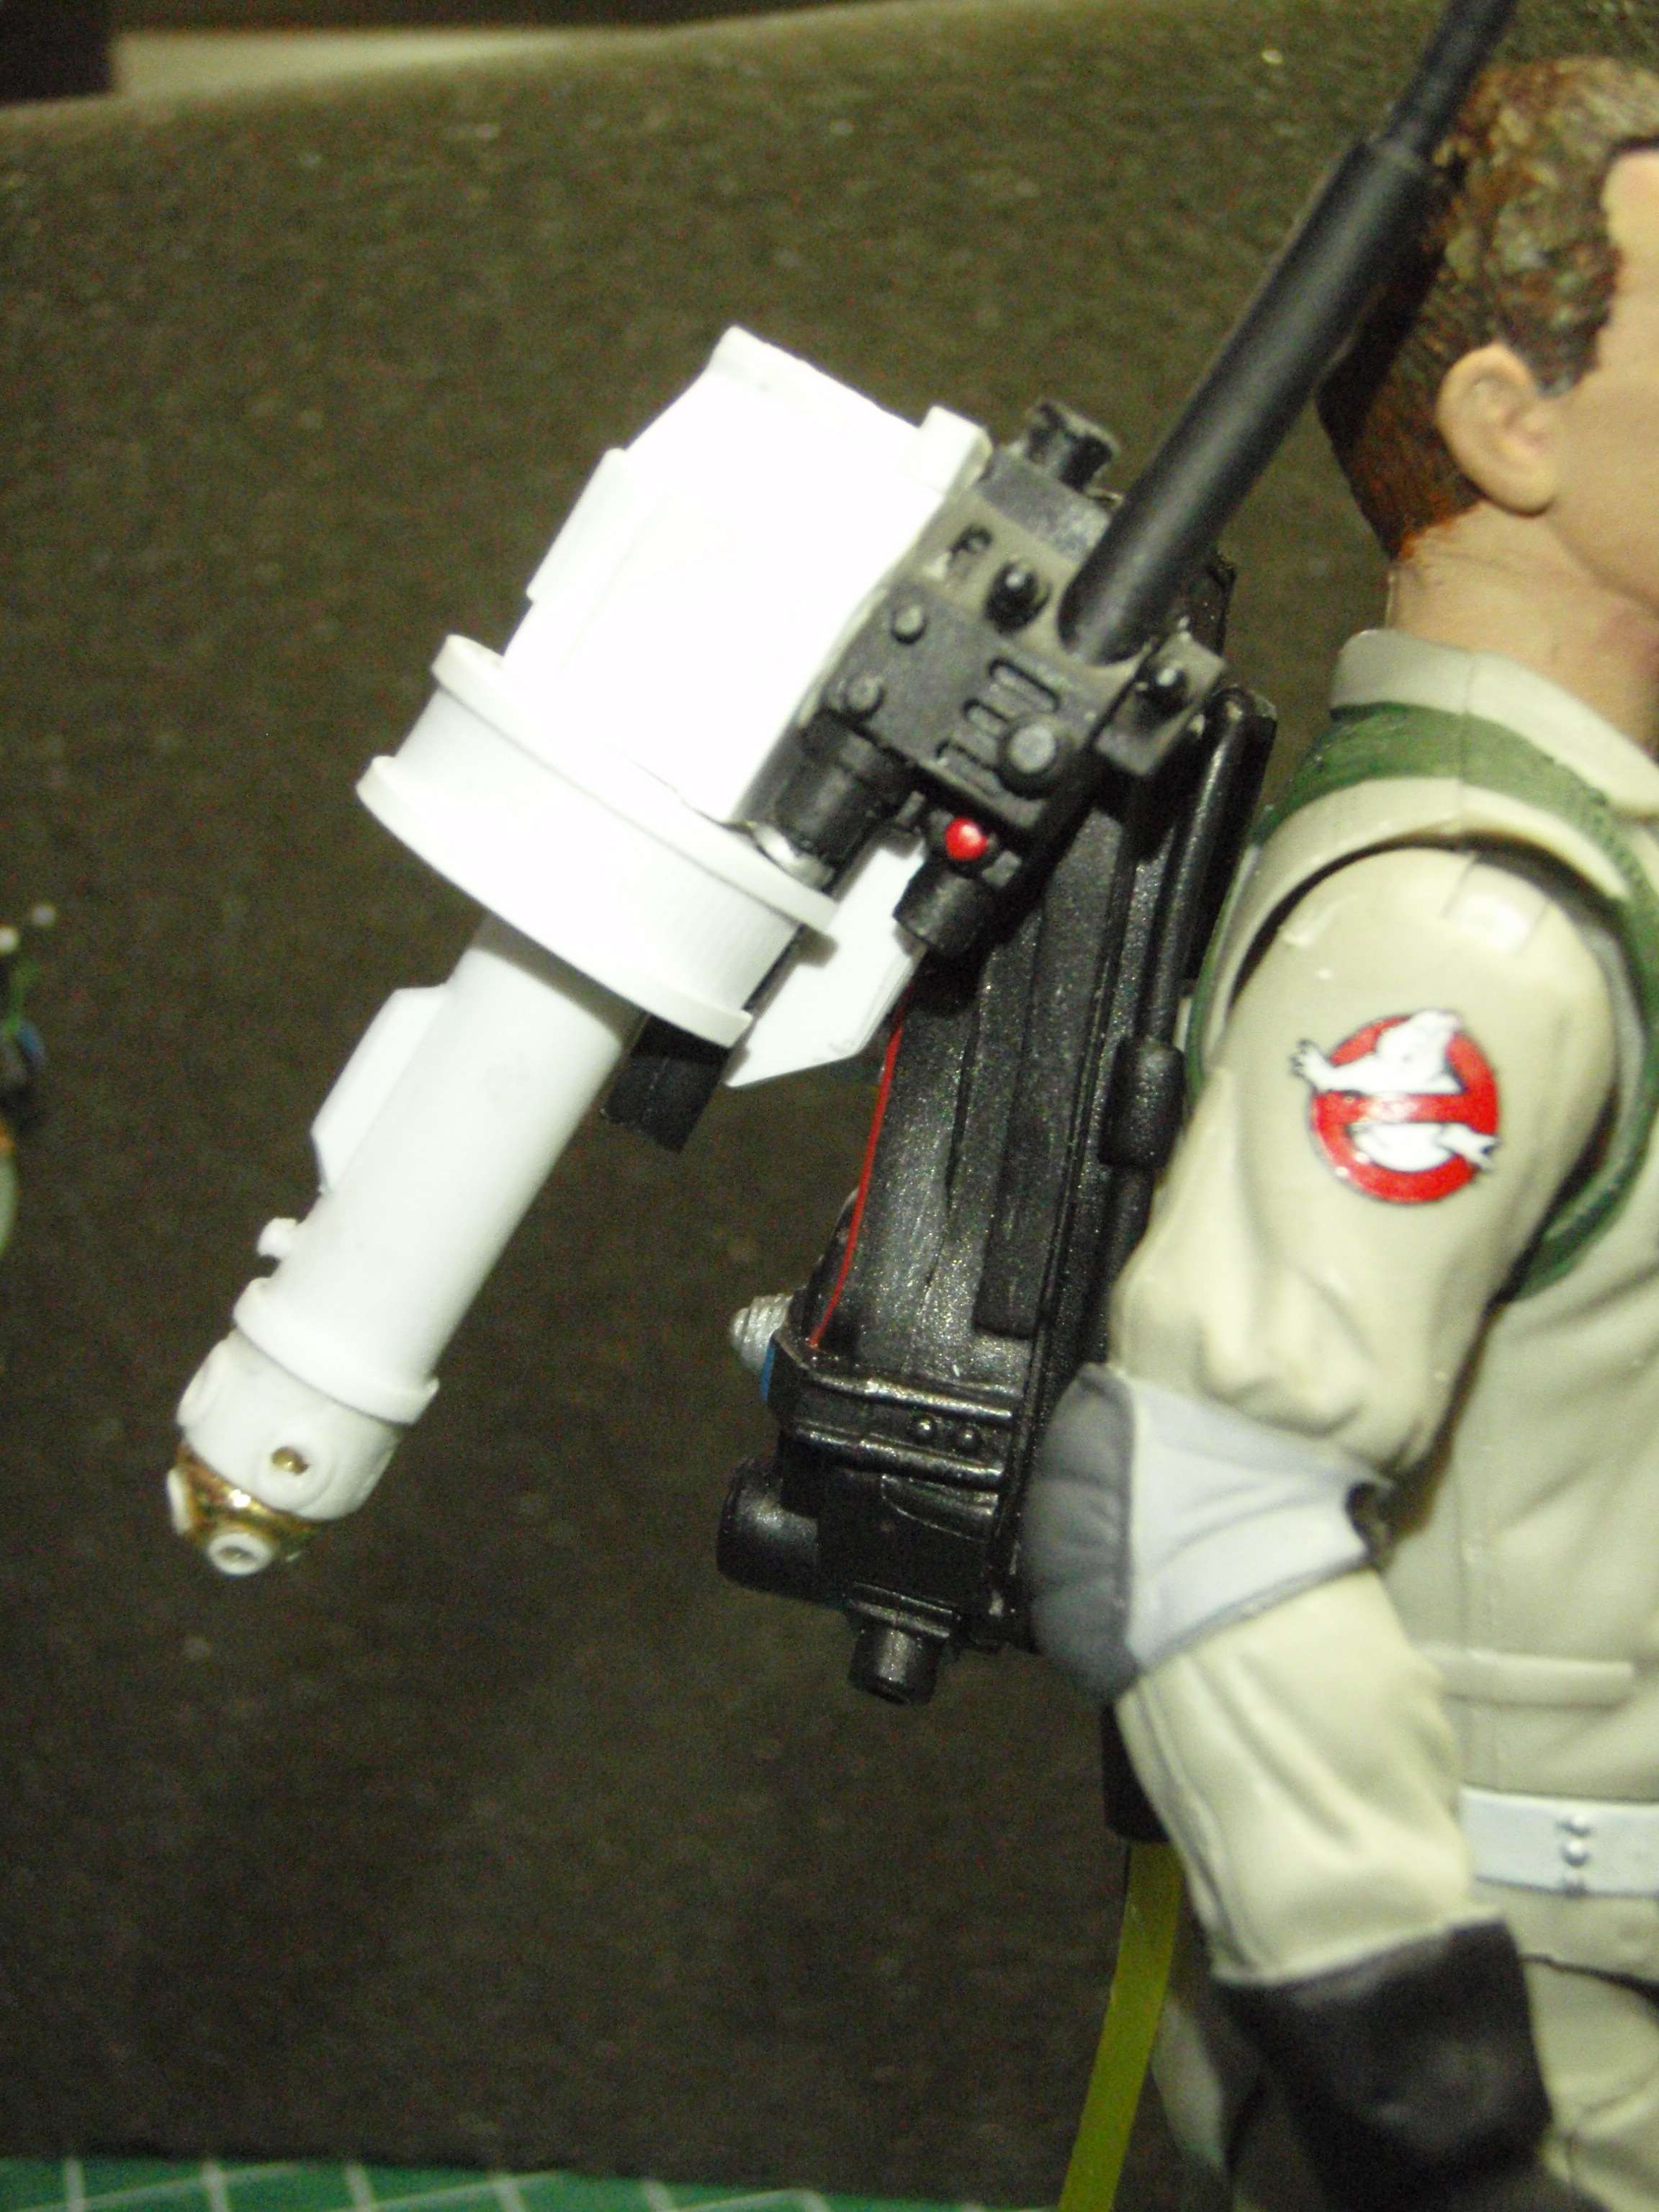
Some more pictures I didn't have time to upload this morning. Here are some of the Slime Blower parts put together with Museum Putty to give an idea of what it will look like.

Image

Image

I still have to clear away some of the Base Plate so that the Peg & Hole still hold the Thrower to the Pack.

Image

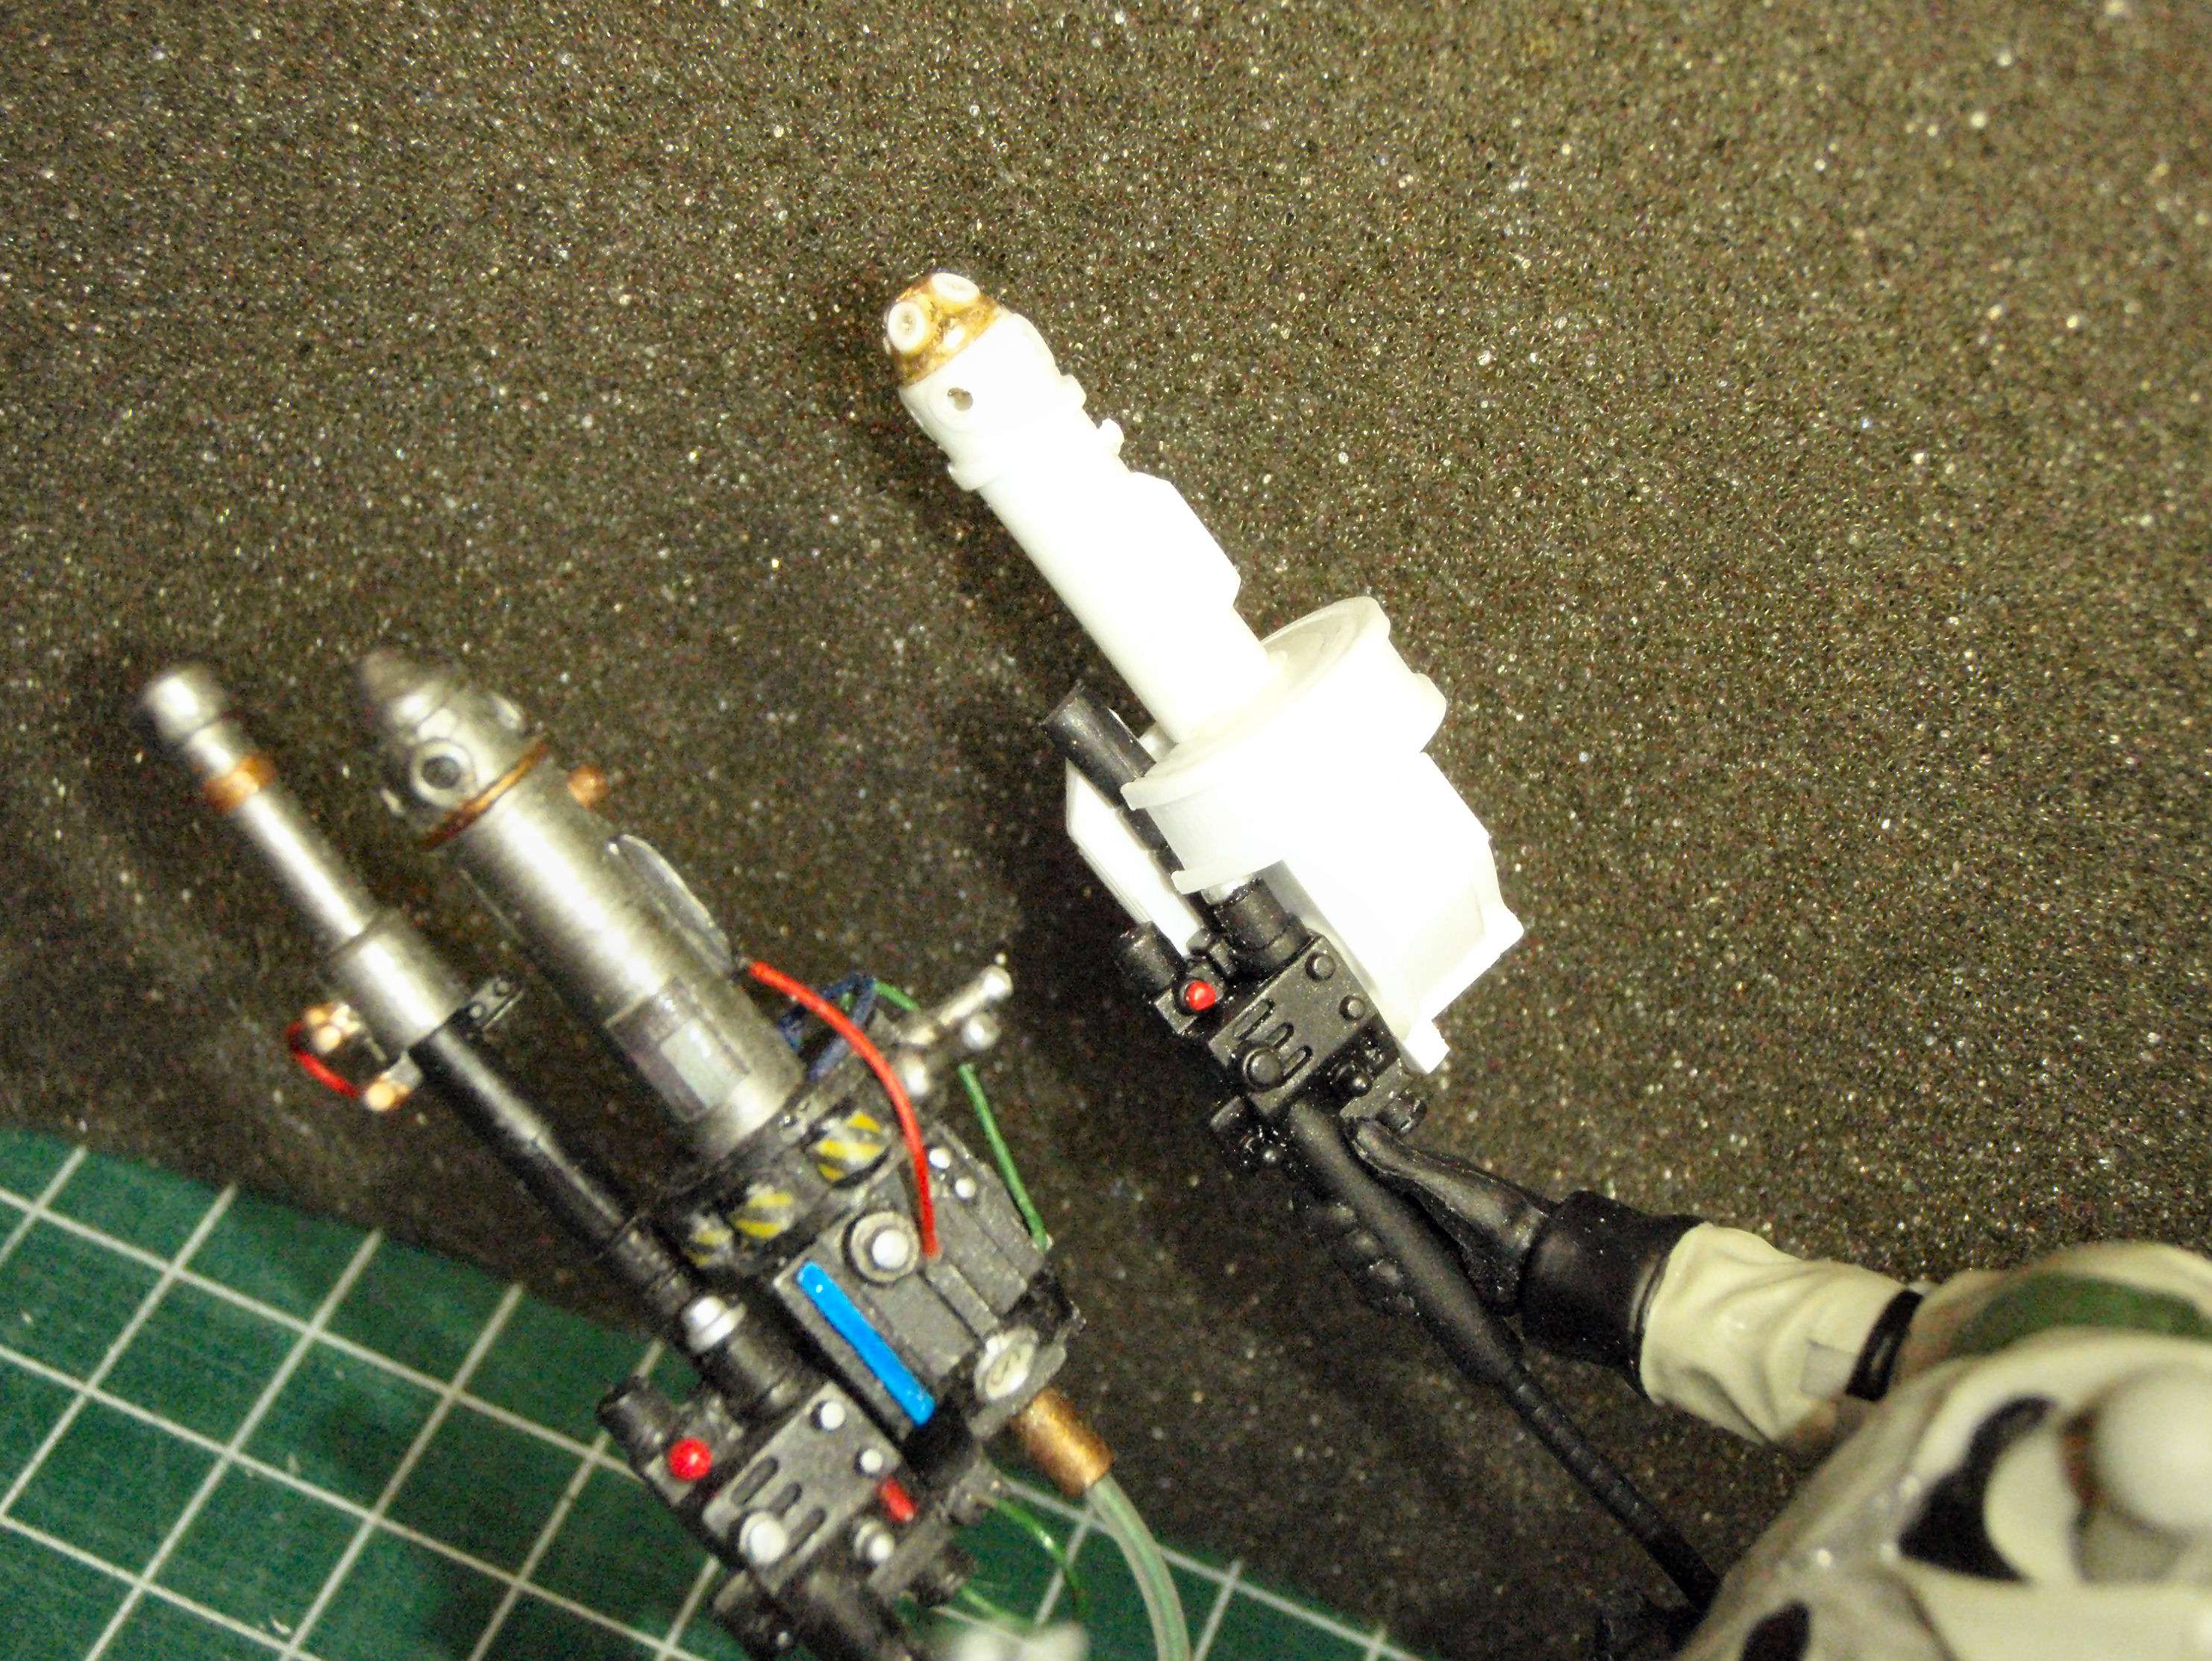
Comparison pictures of version 1.0 and 2.0.

Image

Image

Image
User avatar
By CaptCyan
#384713
any chance you can replace the tip with clear acrylic rod on the rookie 1.0 gun before I buy him back?

Sure as heck, but it'll cost you. :lol:

I'd also like to do that with all my other figures, where can you buy that stuff?

I haven't found it local, so I order it online from Plastruct:

http://www.plastruct.com/Home.html

While I'm giving away secrets, here's what I've ordered:

1/16" Acrylic Round Rod # AR-2
1/8" Acrylic Clear Tubing # CTB-4

The Rod should fit inside the Tubing so you can make the Thrower End extend. :wink:
User avatar
By Mereel
#384721
Seeing the bits and pieces mocked up together really is something. Version 2.0 feels like one cohesive unit, with the thrower and slime attachment really looking more integrated (the larger drum really makes everything work perfect!)

The new baseplate is also very nicely done, and helps the unit look that much more complete.

This will definitely be the Rookie Kit to end all Rookie kits!
User avatar
By CaptCyan
#384840
Mereel wrote:This will definitely be the Rookie Kit to end all Rookie kits!
Hey Mereel!

I'm guessing this will be the only Rookie Kit. :wink:

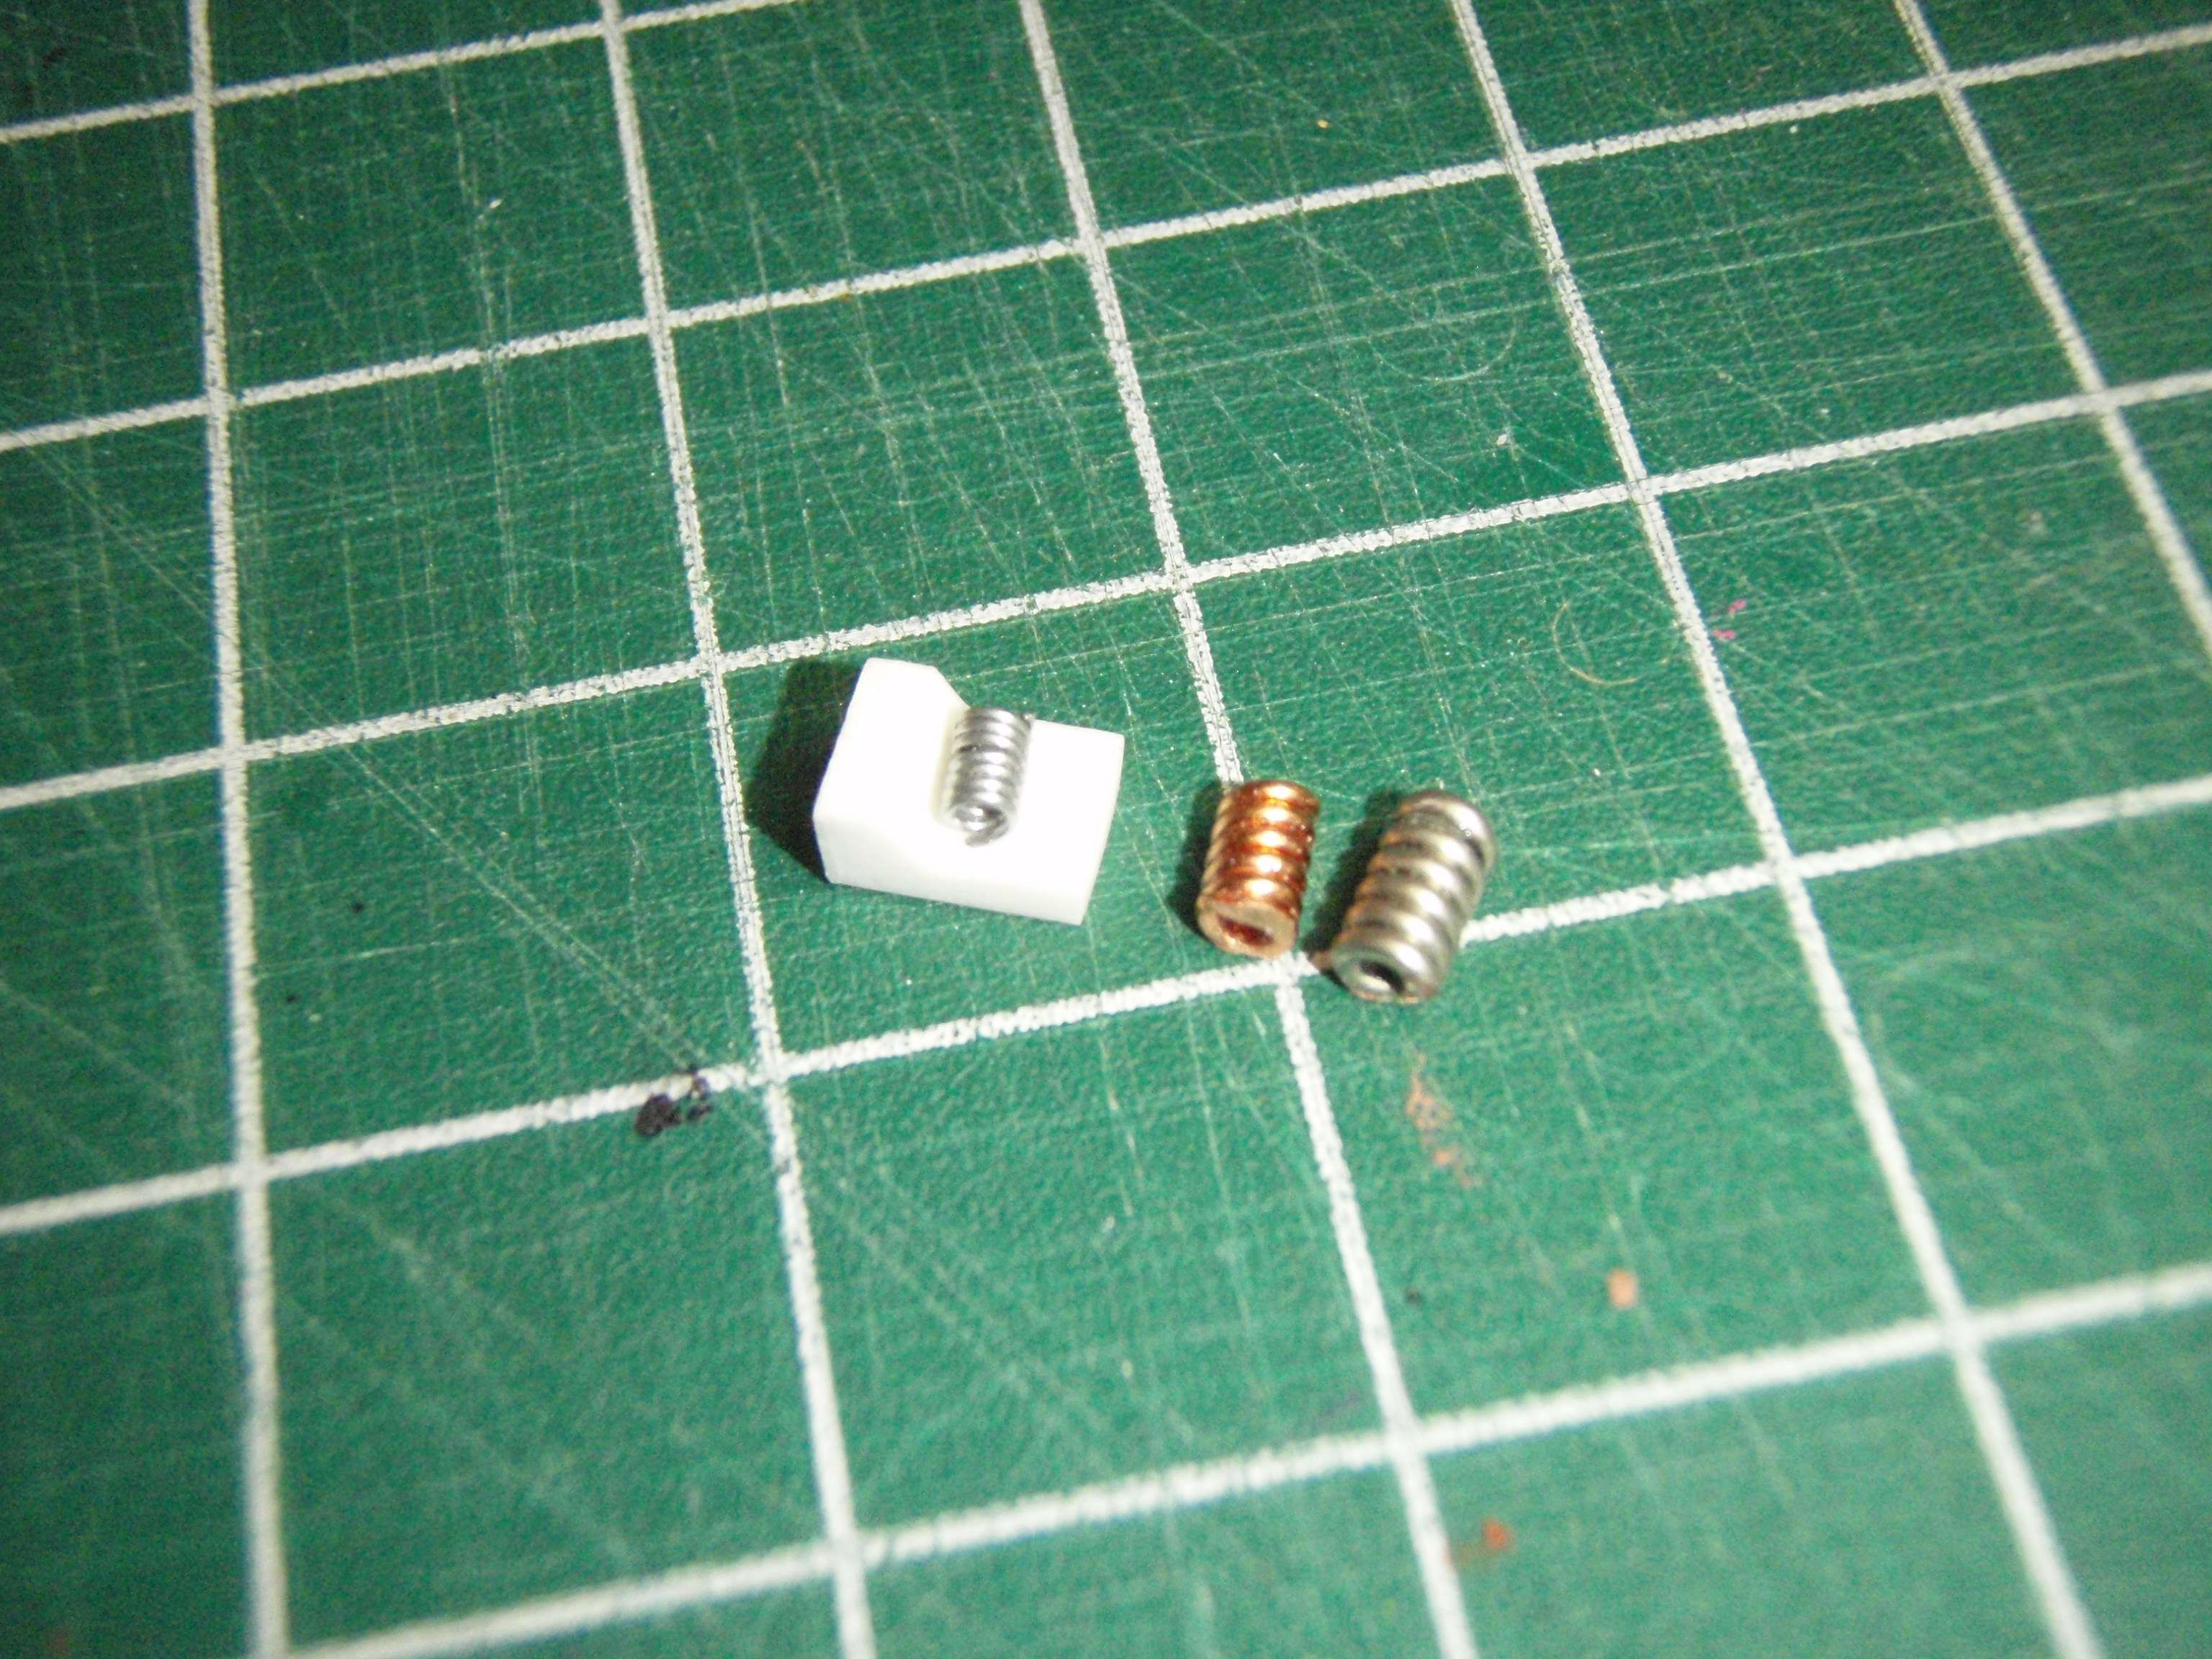
Thanks to Mereel, I don't have to make an Ion Arm for this kit, but I do get to make some resistors for it. Here is the first try.


Image

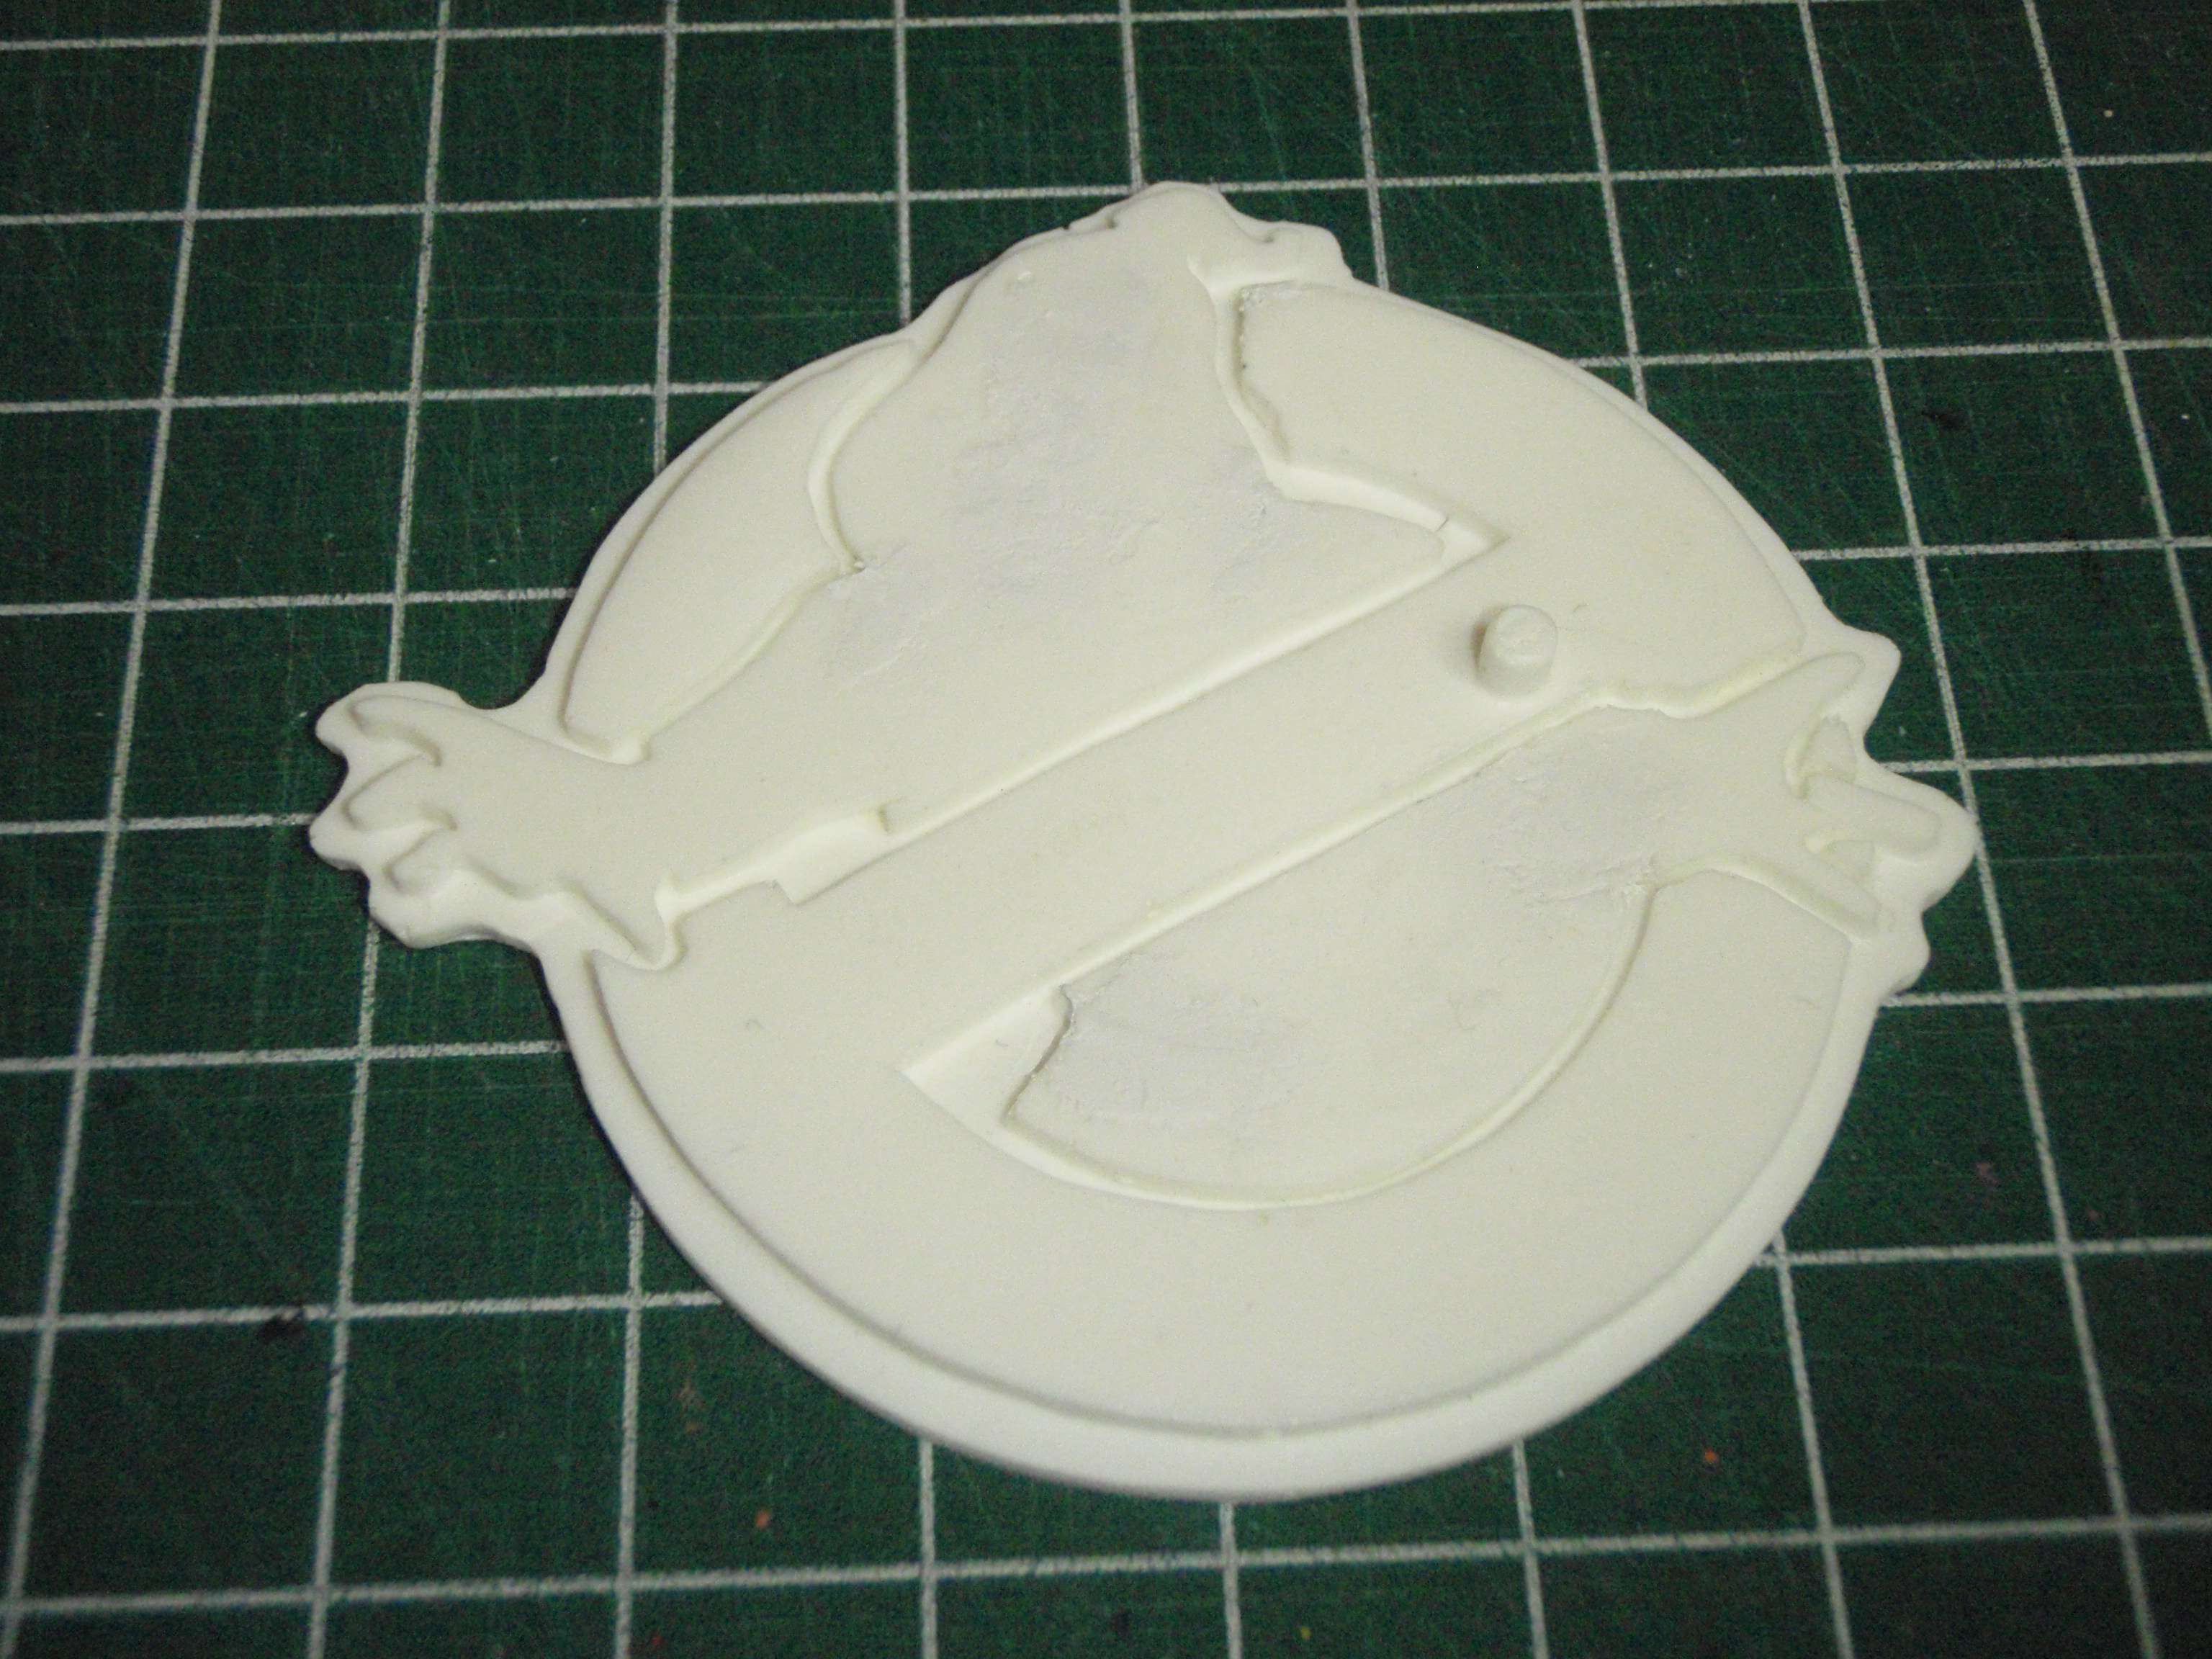
I'm modifying one of my failed Ghostbuster Stands to work with the Decal of the Video Game Logo I'm making.

Image

I guess this puts the Kit's parts count up to about 20 :shock:
User avatar
By egie
#385090
This is gonna be amazing! I cannot wait for the finished product!

Sent from my SGH-T759 using Ghostbusters Fans on Android
User avatar
By CaptCyan
#385153
FunkPunkTwang wrote:your abilities amaze me sir
Right back at ya! :lol:
egie wrote:This is gonna be amazing! I cannot wait for the finished product!
And neither can I.

Tried different sized wire to make resistors, think I'll stay with the first try.


Image

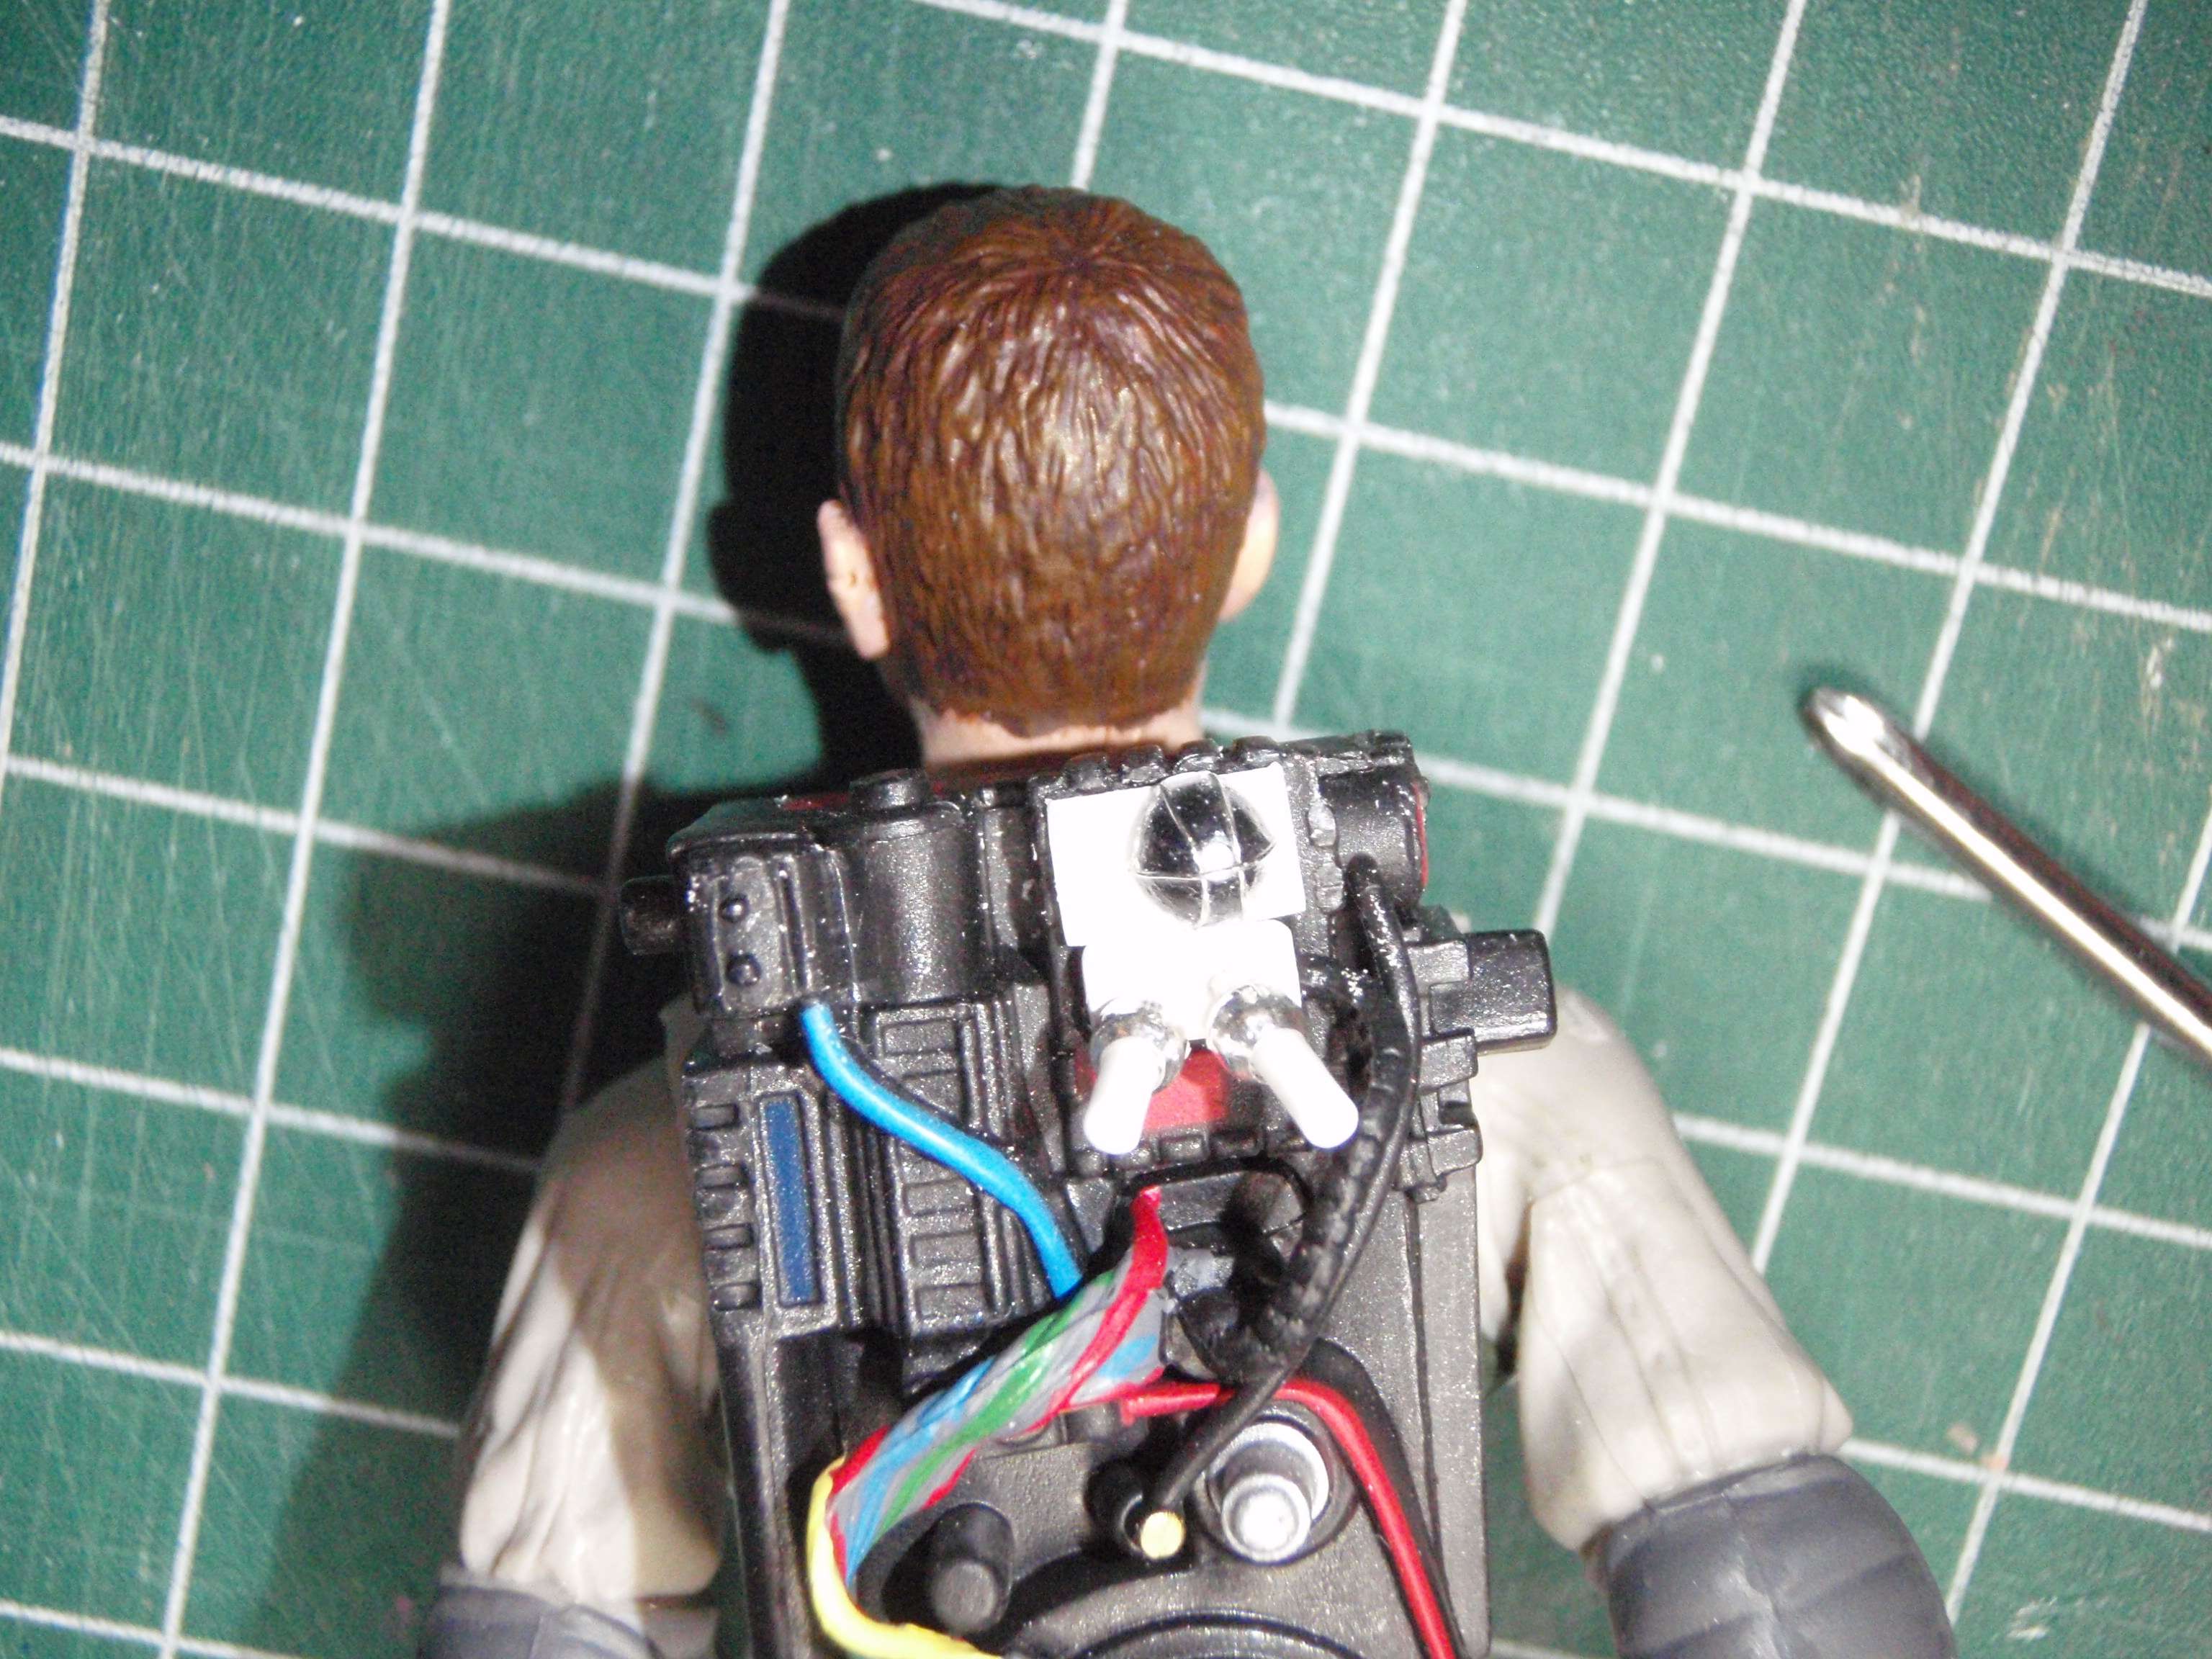
Lots of sanding to do yet. I've almost got that "Caged Light" on the back of the Pack down to size.
Image
More tomorrow.
User avatar
By CaptCyan
#385238
Or later today :lol:

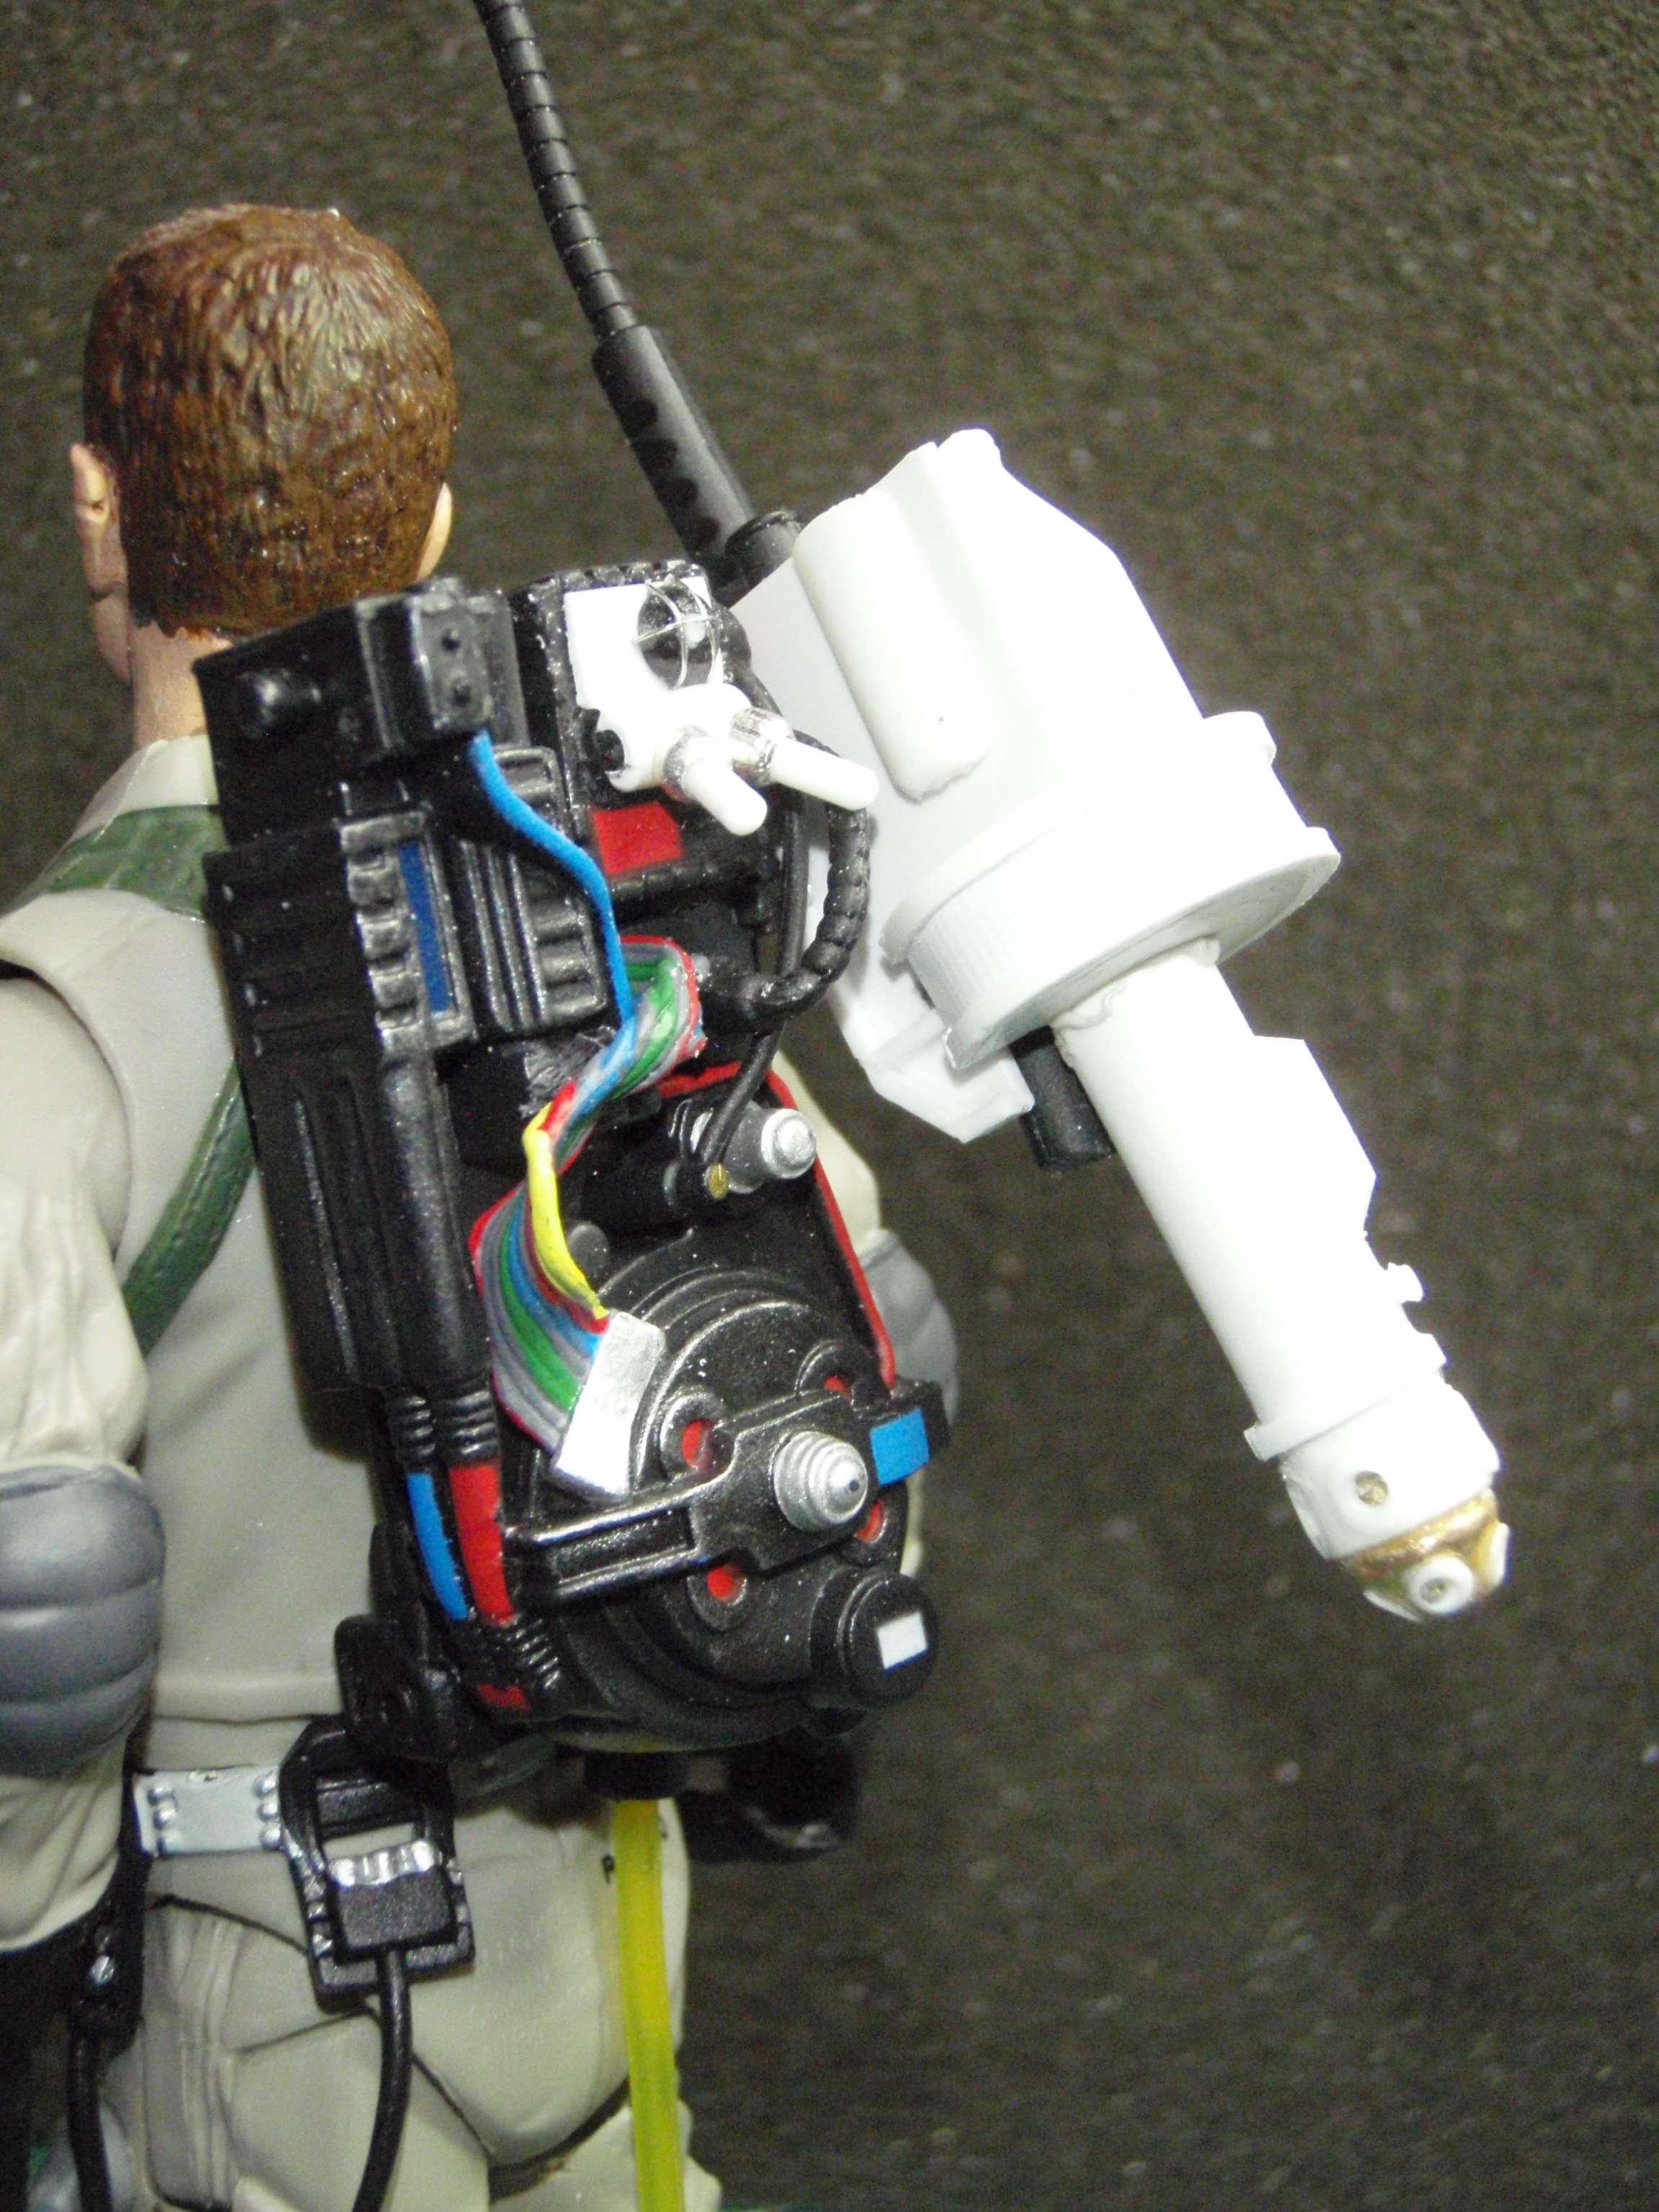
Shaved off some of the Base Plate and got the Thrower to sit on the Pack!


Image

I got to the point where I couldn't hold onto the Caged Light to sand it down anymore, so I glued it into place. All I need to make now is that "Vent" to go next to it.

Image
User avatar
By CaptCyan
#385291
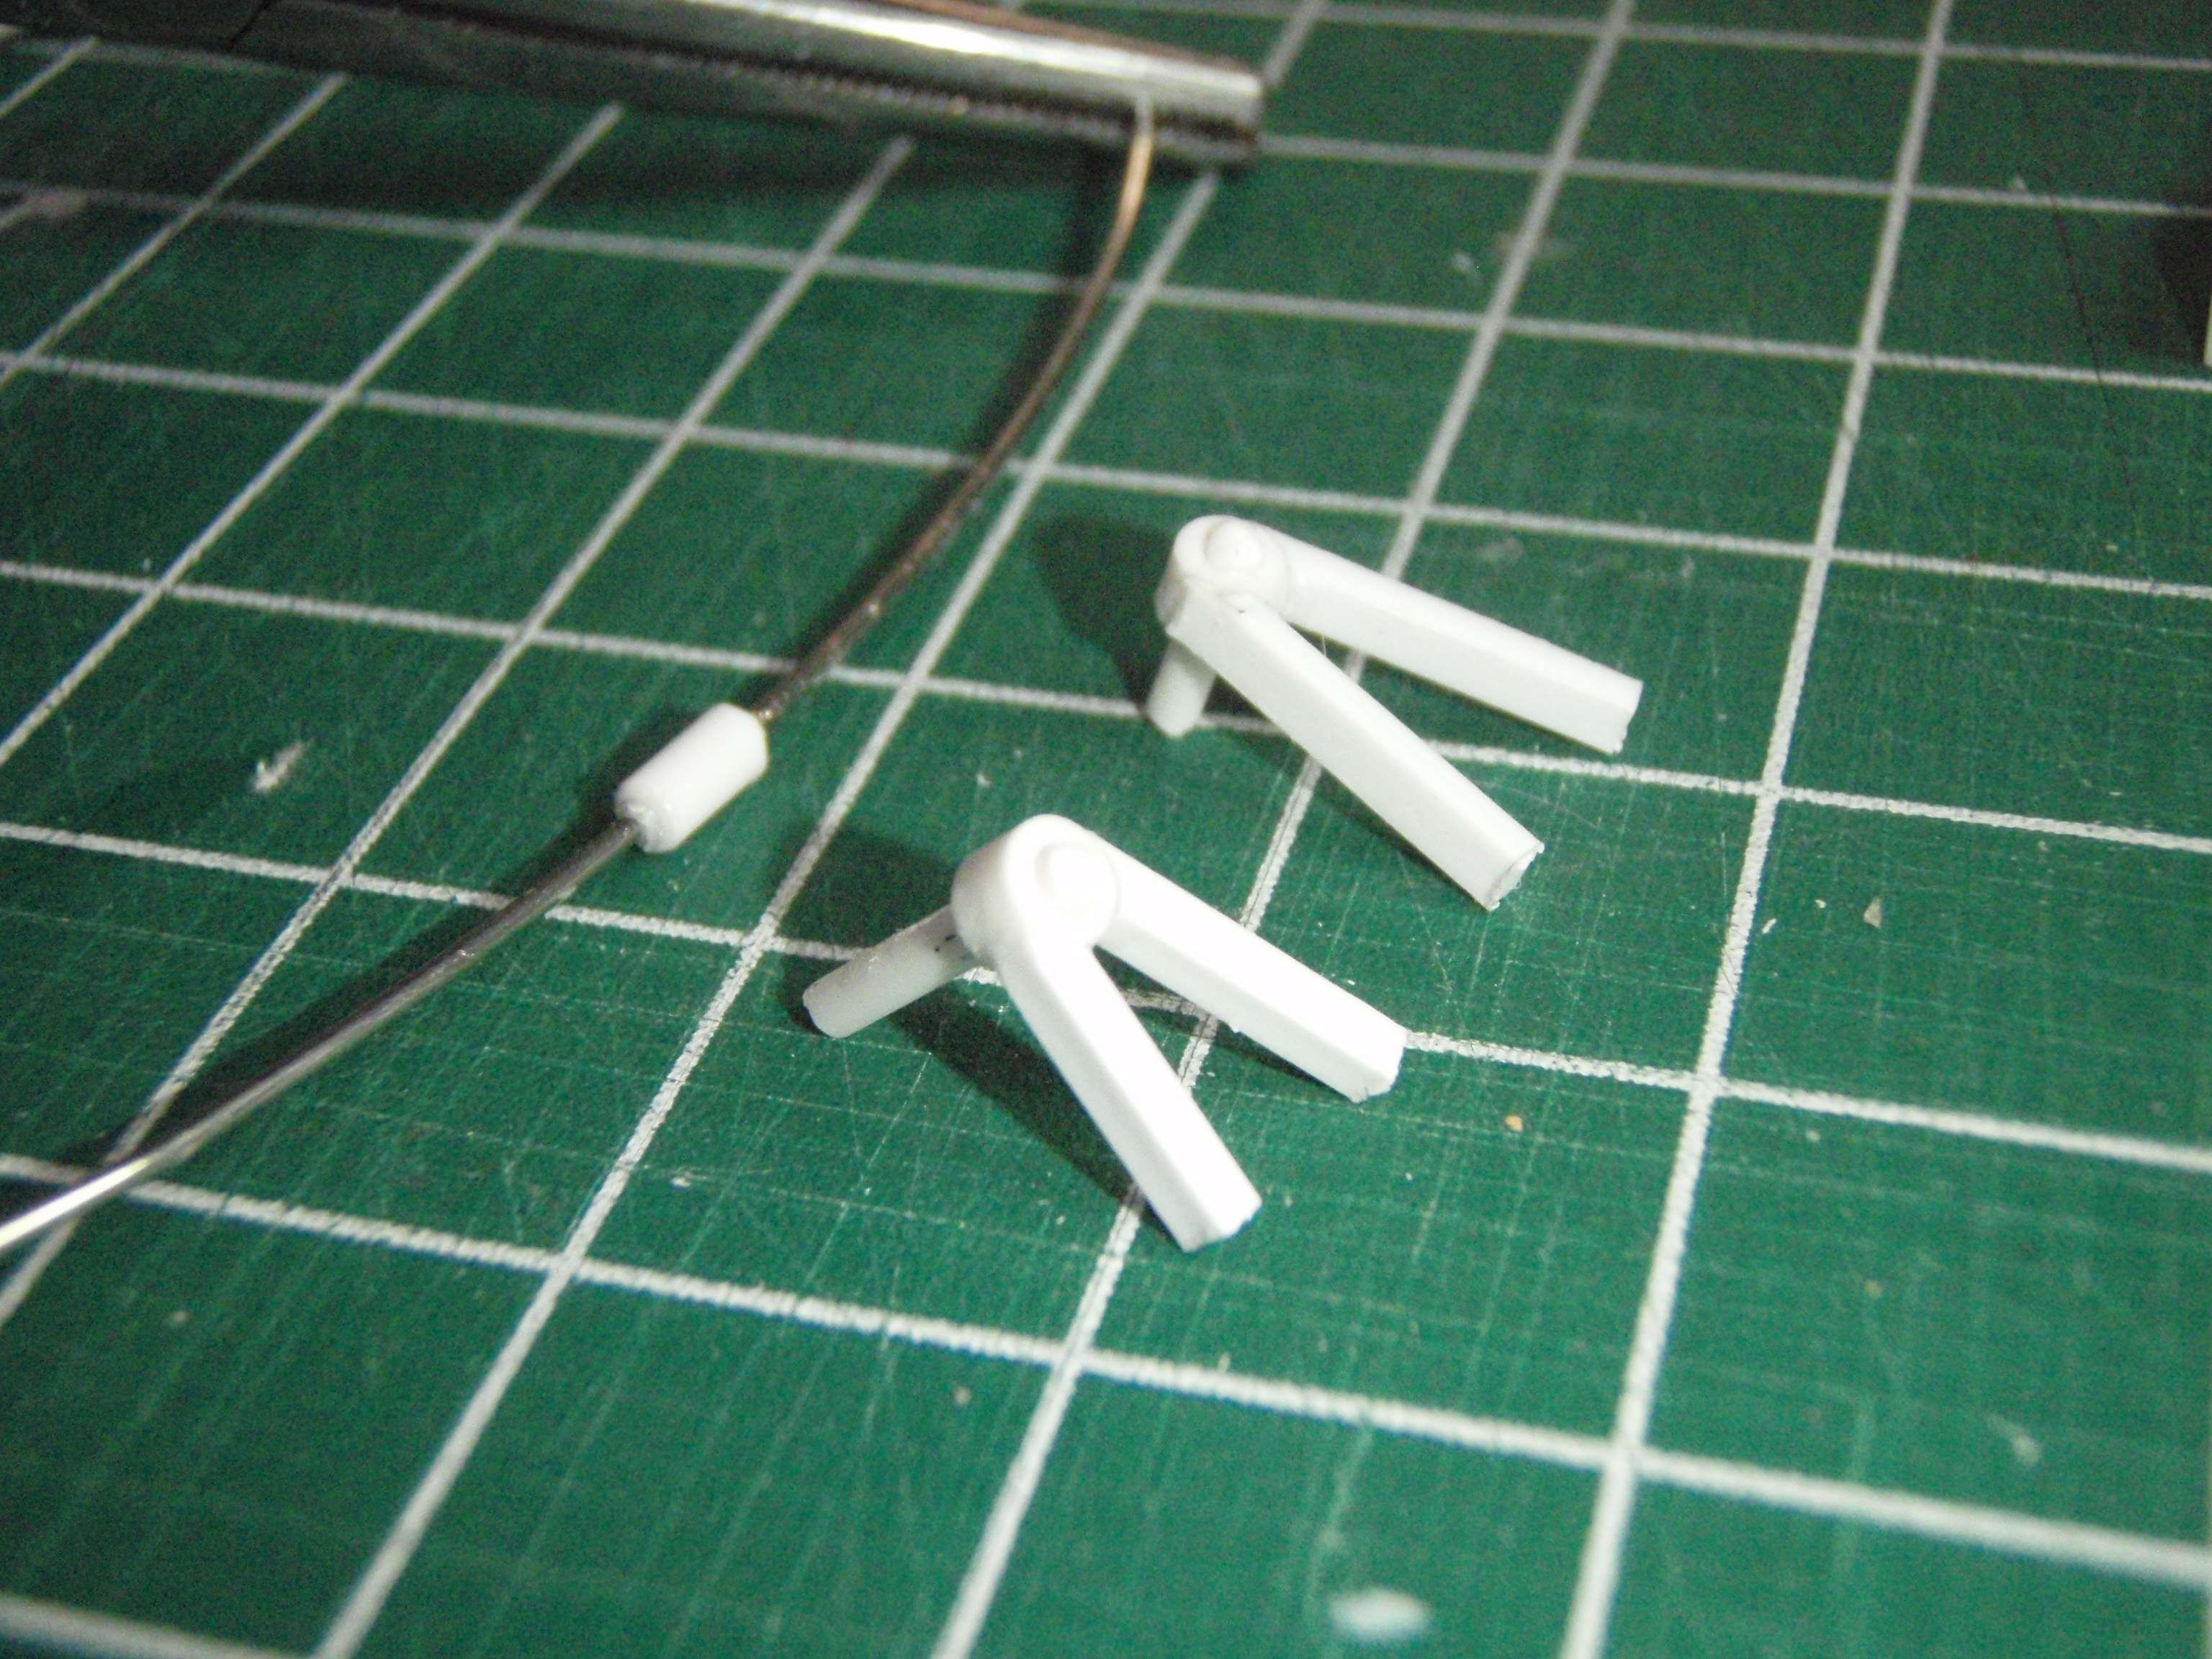
Getting down to the last of the main build. Here are the Jumper Clamps and that "Tube on a Wire" for the Pack.

Image

Now I go back and add some more details and get ready to make some molds.

Only fly in the ointment is my shipment of acrylic Rods and Tubes hasn't shown up as of yet. I need to place a nasty phone call. :-x
User avatar
By CaptCyan
#385293
joeghostbuster wrote:the gun is as big as the pack :)
Just about. :lol:

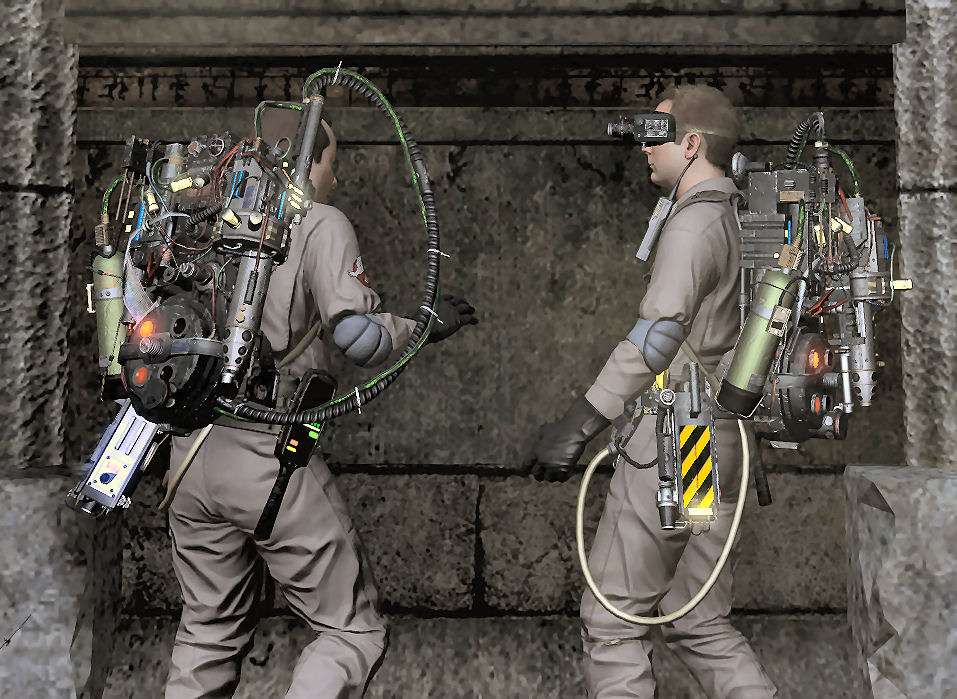
Big difference is they changed the way it hangs in the Video Game to straight up and down instead of tilted out like on the Matty Figure.


Image
User avatar
By CaptCyan
#385466
Thanks Joeghostbuster!

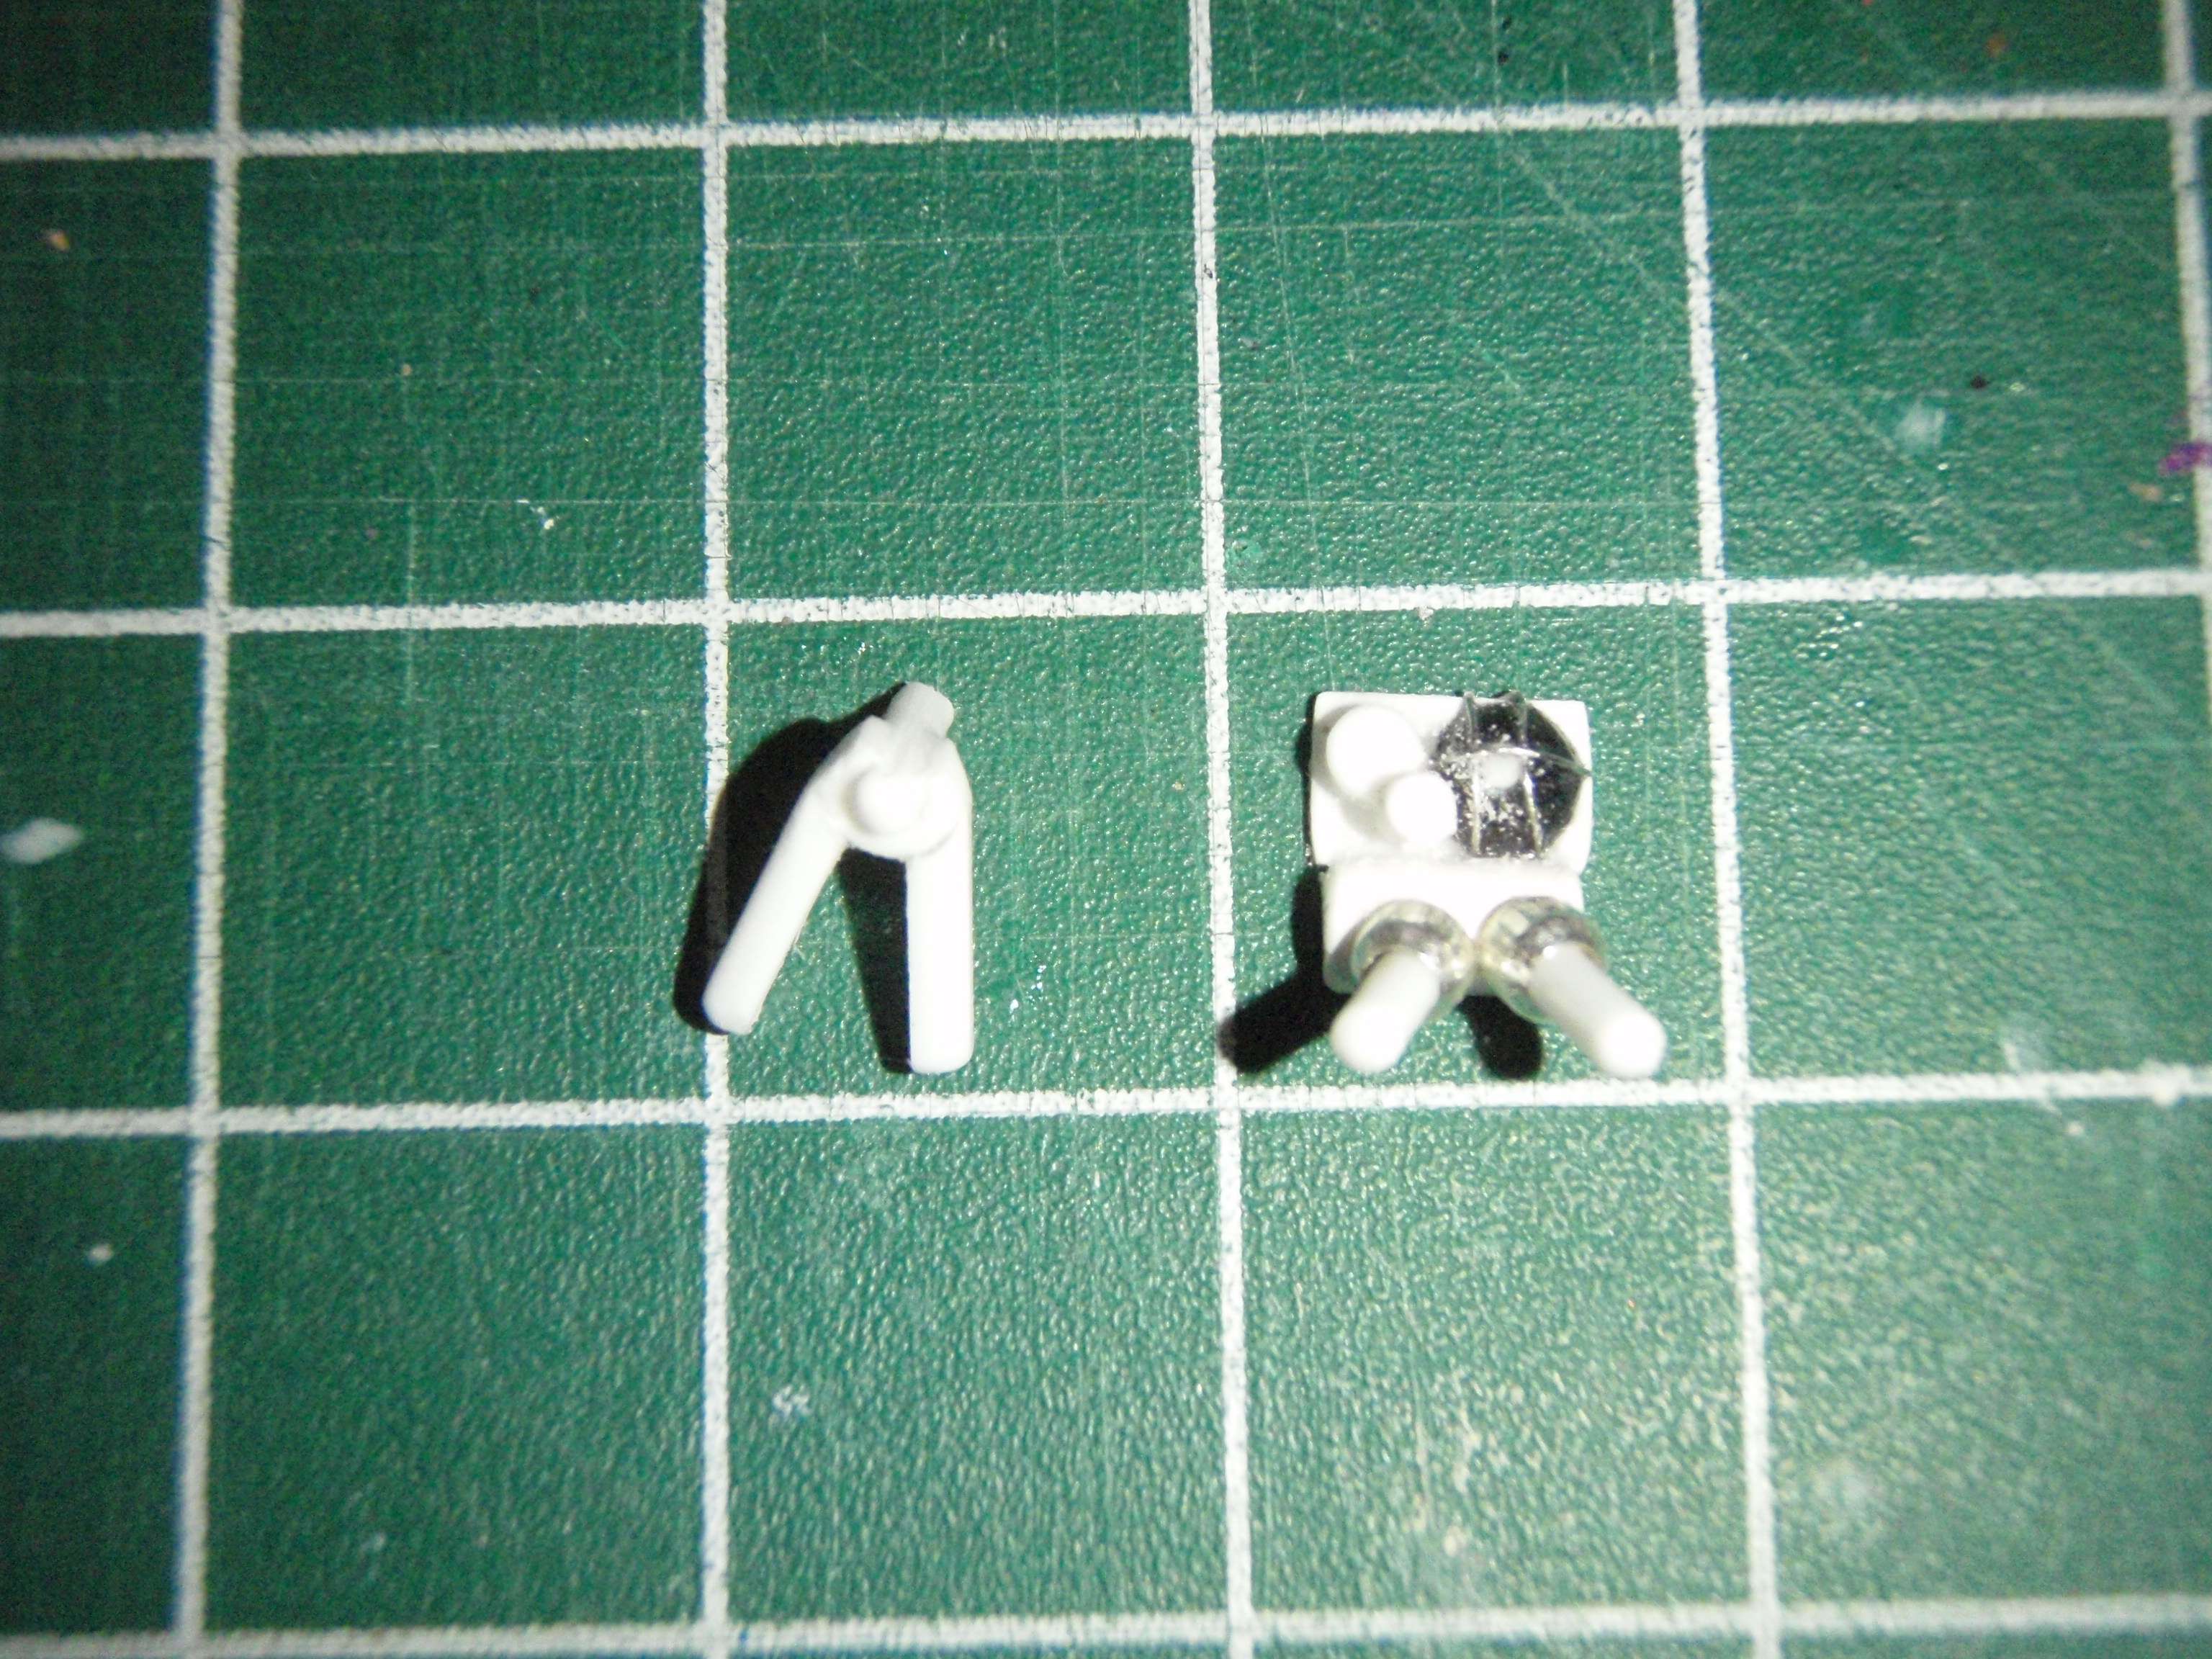
Details! Caged Light section and one of the Jumper Clamps done. Sorry, I didn't clear off the styrene dust.


Image

Image

Have to order some fresh Mold Material later today.
  • 1
  • 15
  • 16
  • 17
  • 18
  • 19
  • 30

At the moment my interest would be what sorts fo f[…]

@GBfan77 No when I turn it off it still keeps firi[…]

Just to throw my experience in there. I've bough[…]

I haven't had Xbox Live for a while, but I'm consi[…]