Talk about the your favorite Ghostbusters Collectibles from Mattel, Kenner, and more.
By henz
#382313
Thanks for the welcome Cyan, your Rookie 2.0 is coming along brilliantly. As previously mentioned, the torch and walkie are vital to a good representation. They make such a difference.

Are you going for the slime gun variation again? I'd say it's probably the best looking of the set, but it would be interesting to see the other launchers.
By JasonSly
#382438
joeghostbuster wrote:I'm gonna have to buy at least 4 of these Rookie kits when you're done as I think I'm gonna make my 4 busters look like they do in the game
I'm gonna have to buy a few as well. I started a project last fall(and need to get back on to) to create a more realistic look for the uniforms and across the team. Rather than four guys with the exact same stuff in the exact same spots on their belts. I'm creating holsters for the traps and PKE meter and using small magnets to snap them to the belts. I'm also contemplating cutting off the belt gizmos and making them their own separate, movable accessory as well, I even found a pretty slick way to create a cool looking coiled wire between the pieces.

So now, using the magnets placed at various points around the belts, I can put the equipment where I want creating more diversity in the look of the team. And with CaptCyan's kits, I can give everyone flashlights and walkie talkies they can keep on their belt or shoulder straps.
User avatar
By CaptCyan
#382461
joeghostbuster wrote:I'm gonna have to buy at least 4 of these Rookie kits when you're done as I think I'm gonna make my 4 busters look like they do in the game
And I'll be buying the Rookie back from you again. :lol:
henz wrote:Are you going for the slime gun variation again? I'd say it's probably the best looking of the set, but it would be interesting to see the other launchers.
It will be the variation at the end of the game like the Origional Rookie Figure. I have to leave something for other people to do. :wink:
JasonSly wrote:I started a project last fall(and need to get back on to) to create a more realistic look for the uniforms and across the team. Rather than four guys with the exact same stuff in the exact same spots on their belts. I'm creating holsters for the traps and PKE meter and using small magnets to snap them to the belts. I'm also contemplating cutting off the belt gizmos and making them their own separate, movable accessory as well, I even found a pretty slick way to create a cool looking coiled wire between the pieces.

Hey Sly!

Nice to find another fan of magnets and wire. You should put up a thread and share your progress, pictures would be good, too.

BTW, is that you on the Fwoosh? If so, thanks!
User avatar
By joeghostbuster
#382463
CaptCyan wrote:
joeghostbuster wrote:I'm gonna have to buy at least 4 of these Rookie kits when you're done as I think I'm gonna make my 4 busters look like they do in the game
And I'll be buying the Rookie back from you again. :lol:

naw, I got my tax return back the other day. I just have to pay off some overdue bills, and I will be back on top of my finances and able to buy Rookie 1.0 back, as well as any other cool shit you come out with! plus I recently got hired to design beer labels for a new brewery that just started up in NH, so I will have some extra income coming in, very excited!
User avatar
By CaptCyan
#382474
Nice reversal of fortune you got going there!

I have one request, can I hold onto the Origional Rookie untill I 'm done with the parts for 2.0? He makes a great reference for things done right as well as what needs impovement.
By JasonSly
#382519
CaptCyan wrote:Hey Sly!

Nice to find another fan of magnets and wire. You should put up a thread and share your progress, pictures would be good, too.

BTW, is that you on the Fwoosh? If so, thanks![/color]
That is indeed me on Fwoosh! When it comes to Rookie customs, I figure you've pretty much written the book and everyone can only benefit from studying your example.

I may just make a thread, or contribute more to the Customized Figure thread here. I've got the itch again with the Rookie arriving soon. When I get over this cough, catch up on some work and have more free time, I'll dive back into the project.
User avatar
By CaptCyan
#382781
JasonSly wrote:I've got the itch again with the Rookie arriving soon. When I get over this cough, catch up on some work and have more free time, I'll dive back into the project.
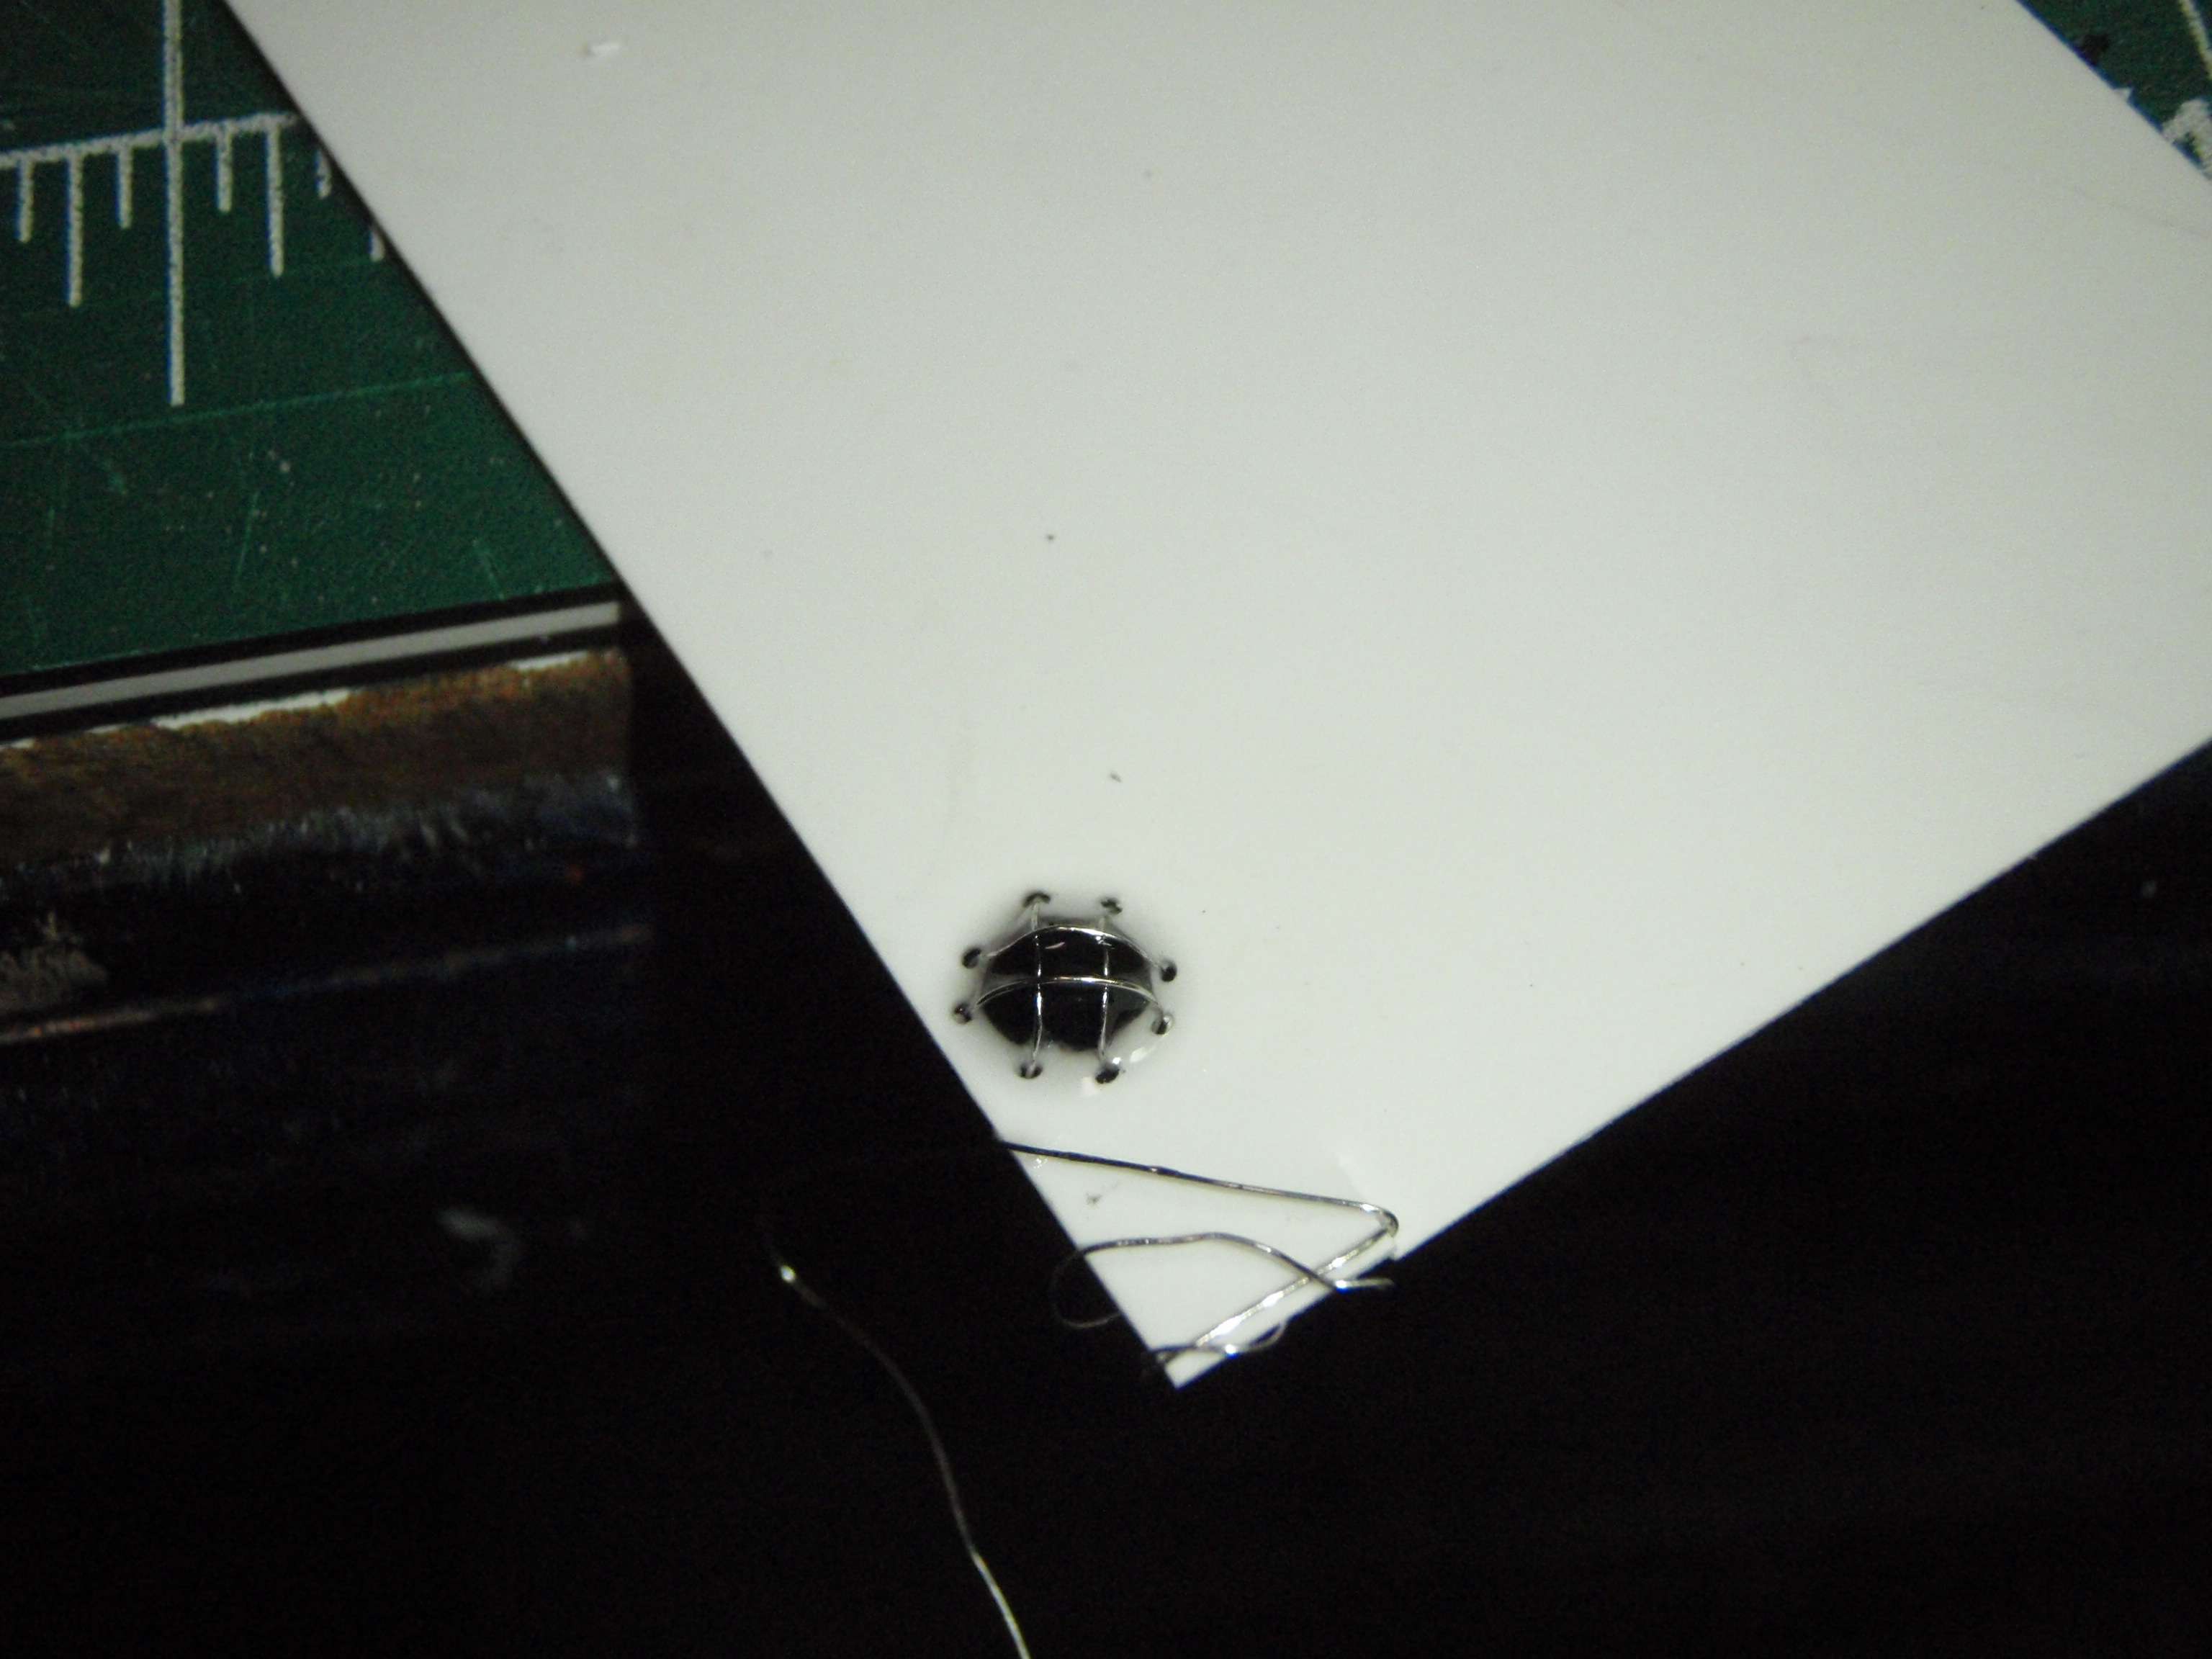
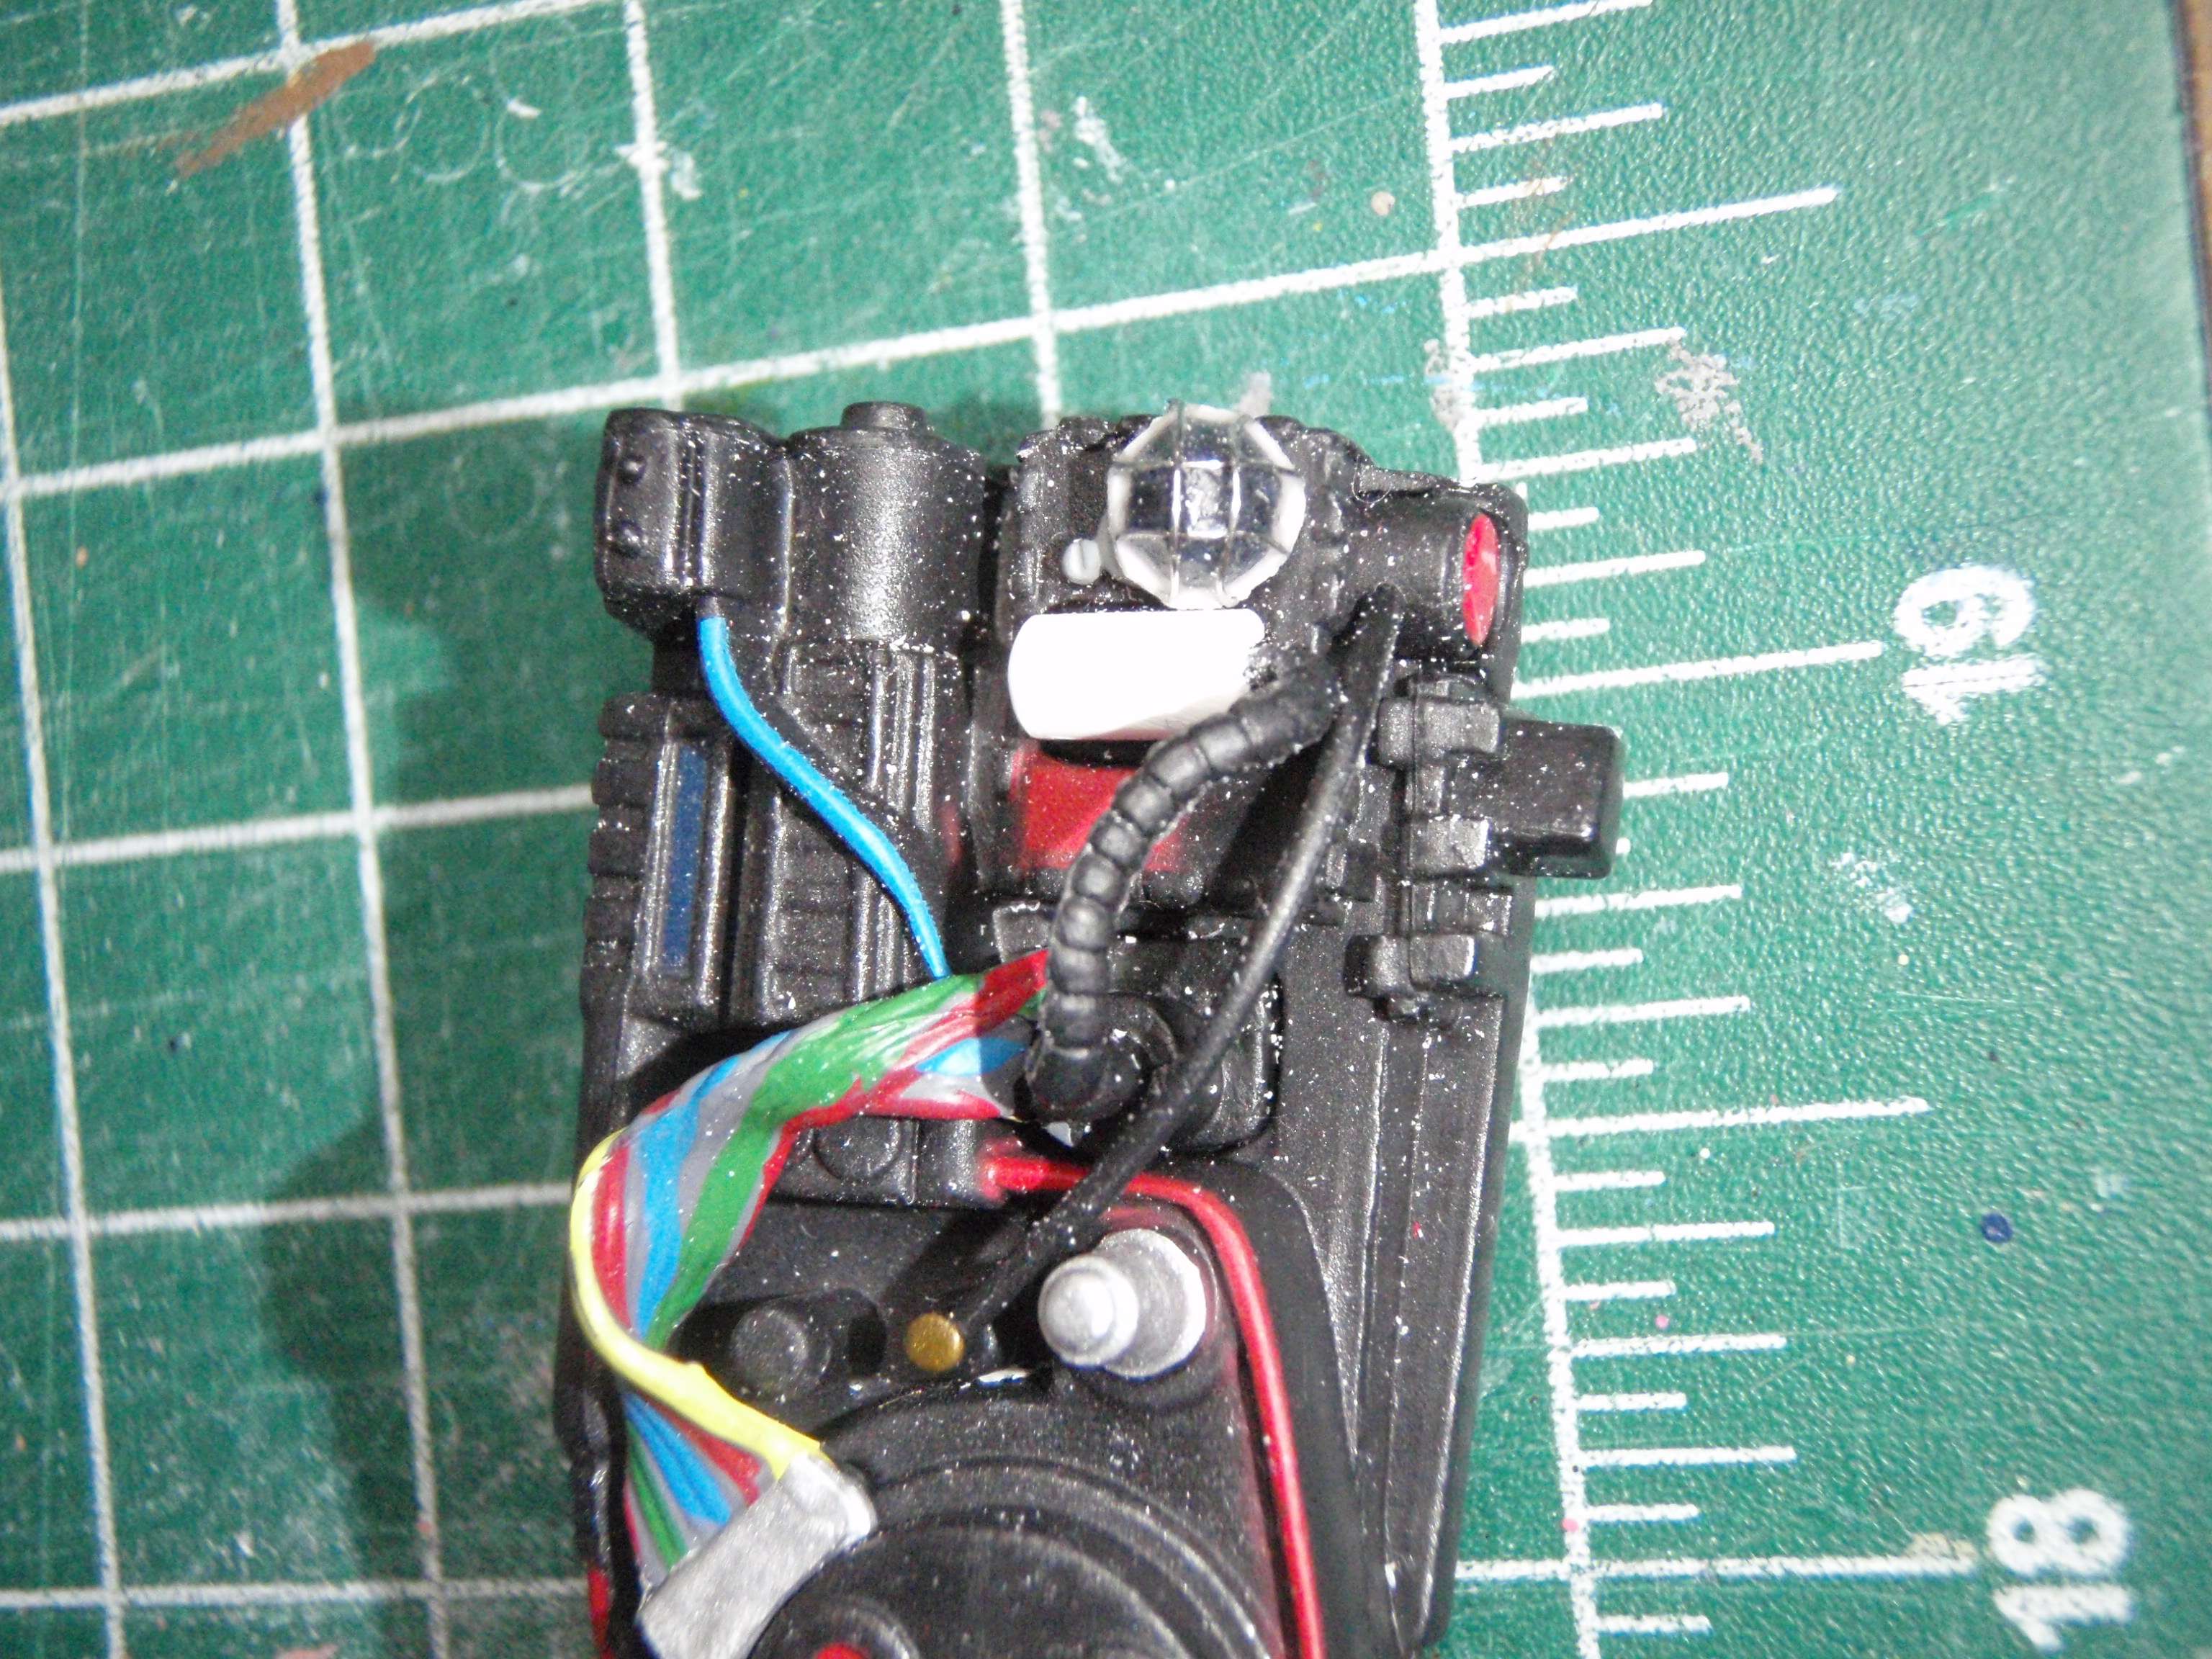
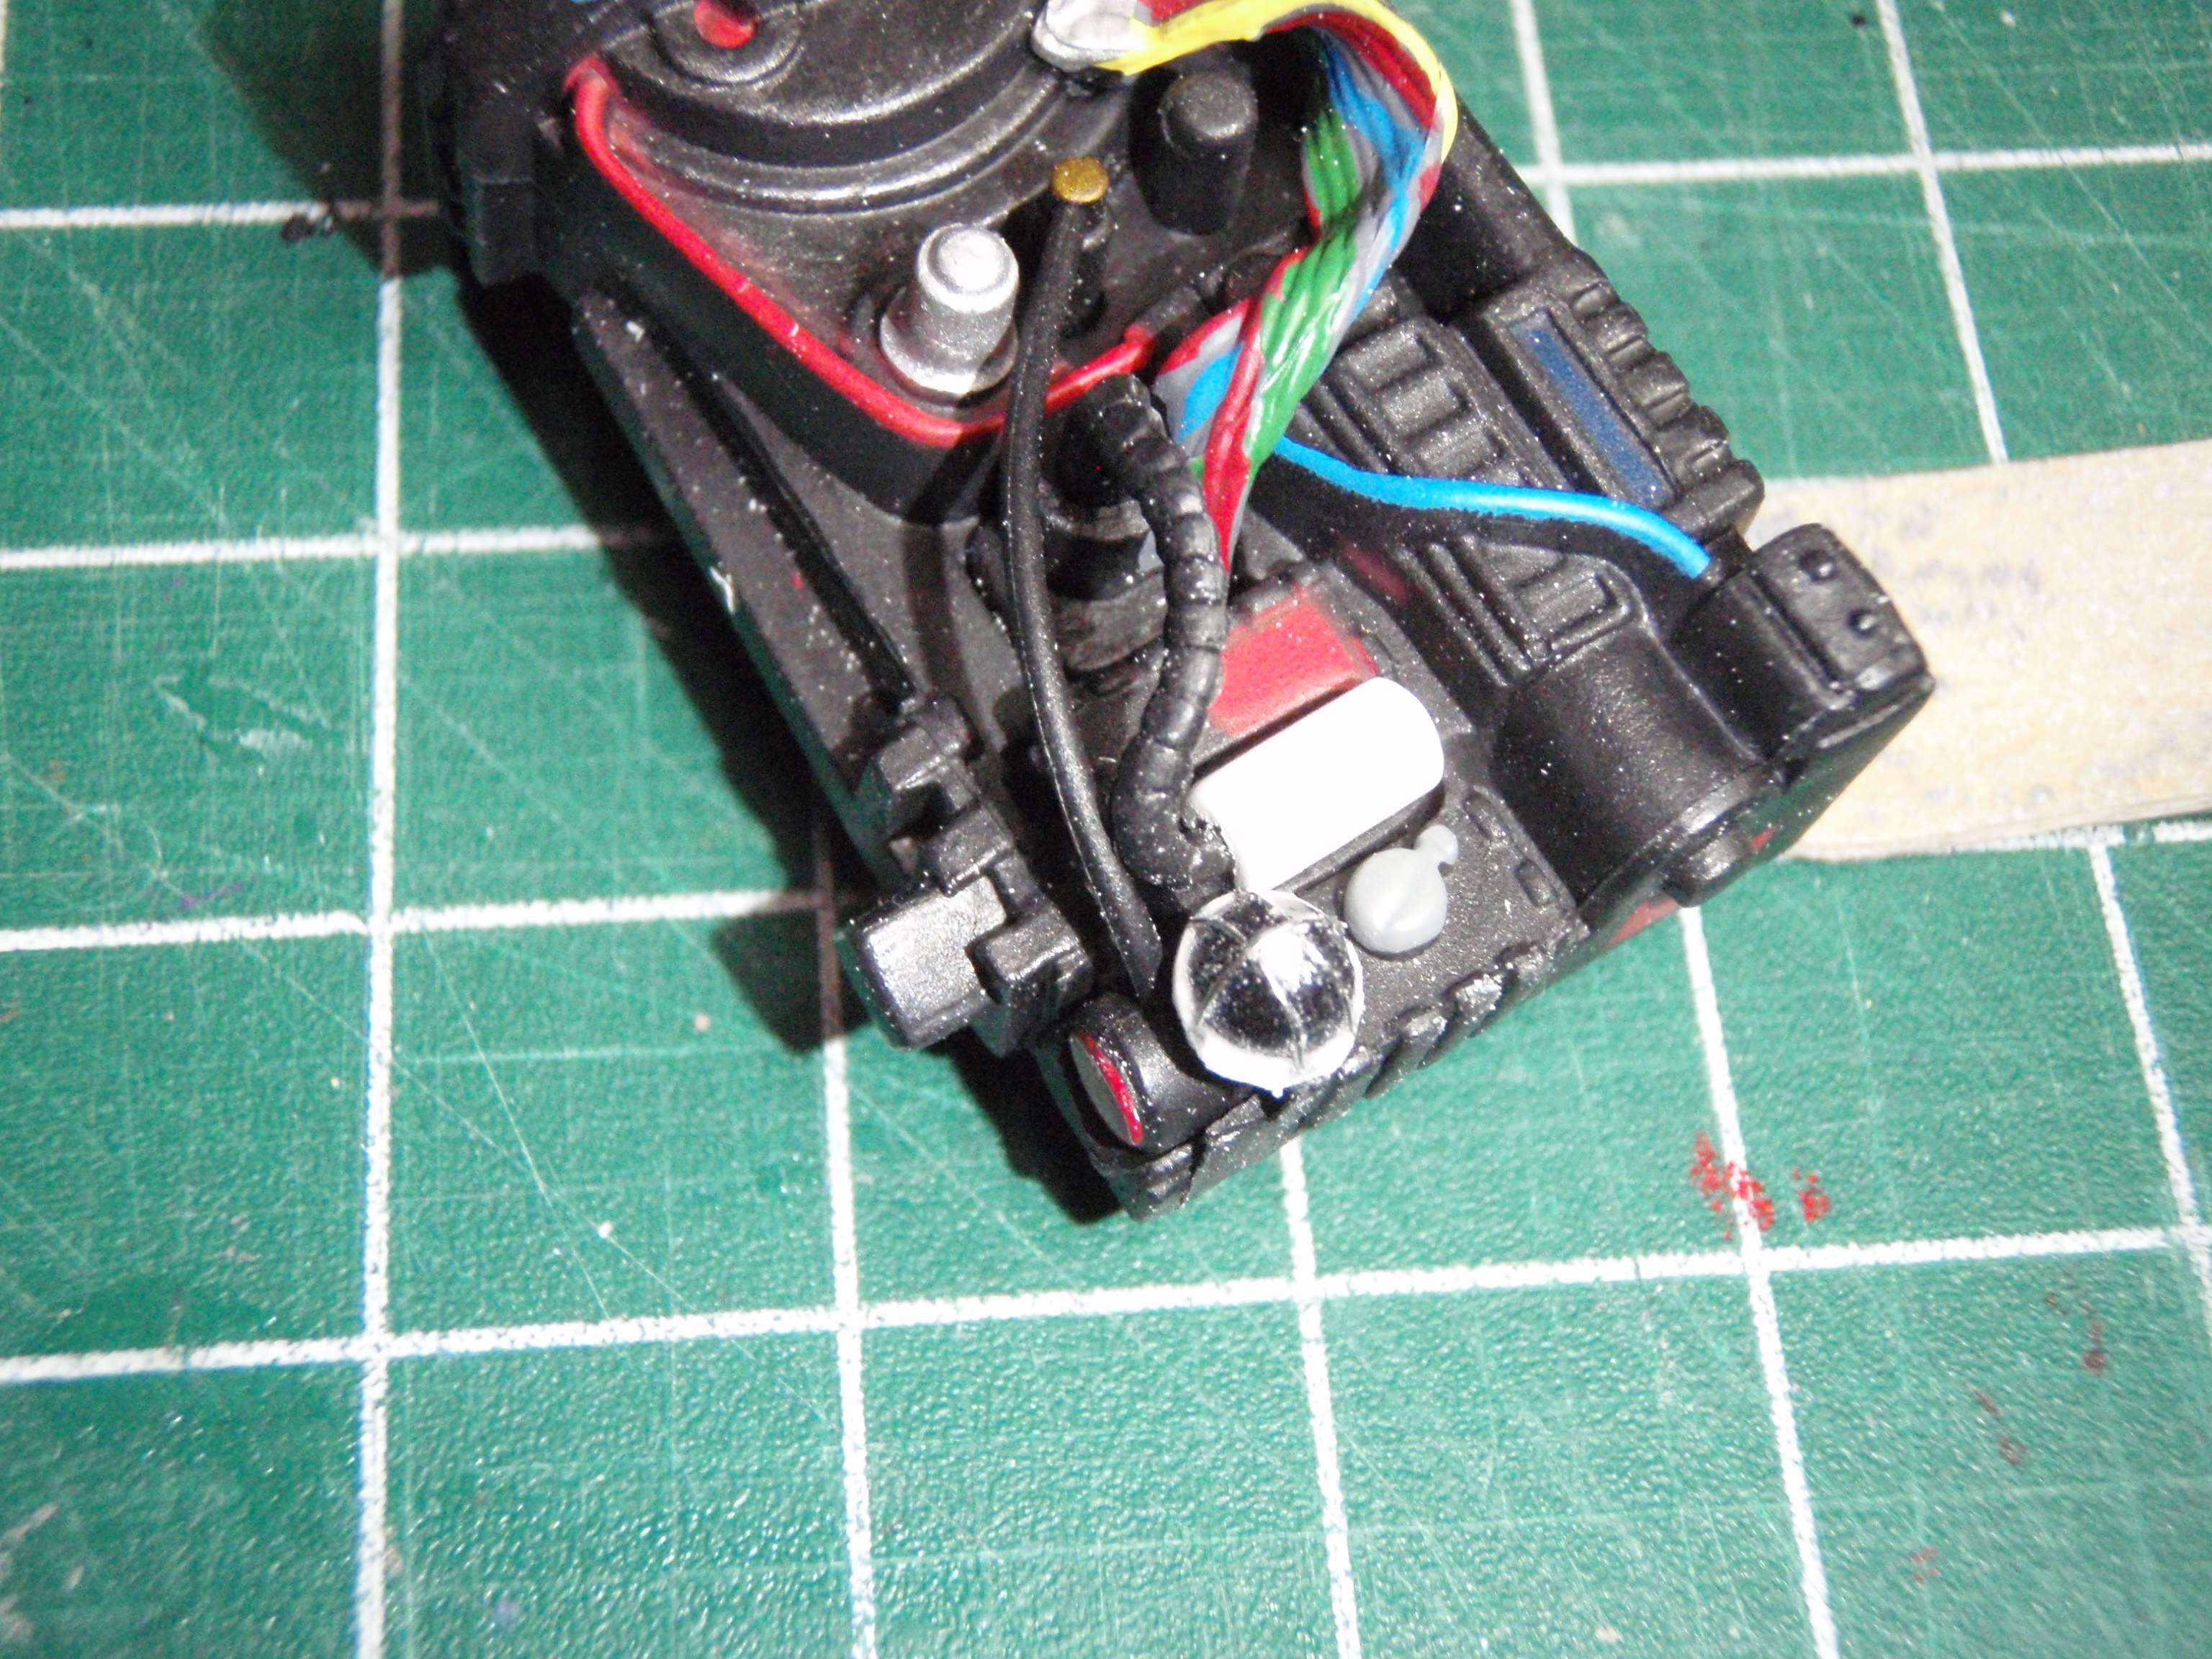
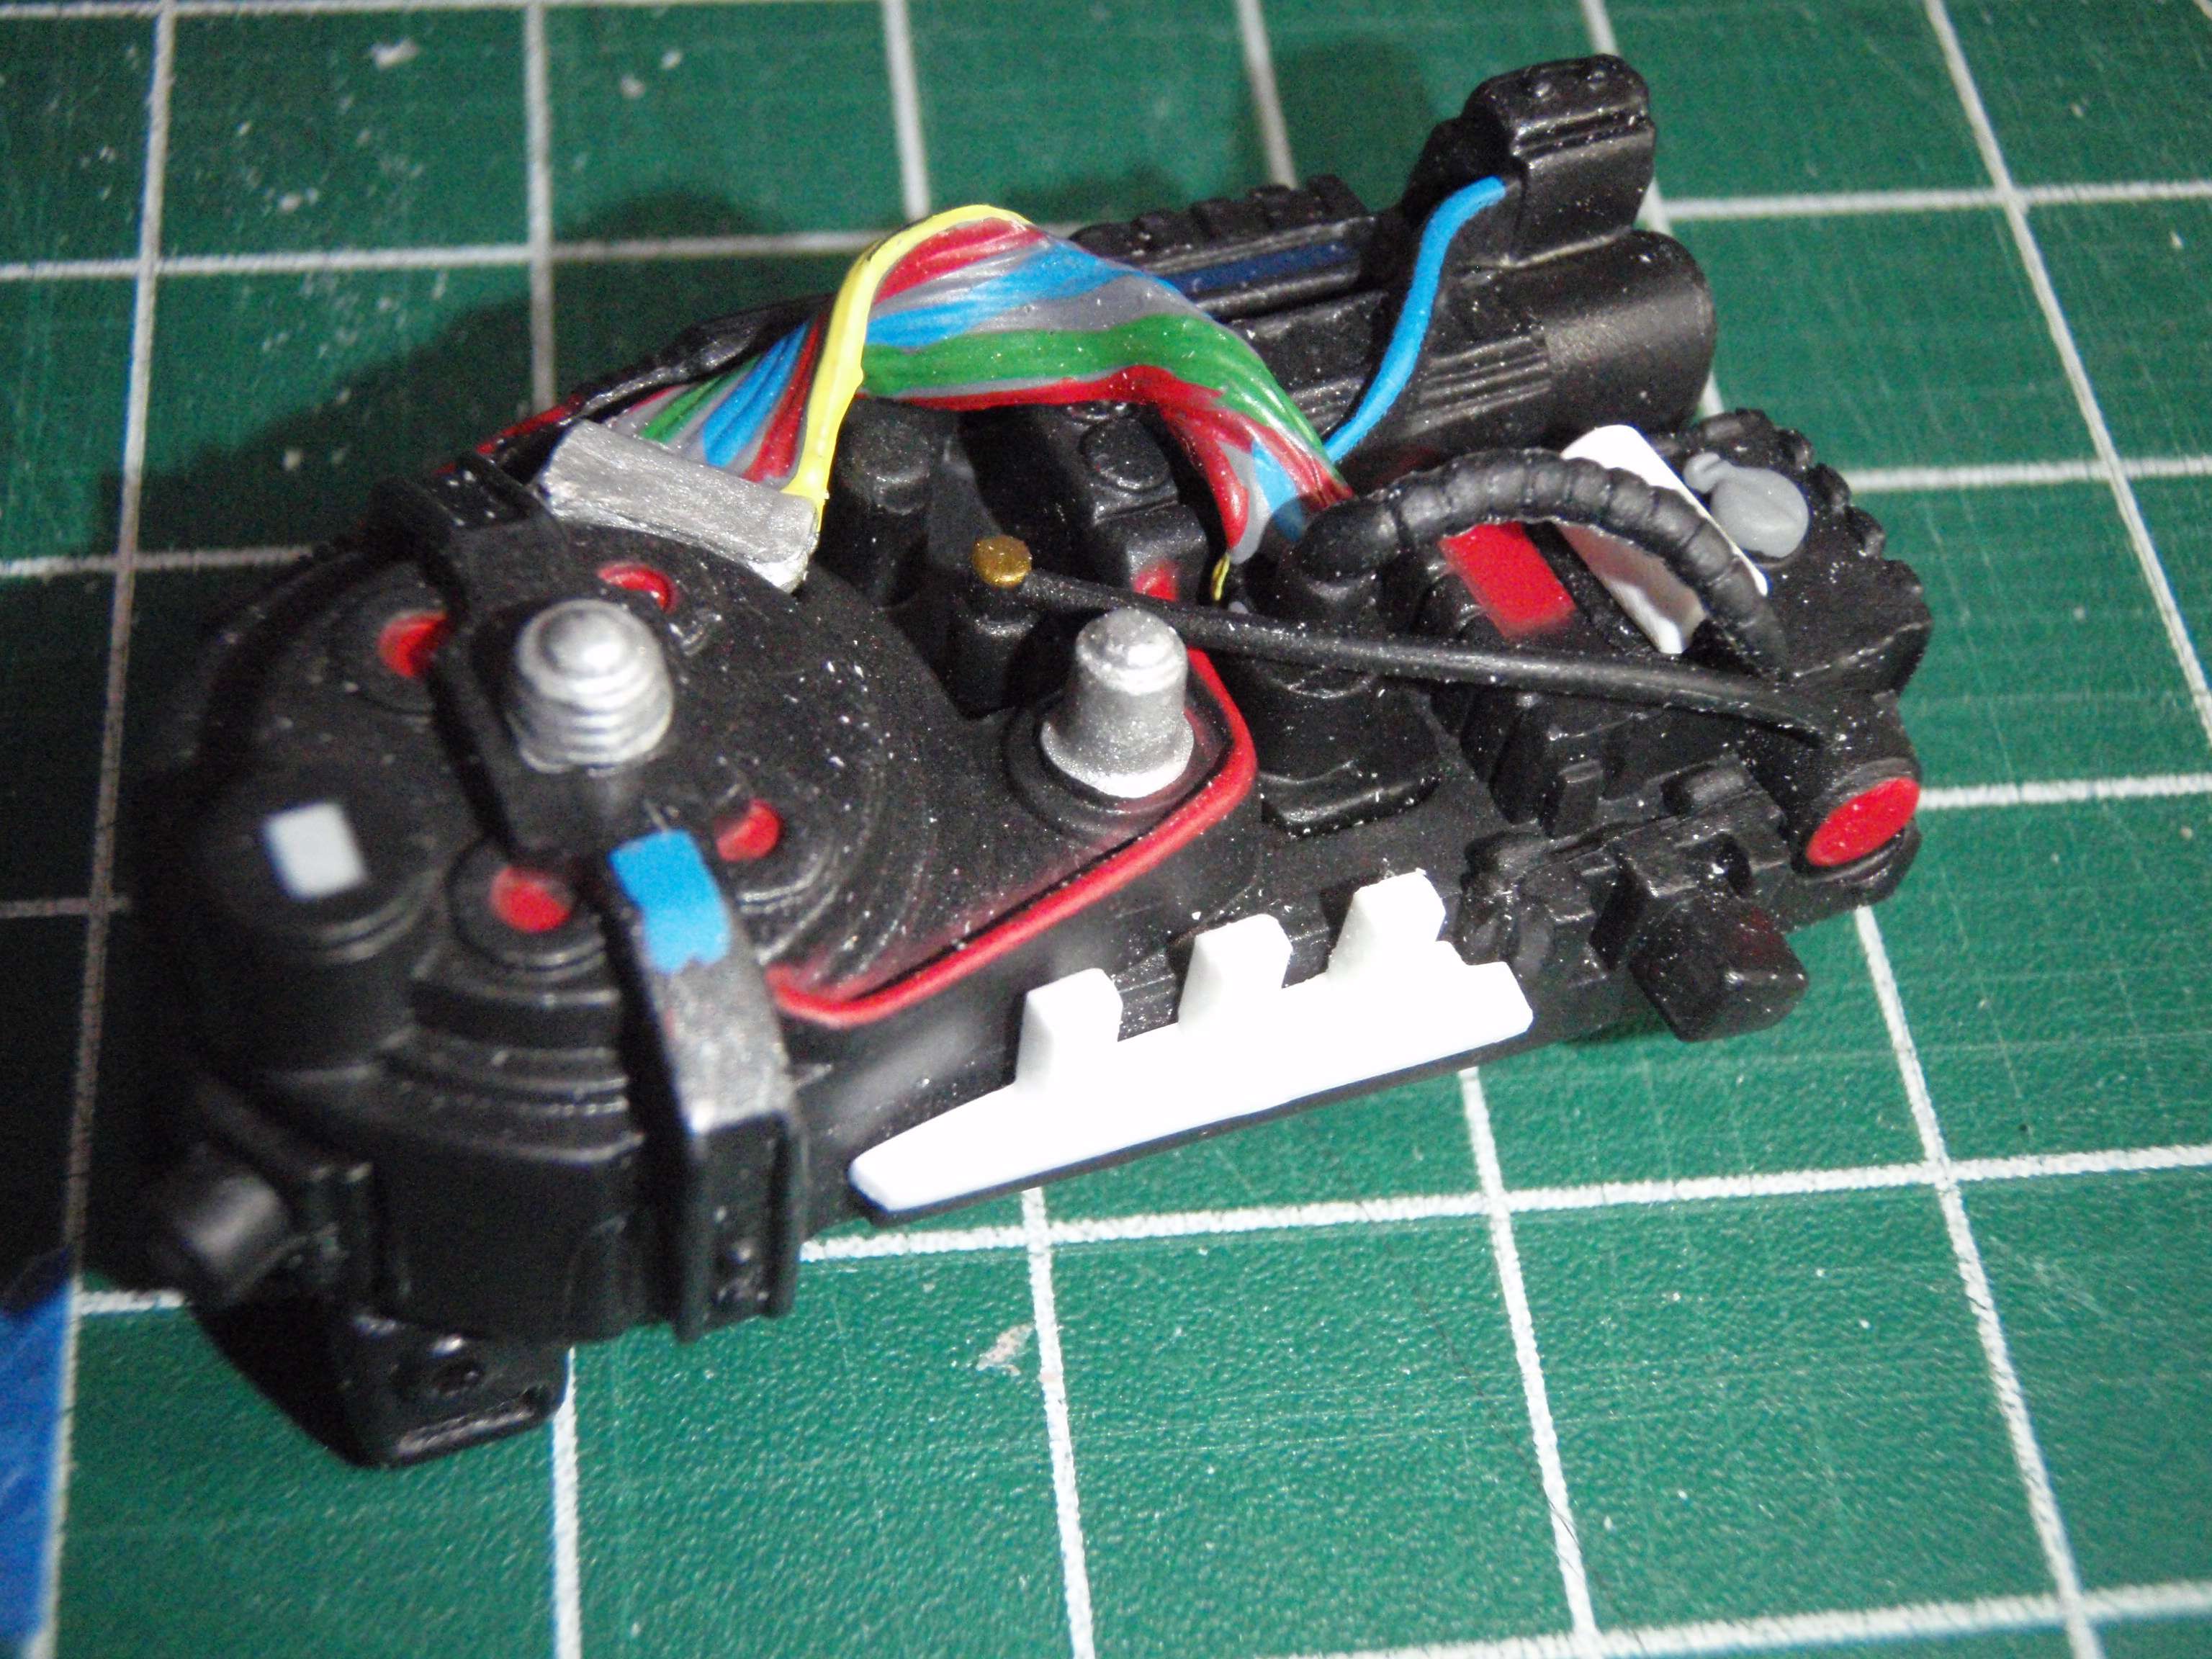
Cool, I'm always interested in what other people can come up with. Speaking of coming up with something, I think I've managed to make that Caged Light for the back of the Up Graded Pack. I did a little sewing with some wire and added a top coat of Super Glue to hold the "Cage" in place.

Image

The Crank Knob will have to be shaved off for it to fit correctly. That white thing is what the 2 Tubes will attach to. I think I might have to make a Face Plate that will hold the Vent, Caged Light and those 2 Tubes that come out the bottom of the Generator Box. Any other thoughts on this?

Image

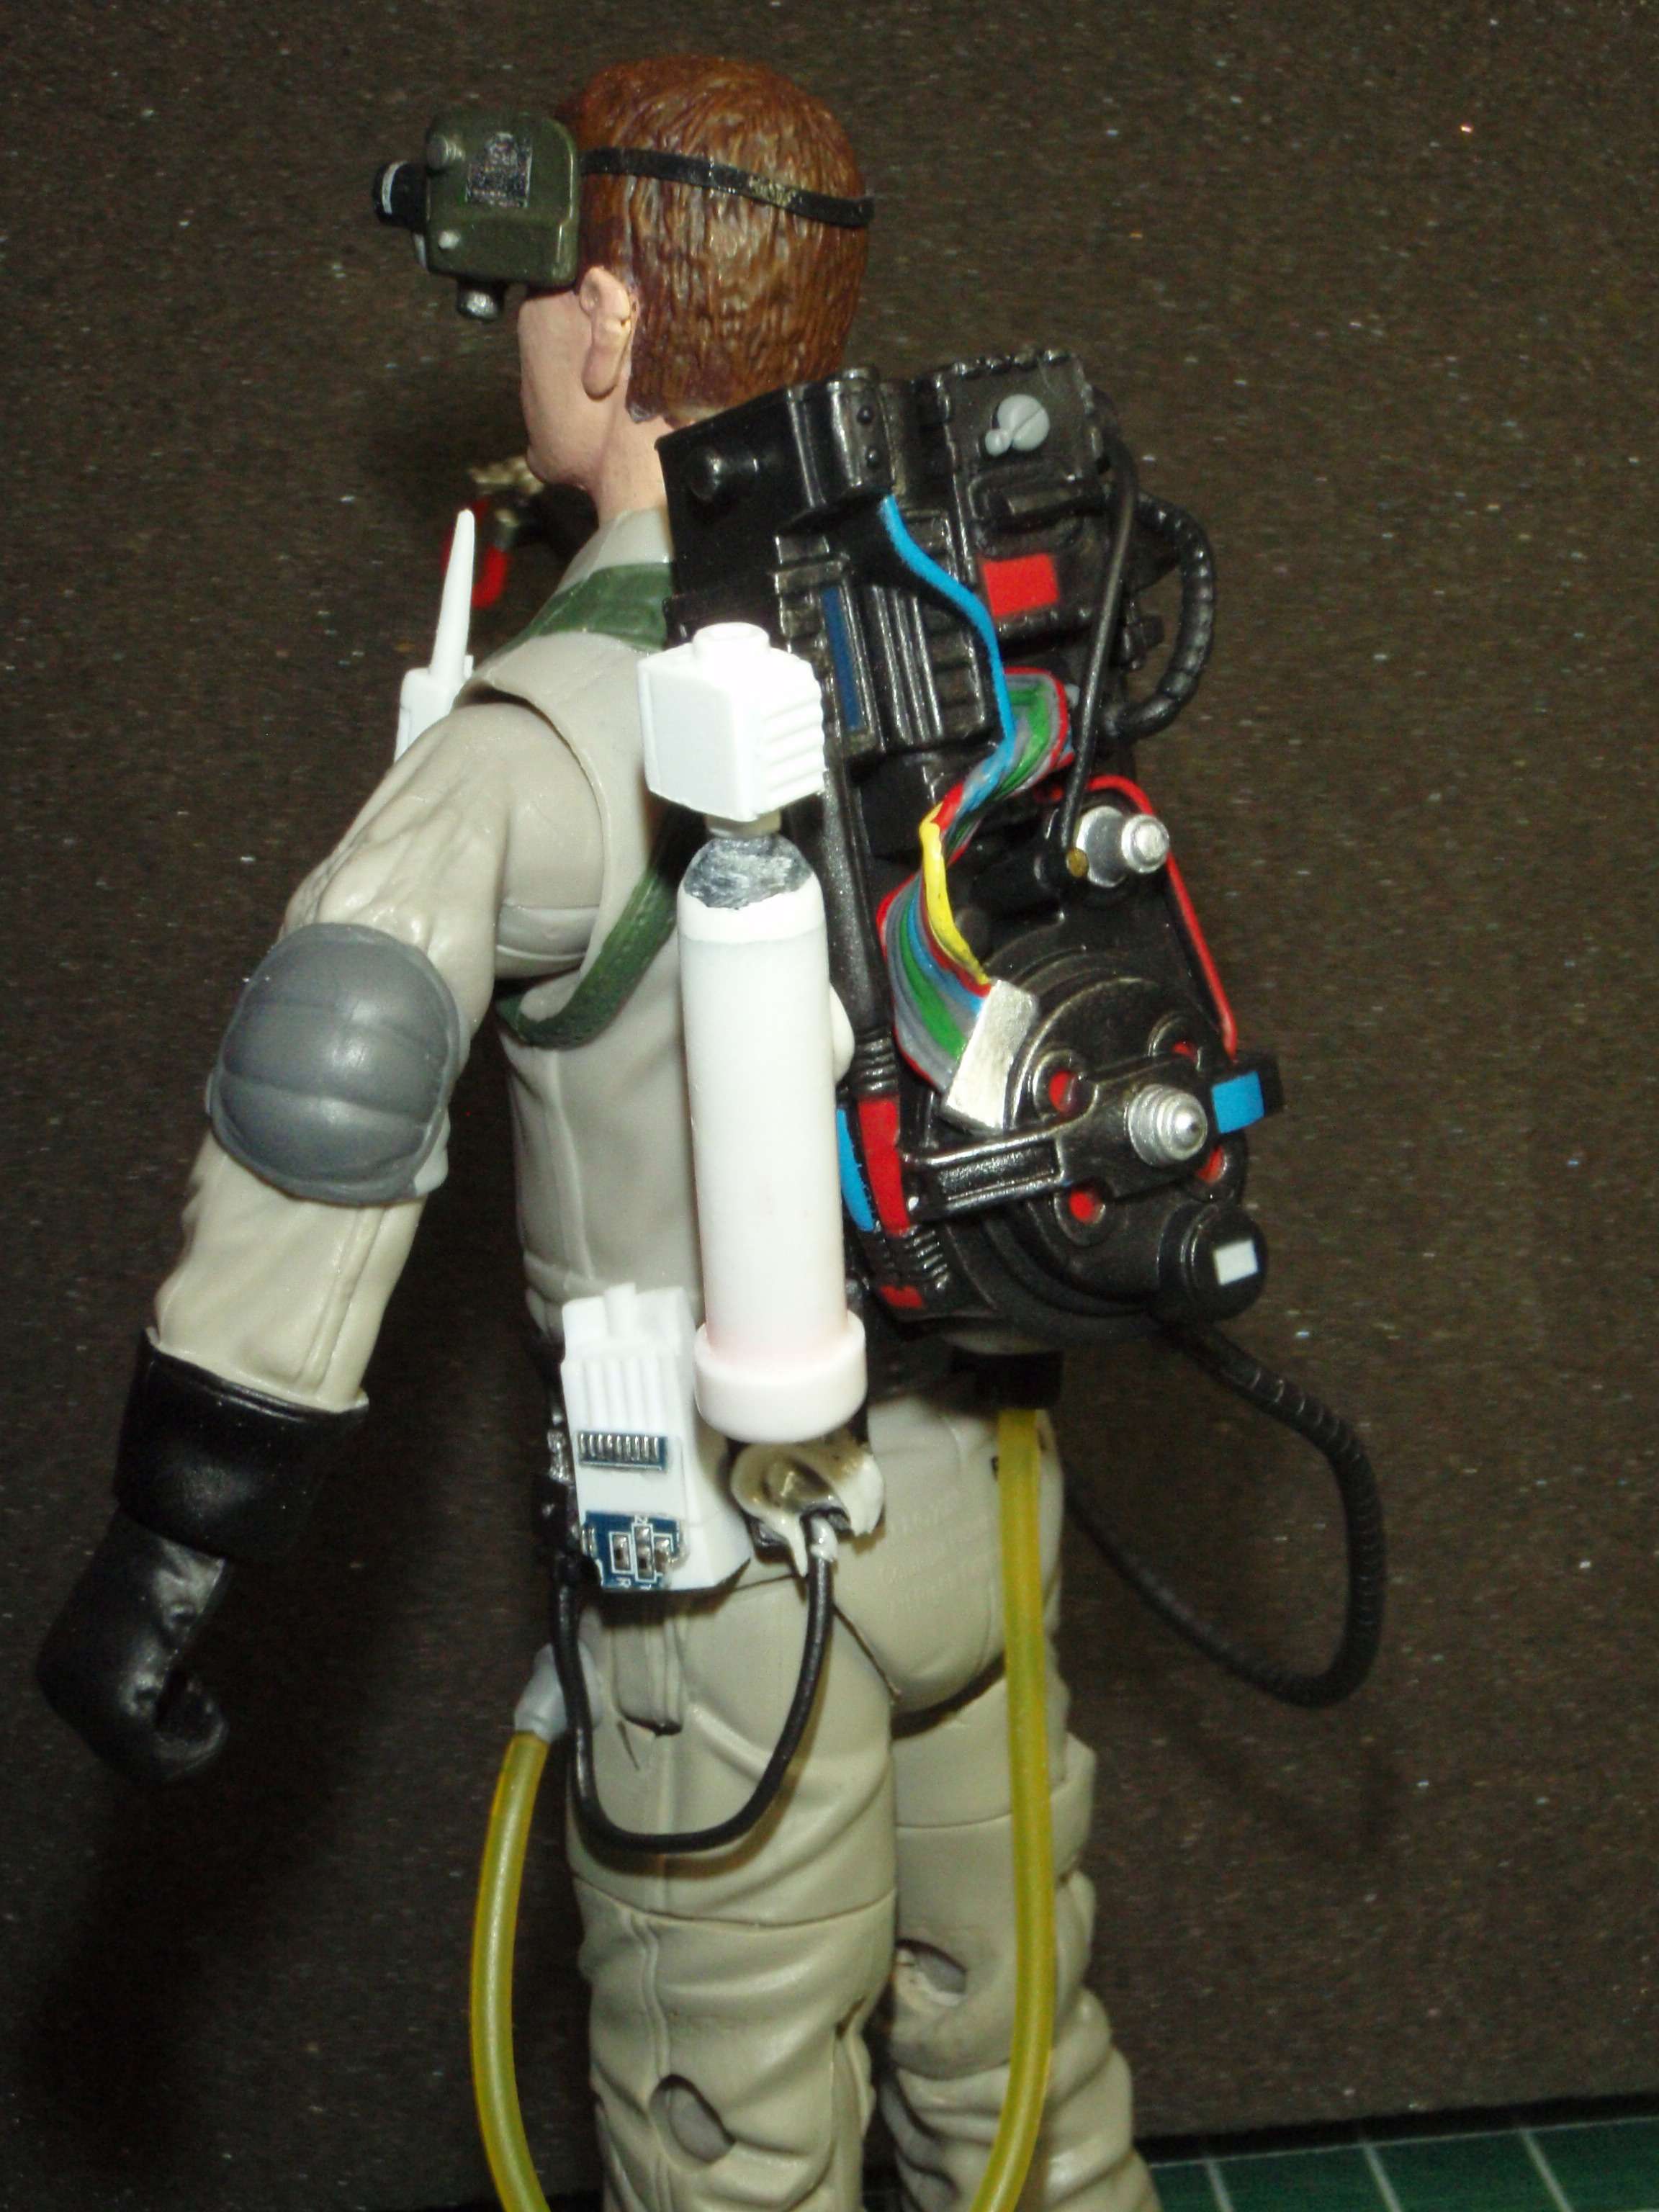
I worked a little more on the Slime Tank Coupling. I have to start on the Control Box that sits on the side. You may have noticed that the Trap is missing in this picture.

Image

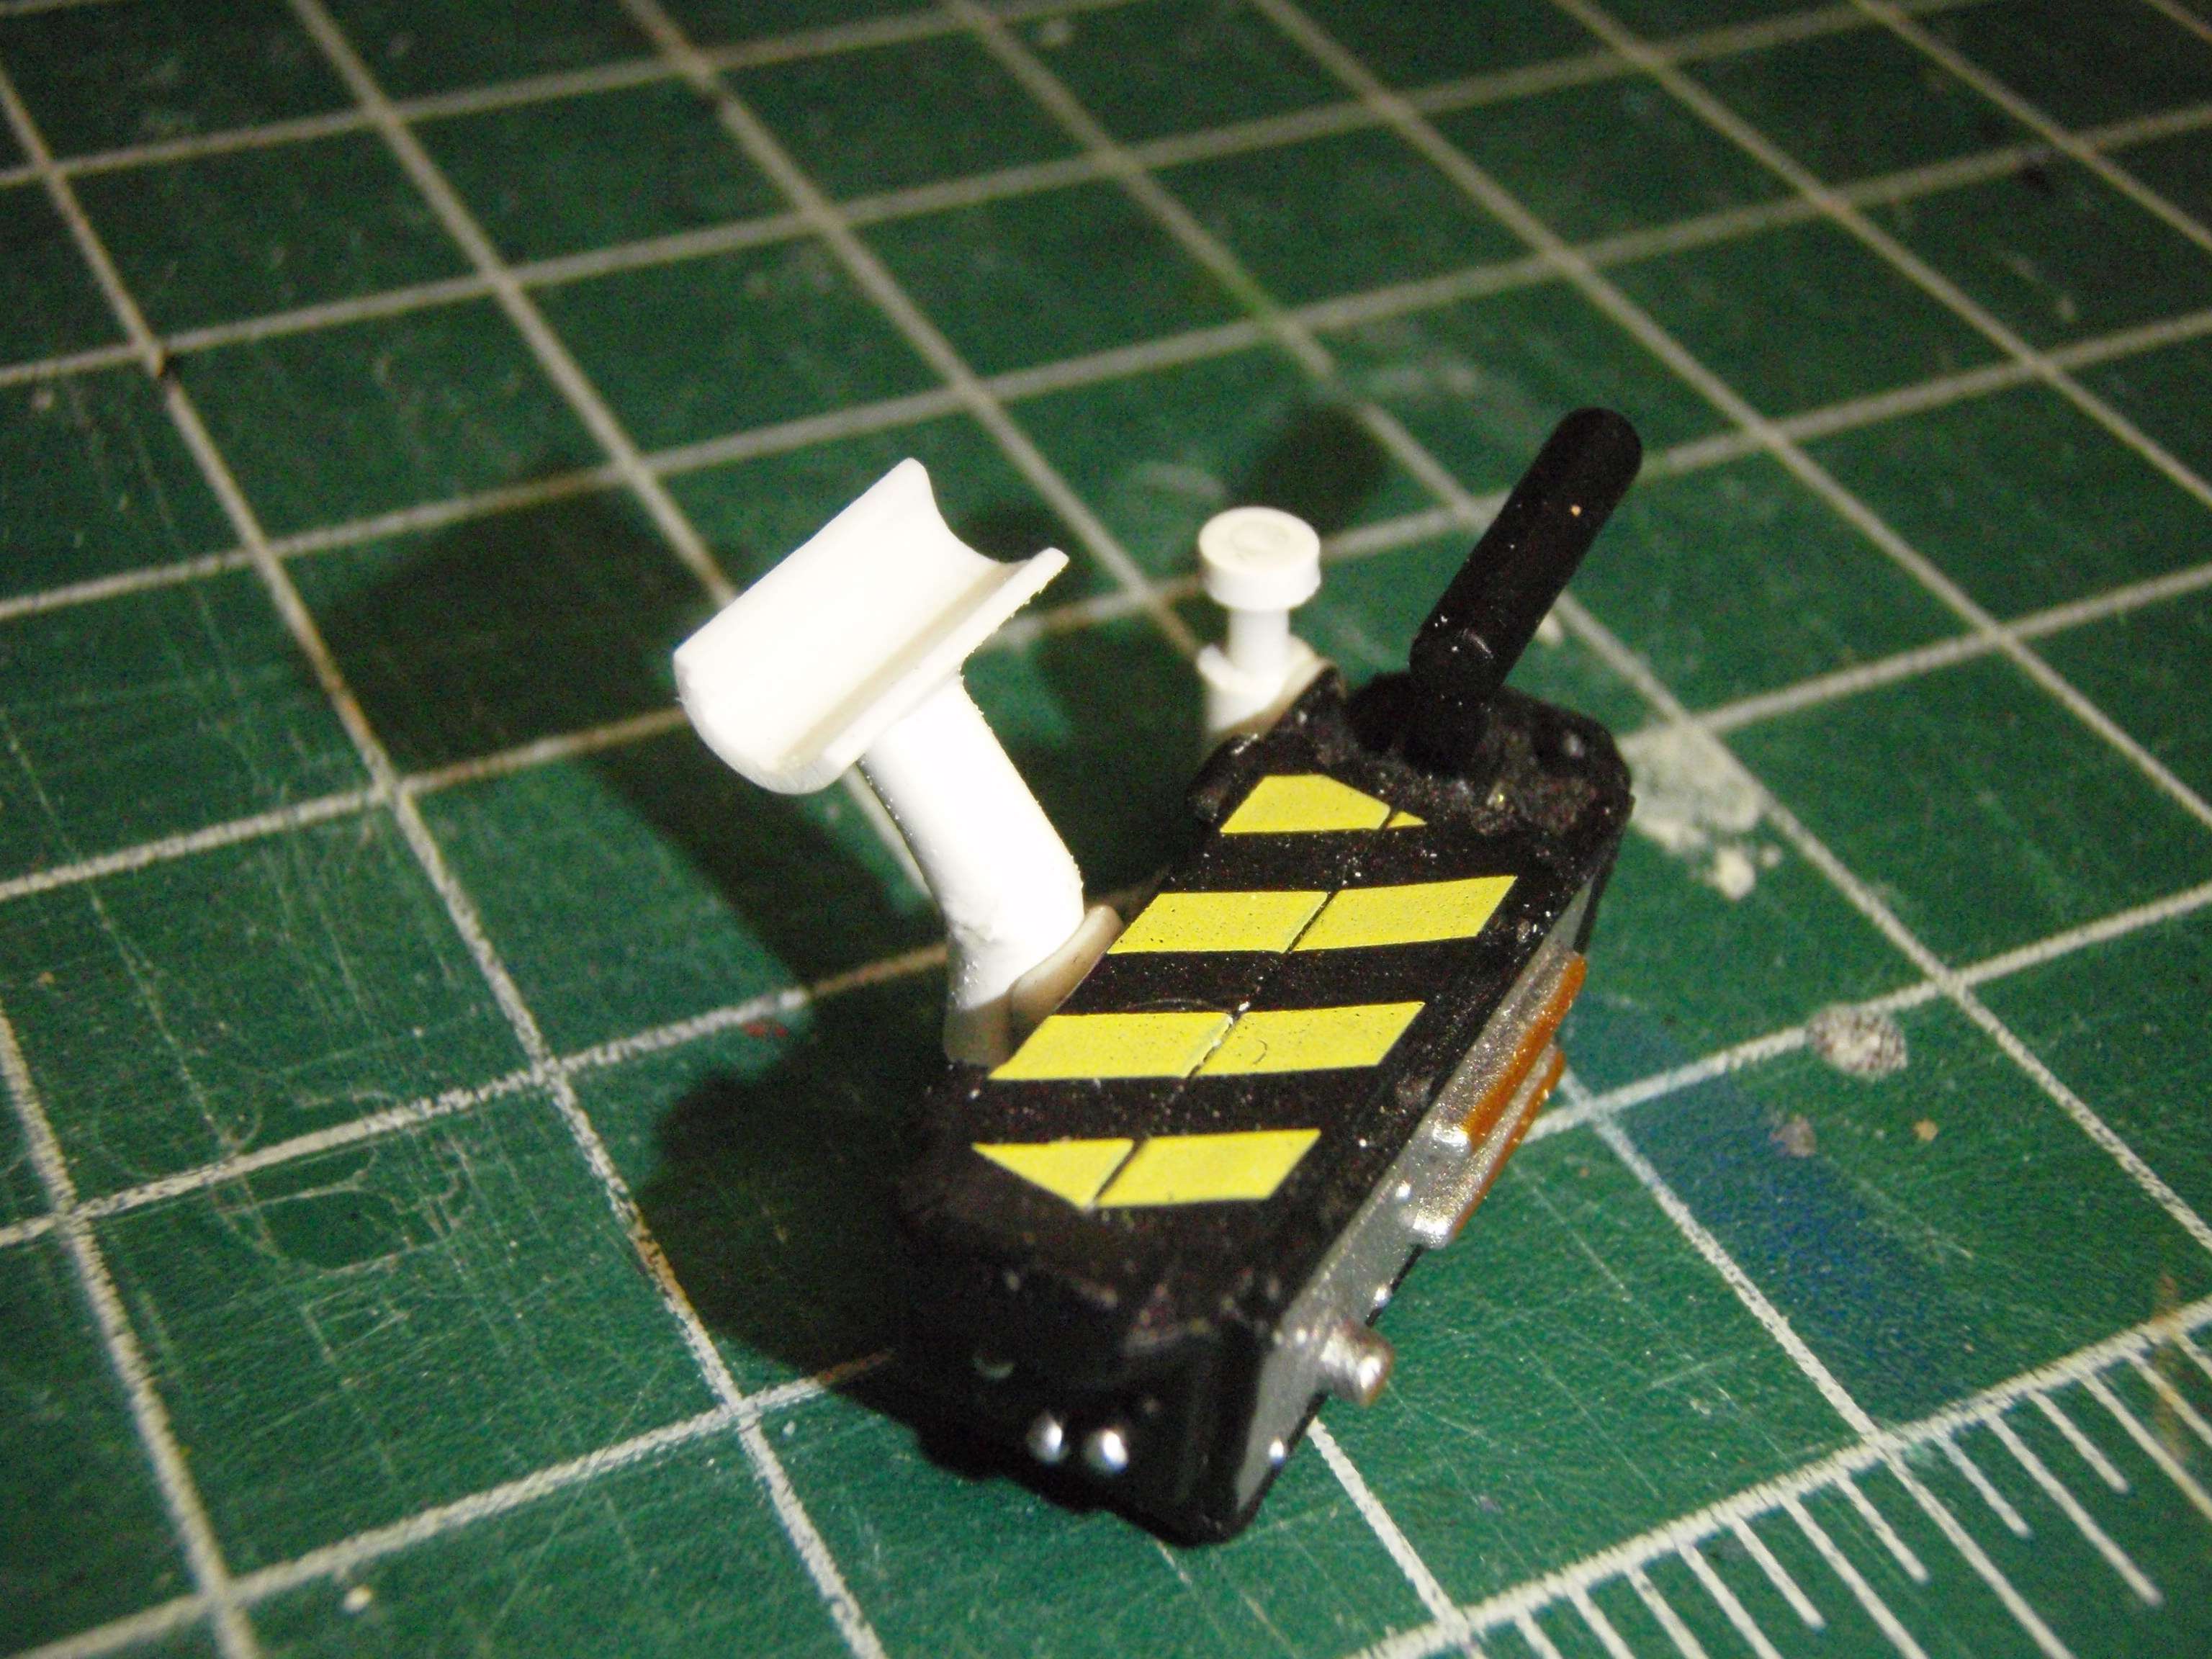
That's because I started on the Trap Upgrades.

Image

I'm working on making the Flexible Conduit that runs between these 2 pieces.

Image

That's it for this time. Any questions, comments or ideas, please drop 'em here.
User avatar
By joeghostbuster
#382850
Capt have you thought about the idea of a full pack replacement? instead of sculpting individual bits and bobs and attaching them to the matty pack, perhaps a completely new pack sculpt with all the game details added, and then just make 1 cast, then people remove the matty pack from their figure and glue on your pack?
User avatar
By CaptCyan
#382854
Thought about it, but it couldn't be done in just 1 piece. So, what about the parts I've already got going? Any glaring mistakes that I've made?
User avatar
By Mereel
#382933
Another great update capt!

Your solution for making the small caged light turned out really well! The only thing that stuck out to me was I think the cage only has one wire going horizontally across? Other than that, the shape and the fact its on a (styrene) plate is all perfect.

The trap also looks to be off to a great start! I was curious if you were going to shorten the height of the 'vacuum' attachment part so it sits closer to the trap top/doors?

With the other trap addition you've made, I think the smaller diameter rod between the top and bottom pieces could actually be a little longer than the bottom piece, while keeping the whole thing the same overall size. . .if that makes sense? lol

Love seeing the Lifegard on the belt too!!
User avatar
By CaptCyan
#382952
Your solution for making the small caged light turned out really well! The only thing that stuck out to me was I think the cage only has one wire going horizontally across? Other than that, the shape and the fact its on a (styrene) plate is all perfect.

You are correct, sir! I think I need to move my computer into the basement near my workbench so I can check this stuff while I build. :lol:

The trap also looks to be off to a great start! I was curious if you were going to shorten the height of the 'vacuum' attachment part so it sits closer to the trap top/doors?

Yes. that and the piece below the bend are a bit too long.

With the other trap addition you've made, I think the smaller diameter rod between the top and bottom pieces could actually be a little longer than the bottom piece, while keeping the whole thing the same overall size. . .if that makes sense?

I know which part you mean.That top (eyepiece?) could be thinner too. All good calls Mereel. That's why I ask for comments. :wink:
User avatar
By Mereel
#383309
Hey Capt!

The changes you made look great and the conduit is really cool, spot on! Did you have any plans on adding small 'sides' to the vacuum attachment thing?

It's coming along!
By henz
#383346
Looks fantastic as usual. Great attention to detail, I don't even notice these little bits and pieces in the game until I see your recreation.
User avatar
By CaptCyan
#383495
Thanks guys!
Mereel wrote:Did you have any plans on adding small 'sides' to the vacuum attachment thing?
I thought about adding thje "Bristles", but figured they would be really good at trapping air when it came to casting them, so I will leave them off.

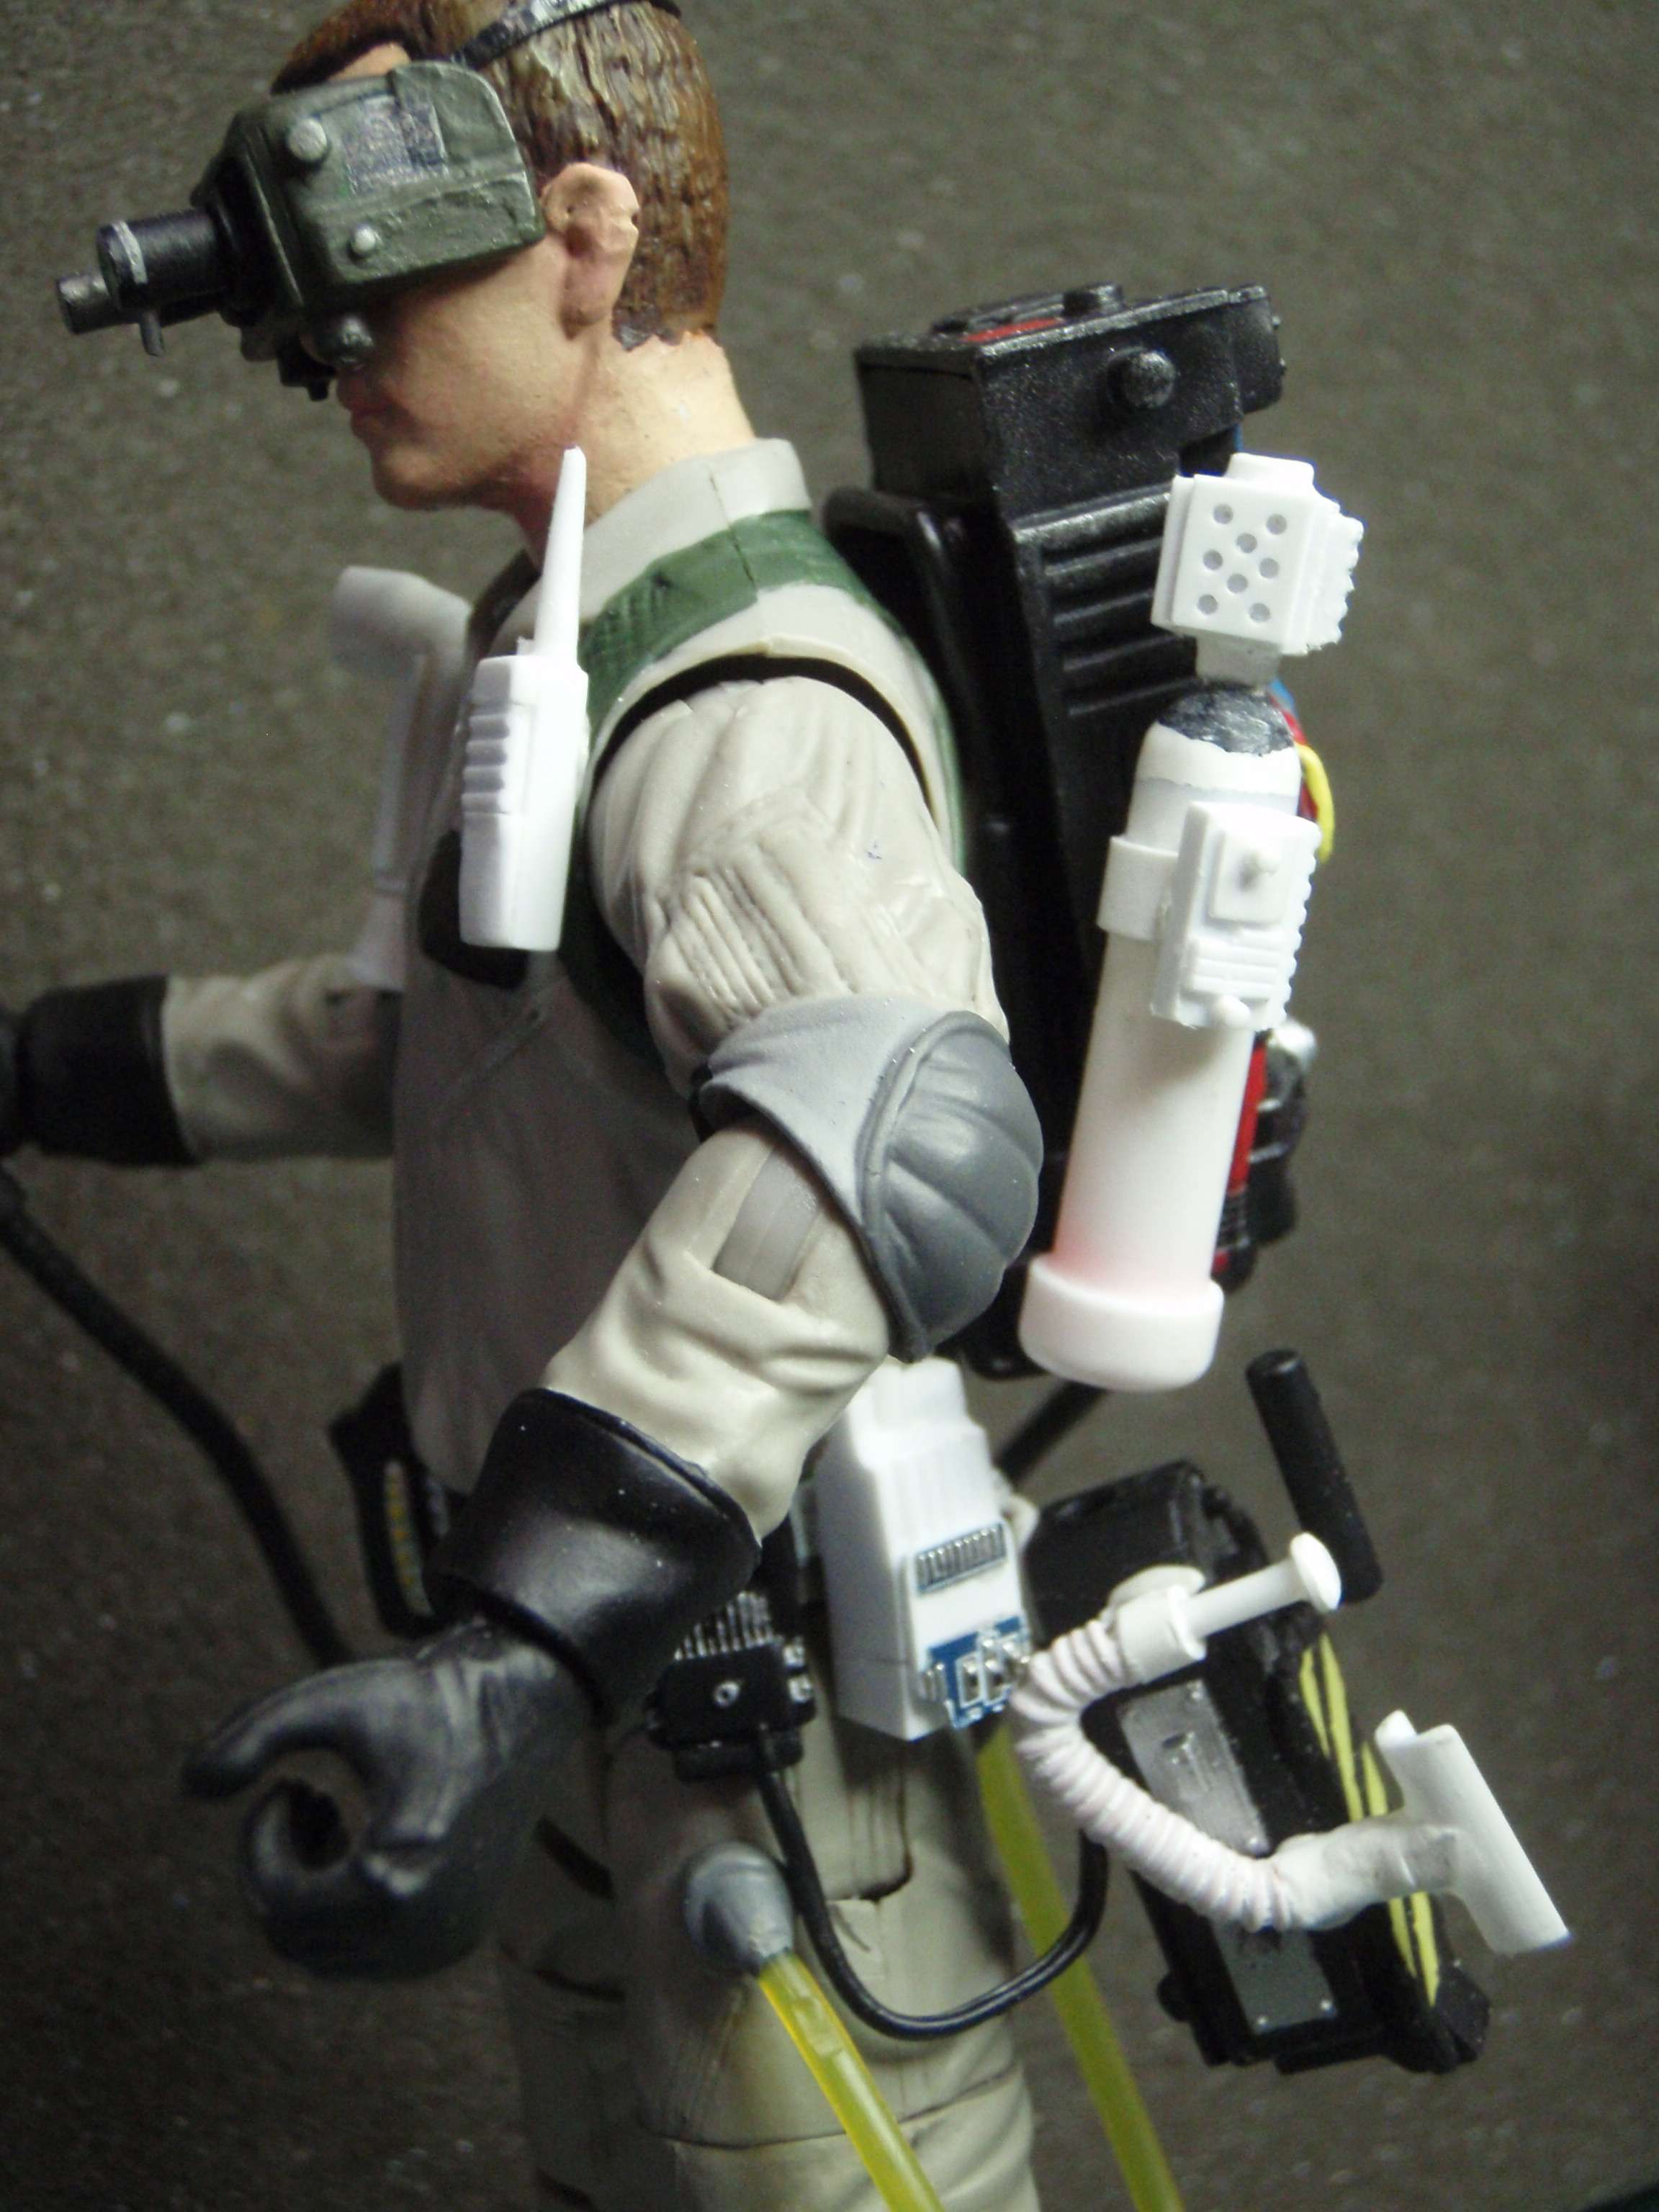
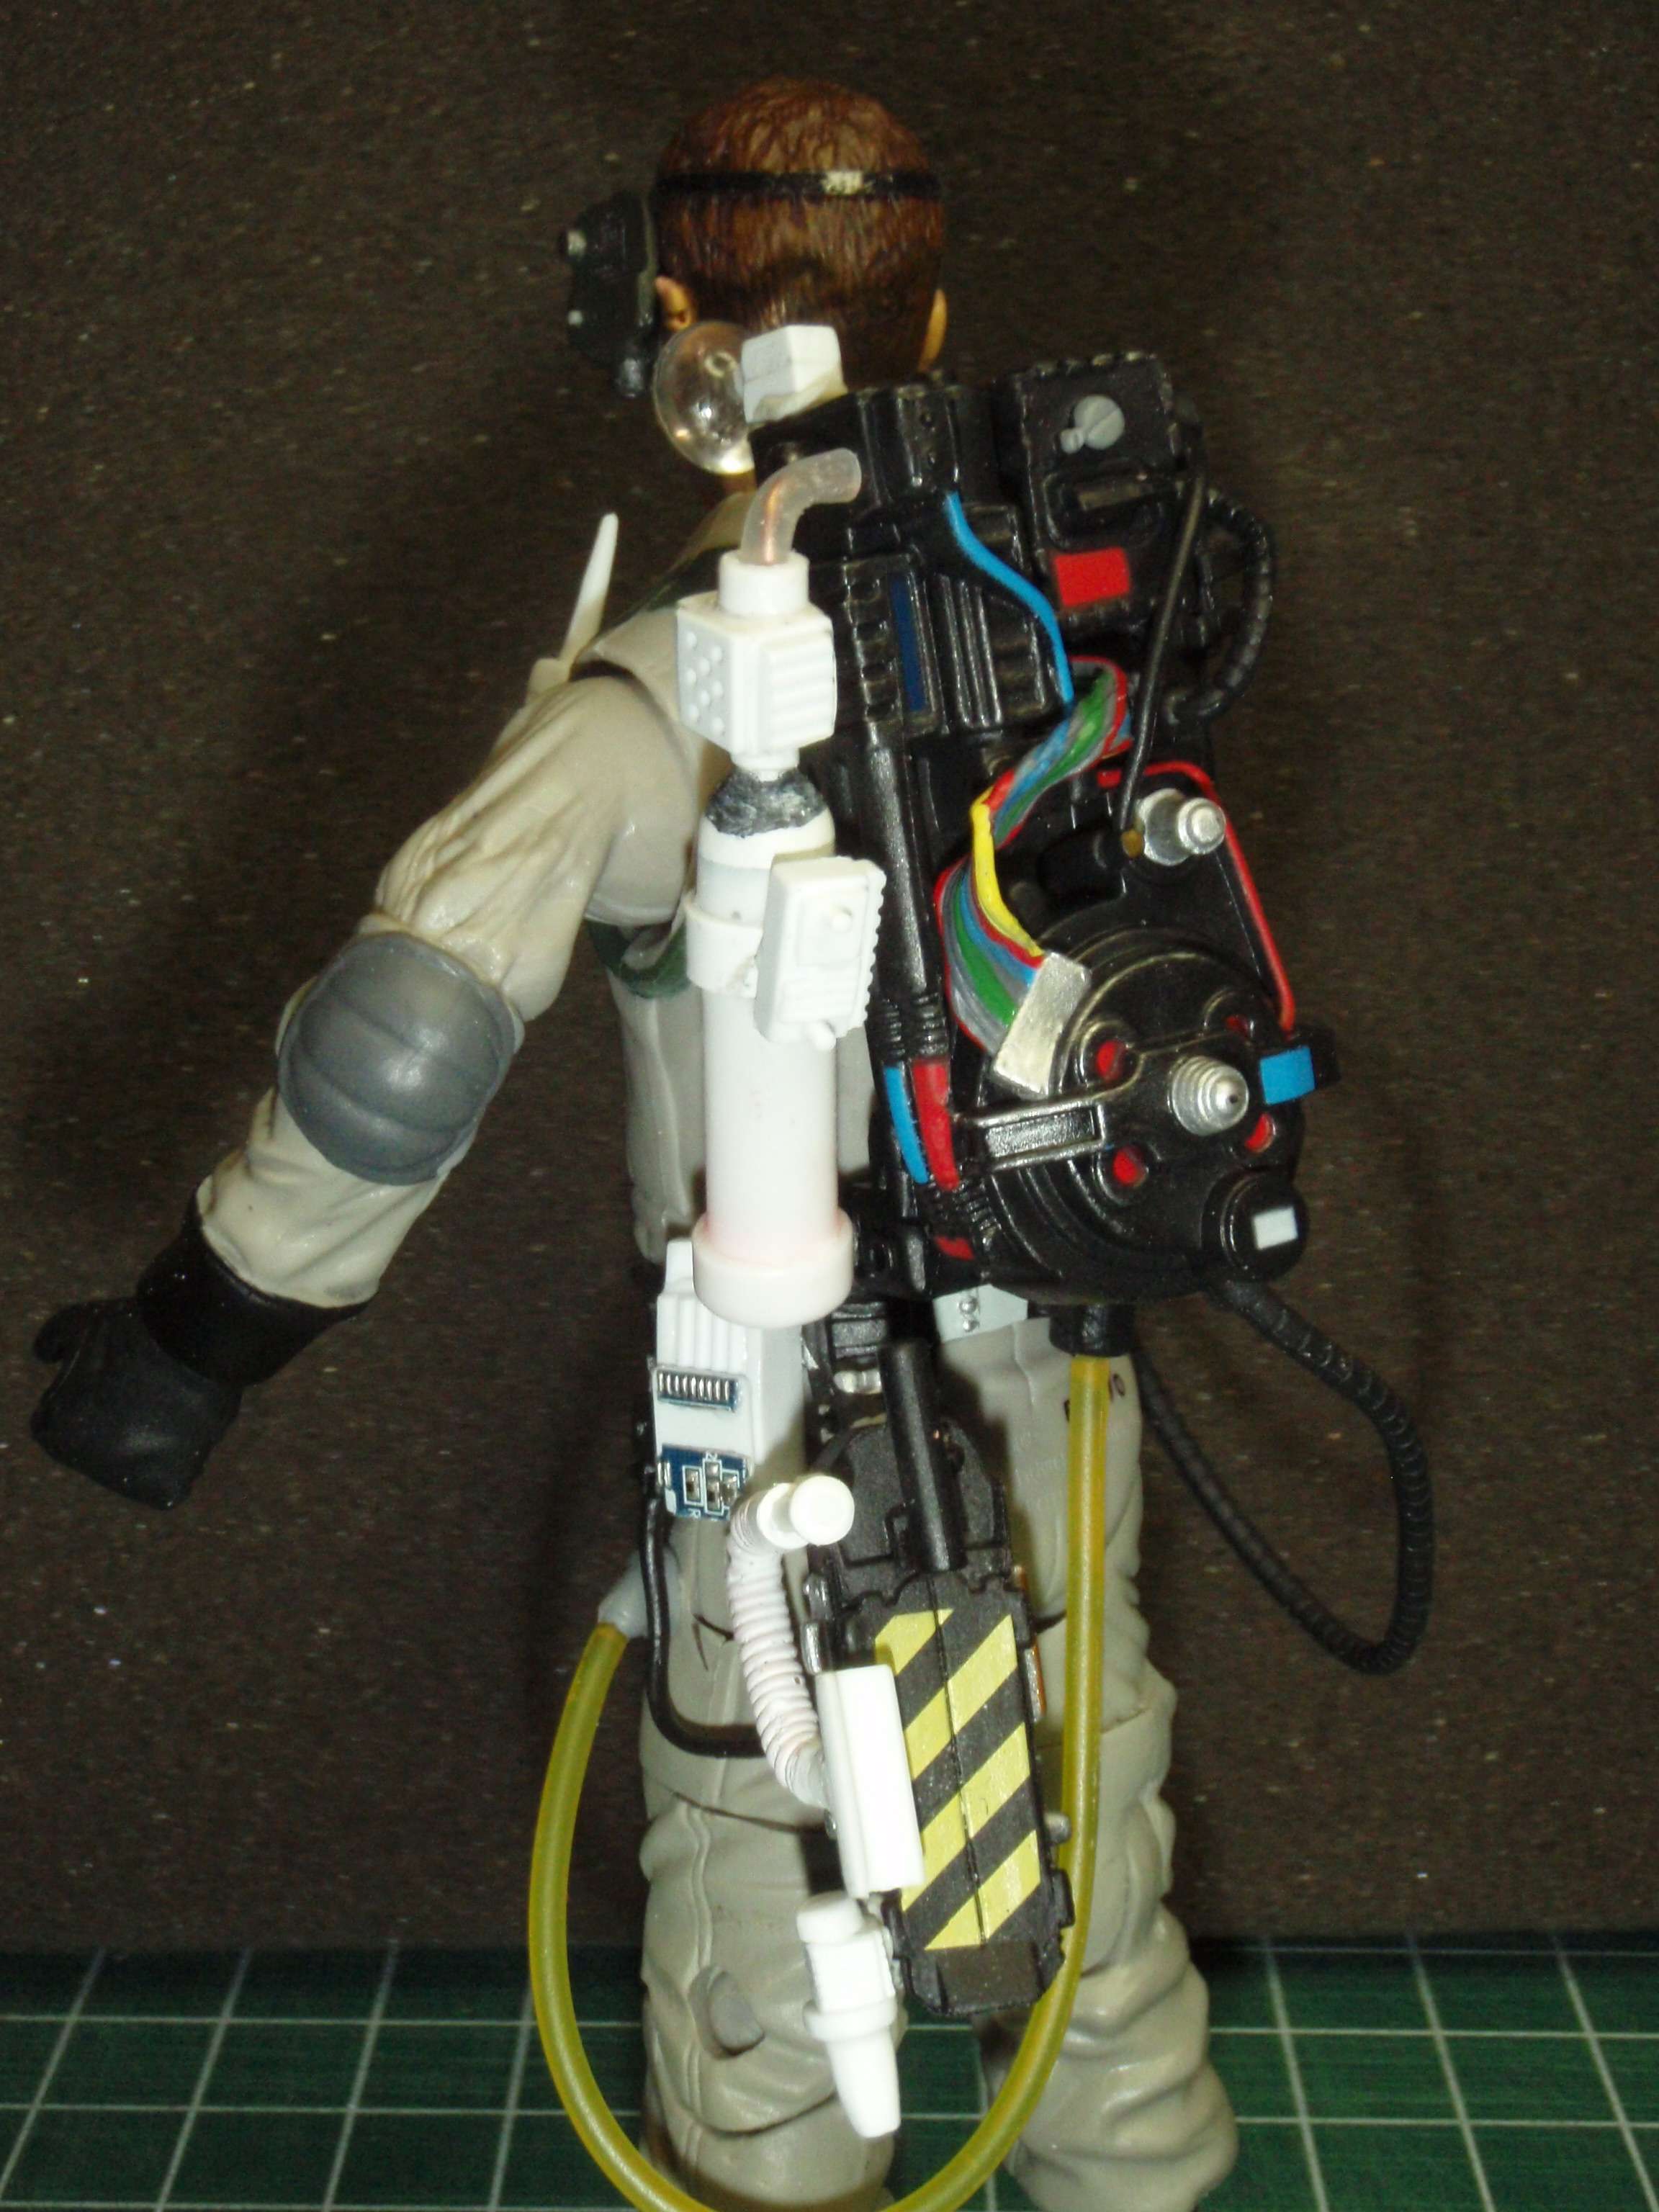
Did some work on the Tank Valve and the Project Box that sits on the side of the Tank. He's starting to get "full".


Image
By henz
#383550
Wow it's looking "full" indeed. I'm in awe of your attention to fine details. I can sculpt heads and faces all day but knobs and guages intimidate me lol
User avatar
By CaptCyan
#383635
henz wrote:I can sculpt heads and faces all day but knobs and guages intimidate me lol
Really? I'm just about the opposite. Do you have any pictures of your work that you would care to share?

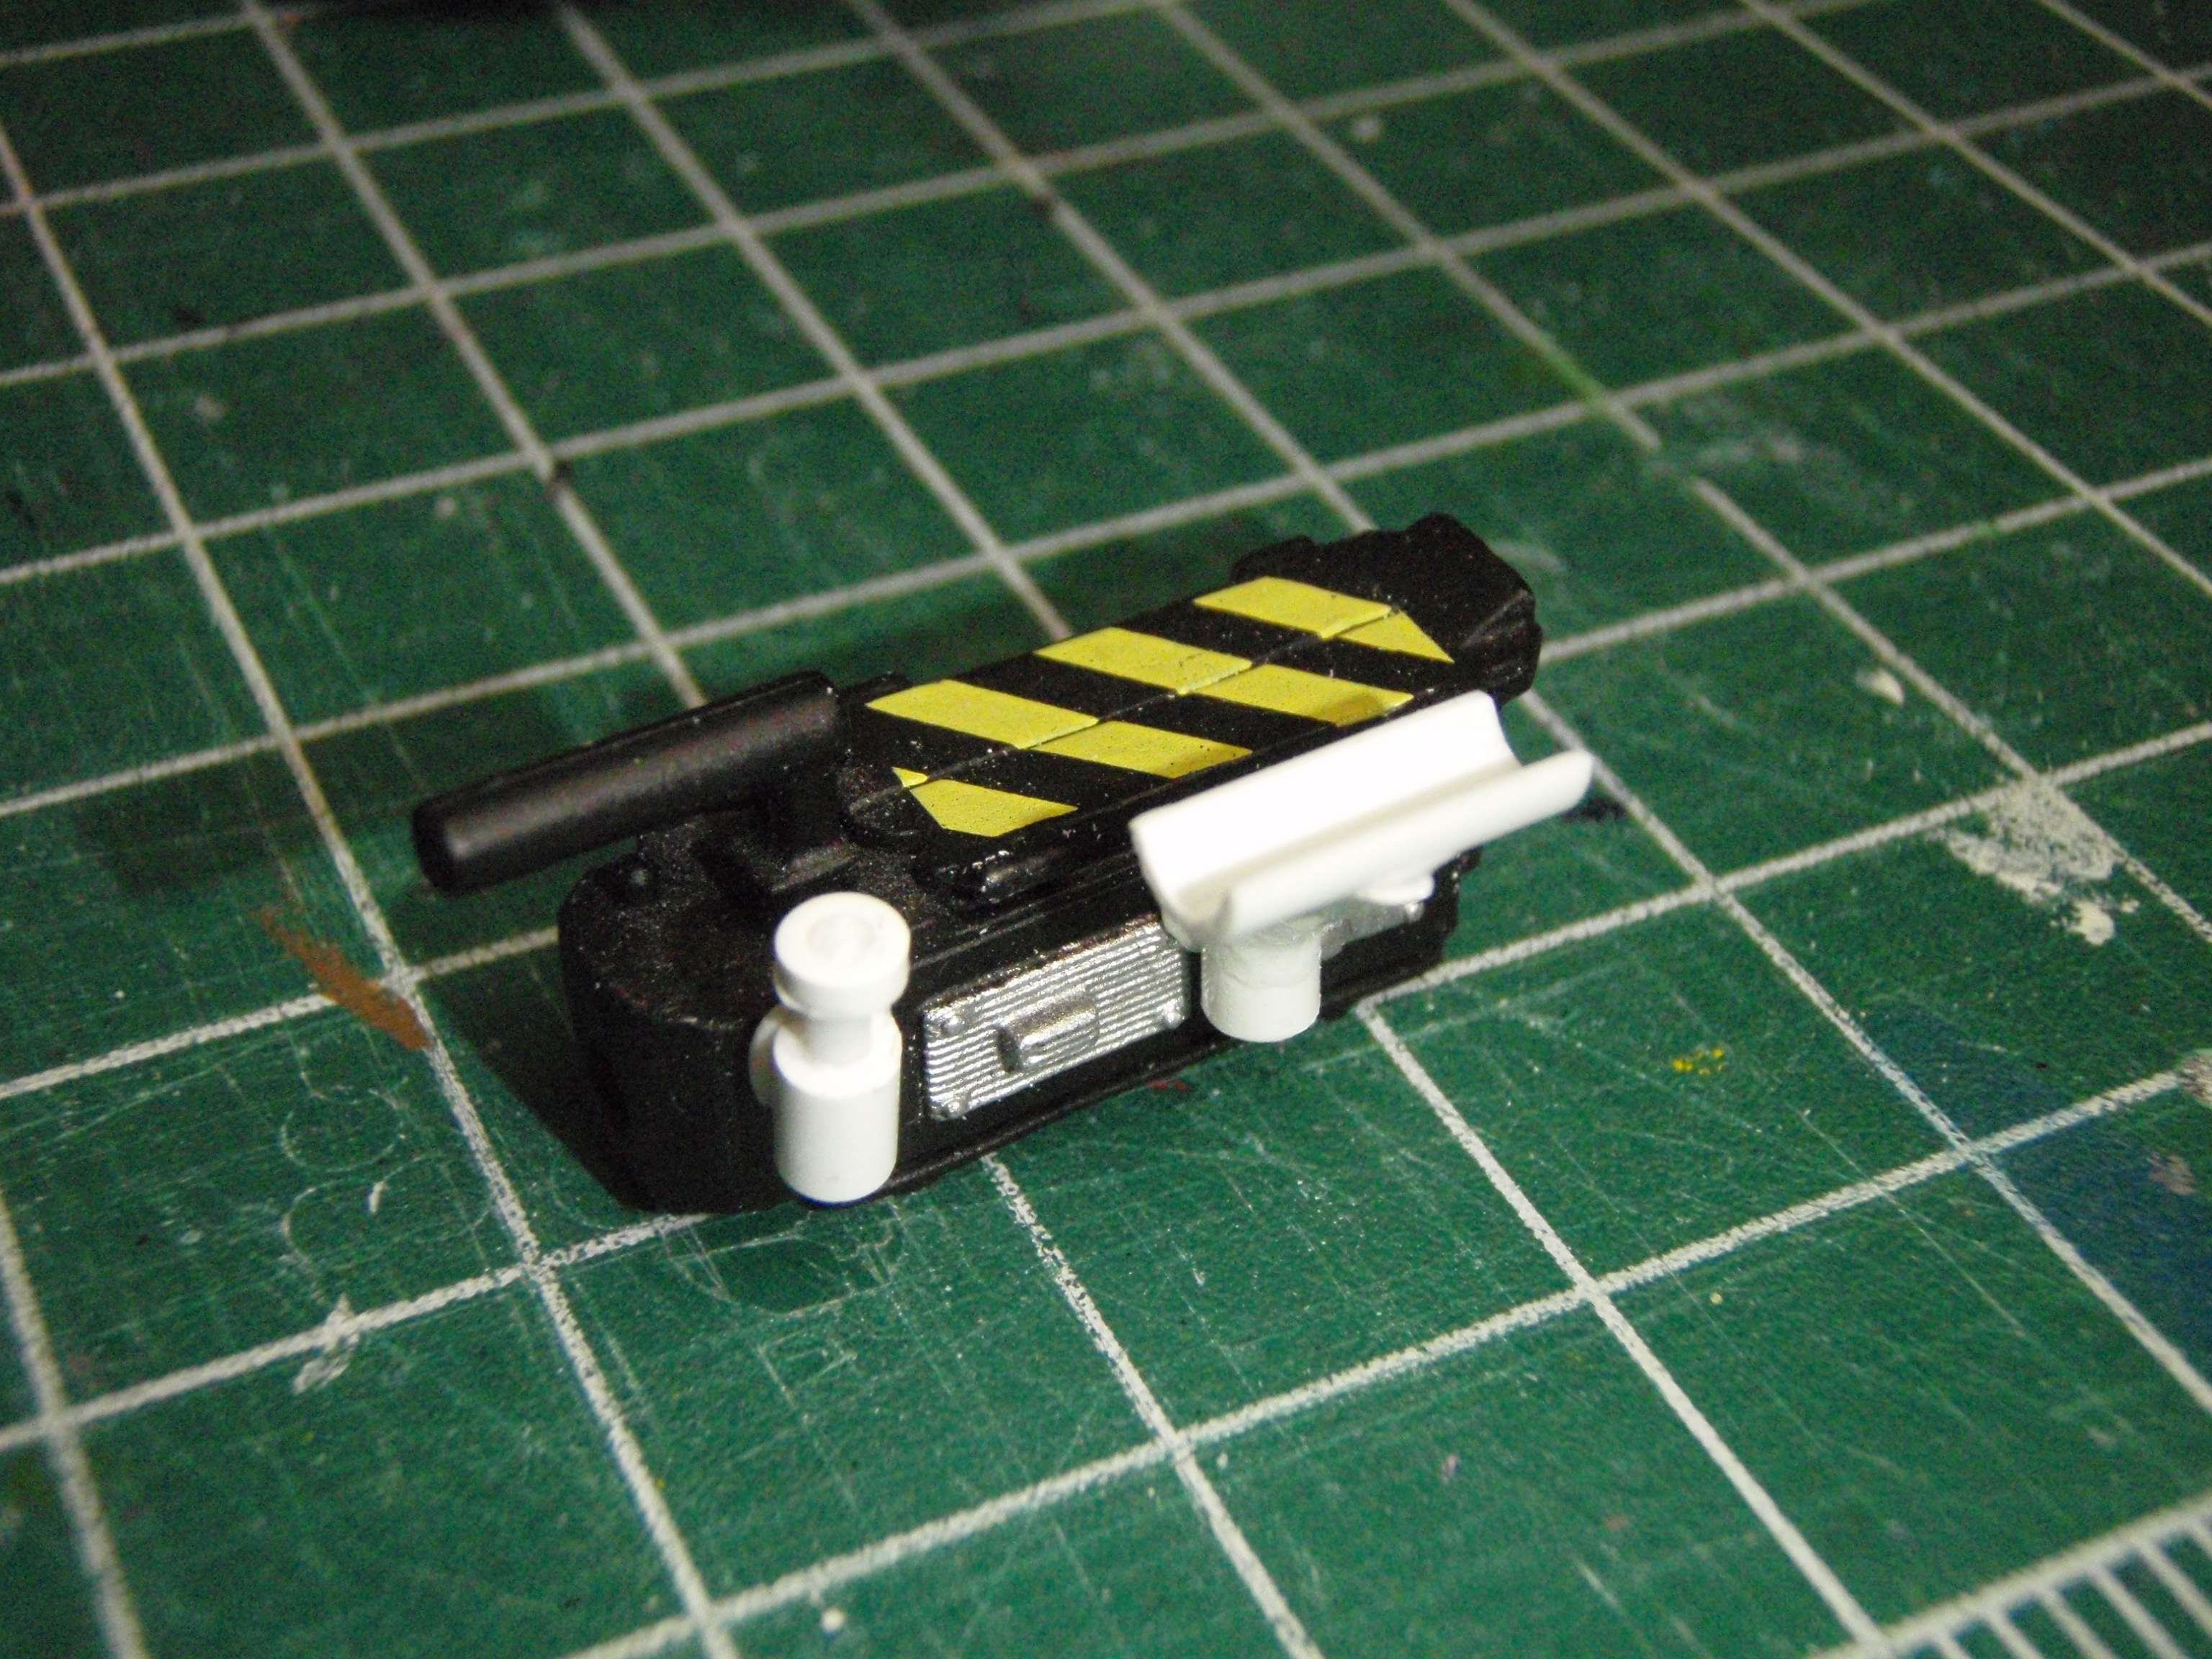
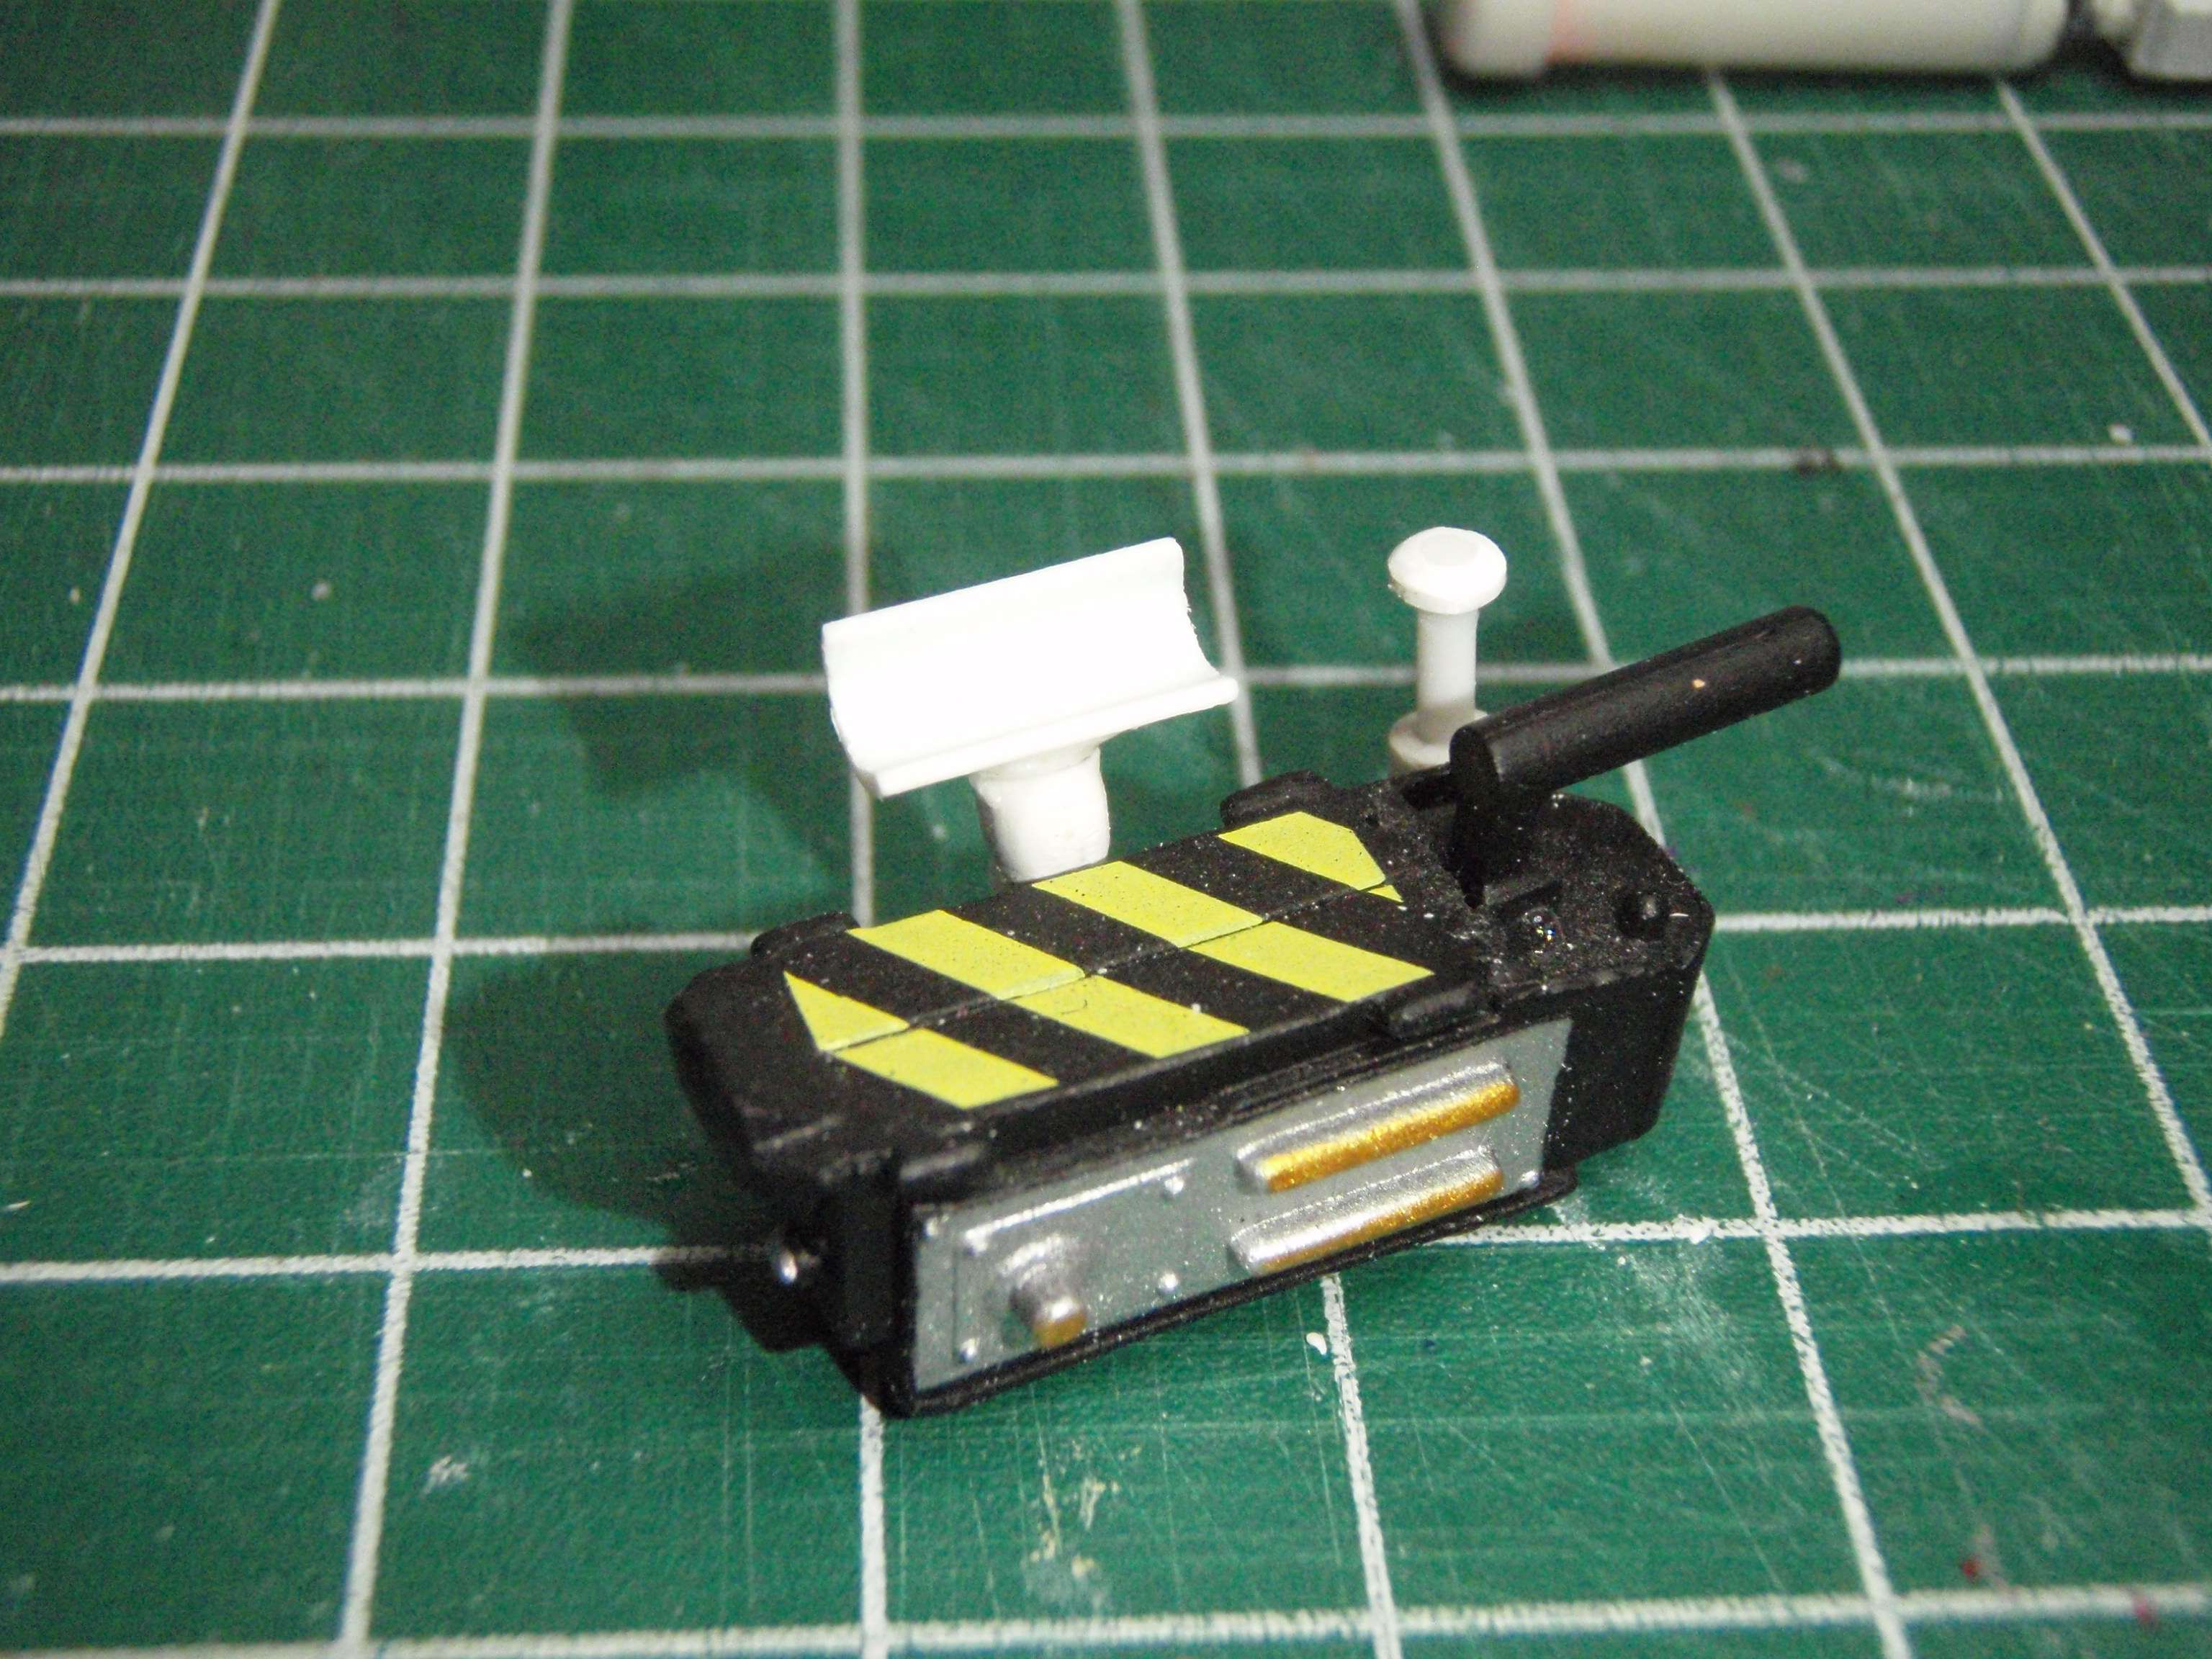
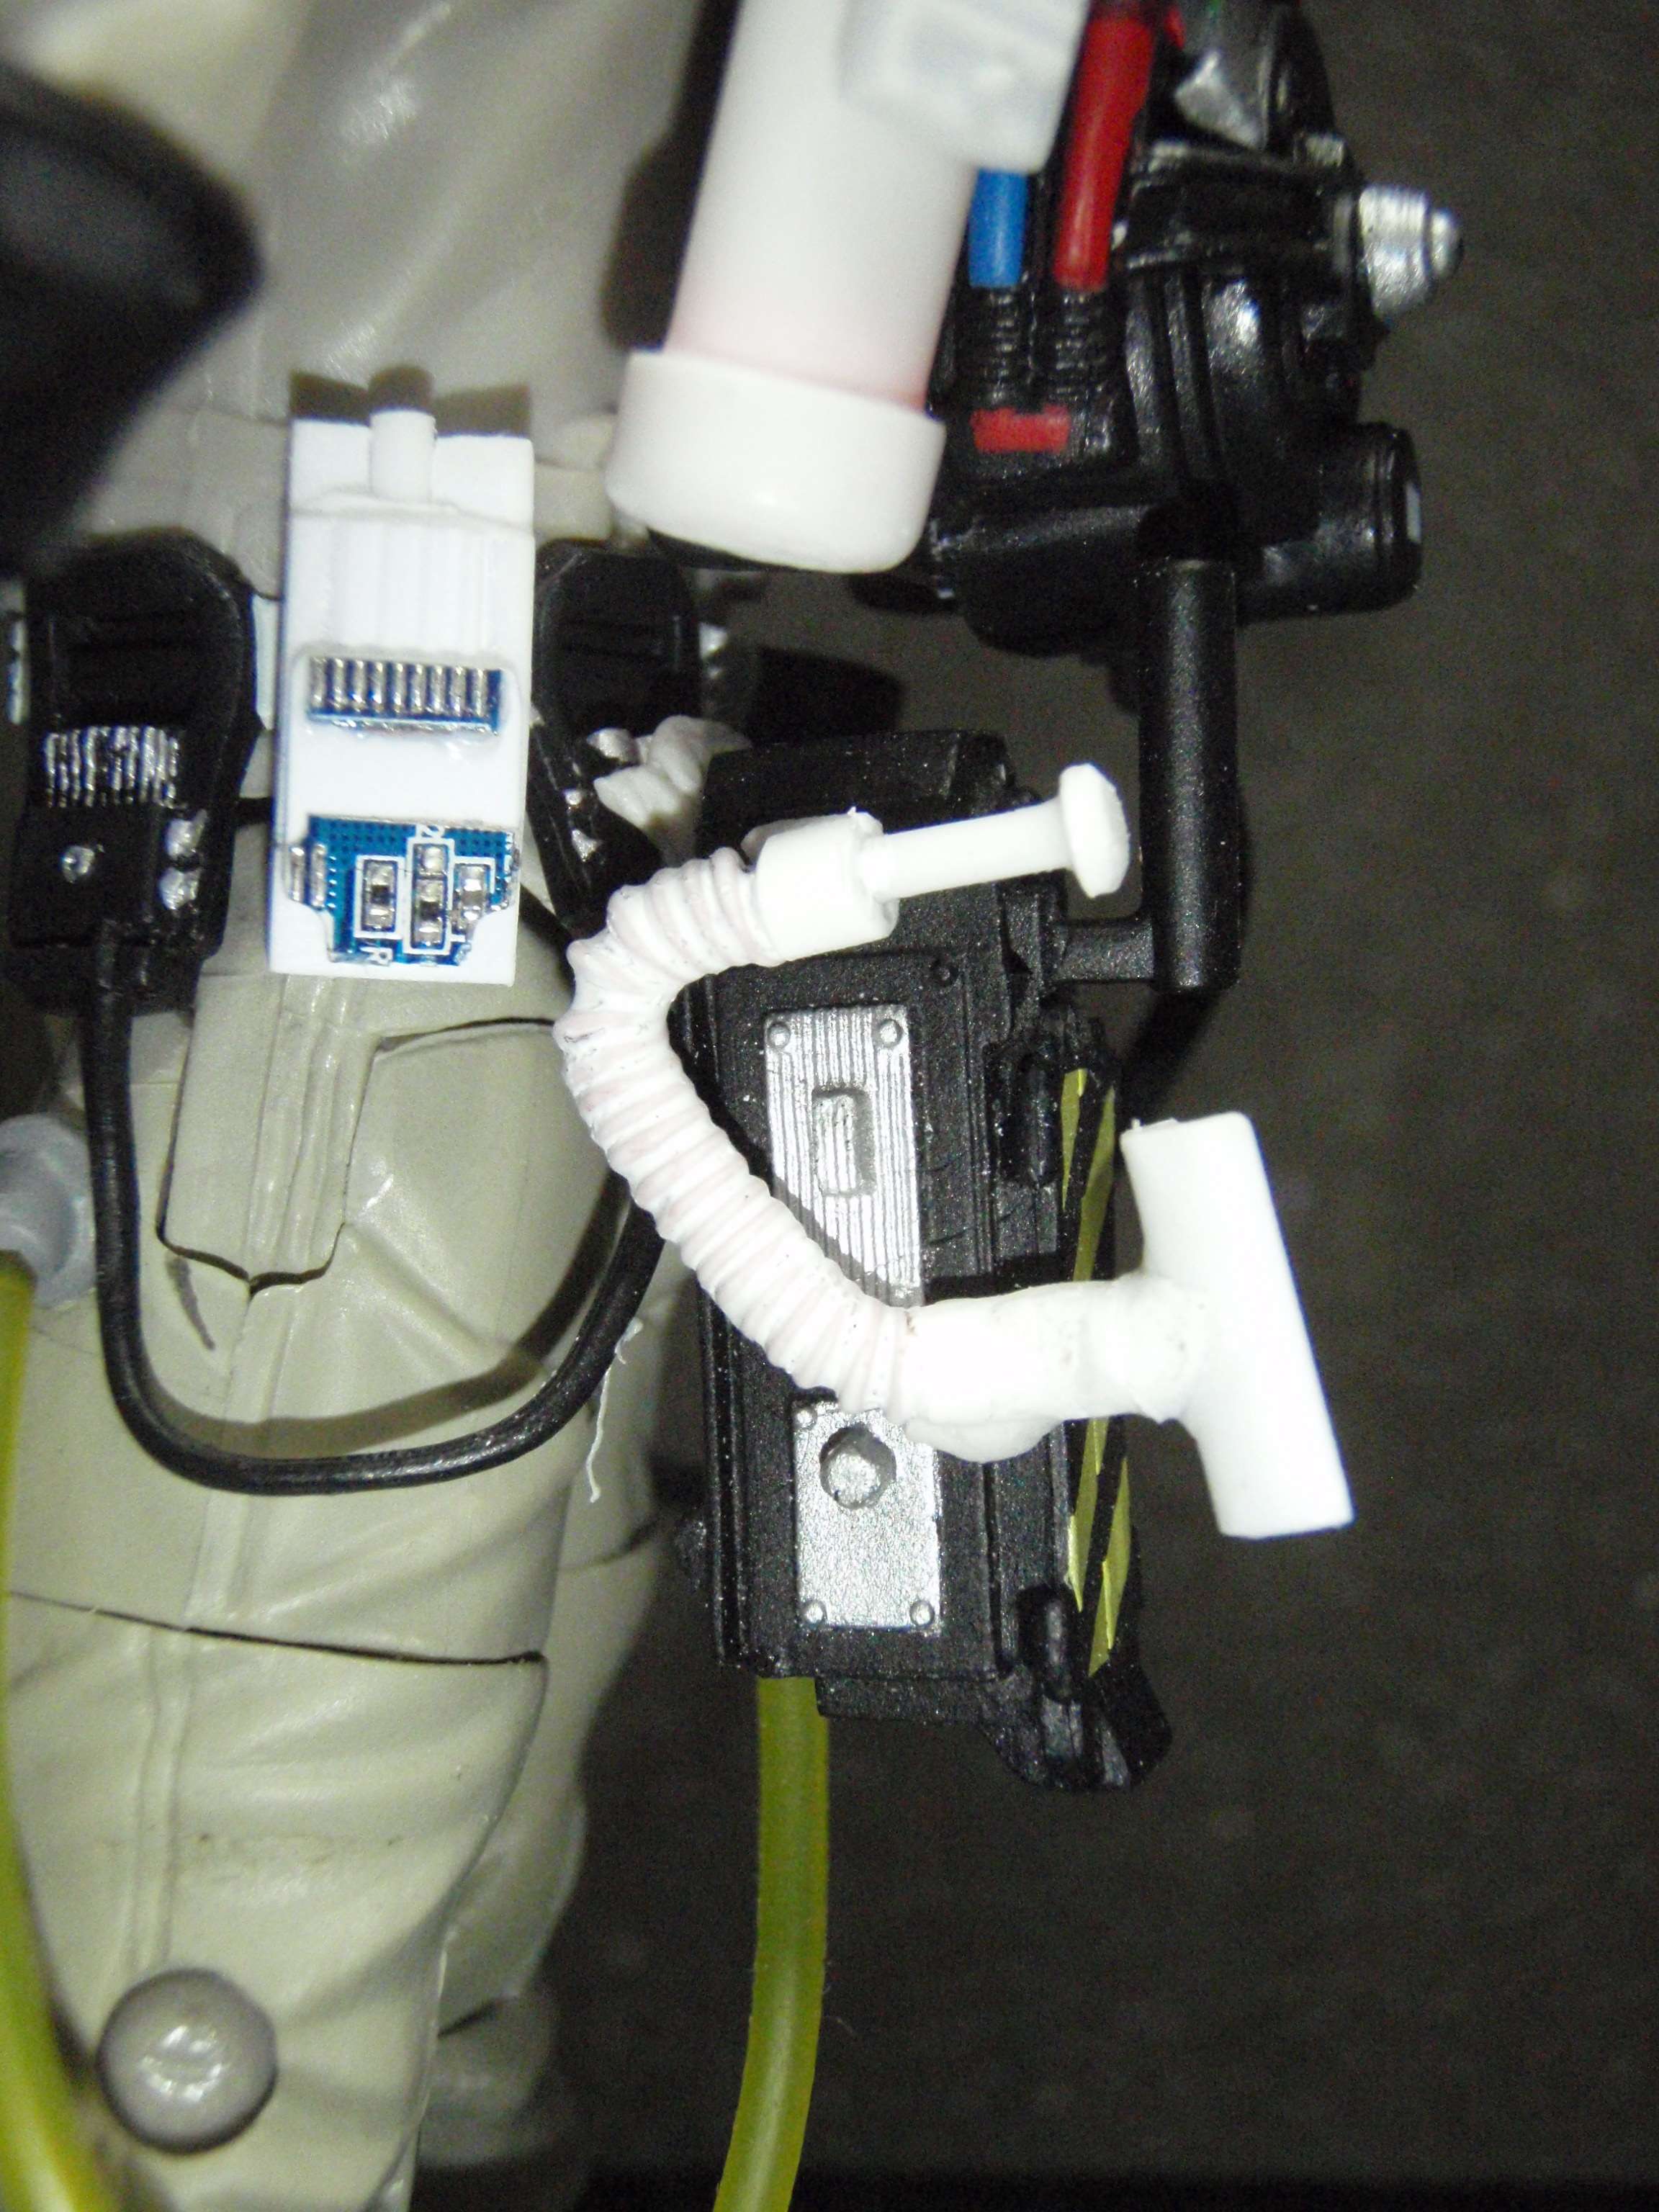
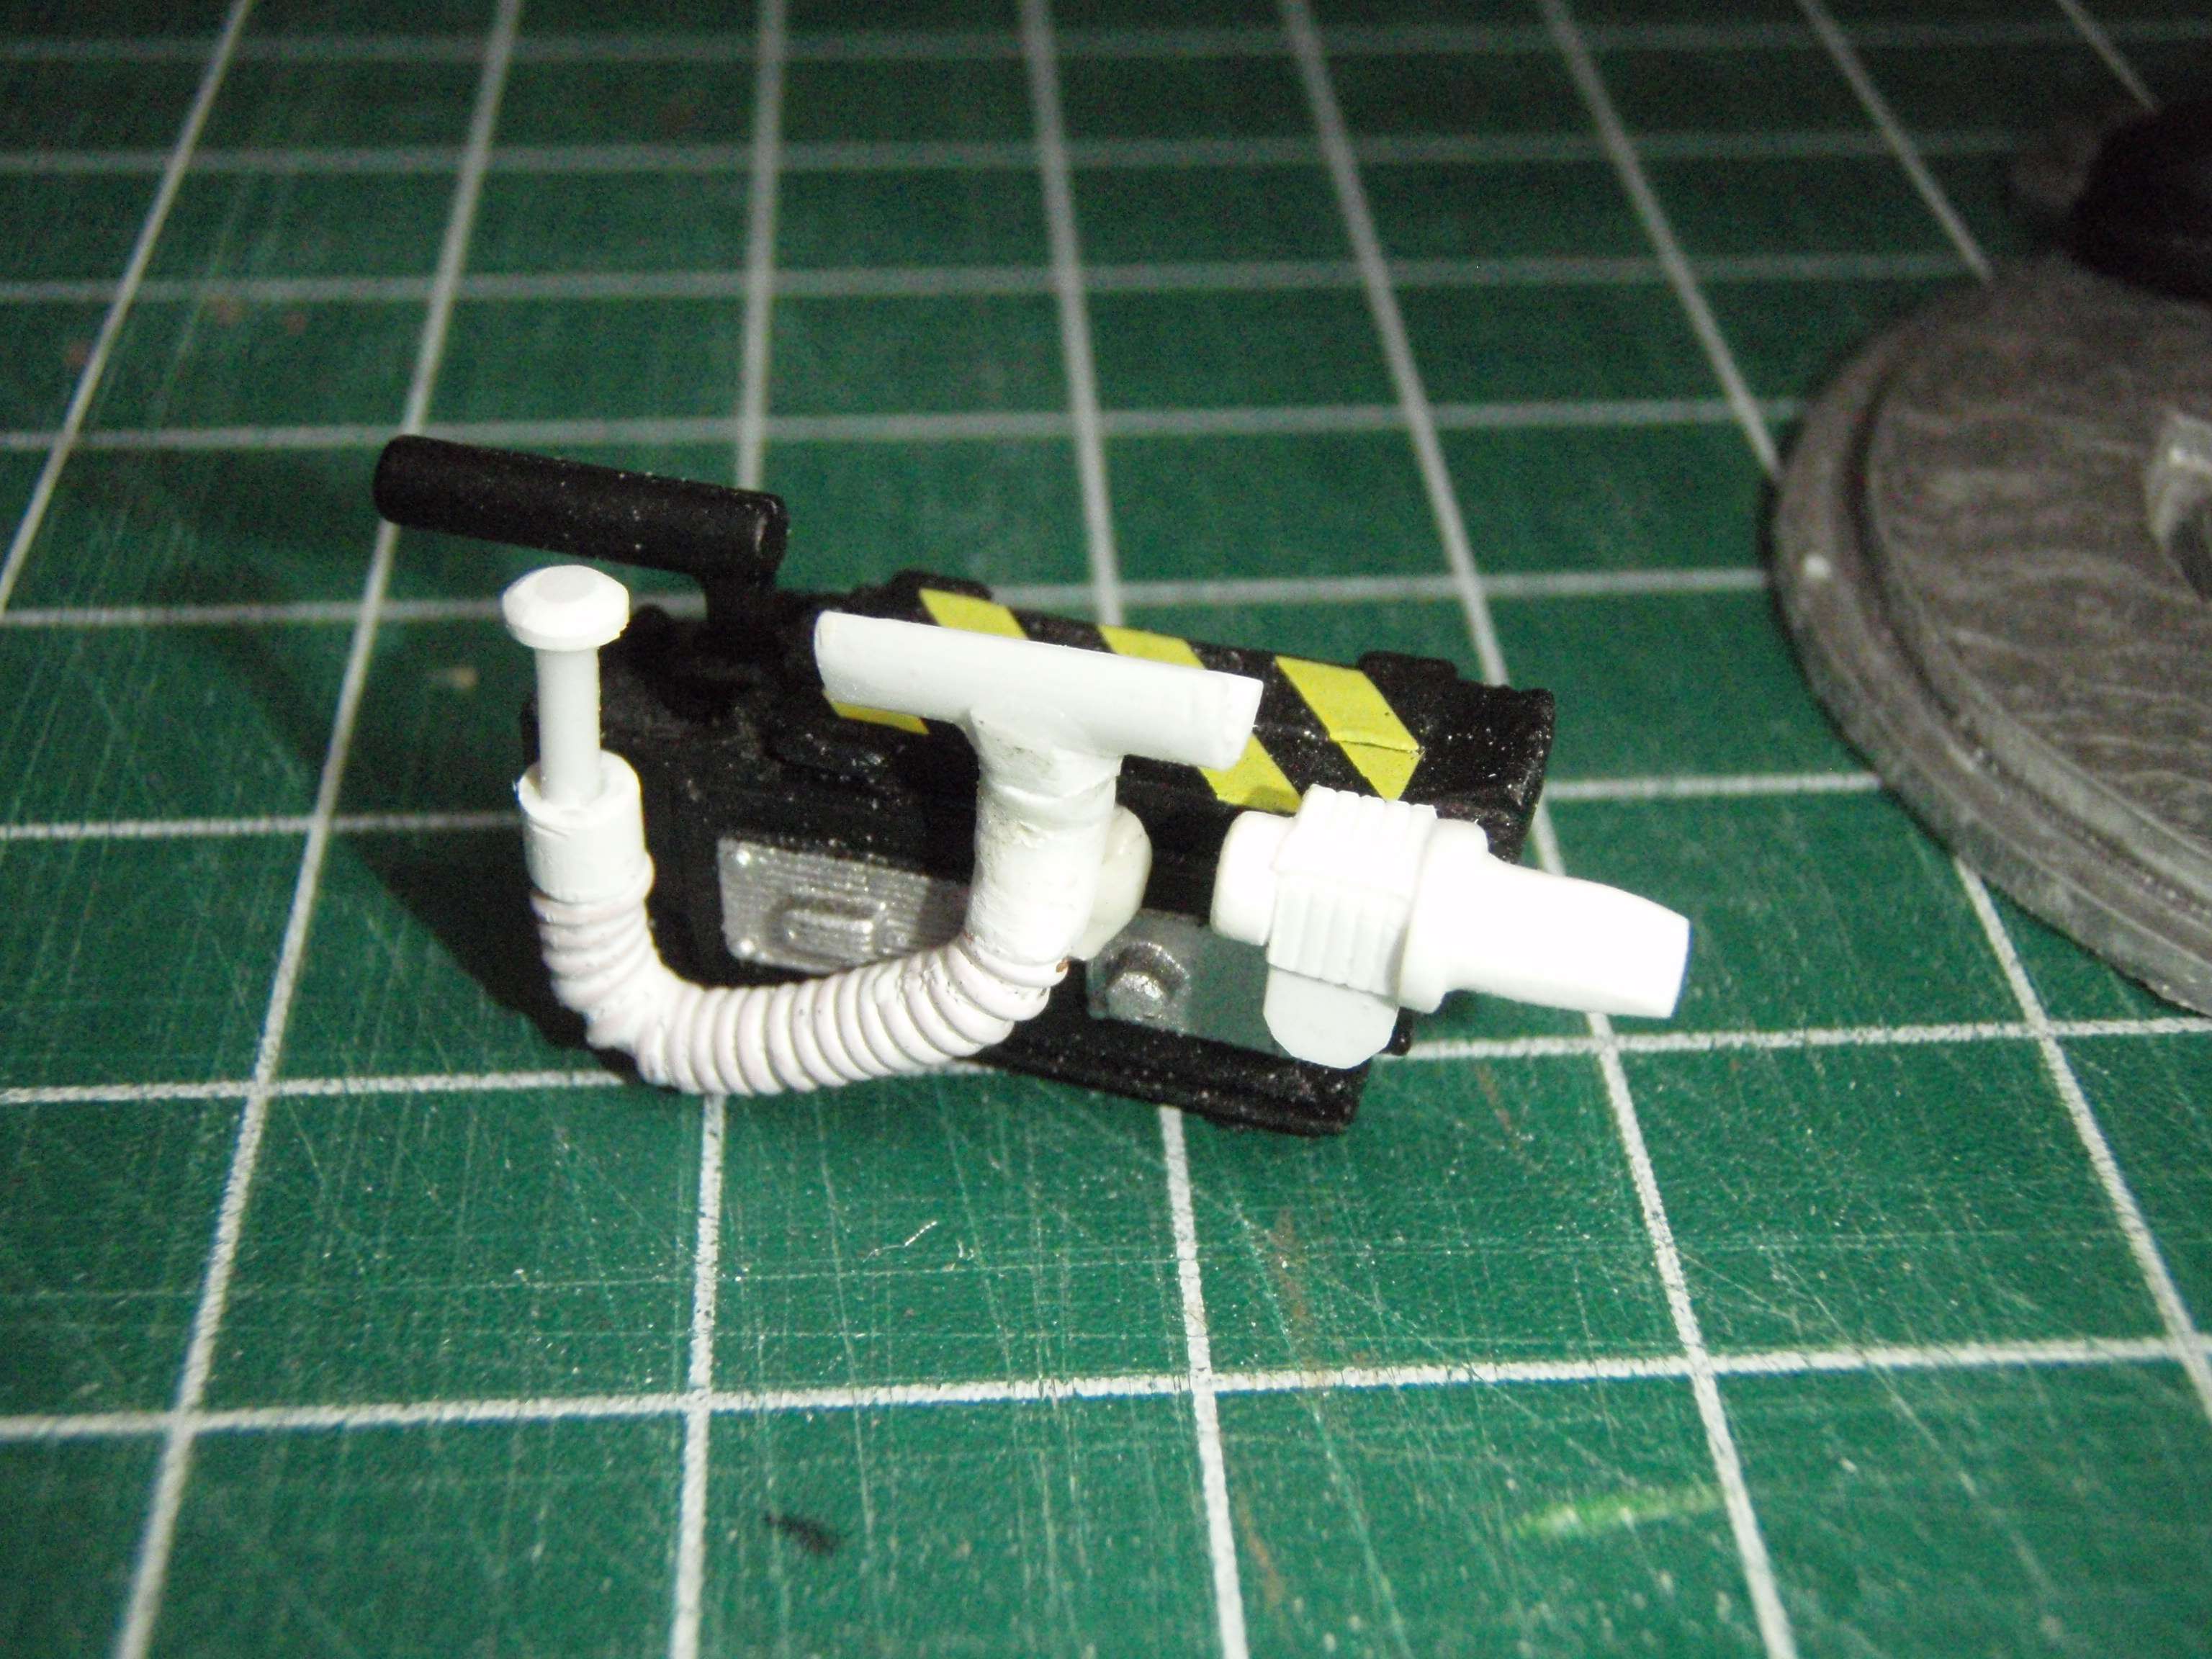
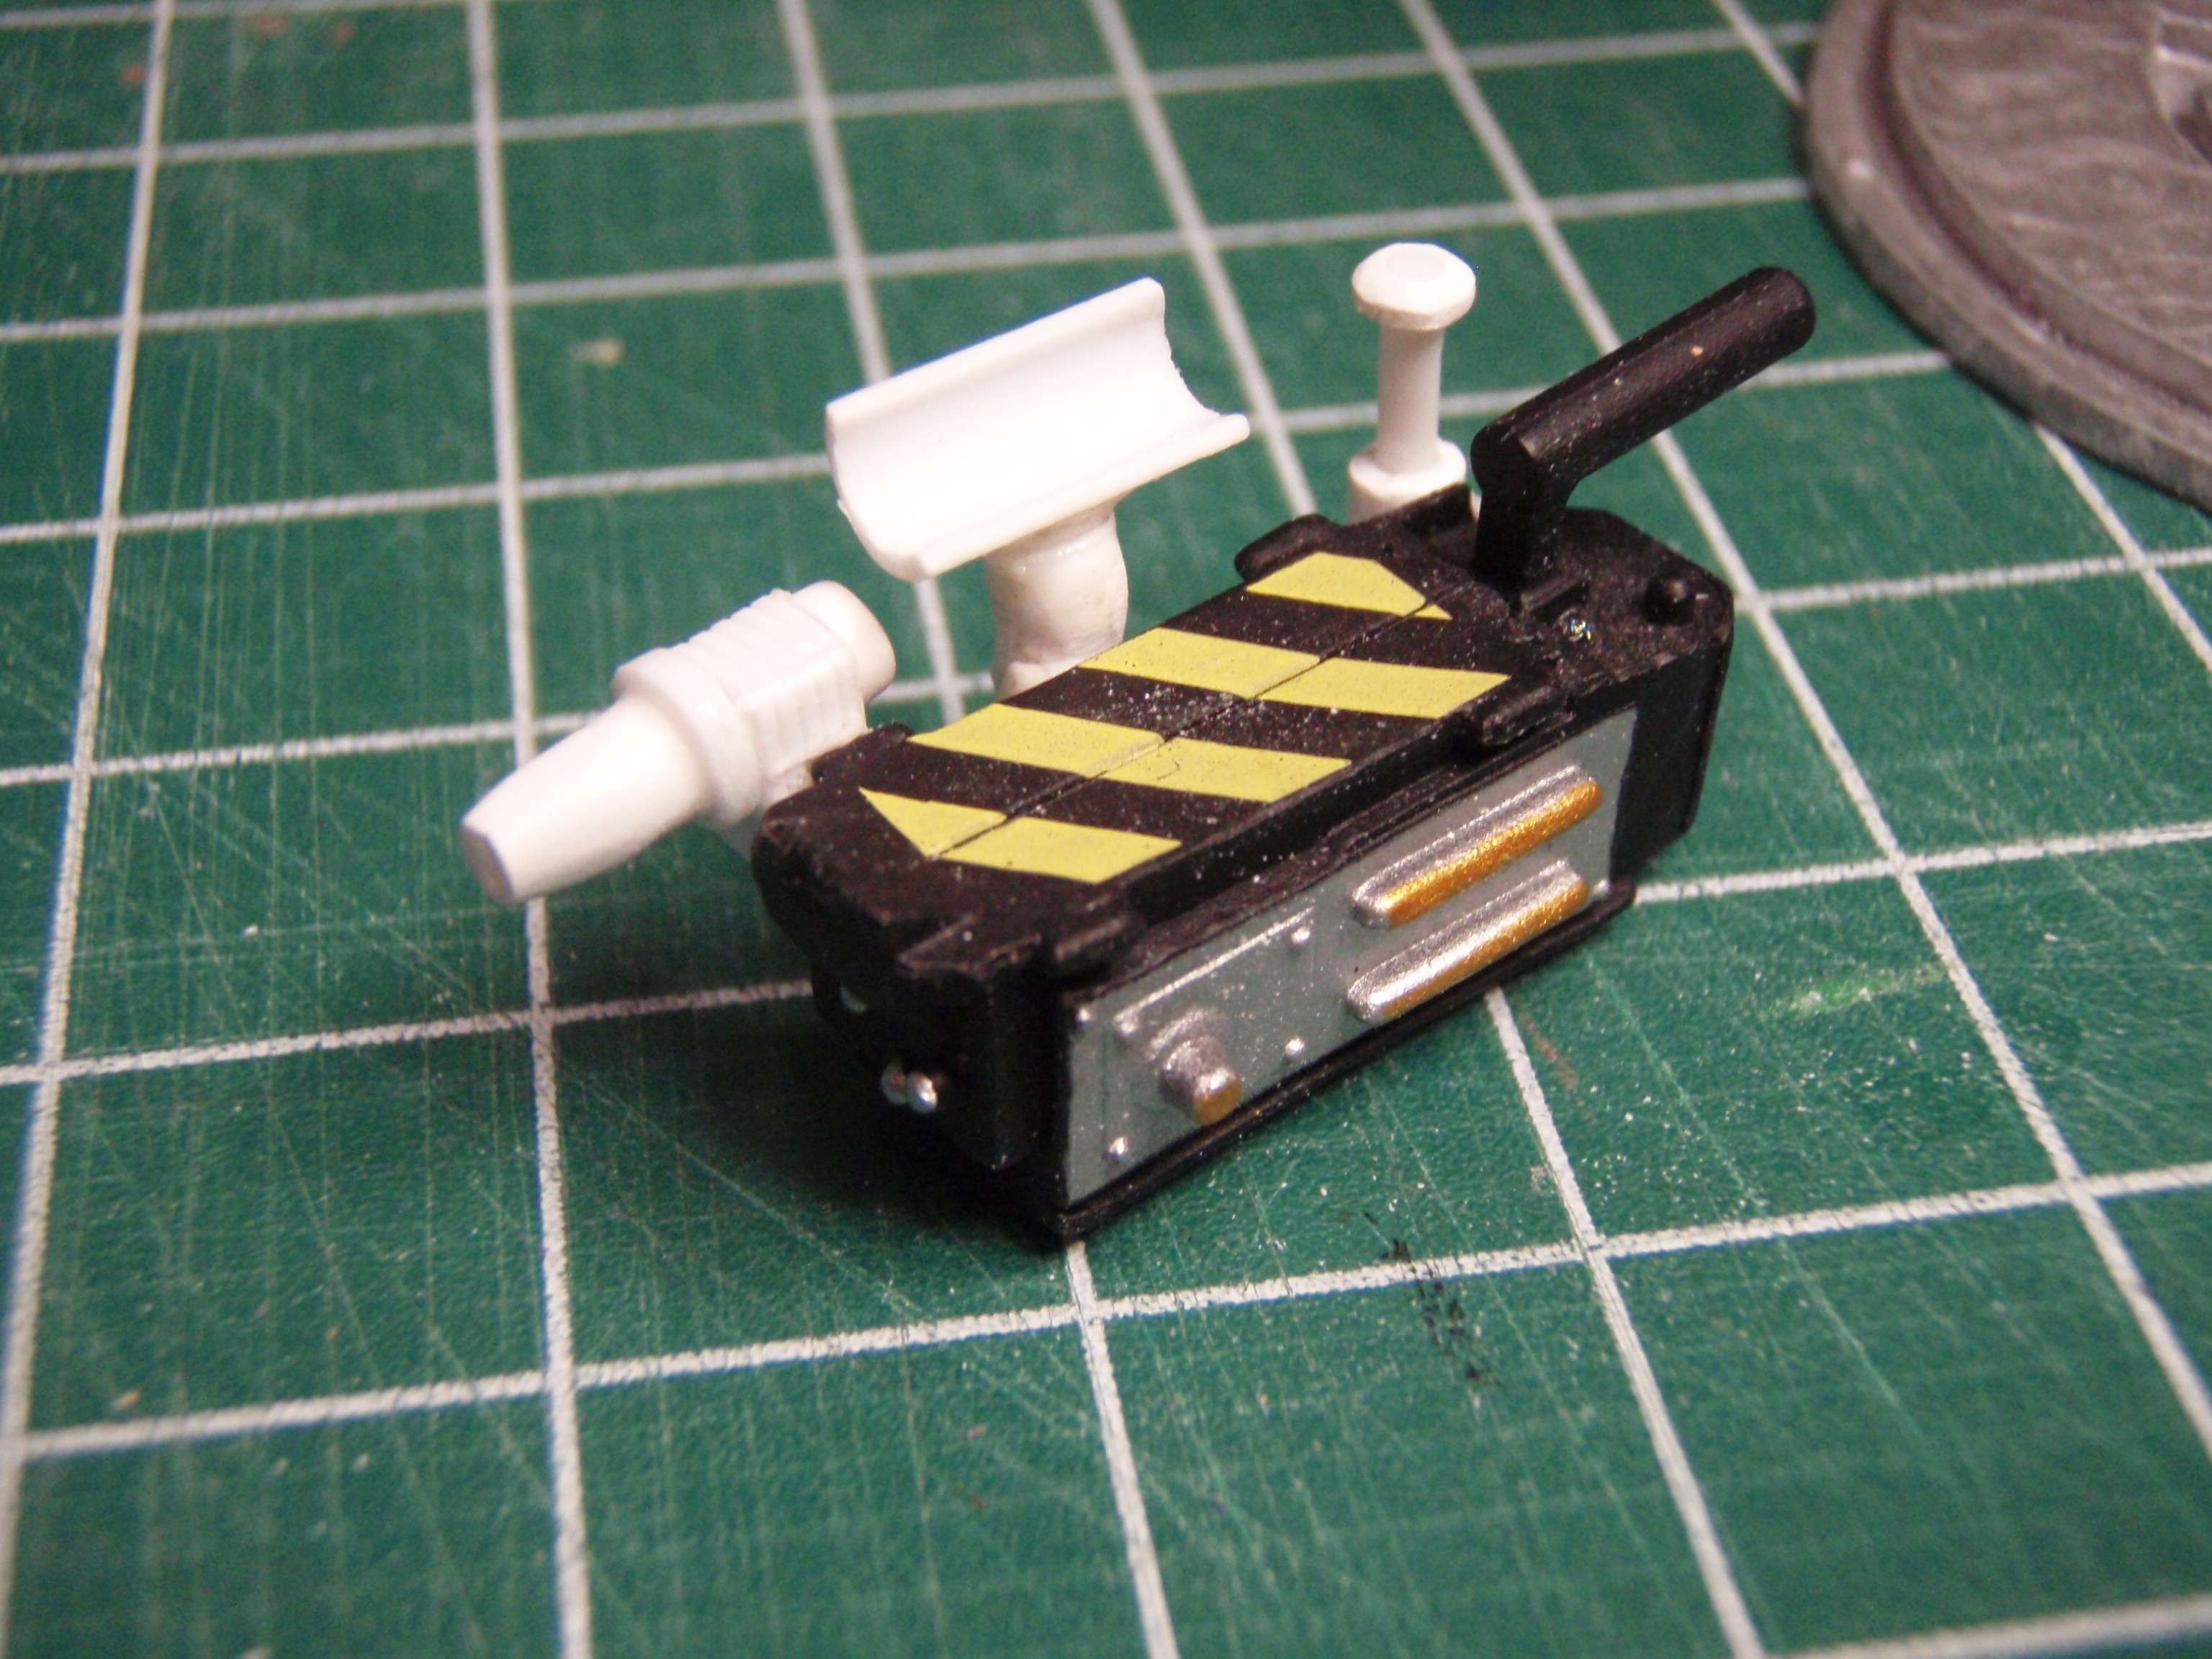
Trap is almost done. The Front Gizmo is on.


Image

It has just occurred to me that I need to try these pieces out on one of the Matty Traps that open . I'm not sure if that Vacuum Thing will be in the way. :shock:

Image

I redid the Cage Light and got it down to one Wire accross.

Image

Speaking of lights, I found a supply of Clear Half Rounds to use for the Pack Light.

Image

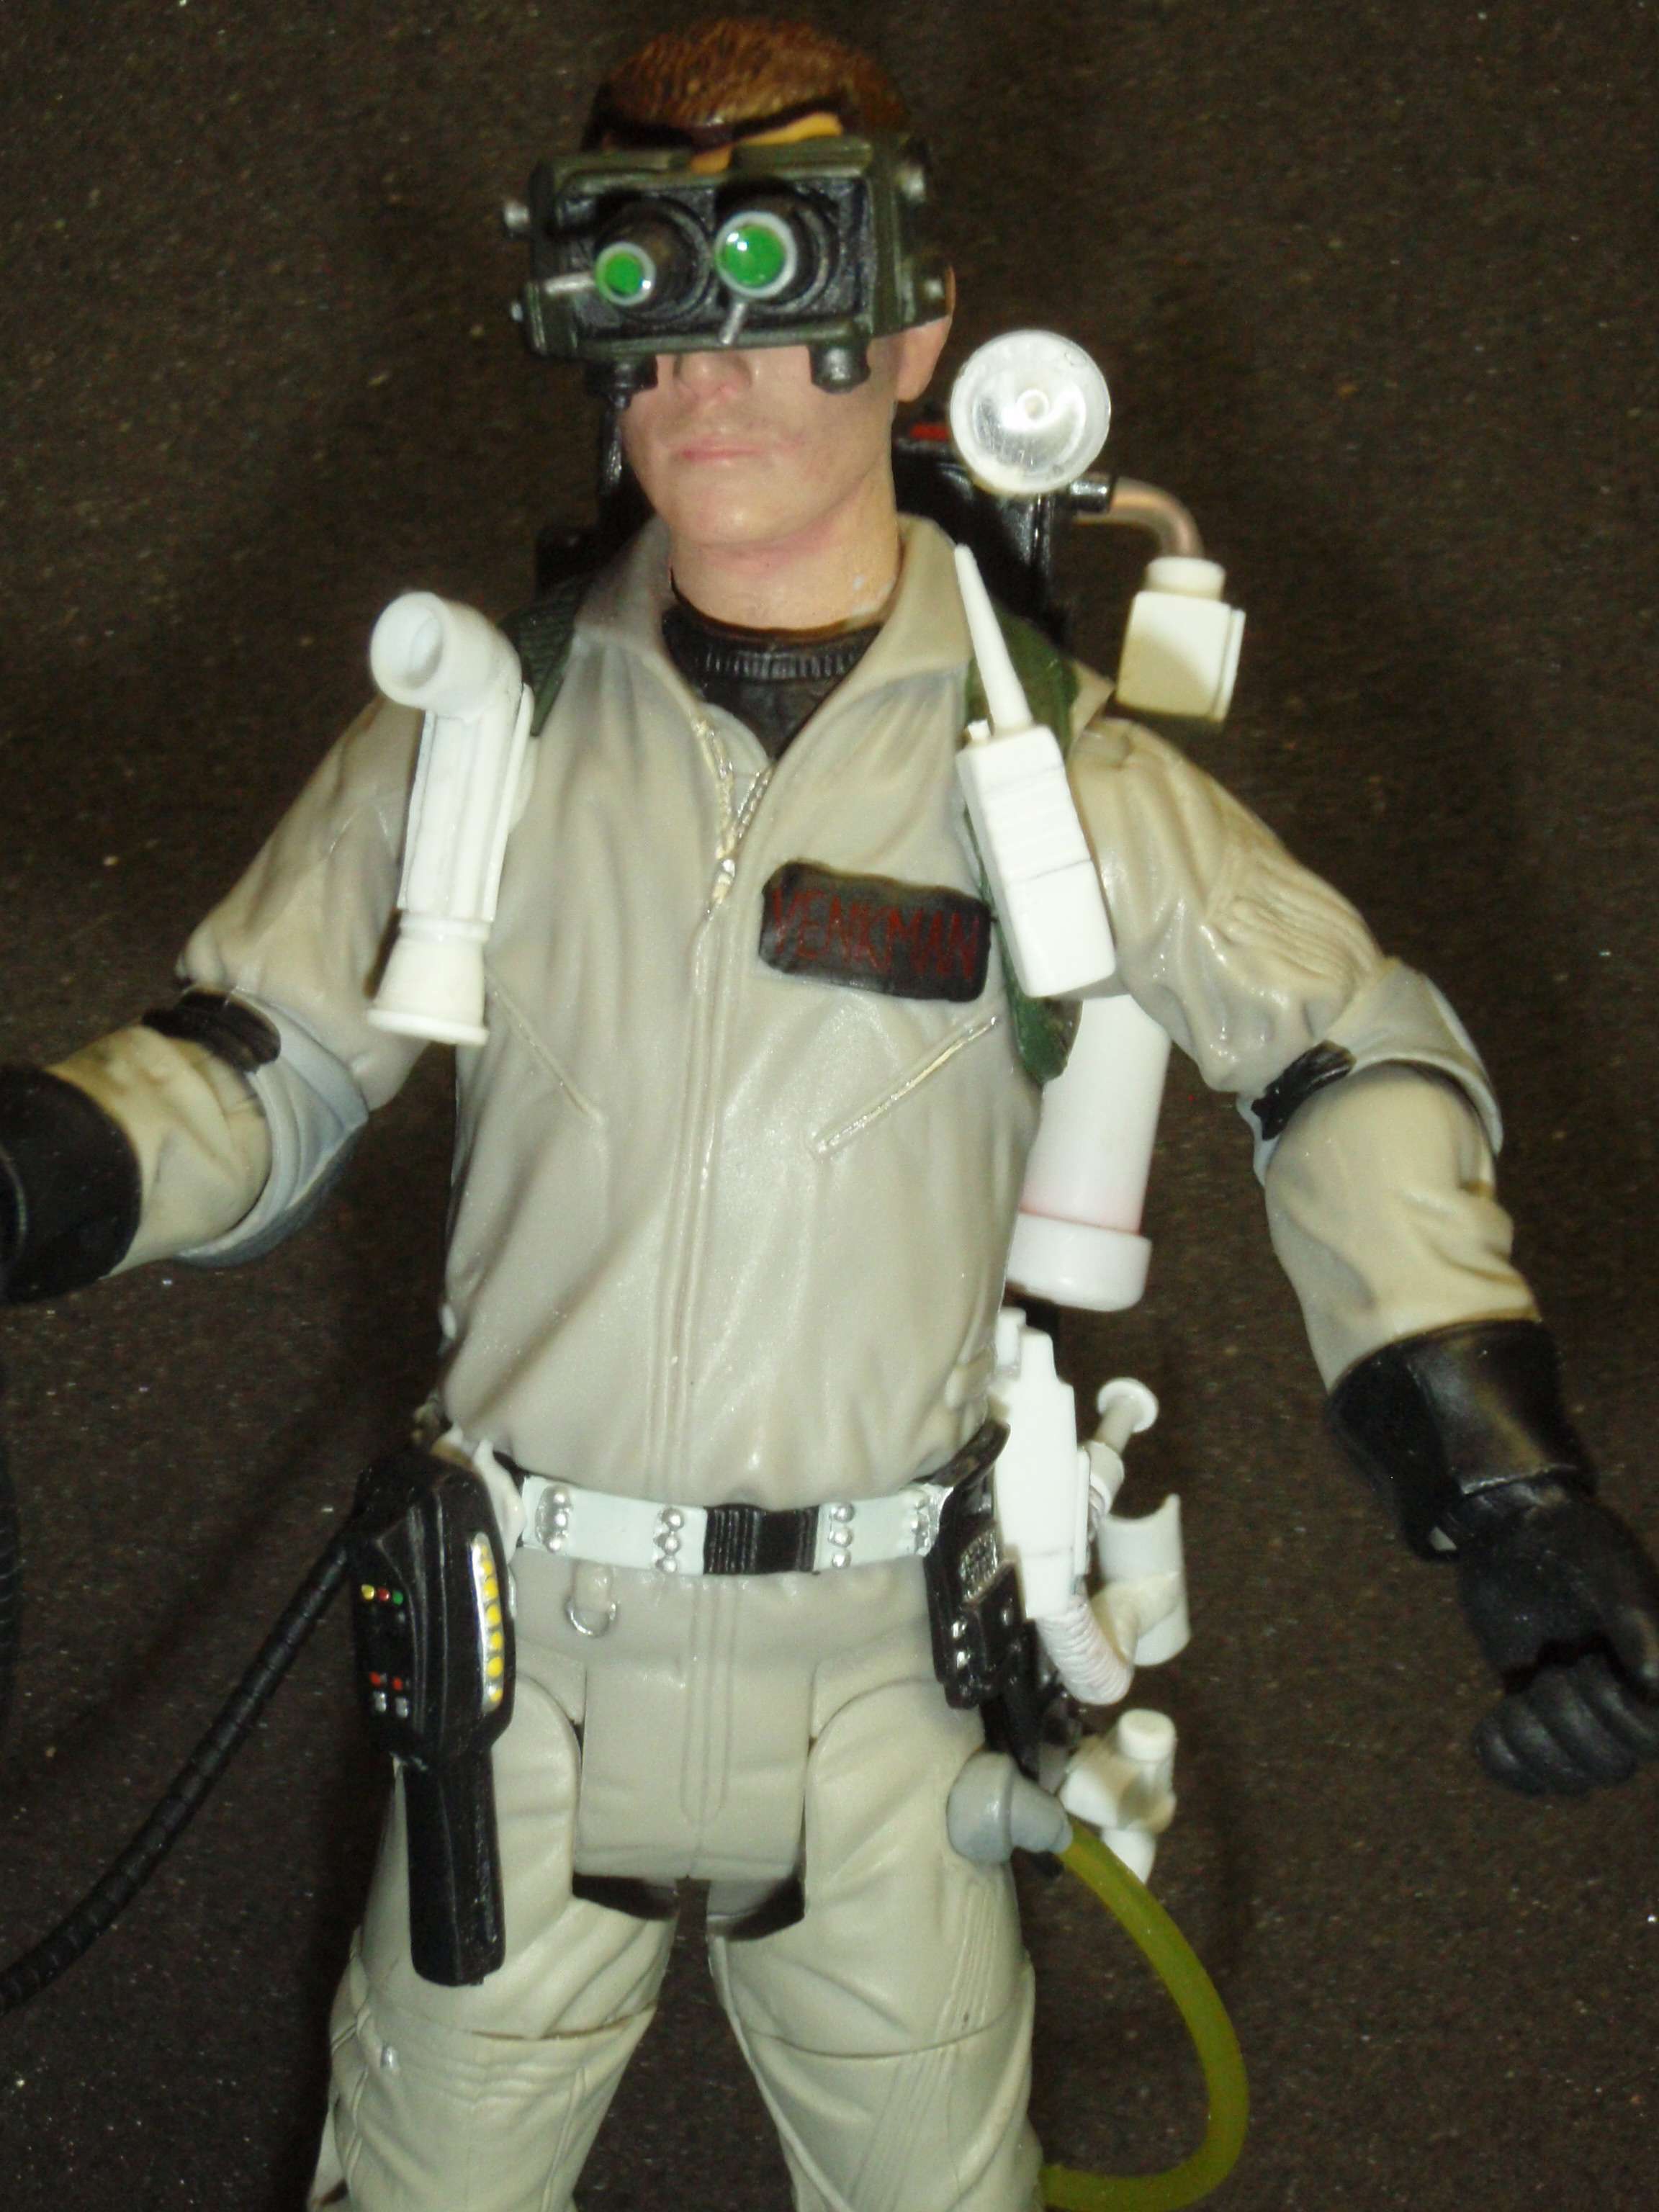
I also started playing with the Slime Tubing. Think I should add a coupling where the Tube goes into the Pack? It doesn't exactly show in any of the screen grabs I have.

BTW, those white globs on everything is Museum Putty holding all the parts on the Base Figure.


Image

I ordered some Clear Acrylic Tube for the Slime Reservoir that sits on top of the Pack. I should be getting that in a couple of days.

Image

I guess I should start on the dreaded Slime Thrower next. :roll:
By henz
#383644
CaptCyan wrote:
henz wrote:I can sculpt heads and faces all day but knobs and guages intimidate me lol
Really? I'm just about the opposite. Do you have any pictures of your work that you would care to share?

Trap is almost done. The Front Gizmo is on.
Yeah I can show and tell some stuff soon. Will need to sort out some pictures, but I've got a series of sculptures on the go from the uk show Misfits at the moment. I just got done tweaking a Ray head sculpt as well. I couldn't justify buying the RTBY variant for the better head so I fixed it myself.

Is there an appropriate place to post misc customs and such? I've not done much Ghostbustery work.

The trap looks fantastic *thumbs up*
User avatar
By CaptCyan
#383648
henz wrote:Is there an appropriate place to post misc customs and such? I've not done much Ghostbustery work.
Yes there is. Beneath the above page banner click on "Community". 8th section down is "Fan Projects" and 4th section in that is "Fan Props" where you will want to be. You will see some other non-ghostbuster stuff in there.

I'm anxious to see your Ray head fix.
User avatar
By CaptCyan
#383941
Hey Rahum!

Nice of you to join us. :wink:

Small update, it's those rectangular things that light up on the right side of the Pack...


Image

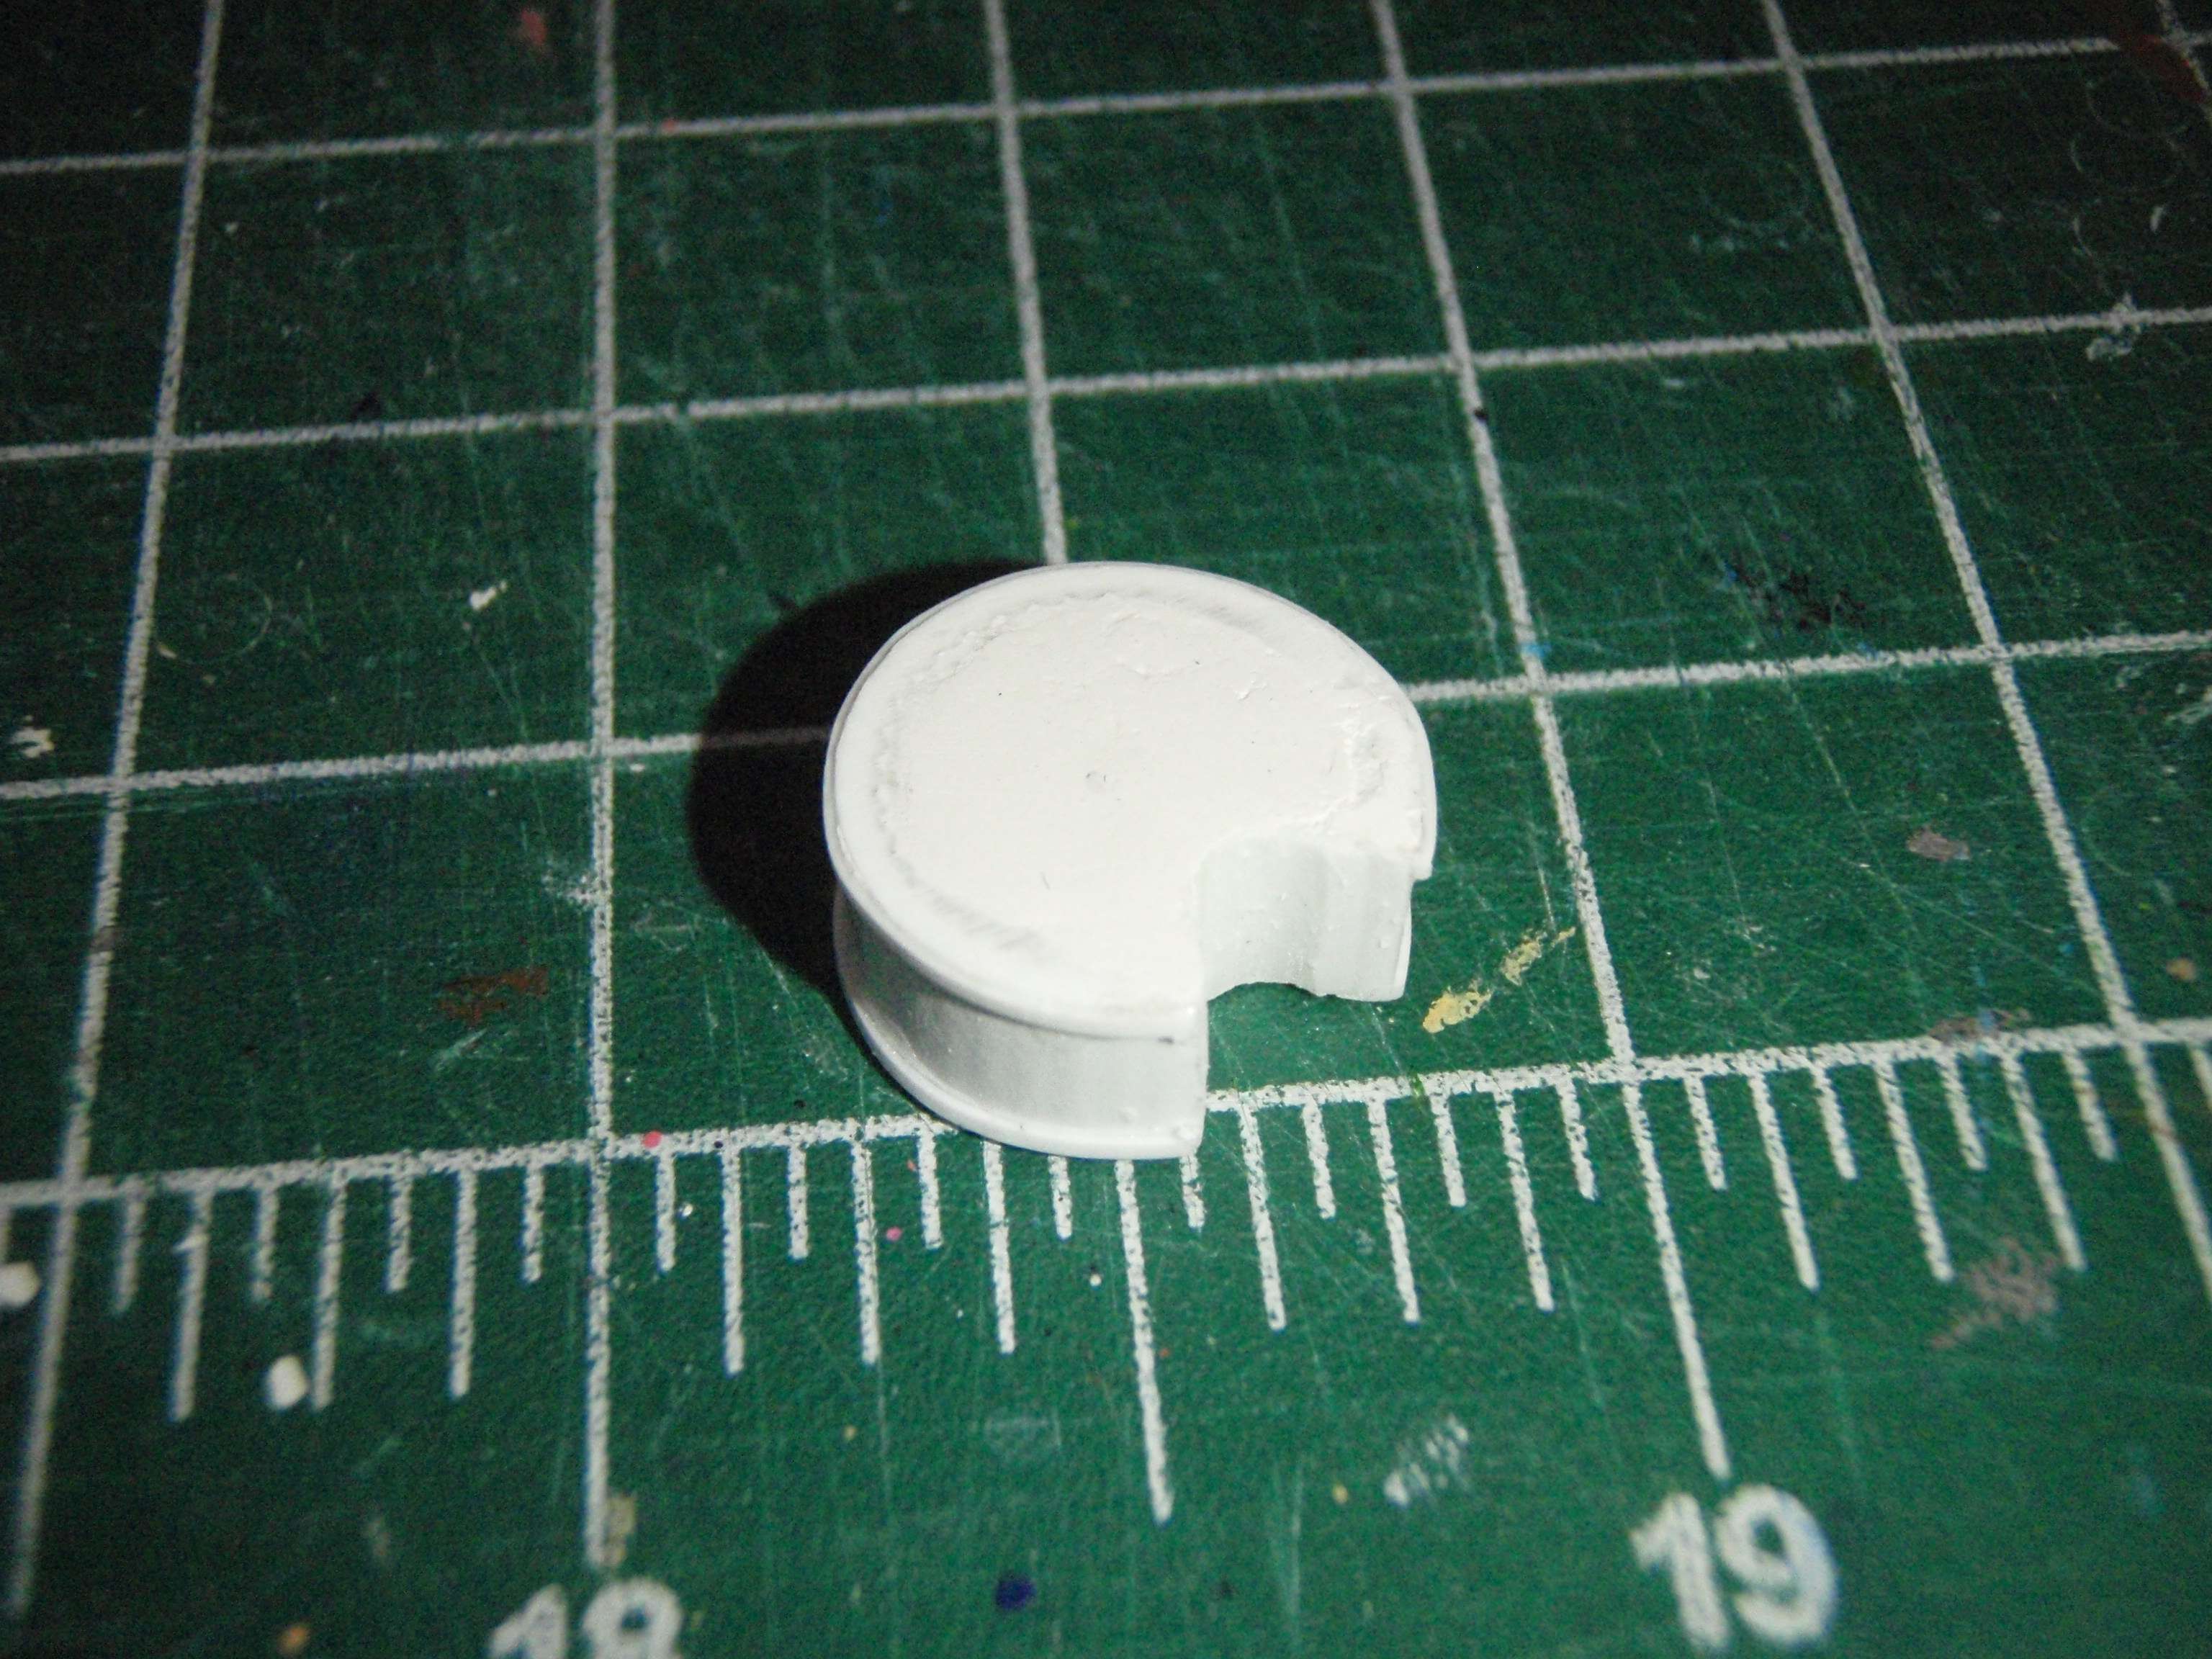
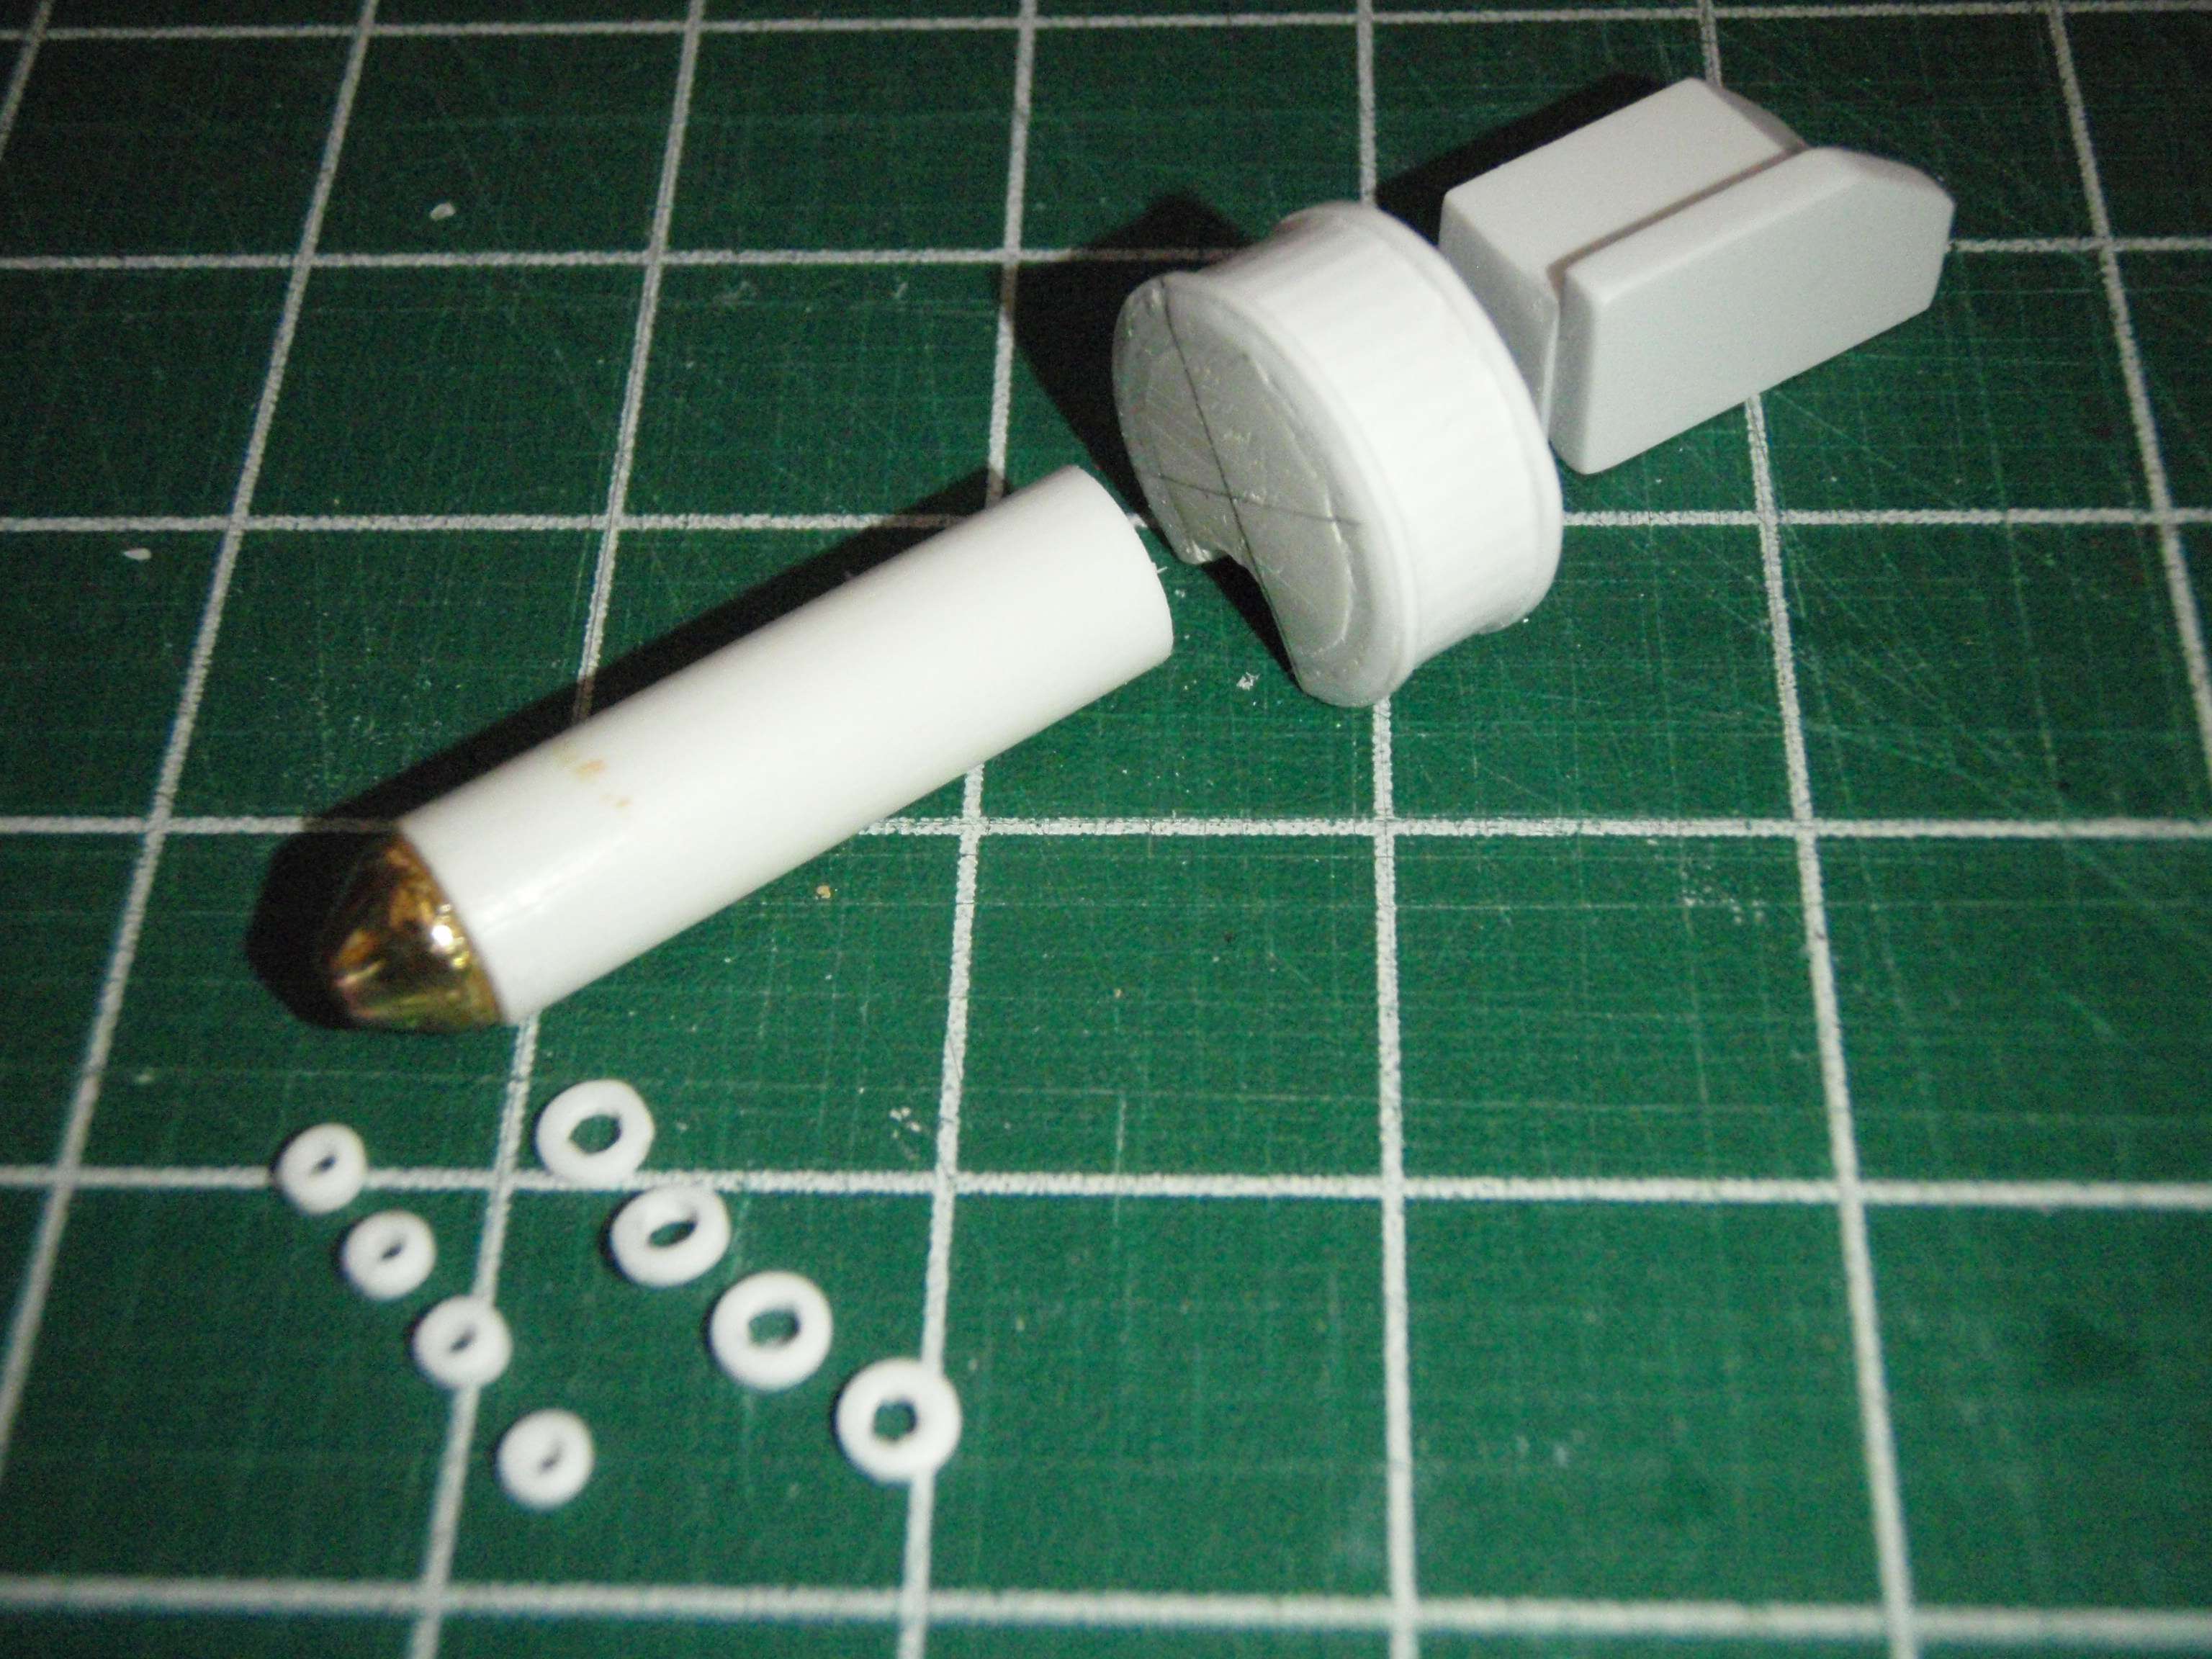
...and a start on the "Drum" section of the Slime Blower.

Image
User avatar
By CaptCyan
#384020
Did a little bit more last night. I started on the Slime Barrel, the Ports for the Nozzle and the Side Extension for the Gun Box.

Image
User avatar
By CaptCyan
#384063
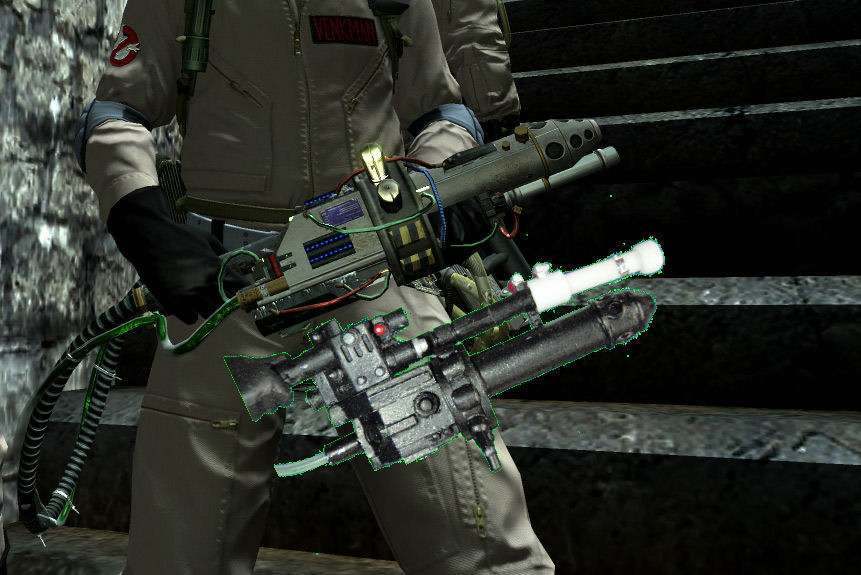
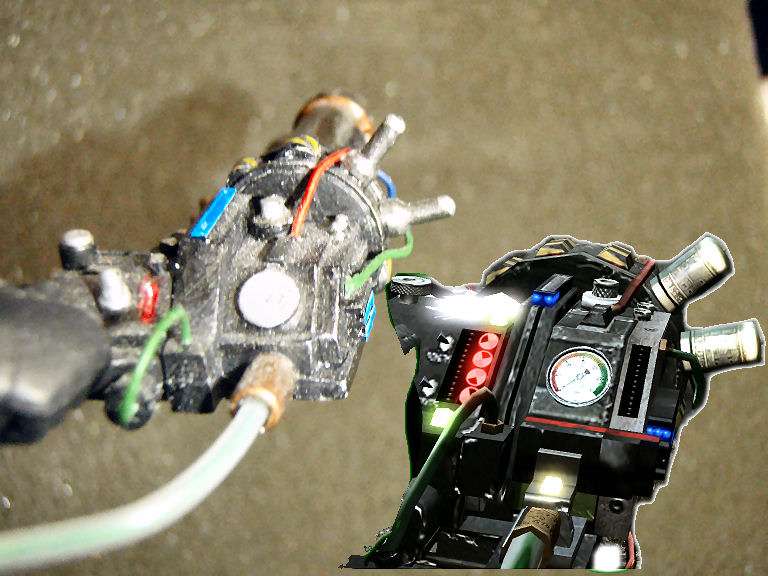
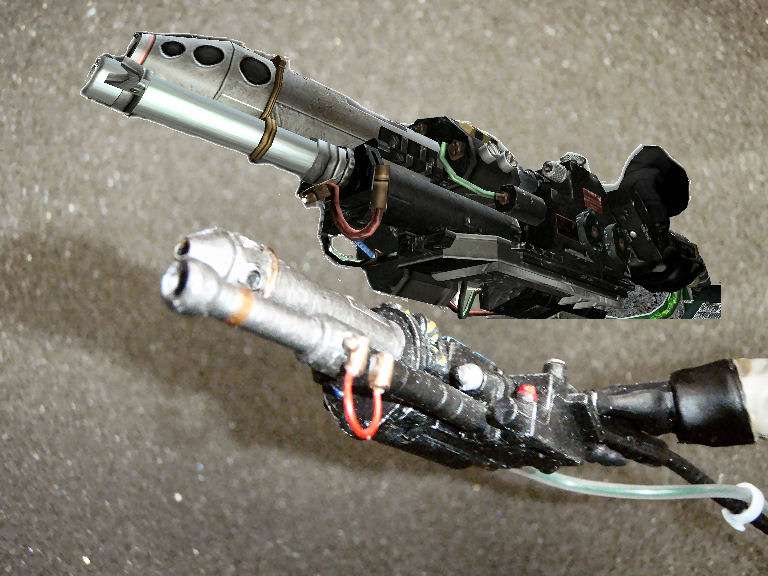
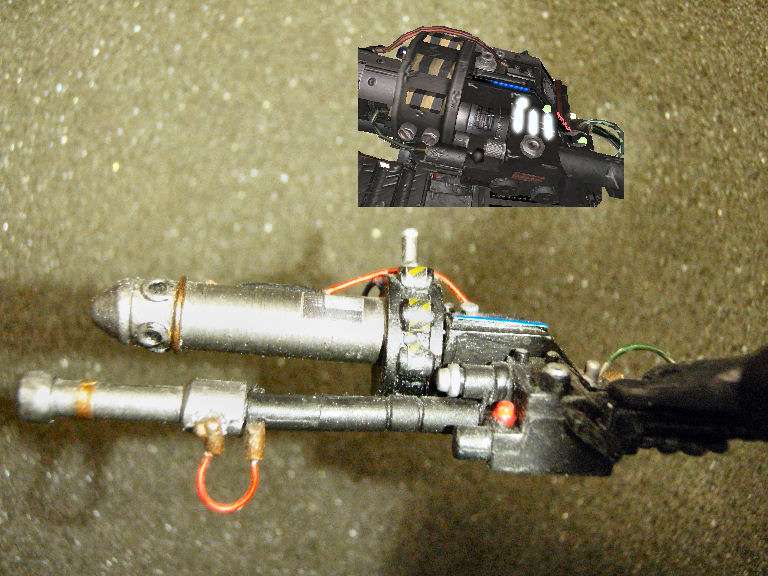
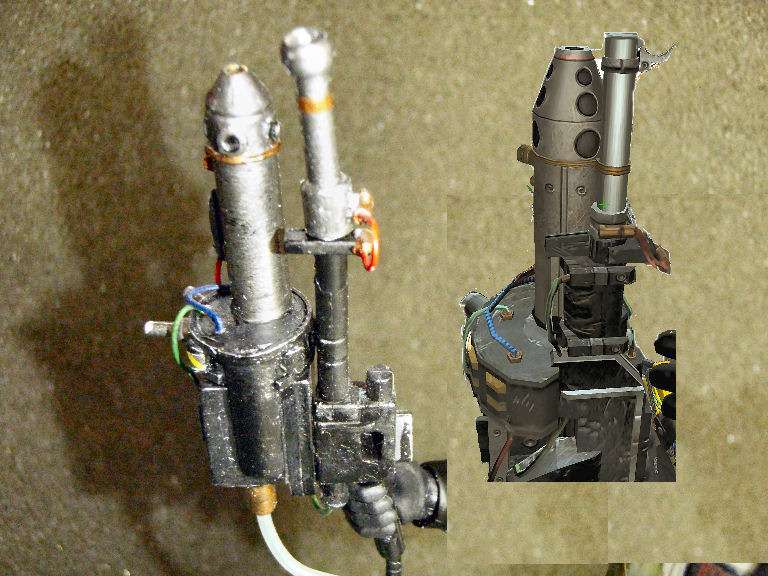
Let's talk about the Thrower. For the most part, I thought I got it correct when I did the Rookie for Joeghostbuster. Here is one of my photo checks to see if the components were the right lengths.

Image

After the Rookie was out and about a while, I started hearing from other people that the thrower was off. Nothing specific, just generic comments like too long or not shaped right. I looked back through all the screen shots Joeghostbuster sent along but couldn't find any real big discrepancies. Stil looking, I stumbled across mburkit's Game Pack Build here:
http://www.gbfans.com/community/viewtop ... 2&start=60
Check it out as it is an amazing build.

I pm'd him and he let me have access to his screen shots. The back section looks pretty good.

Image

Here's something I didn't see before, the "Drum" isn't completely round and it engulfs part of the regular Thrower Barrel. There is also some new kind of Mount Plate that everything sits on

Image

A closer look shows that the Clippard connects to the "Drum".

Image

With the "Drum" wrapped around the Thrower Barrel, it brings it much closer to the Slime Barrel. Guess I missed a few things first time around, which is why I ask for comments.

Image
User avatar
By Mereel
#384076
Great catch on the drum Capt!

Your version 1 was very impressive, but I have a feeling 2.0 is gonna be really something to see! It was also nice seeing those side by side comparisons, it can be tough to see a lot of clear, lit detail in the game since it tends to be a bit dark.
  • 1
  • 14
  • 15
  • 16
  • 17
  • 18
  • 30

Oh, another thing - this was made mostly out of sc[…]

Hasbro Ghostbusters

Is anybody making Slime Blowers that would fit the[…]

Beautiful!! I'm getting this even if finances don[…]

Super helpful thanks. I will read properly when […]