#359286
Cool. Yeah I head the oil based can mess up the fiberglass. So word for the wise make sure you check the can it should say right on front what it is.
I went to home depot looking for it and all they had was oil based. Where did you pick your stuff up at?

Sent from my LG-P999 using Ghostbusters Fans on Android
User avatar
By wm6929
#362356
I thought it was okay. Its not as bad as it looks in the photos. Something about theRustolem Satin that makes the low spots look glossy and the highs Satin-y. I can't explain it.

I did have some ideas that I was going to use to make the texture look not as pronounced, but I had some interesting developments happen today, and I am going to get rid of the paint and texture all together and start fresh.
#372601
venkman71 wrote:KILLER scratch-build.

Super old school. I toast your mad skills, sir. :cool:
Volguus wrote:As do I!
Sean- Thank you. Thinking I should ditch this pack and start again when the new plans come out. Then again maybe not. :-P

Volguus- Your plans sparked the interest in building this pack. Thank you. You risking your low post count to make a compliment means alot to me. :)
#372605
My last update was on Nov. 24.
Gulp
I have a confession, shortly after I made that post, something interesting happened.
My pack fell off my workbench and broke into two pieces. A portion of the spacer, about 1/5, snapped clean off. I take full resposibilty for this. My fault. But instead of beating myself up, take it as a lesson, and fix it.
To fix this, I needed to strip off all of the paint and texture, glue the piece back on, sand, bondo, sand, and so on and so on. Since I was about to leave for Fort Worth for Thanksgiving, I dropped the project for the time being.
I having been working on it in small doses, but I have picked up the pace the last two and half weeks to finish it for a upcoming prop party.

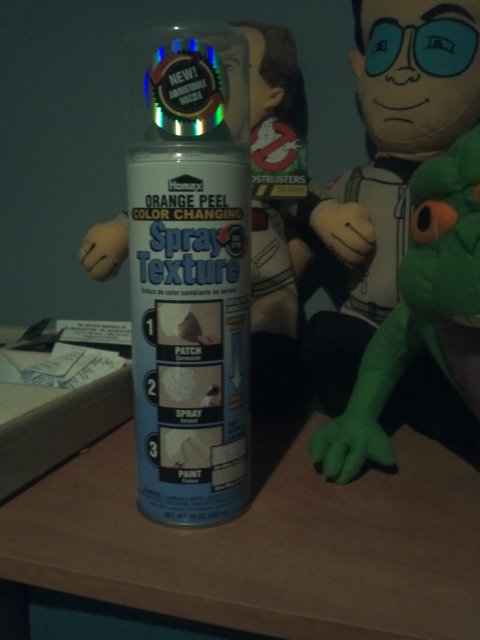
Here as it stands of right now:

Image
Image
Stripped, glued, re-textured, repainted.
I used Krylon Statin black, and Krylon Stain clear coat. Lens scuffed with a scotchbrite pad and glued in. Still re-inforcing with epoxy, putty, and coat hanger wire.

Decided that I focus most of my time on the gun. I was going to purchase one from here, and continue with the one I started as the year went by. But I now have a deadline, I need to finish this one NOW.

Image
Image
Image
Image
Everything is tacked into place and is NOT permanent. I am ordering some bolts online, will make some adjustments and drill holes when the parts come in.
#375181
Small update

I have been working on my pack all week, and all day today. Today was the wiring for sound. It sucks. But now I think that all I have to do is mount the boards, and run the wires for the gun. I hope to finish the lights and sound this weekend.

Heres a taste:


Less than two weeks left to finish it.
#375656
wm6929 wrote:I hope to finish the lights and sound this weekend.
Yeah, that did not happen.

I was hoping to hit a couple of goals that I set, but I always run out of time. I have been taking few photos as I go along. I will try to post more tomorrow.

Image
R2Devos lights are unbelievable. I love 'um

Image
Quick layout

Image
Image
Three holes to go, I busted the drill bit.
Image

Image
Did not like the look of the previous V-hook, so I made another. Now I am not so sure of the mount.

Image
Bottom bracket. This will be for the MP3 Jack and switch for the Amp.

Image
Getting everything prewired
By Jc3394
#375771
Ho. Lee. Carp.

I love scratch builds. I'm in the beginning phases myself but no where near as fast as most of those here.
It's awesome to see how each Scratcher is attacking each section their own way.

i have to agree with others, your Ion knob is simple and gorgeous. Also I hope you don't mind but I'm going to snag your idea on that along with making the V-hook :D

Lookin forward to more!

The_Y33TER , since the majority of the maker scen[…]

Thanks The_Y33TER ! Confirmation there's no elect[…]

A little sneak preview of one of the bedrock parts[…]

Where do the other ends of the red/yellow wire[…]