
- April 6th, 2014, 12:47 pm#4788470
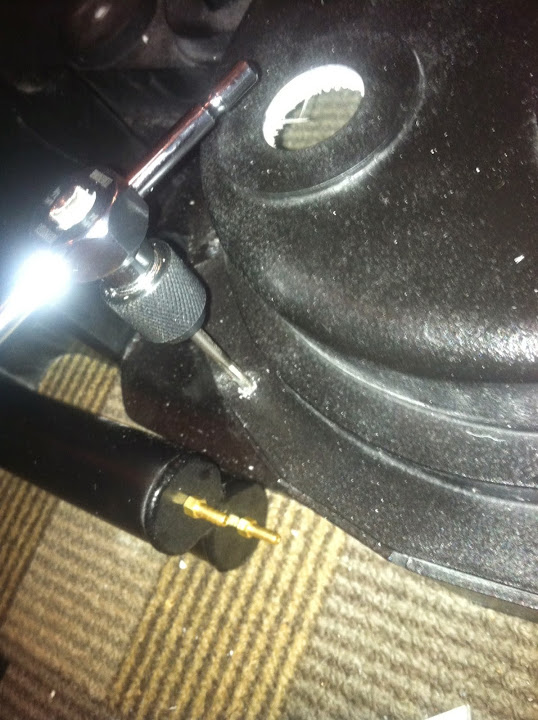
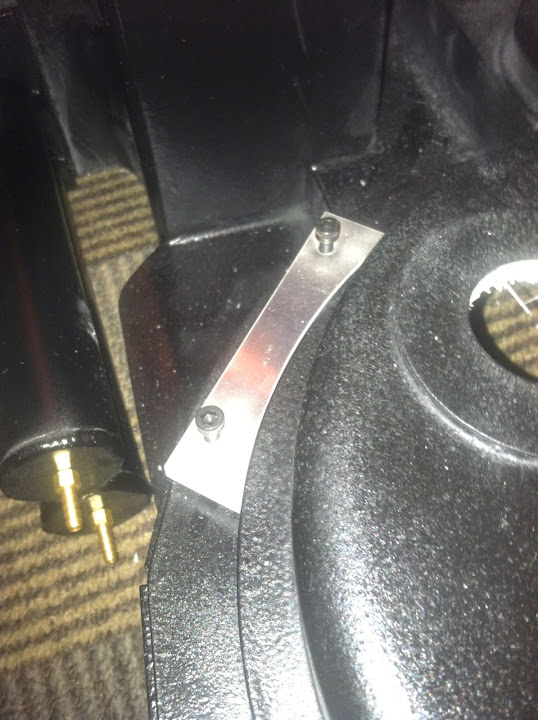
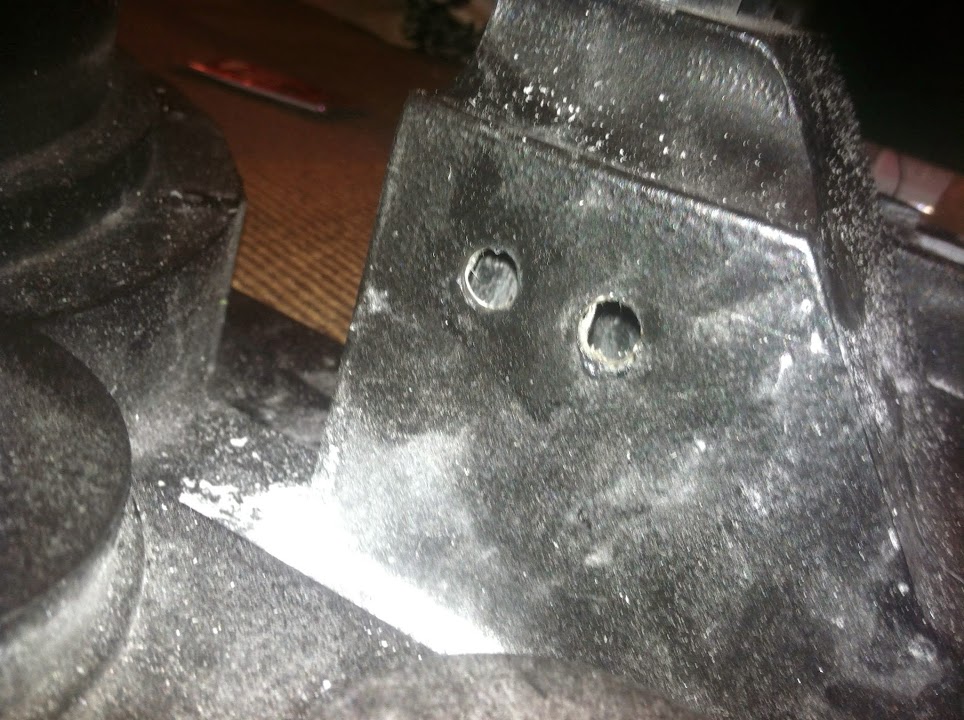
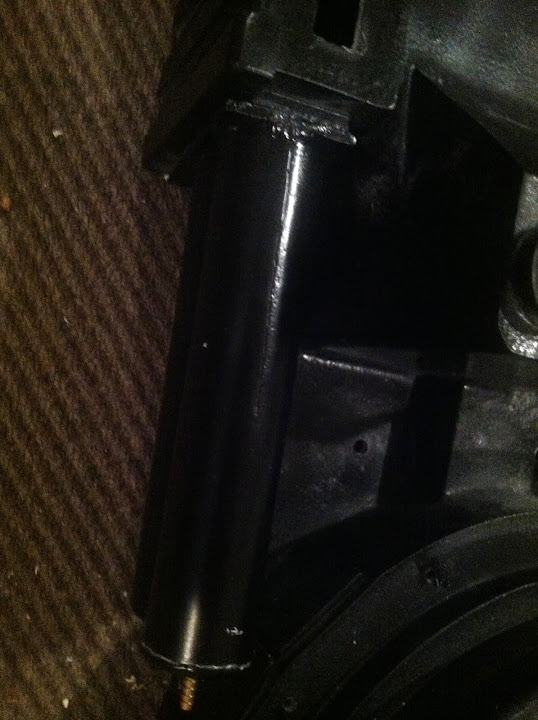
CraigTHEOWL1 wrote:When attaching resin parts (booster tube, ion arm etc.) through a GBFans shell what length bolt/screw should I use. I have a bunch of 1/4-20 X 1" but I am thinking I might need 1 1/2" or longer.1/4-20 x 1" should work just fine.
YHSCraig liked this


 - By pda4ever
 - By UncannyGirl
 - By Kingpin
 - By kahuna900