
- May 14th, 2014, 6:13 pm#4793283
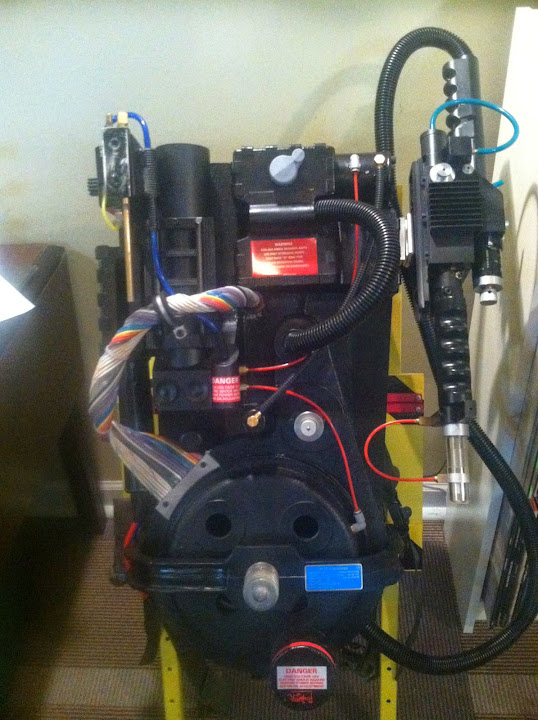
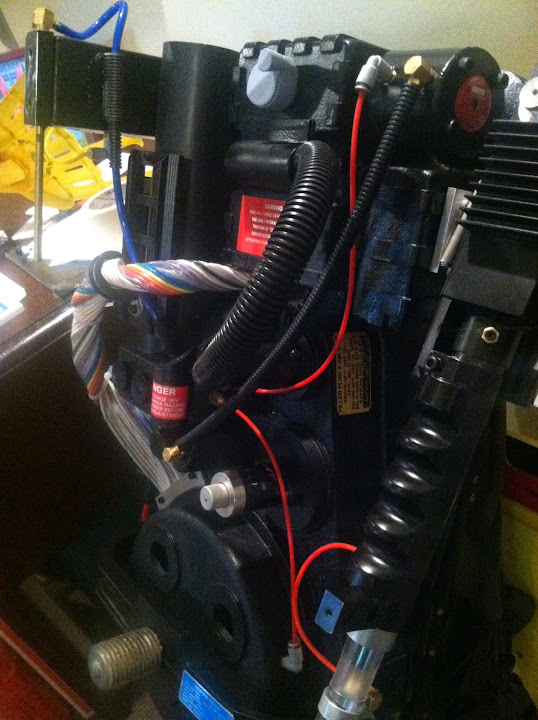
Hey GhostTarp. Mine sits pretty flush. I would say there is some slight gapping in the back but once I had the tube attached with everything it's virtually unnoticeable. Hope that helps.
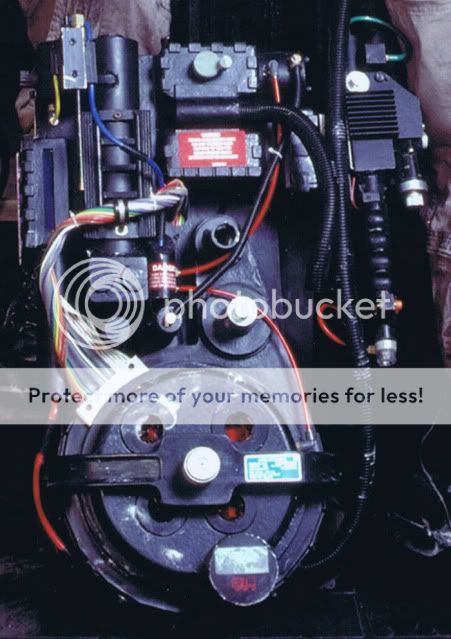
My GB1 Pack Build---http://www.gbfans.com/community/viewtop ... =2&t=36244
My Uniform and Props Thread--http://www.gbfans.com/community/viewtop ... 0#p4797540
My Uniform and Props Thread--http://www.gbfans.com/community/viewtop ... 0#p4797540


 - By mike_waclo
 - By hawkbatsquadron