
- May 13th, 2014, 2:00 pm#4793147
Well its been about 3 years of collecting parts, and many of you hearing me bitch and complain about a good amount of it, but it is finally time to start assembling what I have gotten.
Although at the time of this writing I am still missing some major parts (like a shell and bumper) I figure, I should start putting together what I have, and get the rest of the parts I need as I go at this point.
some of the photos are just to show what parts I have, and some show the progress of them.
The first thing I am doing is assembling my ThrowingChicken thrower kit. As it stands right now, it is painted, and ready to get the internal lighting kit, along with a home made barrel extender. Thanks to ThrowingChicken for the thrower kit, the GBFans shop for the Clippard, sound and light kits, acrylic tube, and most of the aluminum parts, Spongeface for the extra parts for the light kit, and the bezel for the light bar, and freekygeeky.biz for the v hook, trigger guard, lever, s-hook, and a few other small parts. Once I get the pack together, I will give thanks to those who helped it all come together.
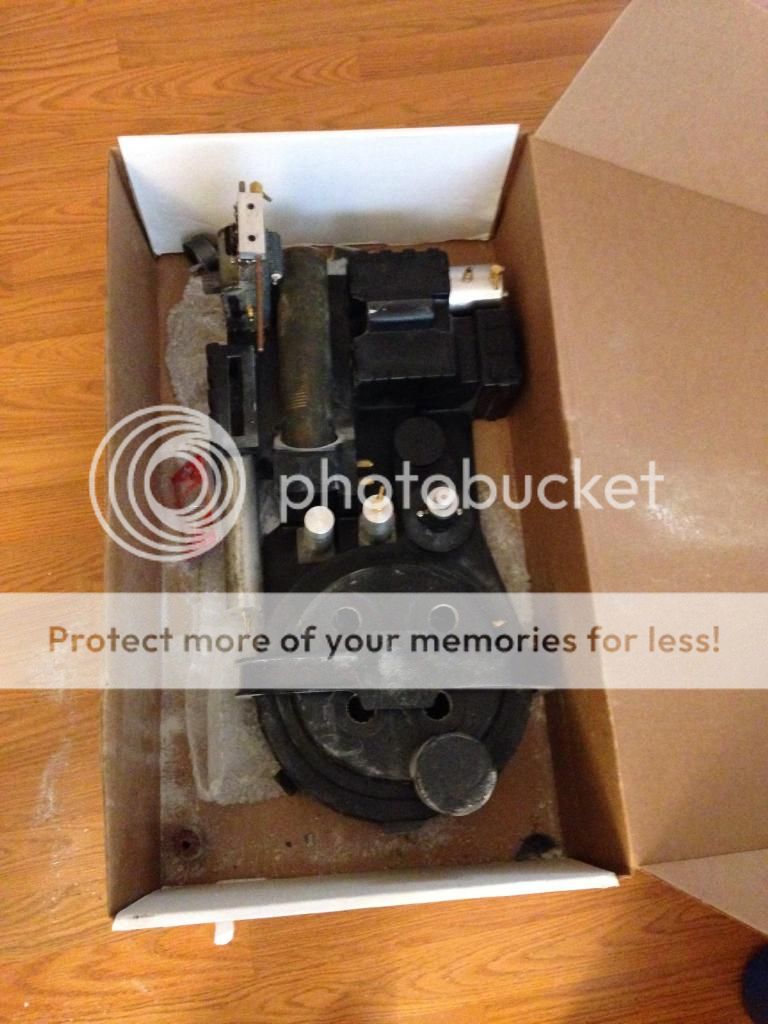
 all pieces fitted together
 another angle
 Removing the resin heatsink
 no more resin
 aluminum!
 phenoseal "weld" line to allow for small flexing
 basecoat of aluminum spray
 first coat of black
 final coat of semigloss!
other parts that I have, that will be going together soon:


Parts I'm working on making:


Let me know what you think, as I continue to work on this I'll be posting more pics.
Although at the time of this writing I am still missing some major parts (like a shell and bumper) I figure, I should start putting together what I have, and get the rest of the parts I need as I go at this point.
some of the photos are just to show what parts I have, and some show the progress of them.
The first thing I am doing is assembling my ThrowingChicken thrower kit. As it stands right now, it is painted, and ready to get the internal lighting kit, along with a home made barrel extender. Thanks to ThrowingChicken for the thrower kit, the GBFans shop for the Clippard, sound and light kits, acrylic tube, and most of the aluminum parts, Spongeface for the extra parts for the light kit, and the bezel for the light bar, and freekygeeky.biz for the v hook, trigger guard, lever, s-hook, and a few other small parts. Once I get the pack together, I will give thanks to those who helped it all come together.
all pieces fitted together another angle Removing the resin heatsink no more resin aluminum! phenoseal "weld" line to allow for small flexing basecoat of aluminum spray first coat of black final coat of semigloss!other parts that I have, that will be going together soon:
Parts I'm working on making:
Let me know what you think, as I continue to work on this I'll be posting more pics.
Jonobiwan liked this
Generally, you don't see that kind of behavior in a major appliance.


 My Vac line and PPD. The red stuff coming out of it is called Red Hand. It's basically marine grade bondo.
  As you can see my welds leave much to be desired
 The PPD after the excess Red Hand has been removed, still need a thin coat over it to make it look better when it gets painted, plus adding the hole...
 The start of my ion arm. Needs to be leveled out, and welded up, not to mention the side that is missing...
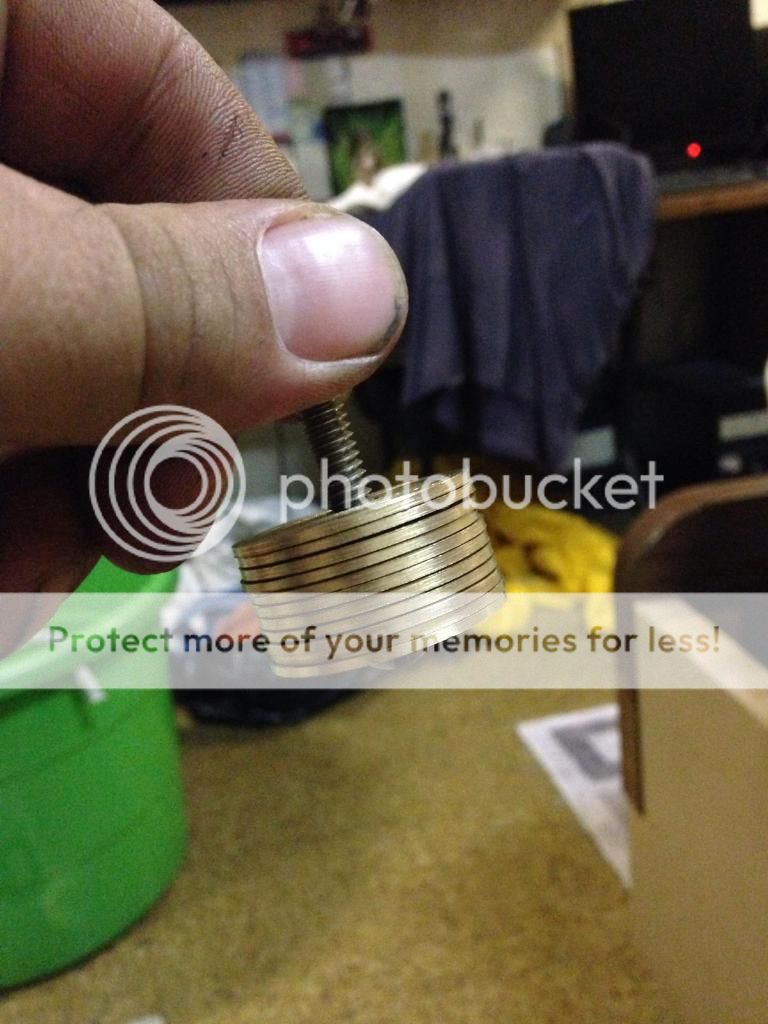 Phase 1 of my shock mount
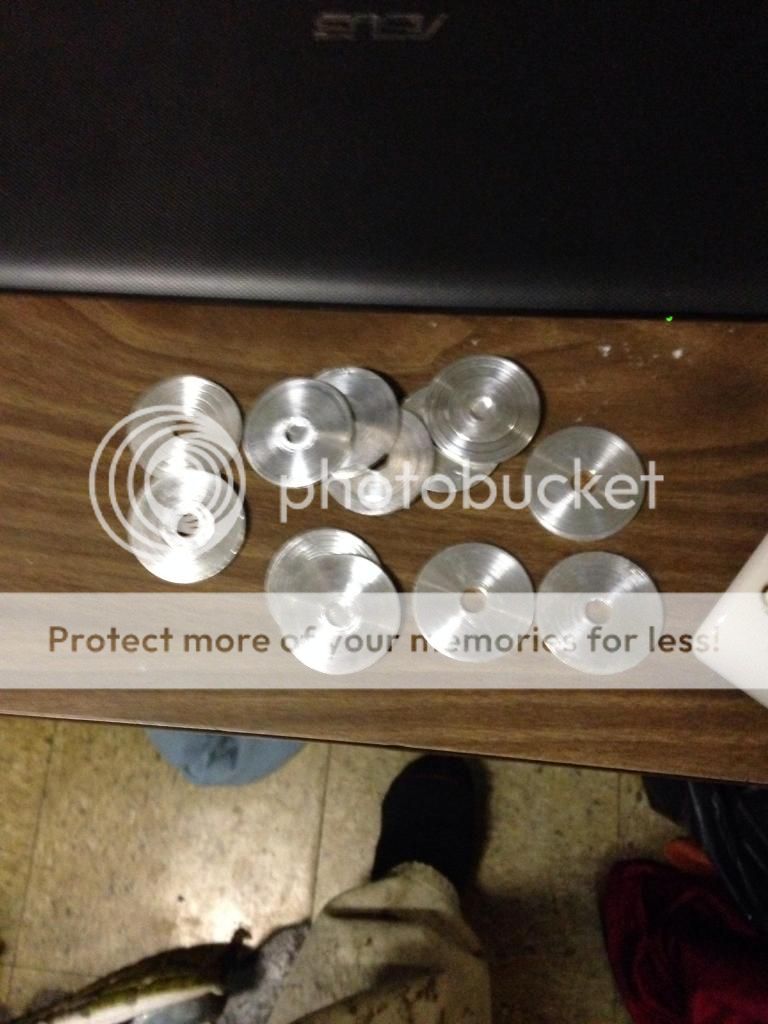 Phase 2
 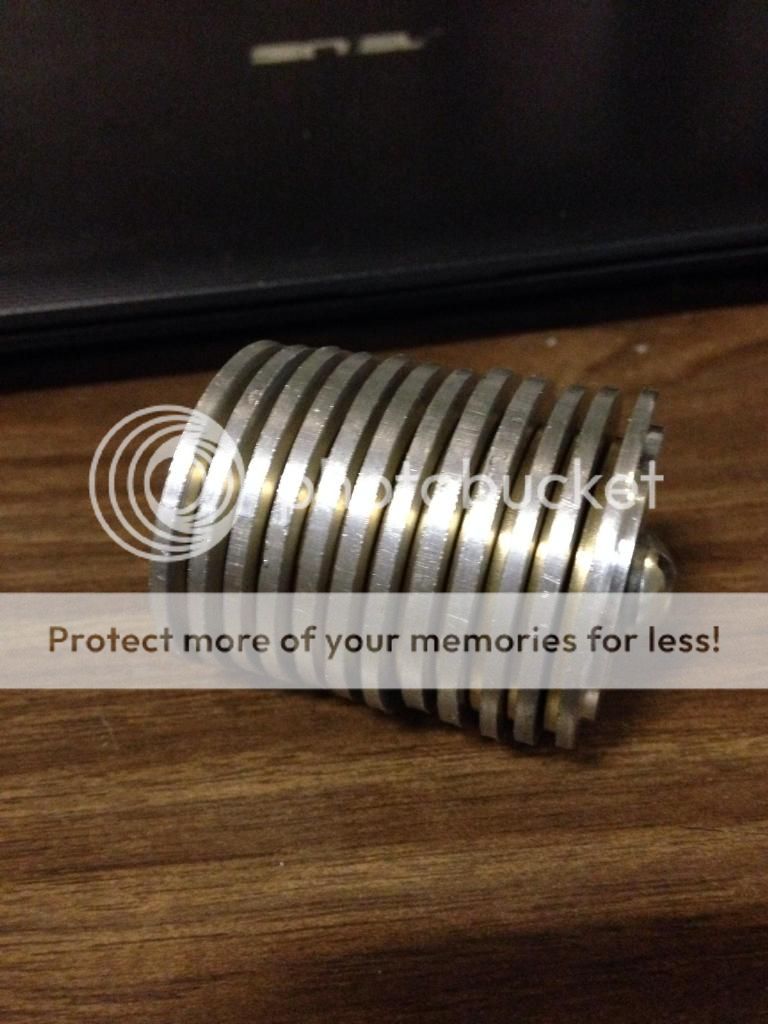 Phase 3 Complete!
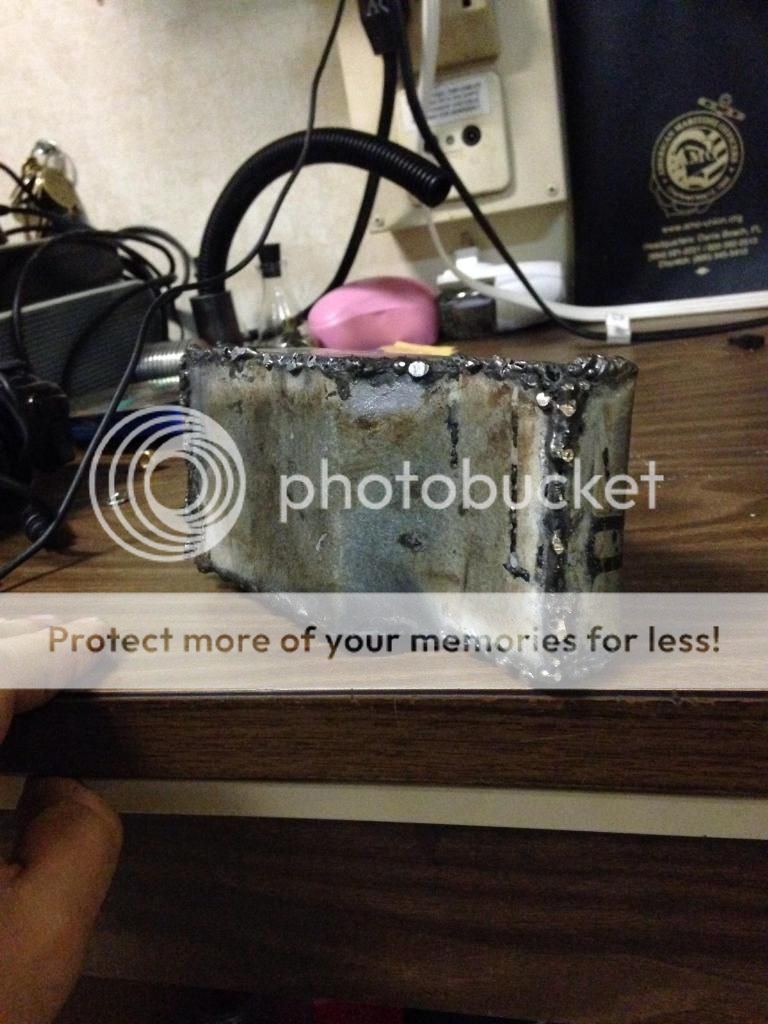 More crappy welds.....
 Almost forgot to post this beauty. My Booster Tube


 - By edspengler
 - By Fritz
 - By pda4ever