#4816437
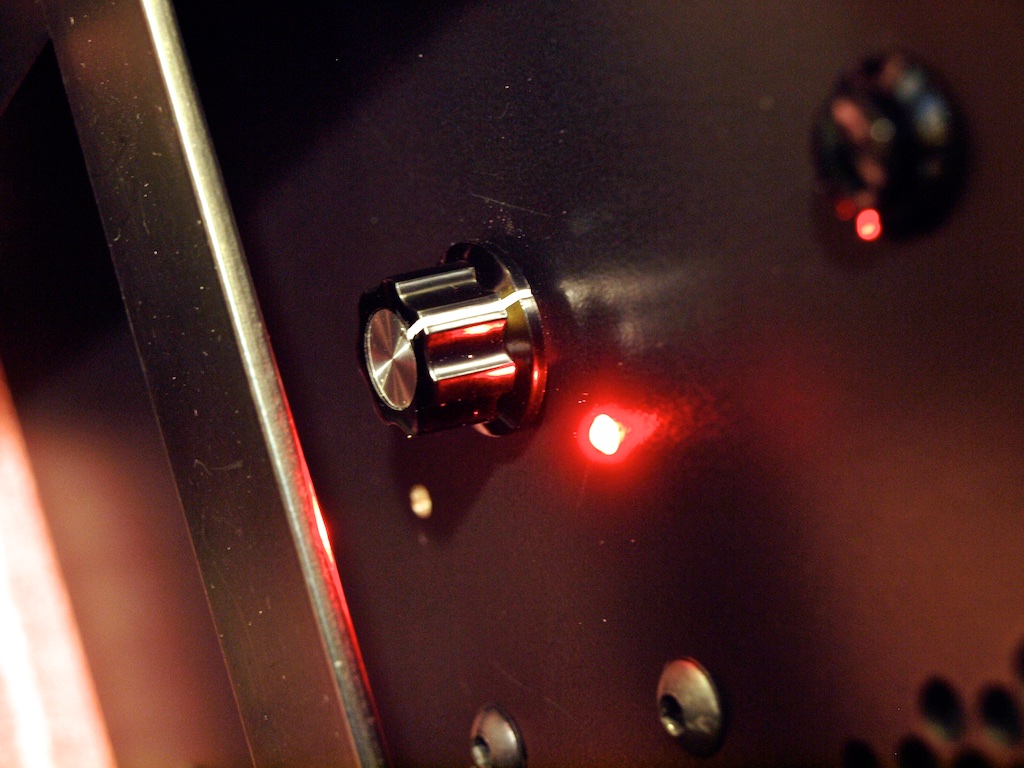
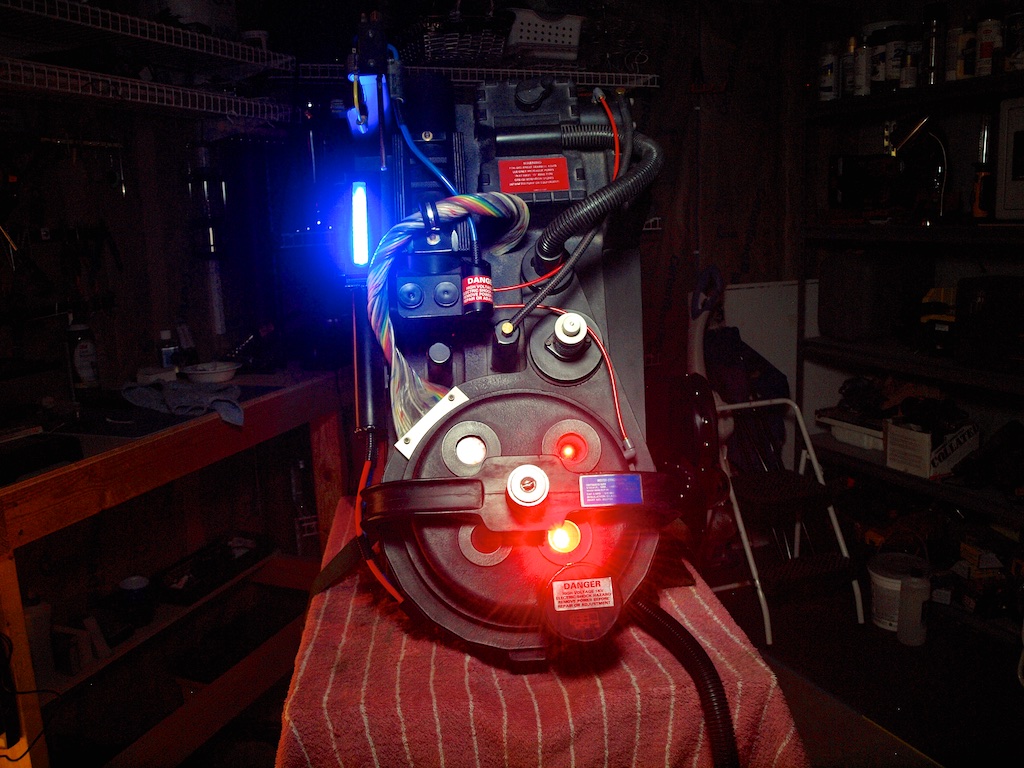
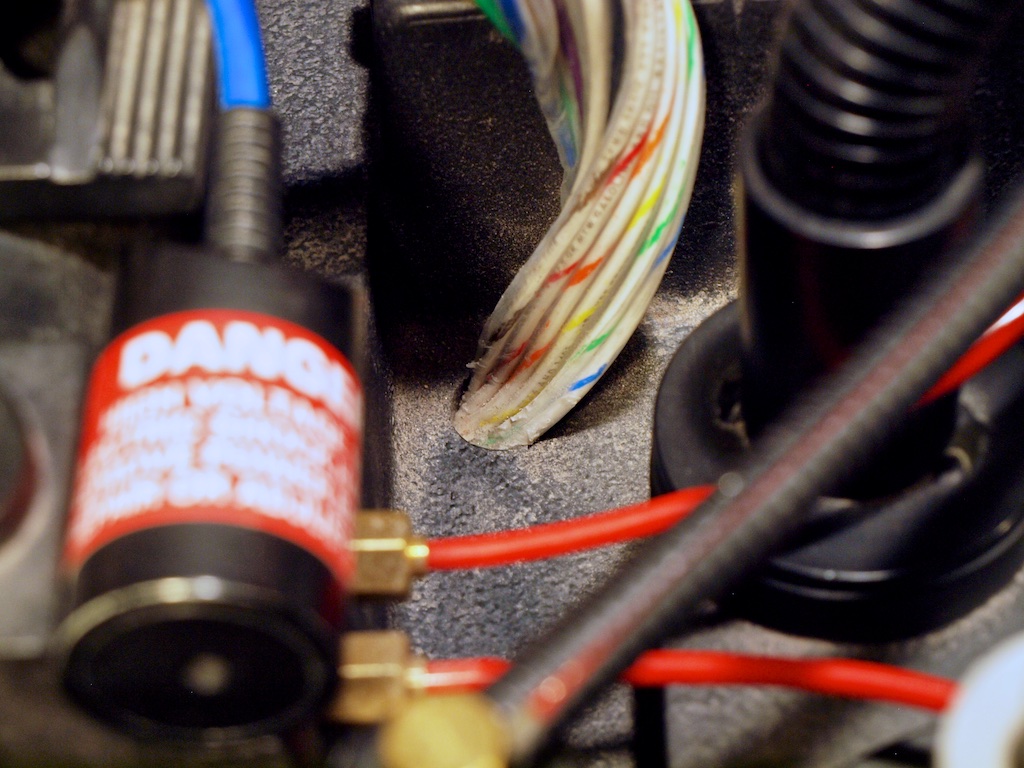
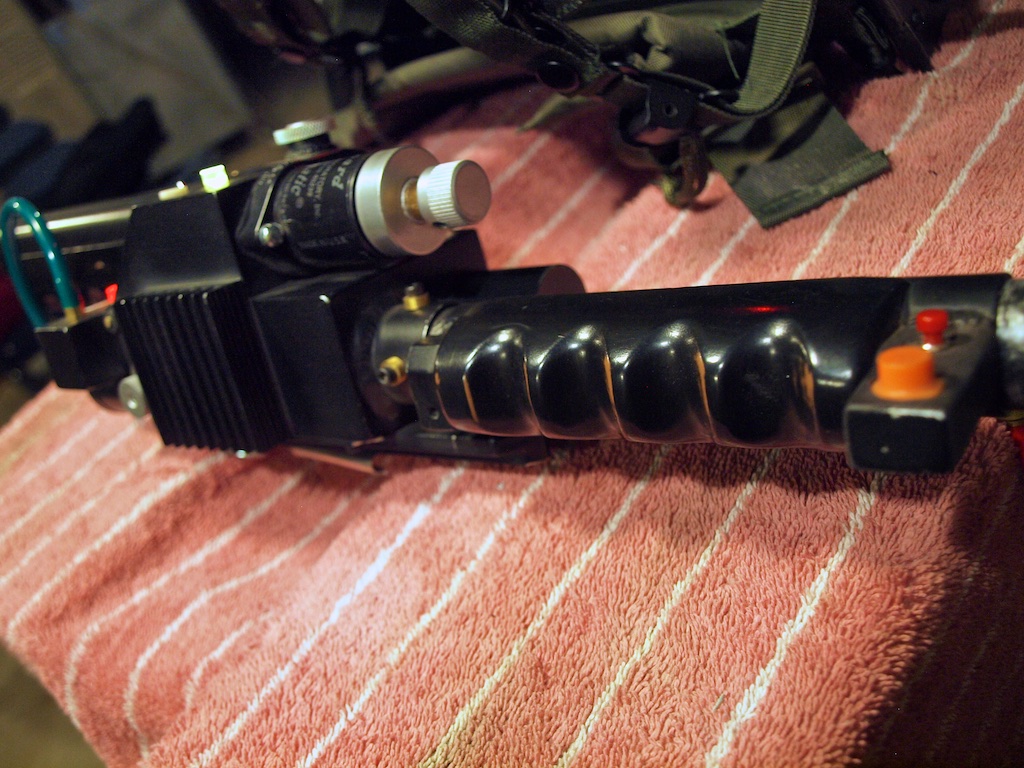
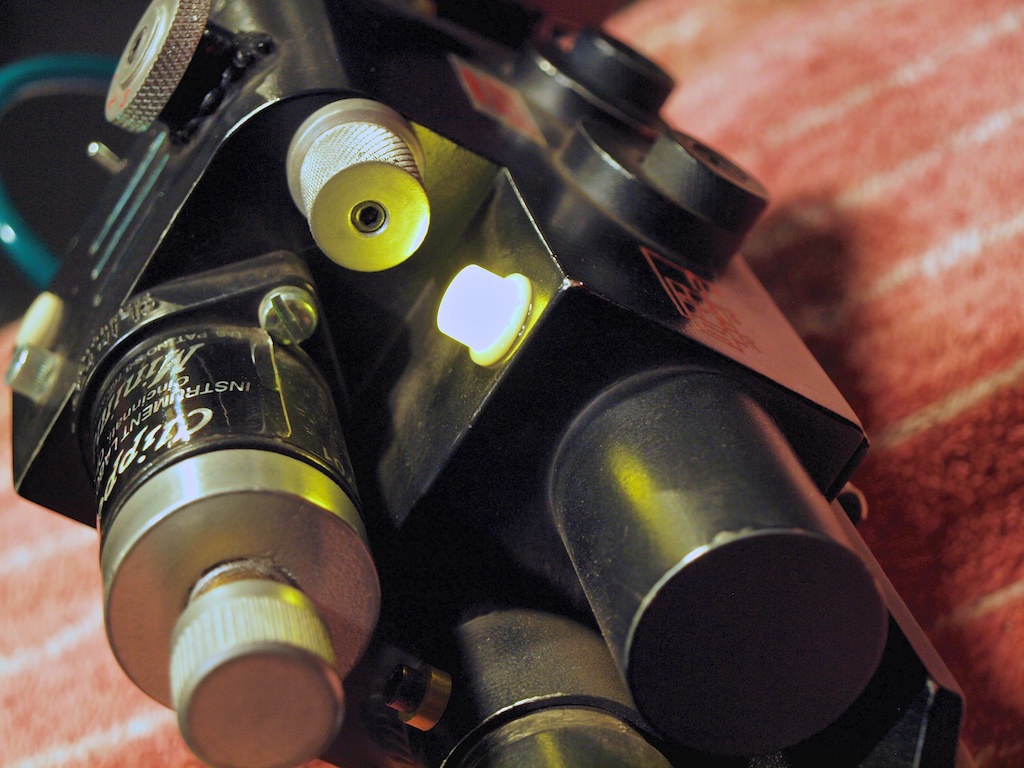
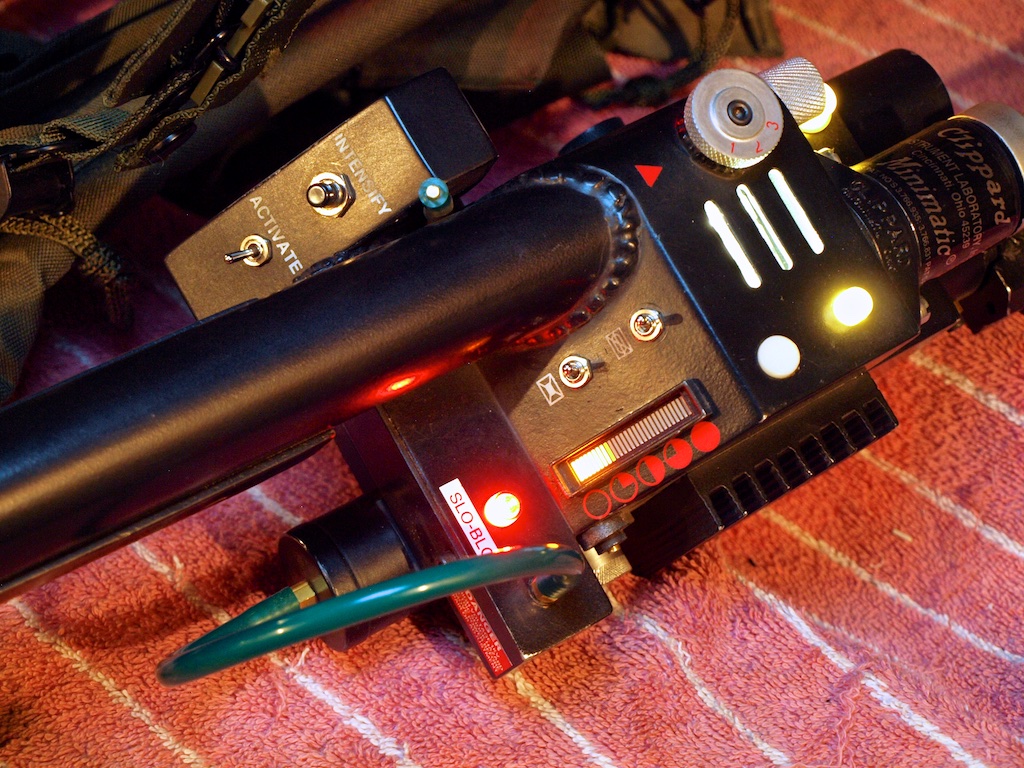
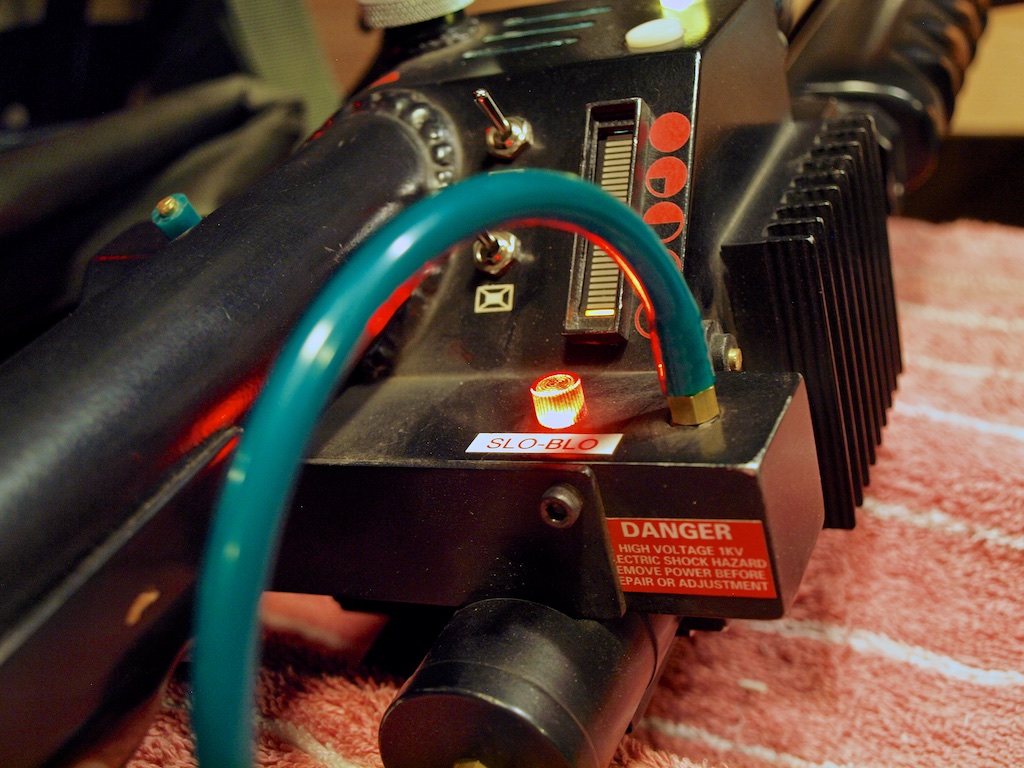
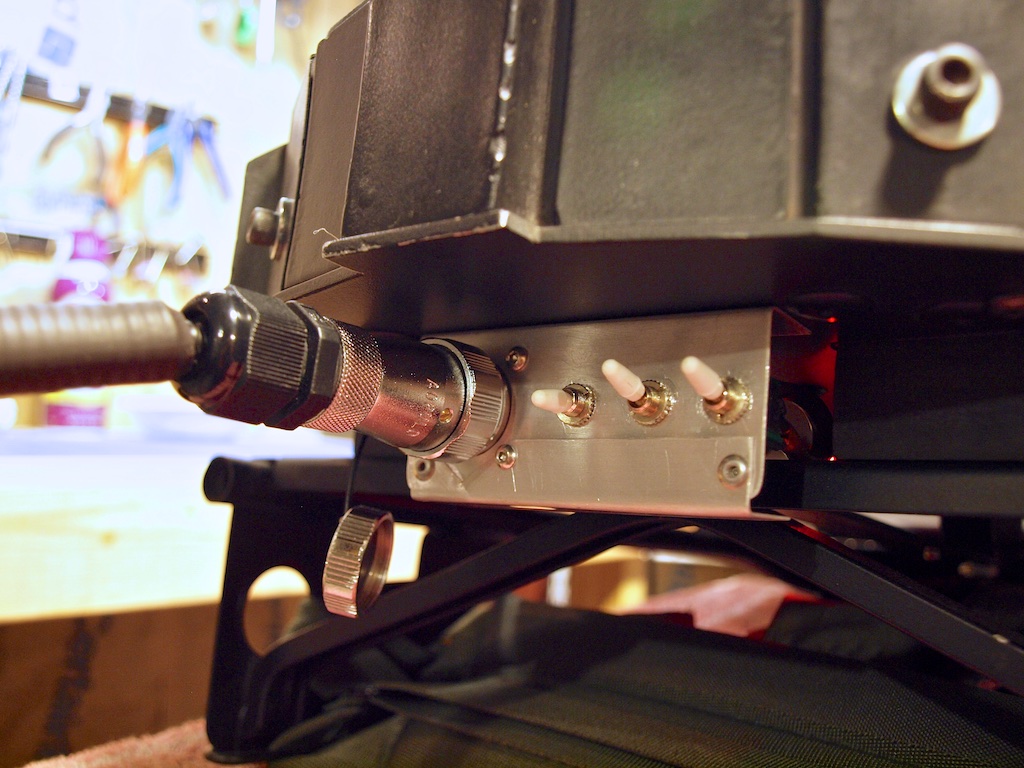
Grimmy GB wrote:Bish, what's the red LED for at the bottom left on the bottom pic?
That's from the battery. Haven't had time yet to mount through the Motherboard; although I drilled the holes!
Grimmy GB liked this
#4816441
Venkman's Swagger wrote:Can ABS be glued to the Mobo or does it have to be raised using spacers?

And what is the actual name of ABS? I've been looking and can't find it?
http://en.wikipedia.org/wiki/Acrylonitr ... ne_styrene
I used to work with it in the plastic injection molding field :)
#4816443
This post may contain an affiliate link that helps support GBFans.com when you make a purchase at no additional cost to you.

Venkman's Swagger wrote:Can ABS be glued to the Mobo or does it have to be raised using spacers?

And what is the actual name of ABS? I've been looking and can't find it?
Here is what I am using... 1/8-inch ABS sheet

It can be glued although I'd still recommend using standoffs (spacers). Having the open space underneath is helpful... plus you're gonna want the option of removing it to work on it at some point. If your concern is drilling extra holes in the Motherboard, I'd try gluing the standoffs to the MB (mount them to the ABS first using screws then apply glue to the standoffs for perfect alignment) using epoxy. You'll probably need to apply extra epoxy around the base of the standoffs after the first application cures. I'm not sure how well epoxy adheres to aluminum.
Grimmy GB liked this
#4816445
Just to hit your suggestion of epoxy on aluminum, it works extremely well as long as the aluminum is scored a bit (from past experiences). I'd constantly check for dislocations, but the more standoffs you have, the better off you'll be.
#4816448
This post may contain an affiliate link that helps support GBFans.com when you make a purchase at no additional cost to you.

Here is the other hardware I am using if anyone is interested...

M3 nylon screws
M3 nylon standoffs
#4816676
Label question. From the reference section, I see this "F1 5A" label on the underside of the Ramis Hero...

Image


And in this screen cap, there seem to be two labels on the underside...

Image


But I can't seem to find any clear shots. Is this the "F2" label? Any clear reference shots?
#4816690
Got the Spengler Plate switches wired up. The aviation XLR port connects the pack to the wall warts for charging. The next switch is the master for the battery, on or off. The next two switches control the mode for each battery independently, run or charge...

Image


I ran the battery LED to the Motherboard near the volume control and song button so it's state can be determined visually. You can see the empty hole for the second battery LED that I haven't yet installed...

Image

Another "all-fired plain-vanilla" feature.
Last edited by bishopdonmiguel on September 20th, 2018, 8:00 am, edited 1 time in total.
#4816810
I found a reference for the gun track labels. Installed (I hope correctly)...

Image
Image
Last edited by bishopdonmiguel on September 20th, 2018, 8:00 am, edited 1 time in total.
#4816816
Hey bish, how did you get about removing the track disk on the TC kit?
#4816818
thebigone2087 wrote:Hey bish, how did you get about removing the track disk on the TC kit?
I didn't :) I just drilled through the center. The S-Hook fit nicely around the circumference and once clamped down with the washer, it's snug as a bug.
thebigone2087 liked this
#4816955
Pack now fully assembled and working! This is another "holy crap I can't believe it actually works" moment. Also tried some initial weathering to make this pack appear as if it has been in storage for years. Need to continue to work on that.

The lighting in my workshop isn't very good. Need to get this out over the weekend for some better shots in daylight.

Power up!!!

Image


Details...

Image
Image
Image
Image
Image
Image
Image
Image
Image
Image
Image
Image
Image
Image
Image
Image
Image
Image
Last edited by bishopdonmiguel on September 20th, 2018, 8:01 am, edited 1 time in total.
#4816959
B-E-A-U-T-I-F-U-L!
Per Michelangelo from TMNT, "I'm in luv! *MMMUUUUUUUAH*
I know what you're doing tonight for sure!
bishopdonmiguel liked this
#4816982
Those are some beautiful photos, man... your pack is amazing looking inside and outside! Love it! Hey, what's your photography setup, by the way (camera, lens)?
bishopdonmiguel liked this
#4816996
Thats a beautiful pack! That paint finish is one of the best ive ever seen!

2 minor critiques.. Pull your ribbon cable a little more into the hole, its a bit slack just before. Also i feel the foam on the alice frame and motherboard needs to be shorter.

But even with those its a fantastic build!!
bishopdonmiguel liked this
#4817010
That is awesome! Your electronics are top notch!

You gotta do something about that black crank knob though. Less black, more grey. ;)
bishopdonmiguel liked this
#4817274
I am flabbergasted by all of these kind words. This build has been a great experience thanks to the help & support provided by all of you.

Nick, definitely gonna fix the ribbon cable. Great advice. I may leave the pack padding as-is because it does cushion my shoulders but I do realize it's not accurate.

Jay, agree on the grey knob. Gotta find a grey Ratheon (not keen on painting mine though :))!
#4817275
pyhasanon wrote:Those are some beautiful photos, man... your pack is amazing looking inside and outside! Love it! Hey, what's your photography setup, by the way (camera, lens)?
Phil, your photos are always so damn fantastic and I am humbled by appreciate your nice comment. I've been using a SLR since I was 10 and while I understand the basics of aperture & shutter, I'm really just a functional amateur. I use an Olympus e620 with a 14-42mm lens. I particularly like the e620 because its form factor is similar to the older SLRs that I am used to. Pass along hints any time you feel inclined. I could learn many things I'm sure.
#4817276
While the major components of this build are now complete, I don't think I'll ever stop tinkering.

Here's a small addition. The XLR connection for charging the internal batteries. I wrapped the cable and chargers in split loom. I still have (3) unused pins for future expansion if necessary...

Image
Image
Last edited by bishopdonmiguel on September 20th, 2018, 8:01 am, edited 1 time in total.
  • 1
  • 14
  • 15
  • 16
  • 17
  • 18
  • 20

https://www.facebook.com/marketplace/item/37016683[…]

Between the terror dogs in GB1 and the Boogieman i[…]

Spengler/84 wand Gun Track

So...I had more than a little problem with disas[…]

The opening post contain a lot information. Quic[…]