User avatar
By GohstTarp
#4866058
Back again with an update on my rear Nick-A-Tron grip. I wanted to ensure a comfortable position, so the first thing I did was install the switches on my TB/IB and attach to the gun body...
Image
Next, I marked off where I wanted the grip to start and stop. I went with .75" away from the TB/IB and .25" away from the rear of the handle...
Image
After that, I positioned the rear grip so that it was comfortable to hold and press the TB/IB switches...
Image
And then marked the position...
Image
Now I knew how much length I needed to remove from either end of the grip. This time, I shortened it using a hack saw, marked were I wanted to drill and placed it properly on the handle...
Image
Then I carefully taped it in place on the handle and after some careful drilling and tapping, I ended up with this...
Image
Note that only the aluminum handle is tapped and not the grips ;)
Image
A full view showing all the grippy goodness...
Image

The grips feel completely awesome when I hold the wand. I'm really happy they turned out well and I have this part behind me. The grips really intimidated me for some reason, but no matter :cool:

One additional thing I want to do is to give the ends of the rear grip a bit more of a curve as seen on the screen used packs.

After that I'm going to install RJ's new loom attachment piece. I have to admit, I like the design of the older version better as it's more obvious how the part locks in the loom using the bolt. I think with the new version, I'm going to have to epoxy it to the end of my loom. Does anyone have any other suggestions for attaching the loom to RJ's new piece? TIA!
Last edited by GohstTarp on April 16th, 2018, 6:21 pm, edited 2 times in total.
barison82 liked this
#4866241
GohstTarp wrote:
Venkman's Swagger wrote:Oh man that looks beautiful!!!
Thanks for the support and compliments, VS! Looking forward to seeing more of your GB1 Hero Pack build.
You're welcome GT. I absolutely love this build. So clean!! Hopefully I'll get back to it soon [emoji1]
User avatar
By GohstTarp
#4872723
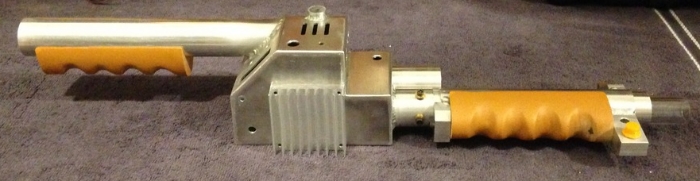
After reviewing a number of build threads and really trying to wrap my mind around the electronics and installation, I was ready to start tackling this area. As usual, I'll be following bishopdonmiguel's lead except for his wand electronics. For now, I'm planning on installing them in the thrower, and not in the pack itself. Let's take a look at what I've done so far...

First, I made sure that the GBfans Pack Blaster, Light Kit and Wand Kit all worked and functioned the way I wanted...
Image
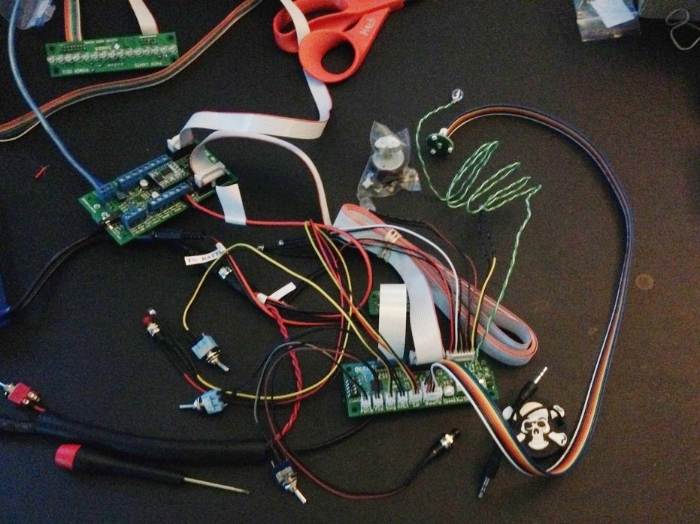
The GBfans electronics were a pleasure to setup. I followed the instructions and had everything working in no time.

For power, I'm using the standard blue brick from the GBfans store. I easily removed the LED using these instructions from jackdoud. Here is my battery after the customization...
Image
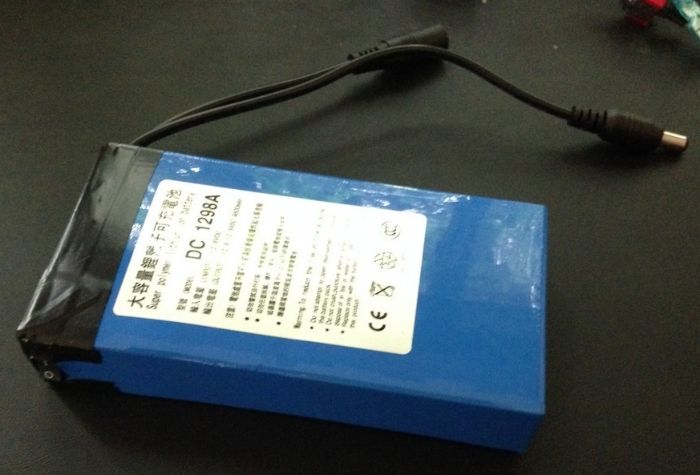
The blue brick along with nstevic01's nifty Blue brick wiring set made the battery plug-n-play. I will keep the battery switched on, and use nstevic01's wiring set for the master power switch.

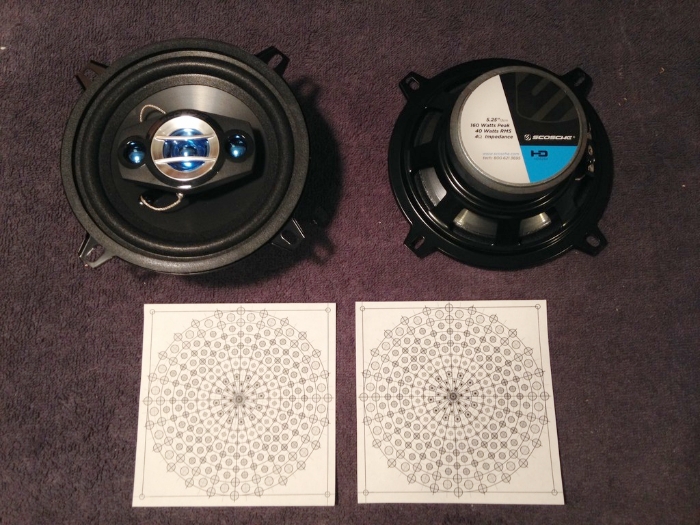
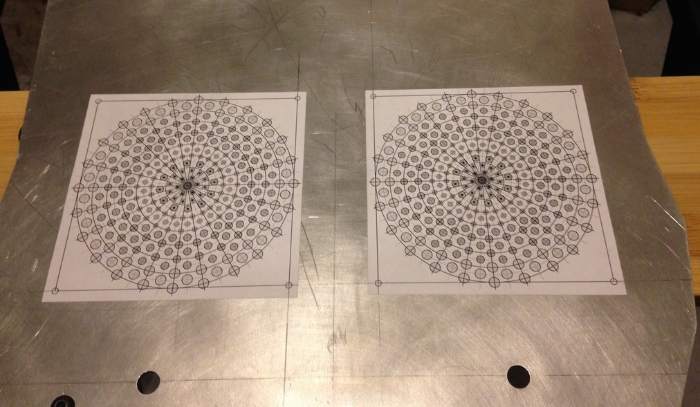
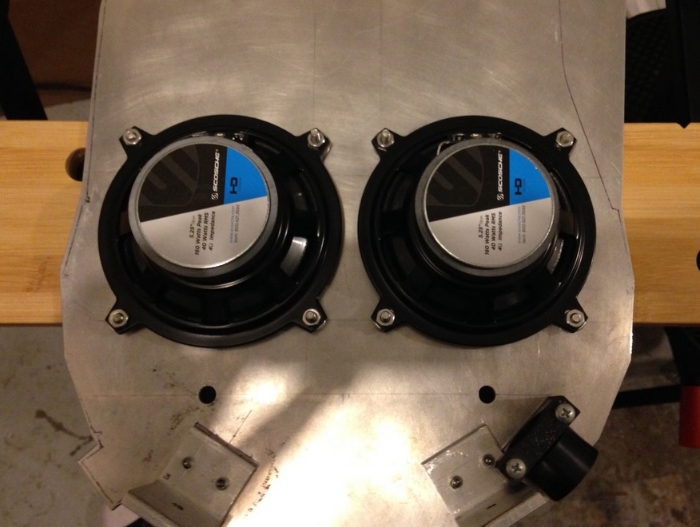
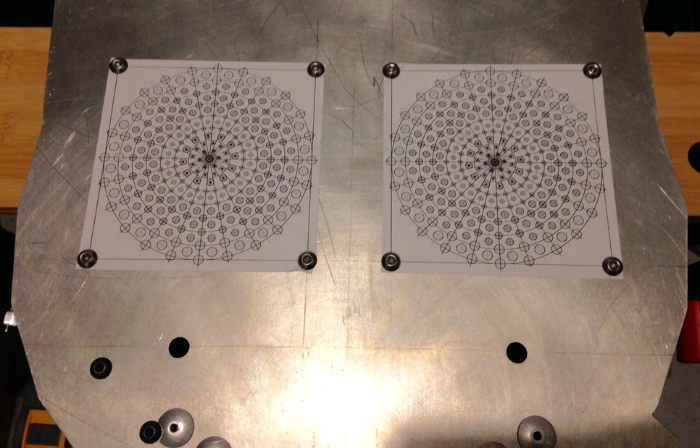
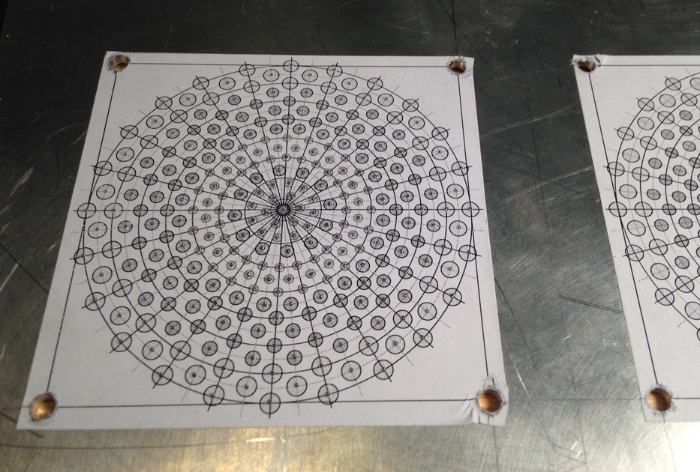
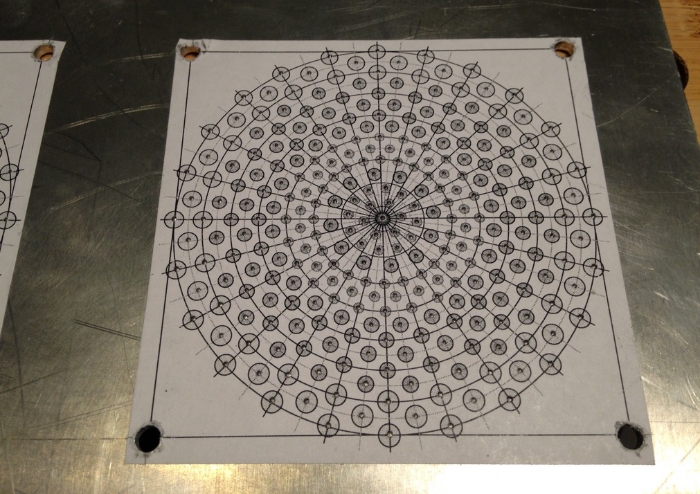
For speakers, I'm using a pair of Scosche HD5254 5.25" speakers. They are inexpensive, light weight and sounded just as good as a pair of Kicker 40CS54's. You can also see the speaker grille pattern that was kindly offered by bishopdonmiguel for use with my motherboard...
Image

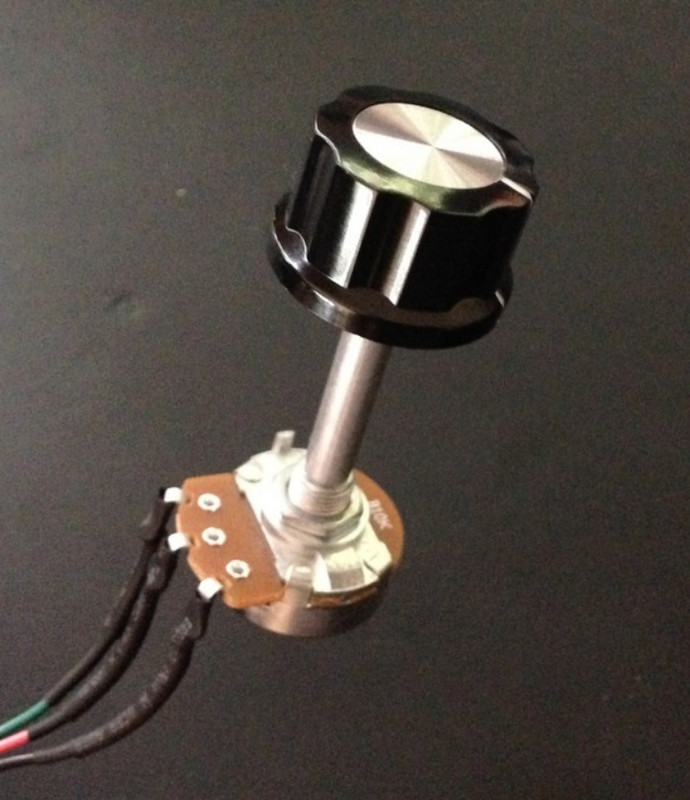
Here I have a Radio Shack 10K Linear pot wired up to replace the Pack Blaster's built-in volume pot (will shorten the shaft when I install it)...
Image

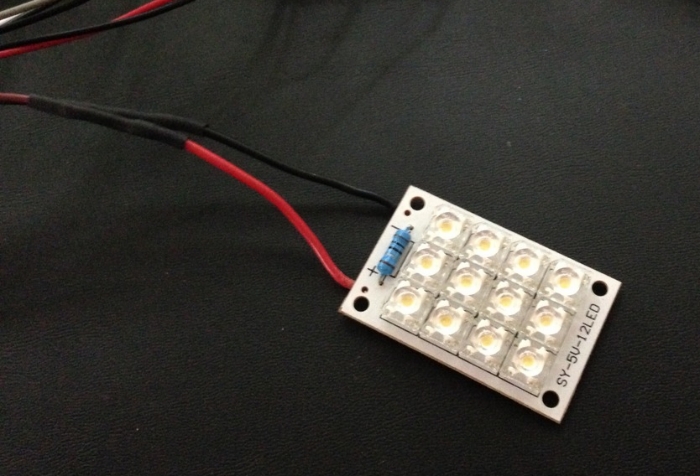
Upgrading to ovwthrillseekr's Vent Light was easy with a little bit of soldering...
Image

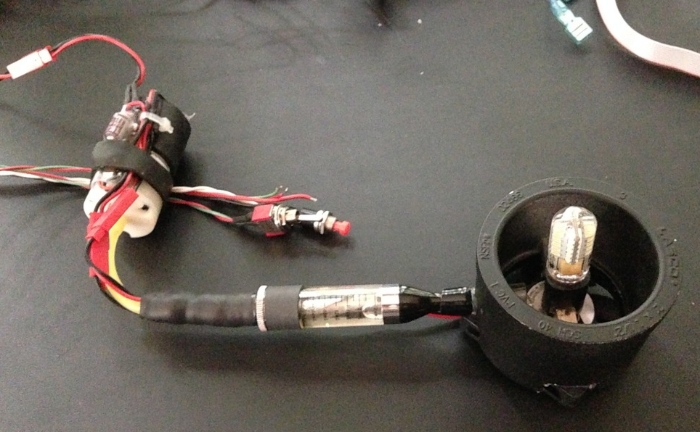
Even though it's completely a Video Game feature and my pack is mainly GB1, I couldn't resist jimfin's Vent Mech. It was plug-n-play with my blue brick, GBfans electronics and Spongeface Vent Relay. The pack blaster can be configured for Movie Mode + Vent Effects, so I can get the best of both worlds :cool:
Image
My plan is to have it mounted to the motherboard (similar to Phil's) so that nothing is attached to the shell.

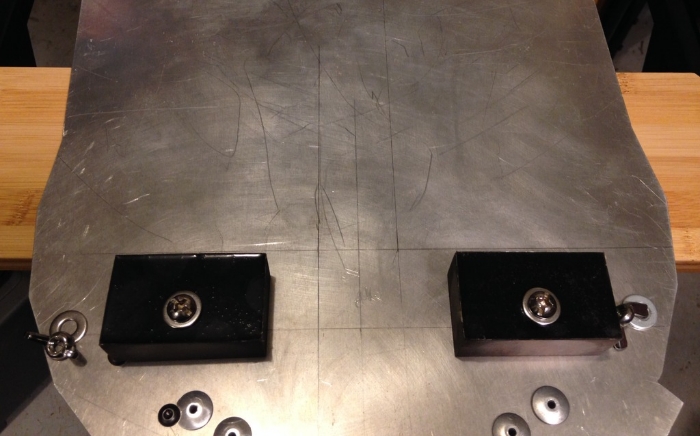
Speaking of motherboards, here is mine all marked up with pencil for speaker grille pattern placement. Alice Frame spacers are in place to ensure there were no conflicts.
Image

Grille patterns aligned and spray mounted to the back...
Image

And one last thing before I go... Using card-stock to prototype my electronics mounting platform (again inspired by bishopdonmiguel)...
Image
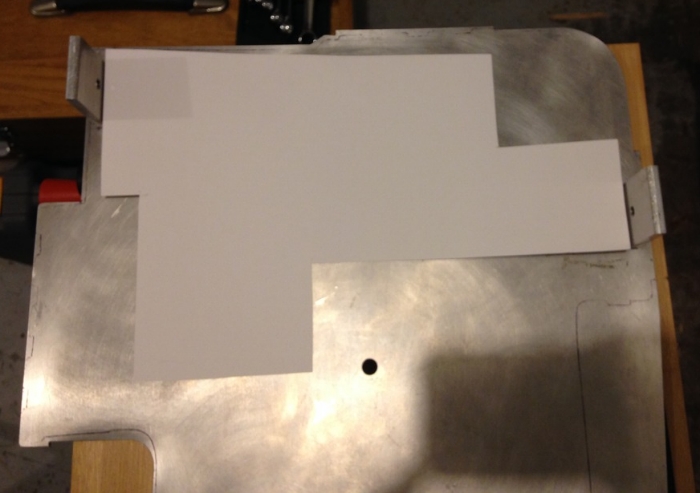
I won't need all that mounting space since I plan on mounting the wand electronics in the wand, but it will allow for future expansion (Rasberry Pi maybe?) and allow me to change my mind on wand electronics.

Till next time!
Last edited by GohstTarp on April 16th, 2018, 6:23 pm, edited 2 times in total.
#4872736
Test that the speakers fit in the location you selected with the shell in place before you drill! I had a few issues with the inside of my shell that bumped into the speakers. I adjusted until I could cleanly attach the shell over the speakers before finalizing the location. Also make sure the mounting holes on my template align with your specific speakers.

Looking great! Can't wait to see those grilles!
User avatar
By GohstTarp
#4872819
bishopdonmiguel wrote:Test that the speakers fit in the location you selected with the shell in place before you drill!
Thanks, Bishop. Excellent advice! I think I know the exact spot you are talking about. By taping the speakers in place, I was able to test fit with the shell before I mounted the grille pattern. After attaching the shell, I could see that it *just* cleared. I didn't have the nylon spacers yet, so I'm going to double-check that everything still fits with the speakers being raised up ~.35".
User avatar
By barison82
#4872834
GohstTarp wrote: Thanks, Barison. I'm looking forward to seeing some pack updates in your thread soon.
You're welcome! I'm very happy to say that updates will be happening within the next 2 weeks - the build will be starting then, and I will be providing full coverage [emoji4][emoji106]
User avatar
By GohstTarp
#4873097
Last night I was able to double-check the location of the speakers with regards to the shell and it was all good.

After some quick drilling, I had the speakers test mounted using 10-32 bolts, 0.25" nylon spacers, washers and regular nuts (nylon lock nuts will be used going forward)...
Image
From the back...
Image

Looking at that grille pattern, you can see that it's time for the real work to begin!
Last edited by GohstTarp on April 16th, 2018, 6:24 pm, edited 2 times in total.
SAMIAM, barison82 liked this
#4876266
Good luck GT. Drilling my standard grille sucked ass so i take my hat off to you for attempting this.
Last edited by Venkman's Swagger on August 10th, 2016, 2:52 am, edited 1 time in total.
By PssdffJay
#4876267
Have you picked up a counter sync bit? It will really help to clean up the holes after drilling. You'll want to do it to both sides but it makes it so nice after! Granted it's like drilling 3 times the number of holes. I can't remember how many I drilled but it was A LOT! Felt like it would never end. Good luck! ;)
User avatar
By GohstTarp
#4876425
Venkman's Swagger wrote:Good luck GT. Drilling my standard grille sucked ass so i take my hat off to you for attempting this.
Thanks, VS. As I was mounting the templates, I was thinking, "What have I gotten myself into!?!?!" Working on it a little bit at a time has helped. I've found that after about 45 minutes to an hour, I need to stop and leave it for another day.
User avatar
By GohstTarp
#4876427
PssdffJay wrote:Have you picked up a counter sync bit? It will really help to clean up the holes after drilling. You'll want to do it to both sides but it makes it so nice after! Granted it's like drilling 3 times the number of holes. I can't remember how many I drilled but it was A LOT! Felt like it would never end. Good luck! ;)
Thanks, Jay! I've got a cheap one laying around that I was planning on using, but I might pick up something better. I'm glad that you mentioned cleaning up both sides of the holes. Cleaning both hadn't occurred to me until I started drilling and looking at both sides. A good amount of work, but it should be worth it :)
  • 1
  • 9
  • 10
  • 11
  • 12
  • 13
  • 18

For sure. I think seeing ordinary guys like the Gh[…]

You can see our Paranormal Boots in action here: […]

Ghostheads

Ghostheads is SO bad. So cringe. Not even in a g[…]

The opening post contain a lot information. Quick […]