#4838815
galeap wrote:Hi everyone.

I've been away from the forum for a little while and thought that an update on the build is due. Before any pictures, I need to say thanks to Grimmy for some dimensional help

Cheers
Pete
Ah shucks! :blush:

Just so in awe of your abilities dude! Good God this thing is a feast of eye candy... Hope you don't paint it once it's complete ;)
#4840257
Hi All,

I had a chance to work on my proton pack and thought that I would share the fruits of my labour. This weekend was all about finishing the N-filter, which I must say has been a tougher build than I first thought.

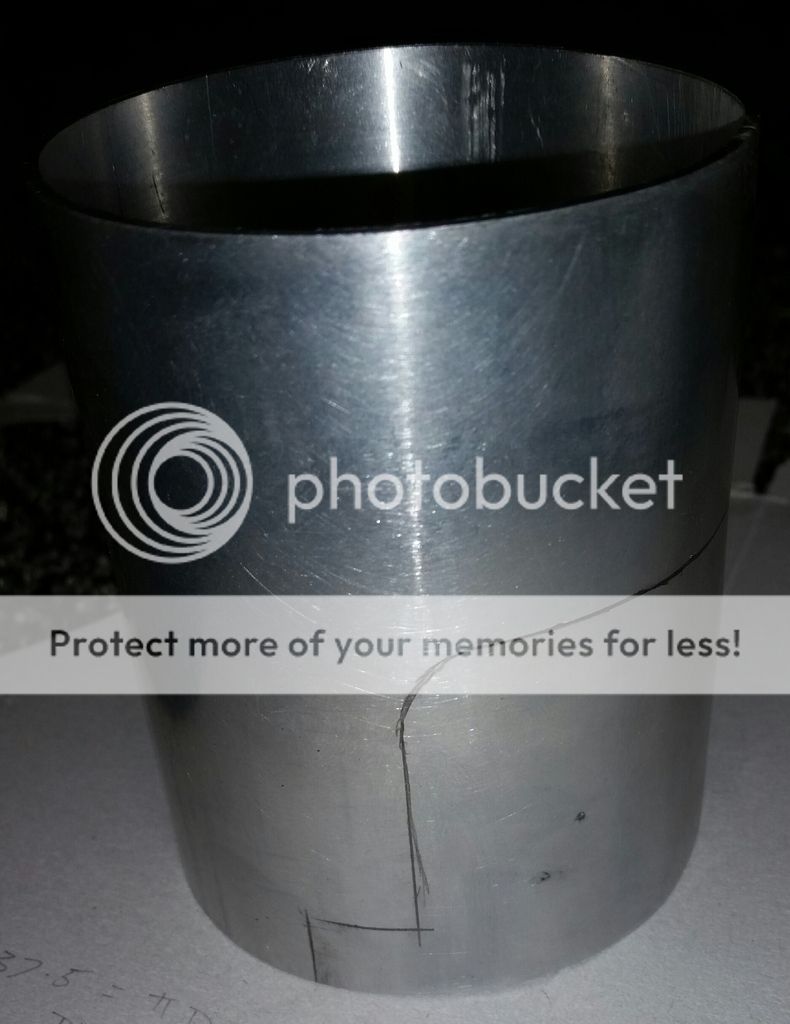
I made the N-filter tube out of a piece of flat 1/16inch Aluminium sheet as I couldn't locally source thin wall 3 inch pipe readily, rolled it with home made roller (photo shown earlier in the thread.).
I marked up a cardboard mock-up to the get the correct cutout shape and then transferred it onto the N-filter tube.

Image

Image

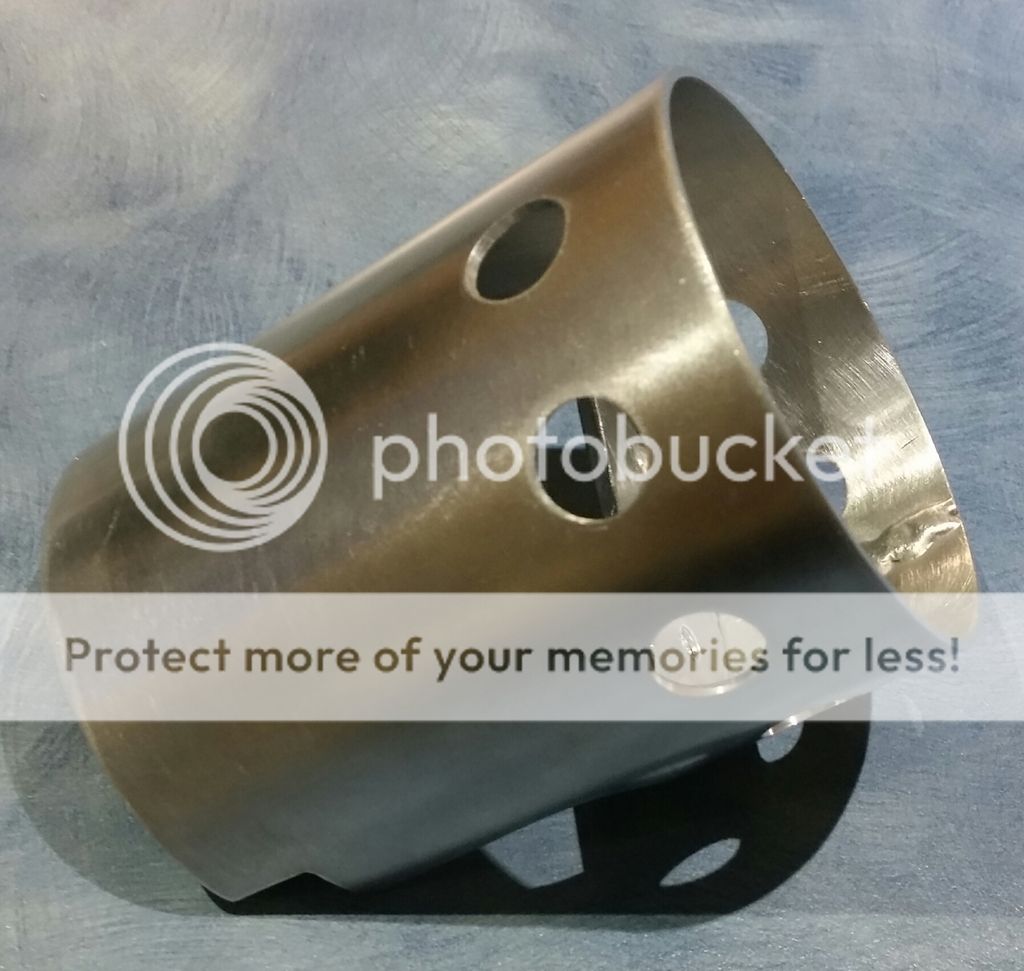
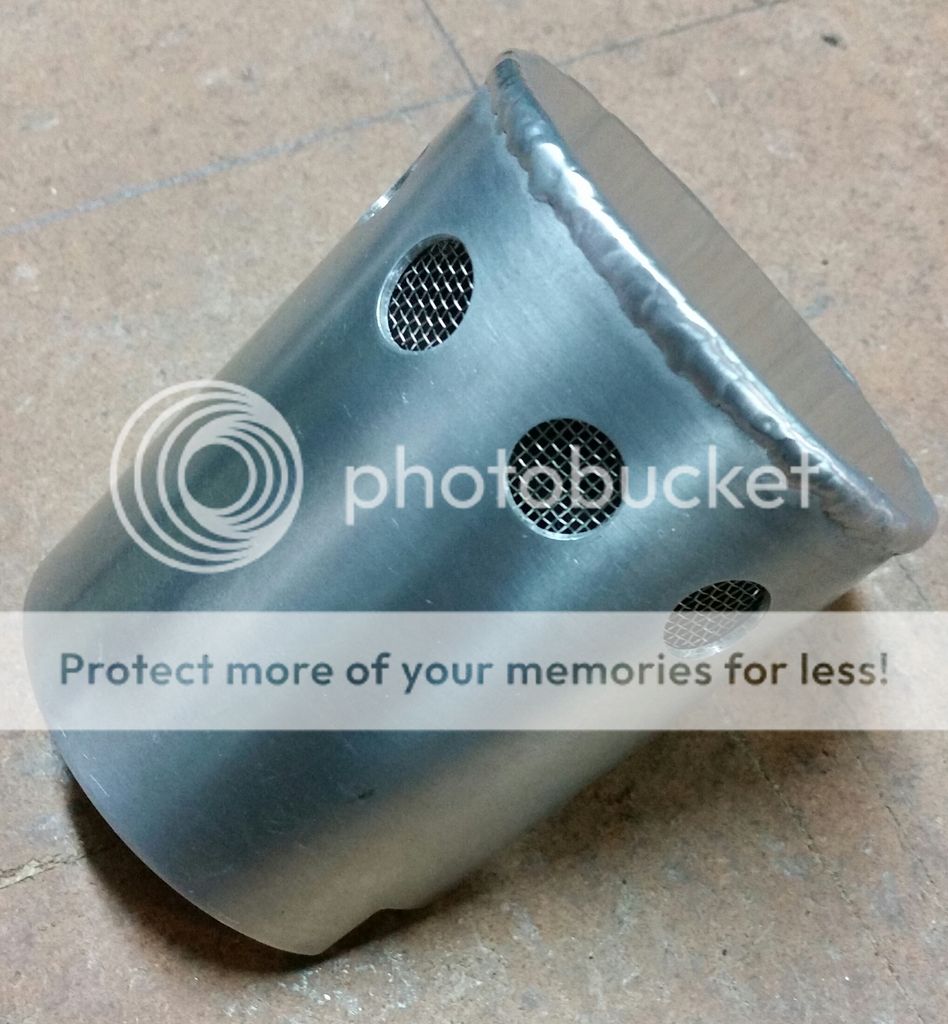
I then cut out the cyclotron piece and set about welding in a couple of internal mounting brackets and drilled out the vent holes.
Image

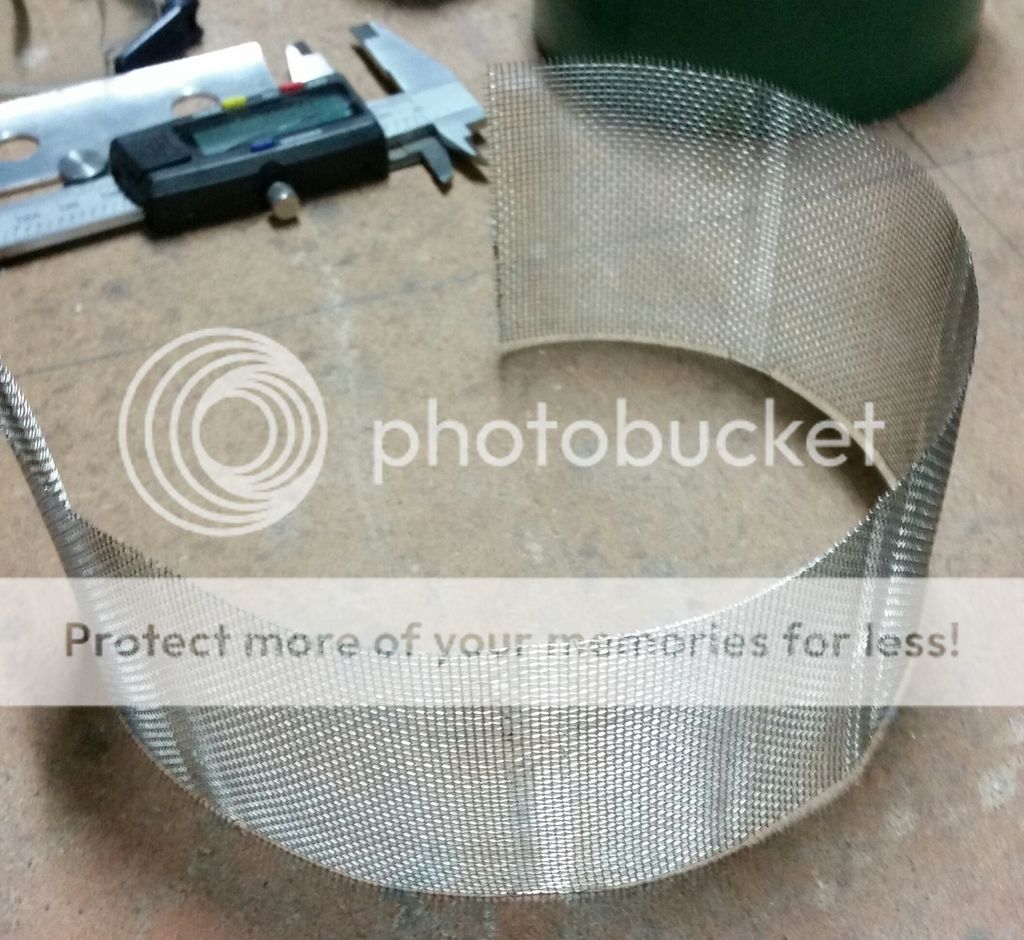
For the wire mesh I search our local hardware warehouse type shop and eventually found mesh that looked suitable in this rain water tank vent cap:
Image

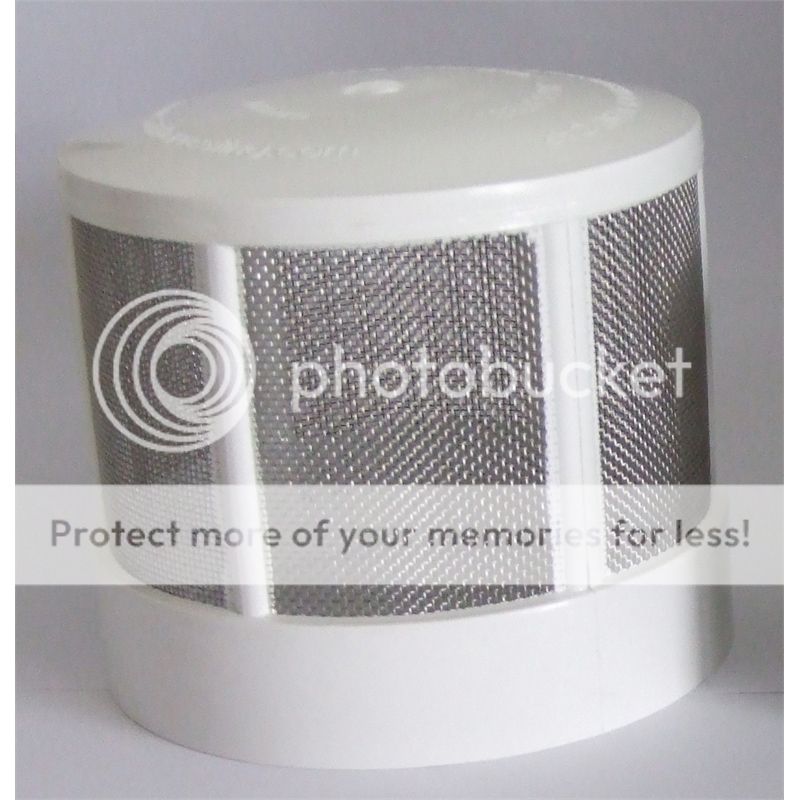
Which I liberated with a dremel cut off wheel, bit of careful cutting and a heat gun.
Image

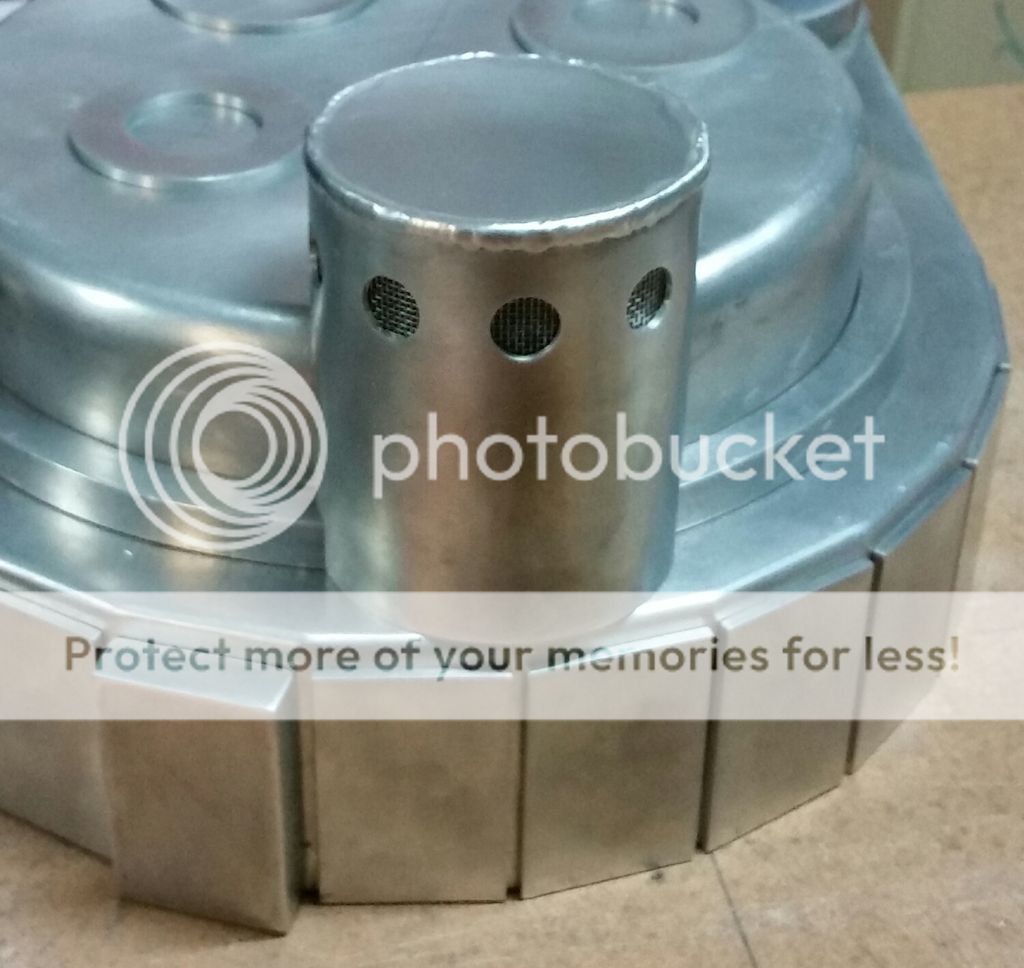
Next shots are with the lid welded on and the mesh in place:
Image

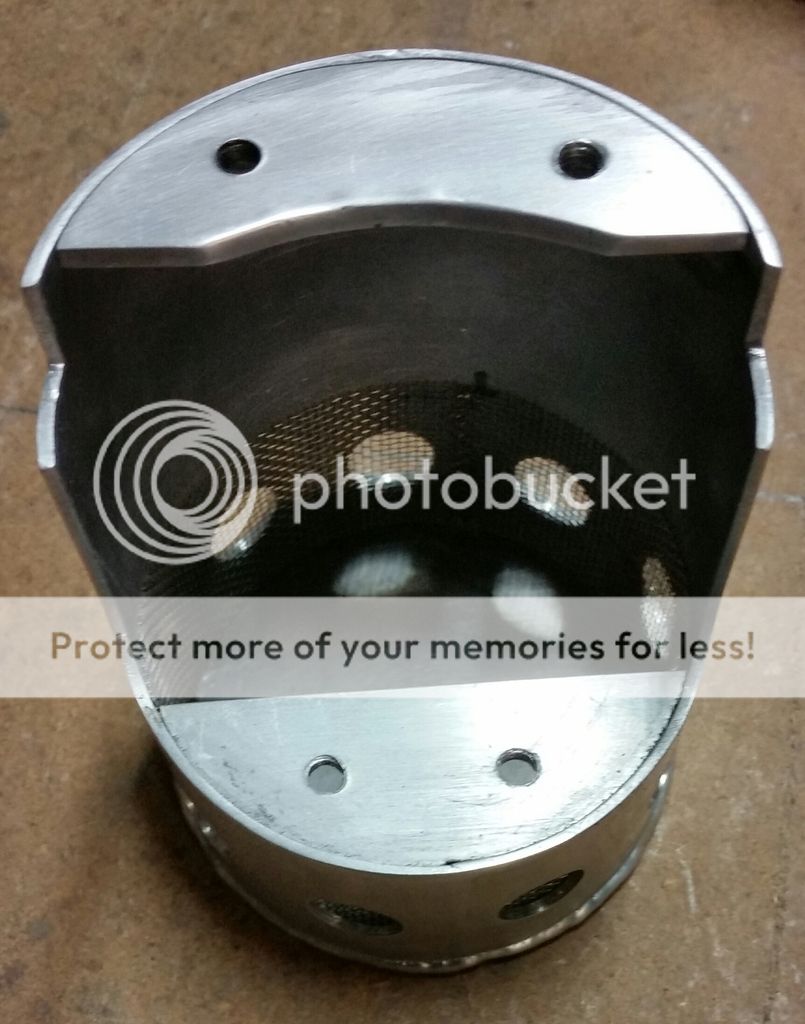
Underside showing mounting screw holes.
Image

And finally mounted onto the cyclotron/spacer section.
Image

Image

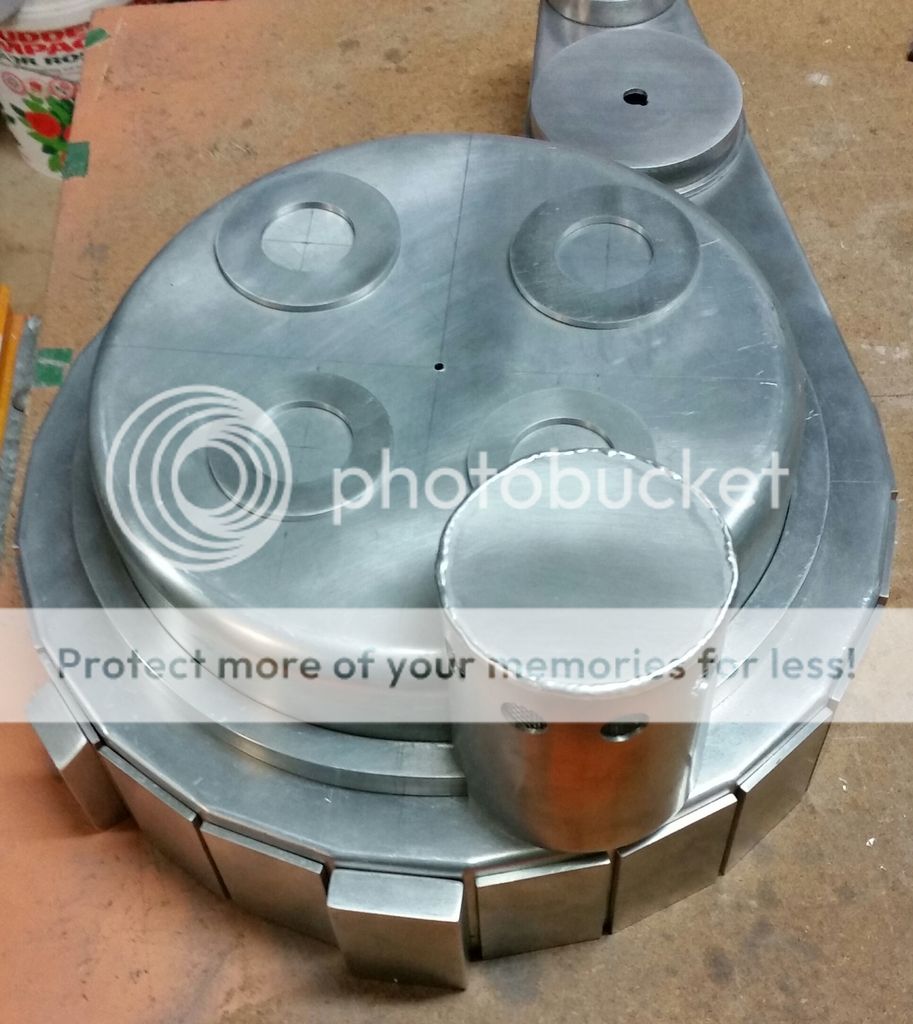
I will use a little bit of JB weld to seal along the minor gaps around the N-filter/Cyclotron. While it was a fair bit of work, I fairly happy with how this piece turned out.

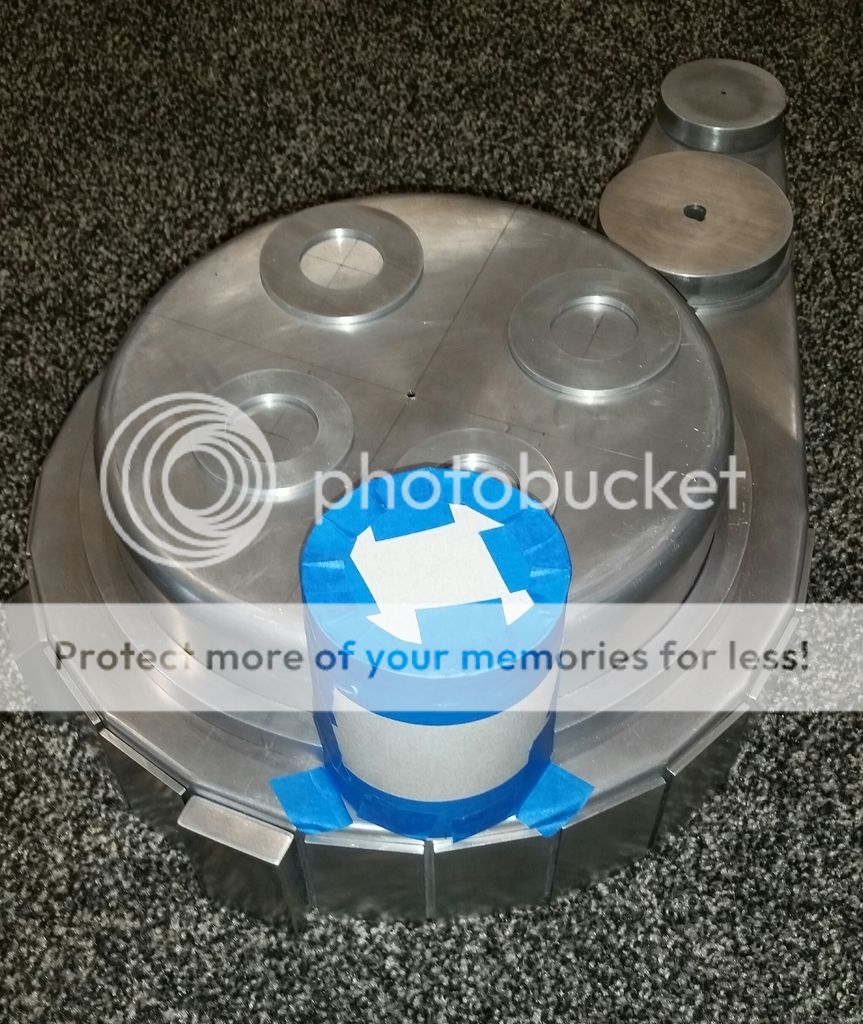
When I get a bit more free time I will lay out all of the parts made to date and do my usual couple of photos and post them up.

Cheers
Pete.
alphabeta001, legend642 liked this
#4840555
Thanks for the feedback guys.

I struggled for a while to decide on going for a stack of dimes neatly spaced weld or more of a irregular looking weld. In the end I went for the later as it looks more like that on the GB1 packs, and I feel that the N-filter is one of the more important astetic defining pack parts.

Sometimes I think I have OCD when it comes to such details, other times I think that it's just the fact of being an engineer, reality is probably both ; ) Either way it makes everything take a lot longer to do than I originally thought.

Anyway I want to go down the E-cig path for N-filter venting and I'm wondering what option people are going for with the N-filter light. I have the GB Fans light kit and I'm wondering if the included led will be bright enough, or if I should go for a automotive type cluster led light. Thoughts?

Either way I'm planning to duct a flow of air for the ecig into the N-filter from the cyclotron, via corrugated conduit and small pc fan. I haven't played with an ecig device before so I'm not sure if this needs to output the steam direct into the n-filter where it will mix with the forced air flow, or to mix the steam into the air duct on the way to the N-filter. Any experiences and comments on the better option is appreciated.
To be safe I'll make sure to leave room for both possible setups.

Hopefully I'll get some free time to continue the build this weekend again and post some update pics.

Pete
#4840556
This is amazing! You are truly going to have a one of a kind pack!
#4840574
Hey Pete! The Finchers offer a vent kit that is amazing. If you're so set on building your own, They have a tutorial out there that I have to dig up. This includes the information for the LED cluster they used.

Edit: Here's the link to their vent build: http://www.gbfans.com/community/viewtop ... =2&t=36943
Sephiroth liked this
#4840610
Lovely work P, true, the N filter is a lot of work, if i had to roll my own tube i think i would have given up on it! You have way more patience for this than i do ;) fair play.
#4840686
Hi guys thanks for the kind words again.
Grimmy GB wrote:Hey Pete! The Finchers offer a vent kit that is amazing. If you're so set on building your own, They have a tutorial out there that I have to dig up. This includes the information for the LED cluster they used.

Edit: Here's the link to their vent build: http://www.gbfans.com/community/viewtop ... =2&t=36943
Grimmy,

Thanks for the heads up on the Ecig thread. When I first started to get serious about this build I stumbled across one of the youtube clips from the thread and instantly I wanted to include this feature in the build. The details from the thread will help jump start me.
Because my N-filter is cut to fit around the cyclotron, I won't be able to fit a fan directly in the tube. So my plan is to duct the fan forced air into the N-filter via a pc fan installed onto a small electrical junction box located in a free space inside the pack that has a length of flexible conduit to gland/bushing leading into the N-filter. I think that this will work as long as the flexible conduit doesn't restrict the air flow too much.

I will also look at making some sort of small holder in the N-filter to hold the strobe light.

I will start gathering the needed parts to experiment with this idea in the free time when I'm not working on the pack ;)

OCP,
Making the tube was a challenge in its own right due to the setup/limitation of my diy roller. After I made the tube I was really worried that I might stuff up the cut outs and have to remake the tube. Luckily that didn't happen. Cheers.

Pete.
Grimmy GB liked this
#4840688
I'm sure you'll make it work. There's tons of thought on the forced effect without using a fan. You've got the abilities and can't wait to see what you come up with!
#4841383
Hi All,

Thanks for the kind words Grimmy, Nick-a-tron and Jest684.

Had a public holiday midweek, and managed a few hours on the build in the afternoon to work on the HGA. Here is the photos of the effort on it.

Rear lid getting ready to be turned down on the lathe. Super glued a nut onto the square plate so that I could hold it in the chuck, it's amazing what superglue can hold.

Image

Body with rear lid.
Image

Image

And final item.
Image

Image

Once I work out my mounting screw locations I will drill out some of the rear lid to reduce some weight.
Image

And that's it. Hopefully I will have a bit more time to continue this weekend.

Cheers,

Pete :cool:
legend642 liked this
#4841424
Oh my god, dude. I don't know if you are or not, but PLEASE don't paint this. Your metalwork is BEAUTIFUL and I'd be so sad to see it get covered in paint.
#4841440
galeap wrote:Because my N-filter is cut to fit around the cyclotron, I won't be able to fit a fan directly in the tube. So my plan is to duct the fan forced air into the N-filter via a pc fan installed onto a small electrical junction box located in a free space inside the pack that has a length of flexible conduit to gland/bushing leading into the N-filter. I think that this will work as long as the flexible conduit doesn't restrict the air flow too much.

I will also look at making some sort of small holder in the N-filter to hold the strobe light.

I will start gathering the needed parts to experiment with this idea in the free time when I'm not working on the pack ;)
Talk to Hijacker, I believe he figured out a working model that sucks air out instead of blowing, which sounds to me would work better for your build...
#4843015
Hi guys

Its been a couple of weeks so I thought that I would report in with a build update. Not a huge amount of progress unfortunately. I've made the injector tubes up, and cut out the parts for the beam line and filler tubes, ppd and booster tube. Here is a couple of photos of a quick test layout tonight on my MDF motherboard template. All tubes, cyclotron rings and the HGA are sitting loose roughly in place.

Hopefully I'll get a run at the build this weekend and I can finish the tube builds.

Image

Image

Cheers

Pete
twmedford23 liked this
#4843020
This is the most amazing thing I've ever seen!
Not404Error liked this
#4845683
Absolutely awesome! This is one hell of a build...it will be something very special when it's finished. Just noticed your location - my other half is an Aussie and her family are also in Brisbane, we go out there every year to visit, they live in Samford. I will follow this epic build with great interest, thanks for sharing it!

Alex
#4848166
Hi everyone,

It's been a while since my last post so thought it was about time for an update.

I have competed the centre section of the pack and connected the three sections into one to form the shell. In the end I bolted the sections together. There is a few minor gaps around the pieces that I will fill with epoxy and create a small fillet at the same time. This will be next weekend's task.

Couple of photos showing the centre section coming together.
Image

Image

Image

The photos below is with the shell complete, but all the tubes just loosely placed to see how it looks all together so far. Also the cyclotron washers need to be glued down into their final spots.

Image

Image

Image

Image

Image

So next will be to finish up the ppd tube and make up the motherboard. Then it's on to the all aluminium bumper.

Pete.
Kingpin, twmedford23 liked this
#4848168
I'm jealous! Awesome work. One of a kind!!!
#4848218
Hi guys.

Thanks for the kind words. While not perfect by any measure I'm happy enough with how it is coming together so far, especially since I'm teaching myself to tig weĺd on the fly.

twmedford23, a few people have suggested not painting it, but I'm keen on making it look like a movie hero pack. Once I have it all done I'll do a few photos prior to painting (maybe without the thrower though).

Pete.
New PKE build

One more video demonstration with handheld operati[…]

Yep, and nightmare on elm street dream warriors.

You can see our Paranormal Boots in action here: […]

Ghostheads

Ghostheads is SO bad. So cringe. Not even in a g[…]