#4856896
Today was another scattered progress day. Progress is progress though. Things I won't have to worry about later.


Image
Picked up the colored acrylic and glue. Can't believe they were only $2.50 each! Got the blue 2"x5" and the red 6"x6". This place is friendly, reasonably priced, fast, and apparently loves Ghostbusters. They wanted to see updates and said hi to you Alan and Windy City Ghostbusters. :) Awesome place!


Not meant to be an endorsement but I endorse that place! Anyway, I didn't know what piece to start with when we got back (girlfriend and I). Then I remembered what I was thinking when I woke up. You know how that goes!

Image
I woke up thinking whether or not I have hole saws in my kit for the cyclotron rings. I was hoping they'd be near perfect to Nick-a-tron's suggestions of 62.5mm top/57mm bottom OD (outer diameter)/ 32mm all ID (inner diameter).

Image
Fortunately, I had a perfect one for the ID. How do ya like them apples?!

Image
Unfortunately, I only had one hole saw that would work. So the washers would all have to be the same size. Fortunately, it made prefect 60mm OD rings which is smack dab in the middle of Nick-a-tron's numbers. But that's jumping ahead.

Here's some rather self explanatory pictures. Enjoy...

Image
Image
Image
Image
Super round cut!
Image
Lots of melted flashing. I was going slow and drill press was belted on its lowest speed. Meh.

Image
They cleaned up well though! Can't decide if I'm ticked they're all the same size, or if I like it. My OCD can lean either way. Idealized pack, right?! LOL

Image
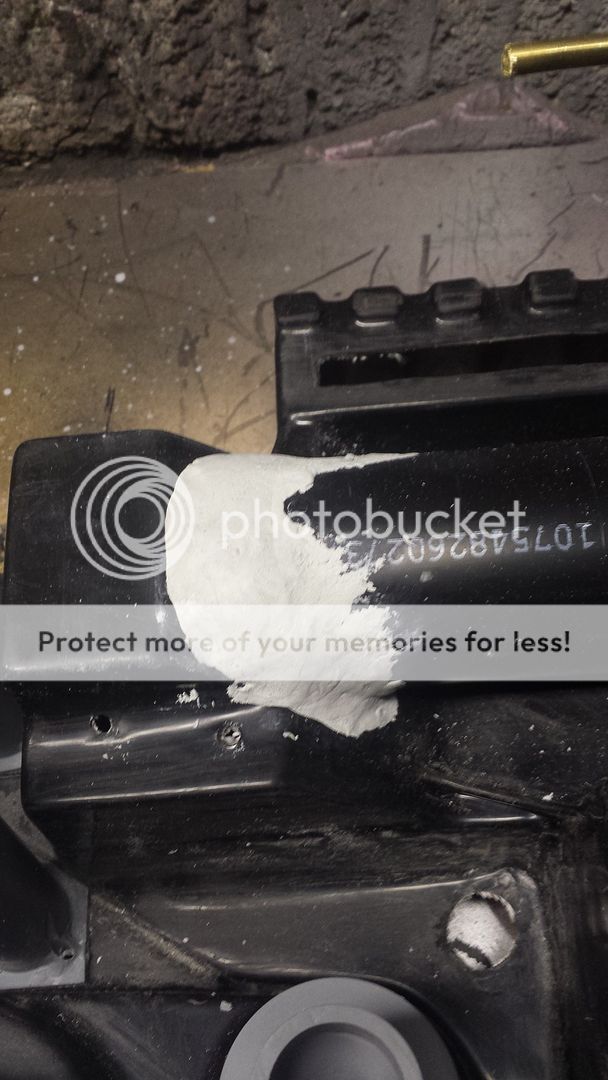
Decided to tackle the n-filter holes. I used my calipers to score a light line 2.813" from the bottom of both pvc couplers coupled together. Then I traced the circumference and measured out and marked two points on the circle 40° apart. I measured between these two points with the calipers, marking 9 points evenly spaced. Then I noticed Stephan's Plans didn't have the diameter for the holes! So I look up sizing and found the n-filter printable template thread. Doh! How could I forget. Oh well, it did have the hole size in the description, 0.5 inch.

Image
I used one of my 4 new steeper bits. Was my first time ever using one. Whata lovely thing those are! ! ! I should have gotten these years ago! Made super easy controlled work of these holes.

Image
Although, a couple were too high or low, but only enough that I'll know or notice.

Image
Did not have a hole saw for the lid of the filter, so I snapped one out with the caliper as a compass and score with razor method. Didn't clean it up as it'll get fake welds.

That's all I got done. Tomorrow I might get the beam line, filler tube, and vac house/plate done. Might also take a crack at measuring out and cutting the n-filter where it'll sit over the cyclotron. That makes me nervous. [emoji15]
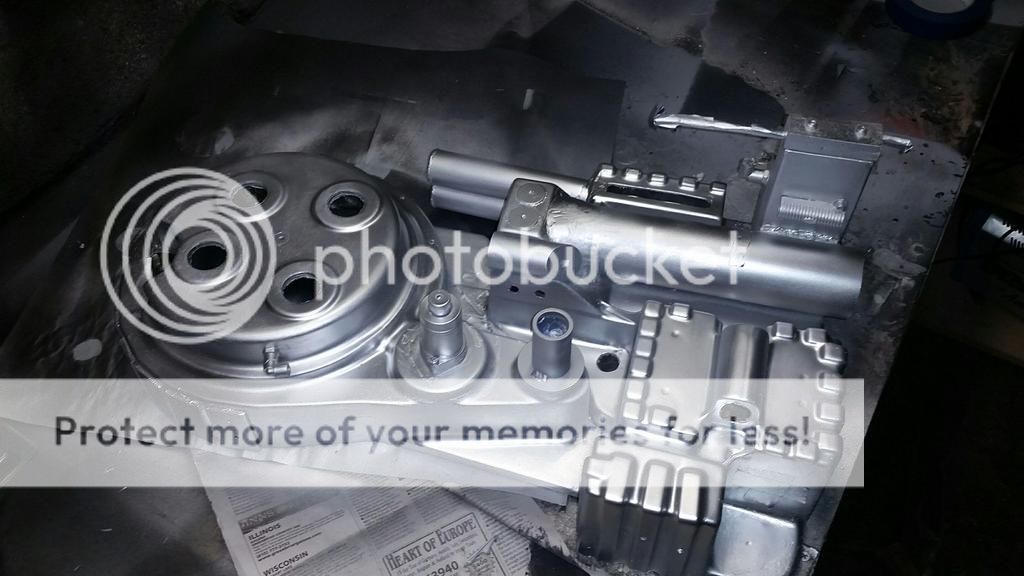
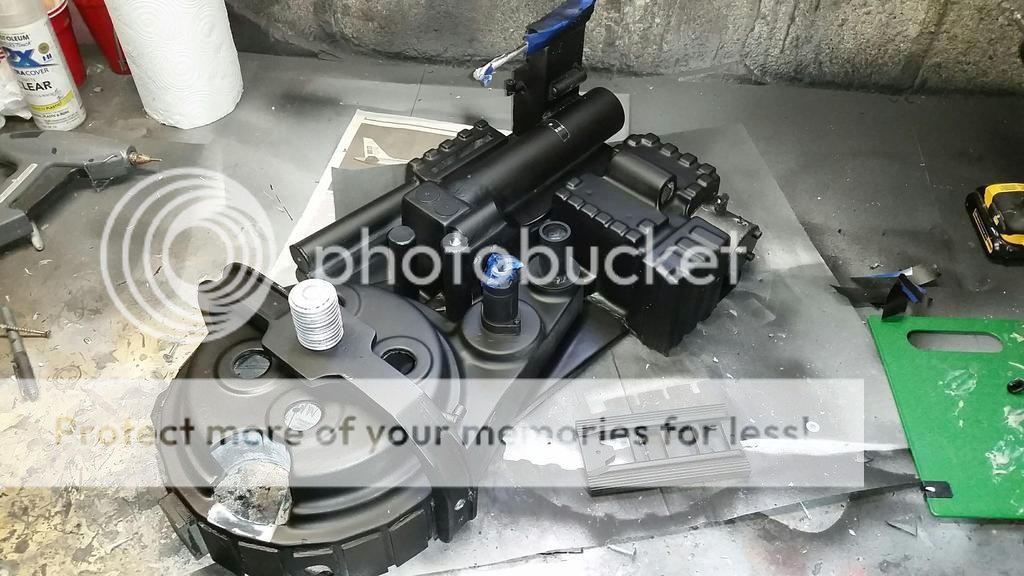

Money shots:
Image
Image
Image
twmedford23 liked this
#4857124
{I meant to have this up last night but forgot to hit post as my girlfriend came home from work.}

Didn't get much done today as I was out and about for a large portion of the day. Had a lunch date with the girlfriend. Drove her to work at 5pm. Went grocery shopping on the way home.

Then I finally sat down and tried to research on the best way to measure out what to cut from the n-filter to fit over the cyclotron. Didn't find much but revisited a lot of classic builds! Lol


Image
I decided to start by mapping out where the washers go according to Stephan's plans. Not sure if more accurate placings have been discovered, but this arrangement seems nice enough. I'll look into this more.

This allowed me to see the relation of how I wanted the n-filter to sit and it's possible interference with the washers. I don't like any overhang, hence why I'm not using a 3" n-filter. I want it near flush with the synchronous edge before the tile. No overhang!

I had to raise the two lower washers by .13" to accommodate this requirement of mine. Idealized ;)

I placed the n-filter on the cyclotron where I wanted it. Then I held a straight edge on the cyclotron wall and marked where it came to on the filter on both sides. Then I placed the filter on just the little half inch step ring thing. I lined up the cyclotron markings to the inside of the ring, and marked where the outside edge lined up on both sides.

Image
Image
I measured the height of the step ring with my calipers and scored a line between the markings of the filter. I used the bottom of the filter as a running guide for the caliper. Did the same for the surface height of the cyclotron. Finally I measured out the radius down and over to get the radius center, and scored the curve. I went over ask this with pencil. And that's all I've done today.

For some reason I was fretting this and though about it all day. Then it hit me and I just did it. Weird how simple things can seem more complex in theory than practice. Just seems like such an odd shape.

When I get more time I'll cut out the filter with the tiny $10 harbor freight rotary tool I bought. I tested it out on scrap and it's woefully underpowered. It works going slow and letting it do the work, which actually seems good for pvc and styrene.
#4857245
Didn't expect to get anything done tonight as I got home around 6:30pm. But I got the bug something fierce I guess!

Image
Image
Got the n-filter cut and glued! Used the cheapo lil rotary tool I mentioned before. It did well enough with the cutting disc. Not much torque at all as it would bind easily with the slightest pressure. Had to let it cool a couple times slowing me down. Using the grinding bit it worked much better and never stalled or heated up ever. Pleased with the result.

Image
Check out that fit! Like OCD crack baby! Woot!

Image
Image
The fit will be even better after I sand down the cyclotron step ring spacer thing. You can see its lip protruding past the wall about a millimeter.

The cap of the filter is placed there just for the pics. I still have to glue it on. Sand the sides as I put glue on the exterior seem joining the halves so I could sand it away. I also need to sand out the score marks between the ports and add fake welds.

This is a blast!
Last edited by Batfly on March 10th, 2016, 8:12 pm, edited 2 times in total.
#4857352
At work right now and just had to update on what I just scored!

Image
Image
Saw something interesting in a trash can in the back halls while at work. It was a rubber mat that half was ripped up and the other half pristine. I grabbed scissors out of our tech office and cut a strip off it immediately.

Got my booster frame ribbing! Woot! Reduce, reuse, recycle. lol

That is all.
twmedford23 liked this
#4857513
Ah,ok, I got ya fearless. Lol.

Ever since I acquired the ribbing, I've been thinking about making the booster frame. I just needed some masonite board for the three center "ladder steps" that have the pattern I do so desire. I went crazy going through the apartment looking for clipboards, back of small pictures, then I remembered the posters I have not put up...

Image
Luckily one had masonite on the back!

Image
This poster is from 2006 and has the old pattern which was used in the screen used packs. Sweet!

Image
Cut out a piece a little longer than needed. I used the tiny underpowered rotary tool out on our balcony. Took longer than it should have lol.

Image
Wasn't much at all taken away. Glad I didn't have to go and source and buy anything. :)

Image

Image
I used the same tool and cut it into thirds.

Image
Carefully cut the rubber ribbing with the exacto blade. Laid things out just because.

Image
Plotted out the pieces and scored everything at least 5 times.

Image
The windows I did by carefully but firmly bending it inwards to make stress lines on the back. I scored those and then bent it cautiously backwards to widen the first scores and then forward again till pieces clicked out. Same way as I did the power cell window.

Image

Image
Glued pieces on after a little sanding clean up...

Image
Found some unused pencils and cut them with my file. Taking the extra effort to be lazy lol. Dry fit them on the ribbing. I know they aren't Dixie Tichonderogas, but I never really cared about that detail. I also like it better without the letters, so I'm fine with it like this on my idealized pack. :)

Image
Sanded the ends for the angle with the block sander. I just put the booster frame plan page on my lap, closed one eye, and lined up the pencil and sander up to the diagram. I messed up the first pencil by sanding it with a flat side up. Oh well.

Very pleased with the results. I'll clean it up by sanding the edges later so it can dry.

Time for money shots.
Image
Image
Image
#4857589
Today was just some cleanup.

Image
Image
I sanded the cyclotron ring step edge. I also sanded the n-filter glue seem and the score line I used for the center of the ports.

Image
I also sanded all edges of the booster frame.

That tis all!

Oh, I also updated my signature [emoji14]
#4857607
Thanks VS and Nick! Was dreaming last night of putting mesh and white filler in the n-filter. Lol
#4857631
TENIME, I think so too! Don't tell my girlfriend lol

I'm getting close to the bondo, epoxy sculpt stage. What's recommended? Would this harbor freight bondo be good? http://m.harborfreight.com/32-oz-bondo- ... 20provided

I've never worked with the stuff. Heard it smells.
#4857637
I highly recommend Apoxie Sculpt. Bondo is good but it's extremely messy to work with and sets within 30 minutes. With apoxie sculpt it is very easy to work with, clean and had a working time of 2-3 hours. It takes 24 hours to fully cure but it's the best thing I've ever worked with.

Get some inexpensive sculpting tools. They will help with filling cracks with ease.
#4857656
csullivan1980 wrote:I highly recommend Apoxie Sculpt. Bondo is good but it's extremely messy to work with and sets within 30 minutes. With apoxie sculpt it is very easy to work with, clean and had a working time of 2-3 hours. It takes 24 hours to fully cure but it's the best thing I've ever worked with.

Get some inexpensive sculpting tools. They will help with filling cracks with ease.
Got the sculpting tools covered. You can check out some of my stuff here https://m.facebook.com/Donny-Steger-III ... 268117444/

I'll definitely go this route then as it'll be right up my alley. Thanks!


Galeap, thanks a ton!

TENIME, second vote for apixie sculpt, sold :)
#4857731
Sploinker wrote:Batfly, how big a sheet of styrene did you buy to build this out? Thanks!!
I bought 2 sheets of 24" x 48" of 0.125" high impact styrene. I've used only 1 whole sheet and about 6"of the second sheet. I'll have plenty for the thrower and bumper and a couple little things left. Spent $60 for both sheets.
#4858175
Getting myself motivated after a long work week is difficult, lol. This helps though!

Image
The neighbors had this sitting out where they put their trash a lot. After sitting out for 3 days my girlfriend rescued it. I cleaned it up with some Windex and it's like new! Even rolls around. Makes such a good project organizer.

Image
Top drawer is common tools and utensils: calipers, rulers, blades, bits, pliers, glue, hole saws, compass.

Image
Middle drawer is sanding stuff: paper, block, sponges, files, rotary tool.

Image
Bottom drawer is scrap styrene. Have the cyclotron and battery cell transparent acrylic in there for now even though it's not scrap.

OCD crack for the win! Makes cleanup easier too.

Placed an order for
-all colored tubing: red blue yellow green of both eighth and quarter ODs when needed
-sage resistor (only resistor in stock currently)
-Legris brass fittings (2 hex, 1 square ala gb1 style)
-2 Legris straight fittings
-3 SMC 4mm elbows
-large gb1 style ribbon clamp
-1 clippard hose barb (messed up and meant to get 2, oh well)

OMG I wanted to get so much more! But only budgeted $100 this paycheck including shipping. Adds up fast but the value is there! Love supporting this site too! My wish list has so much left to get lol.

Stay tuned, I'm about to start fabricating today! Just thought posting this would help get my energies flowing, it's working :)
  • 1
  • 2
  • 3
  • 4
  • 5
  • 6
  • 16

We're bringing you the latest updates to the GBFan[…]

The amount of people participating in the milest[…]

This is awesome, One time. I love reading explanat[…]

And, lastly, for now, the video that prompted me t[…]