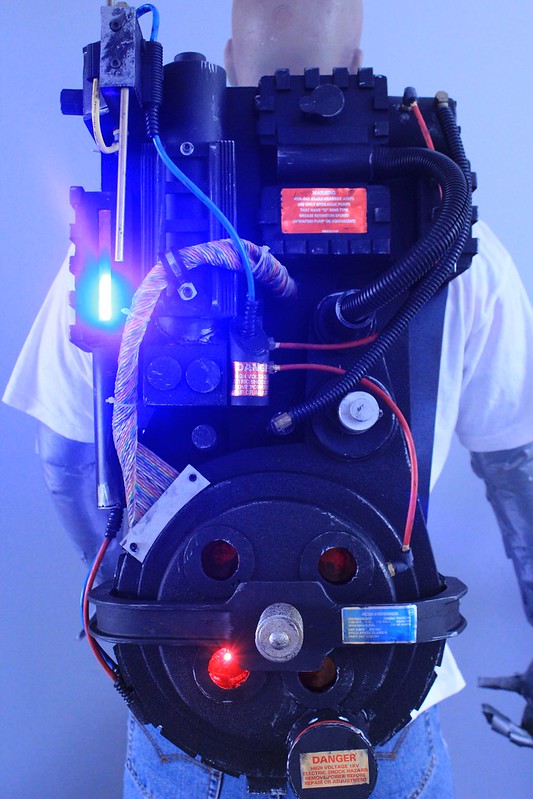
I've been wanting to do another scratch build pack for awhile and decided to pull the trigger this past weekend.
The pack is made from EVA and foamcore and weighs in at a nice light 15 lbs. Obviously, there were a few shortcuts I took to get the pack completed in less than 12 hours, but overall I'm pleased with how it came out.
I could re-cut this video to make a "how-to tutorial". Would anyone be interested?
Thanks everyone for your kind comments. Alan, very nice of you to share the video!
GrogKing PM'd me a few questions and I thought they, and the answers, were worth sharing:
I am currently making a pack according to Norm's plans. However, I have worked with EVA foam before and think it would be easier to make a pack the way you did. I have a few questions though:
How well does a pack like this hold up when used? What kind of hot glue are you using? I have had hot glue come undone in the sun. How do you keep the paint from eating the foam out of the foam core board? How did you make the foam core curves on the ridges of the gear box and gun mount? Where did you get the 1:1 scale of the pack, and what did you use to print it out like that? What did you use for the motherboard? Hardboard? How do you cut such perfect circles with a razor knife? What did you use for pack texturing?
...and my response:
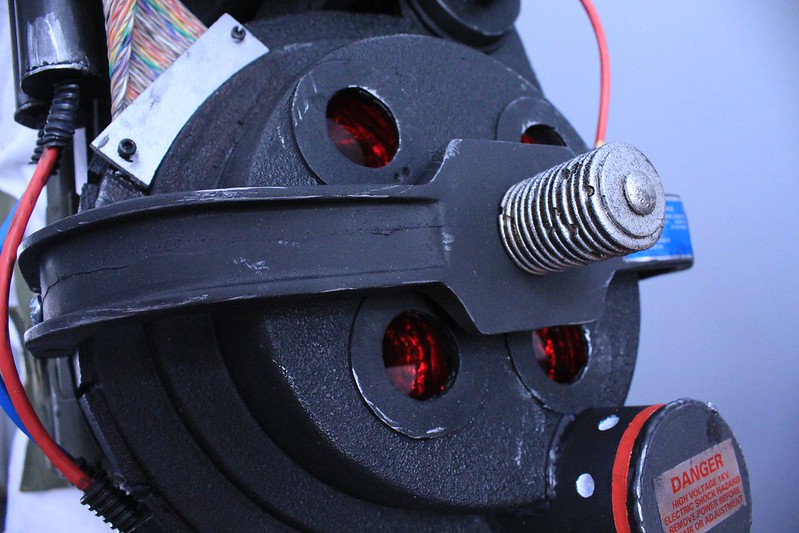
I just finished it, so I cannot tell you how well it will hold up. That said, based on my experience with the other packs I've made I used EVA on the areas that take the most stress -specifically the Ion Arm and Cyclotron (they get smacked a lot).
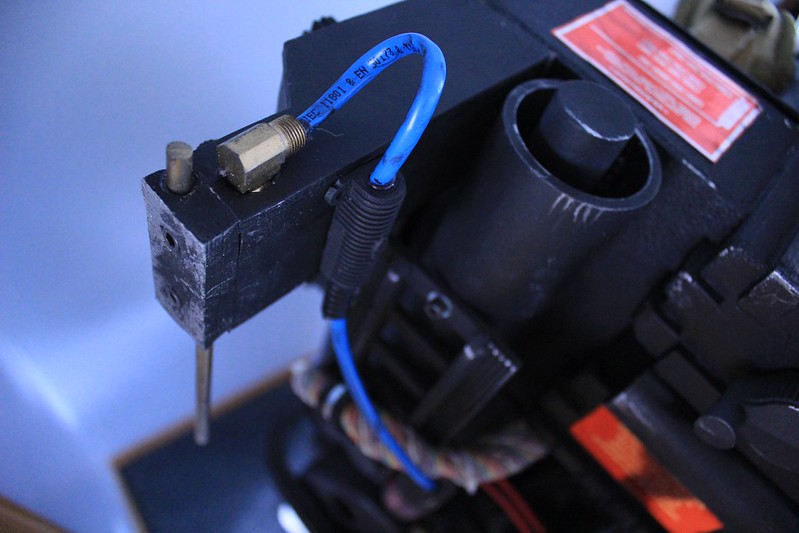
I used the hot glue only on the foam core and have not had it fail. While it is not shown in the video, all the add-on components (booster tube, EVA, clippard valve, etc) have been bolted from the back of the pack to keep them secure.
I applied multiple coats of 50/50 white glue/water to seal the pack and had no issues with paint eating into the edges of the foam core.
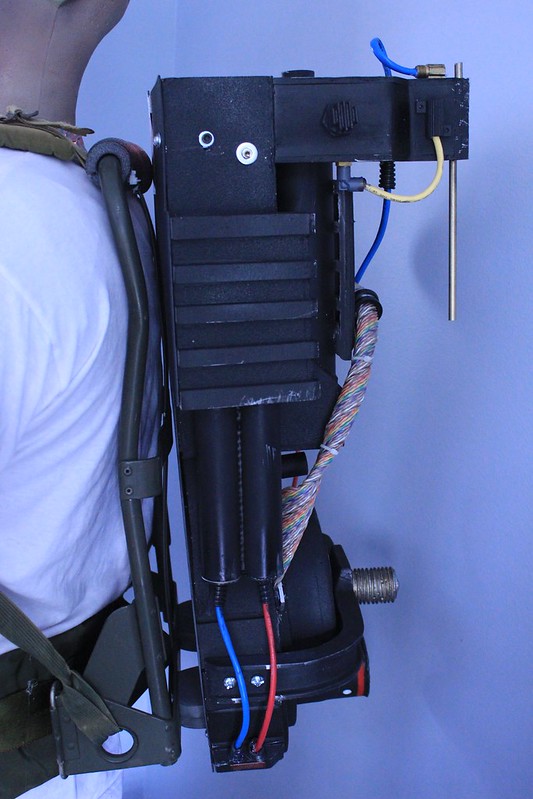
I did not curve the foam core, the pieces were applied at right angles and then I used a sanding brick to file the corner to a curve (this is another area that needs to be sealed to avoid issues with spray paint).
I pulled the plans of GBfans.com and scaled them in GIMP (free art software) and saved it as a PDF. From there it's just a matter of printing and assembling the drawing. You could also take the file to FedEx and have them print it at full size.
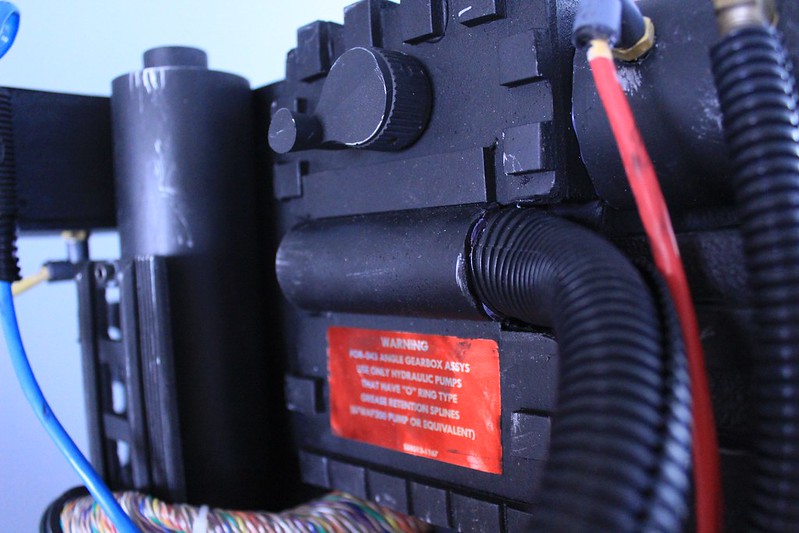
The one area that I would do differently is the motherboard. I used styrene left over from another project because I thought it would reduce weight. Unfortunately, it has a lot of flex and does not stay rigid against the pack -I'll probably replace it with an MDF motherboard when I add sound to the pack. But, I did want to do this build using no power tools and this was a workable option.
Lastly, my circles aren't as perfect as they look on video. They're decent (make sure you use a good sharp razor) and I used a sanding block to clean up the edges. Beveling the edges (which I did on all of mine) helps to hide irregularities -I do it a lot on other construction projects to hide less-than-perfect edges.
This pack looks great! Its been a couple of months now since you've posted this, so how has it held up? I'm curious to know because I was going to buy my boys each one of those Rubies deluxe costume packs, but I can't seem to track them down and then I stumbled across your video on You Tube and thought maybe I can give this a try at a scaled down size for them. So yeah, I'm just curious how its held up since your build.
So far it's held up great. I need to replace the motherboard with one made from MDF to make the structure a little more rigid but I'd definitely recommend going this route.
Thanks for this video. I was wanting to make my first scratch build this way and it was helpful seeing you make some of the parts. Do you still have the 1:1 scale pdf that you would be willing to share?