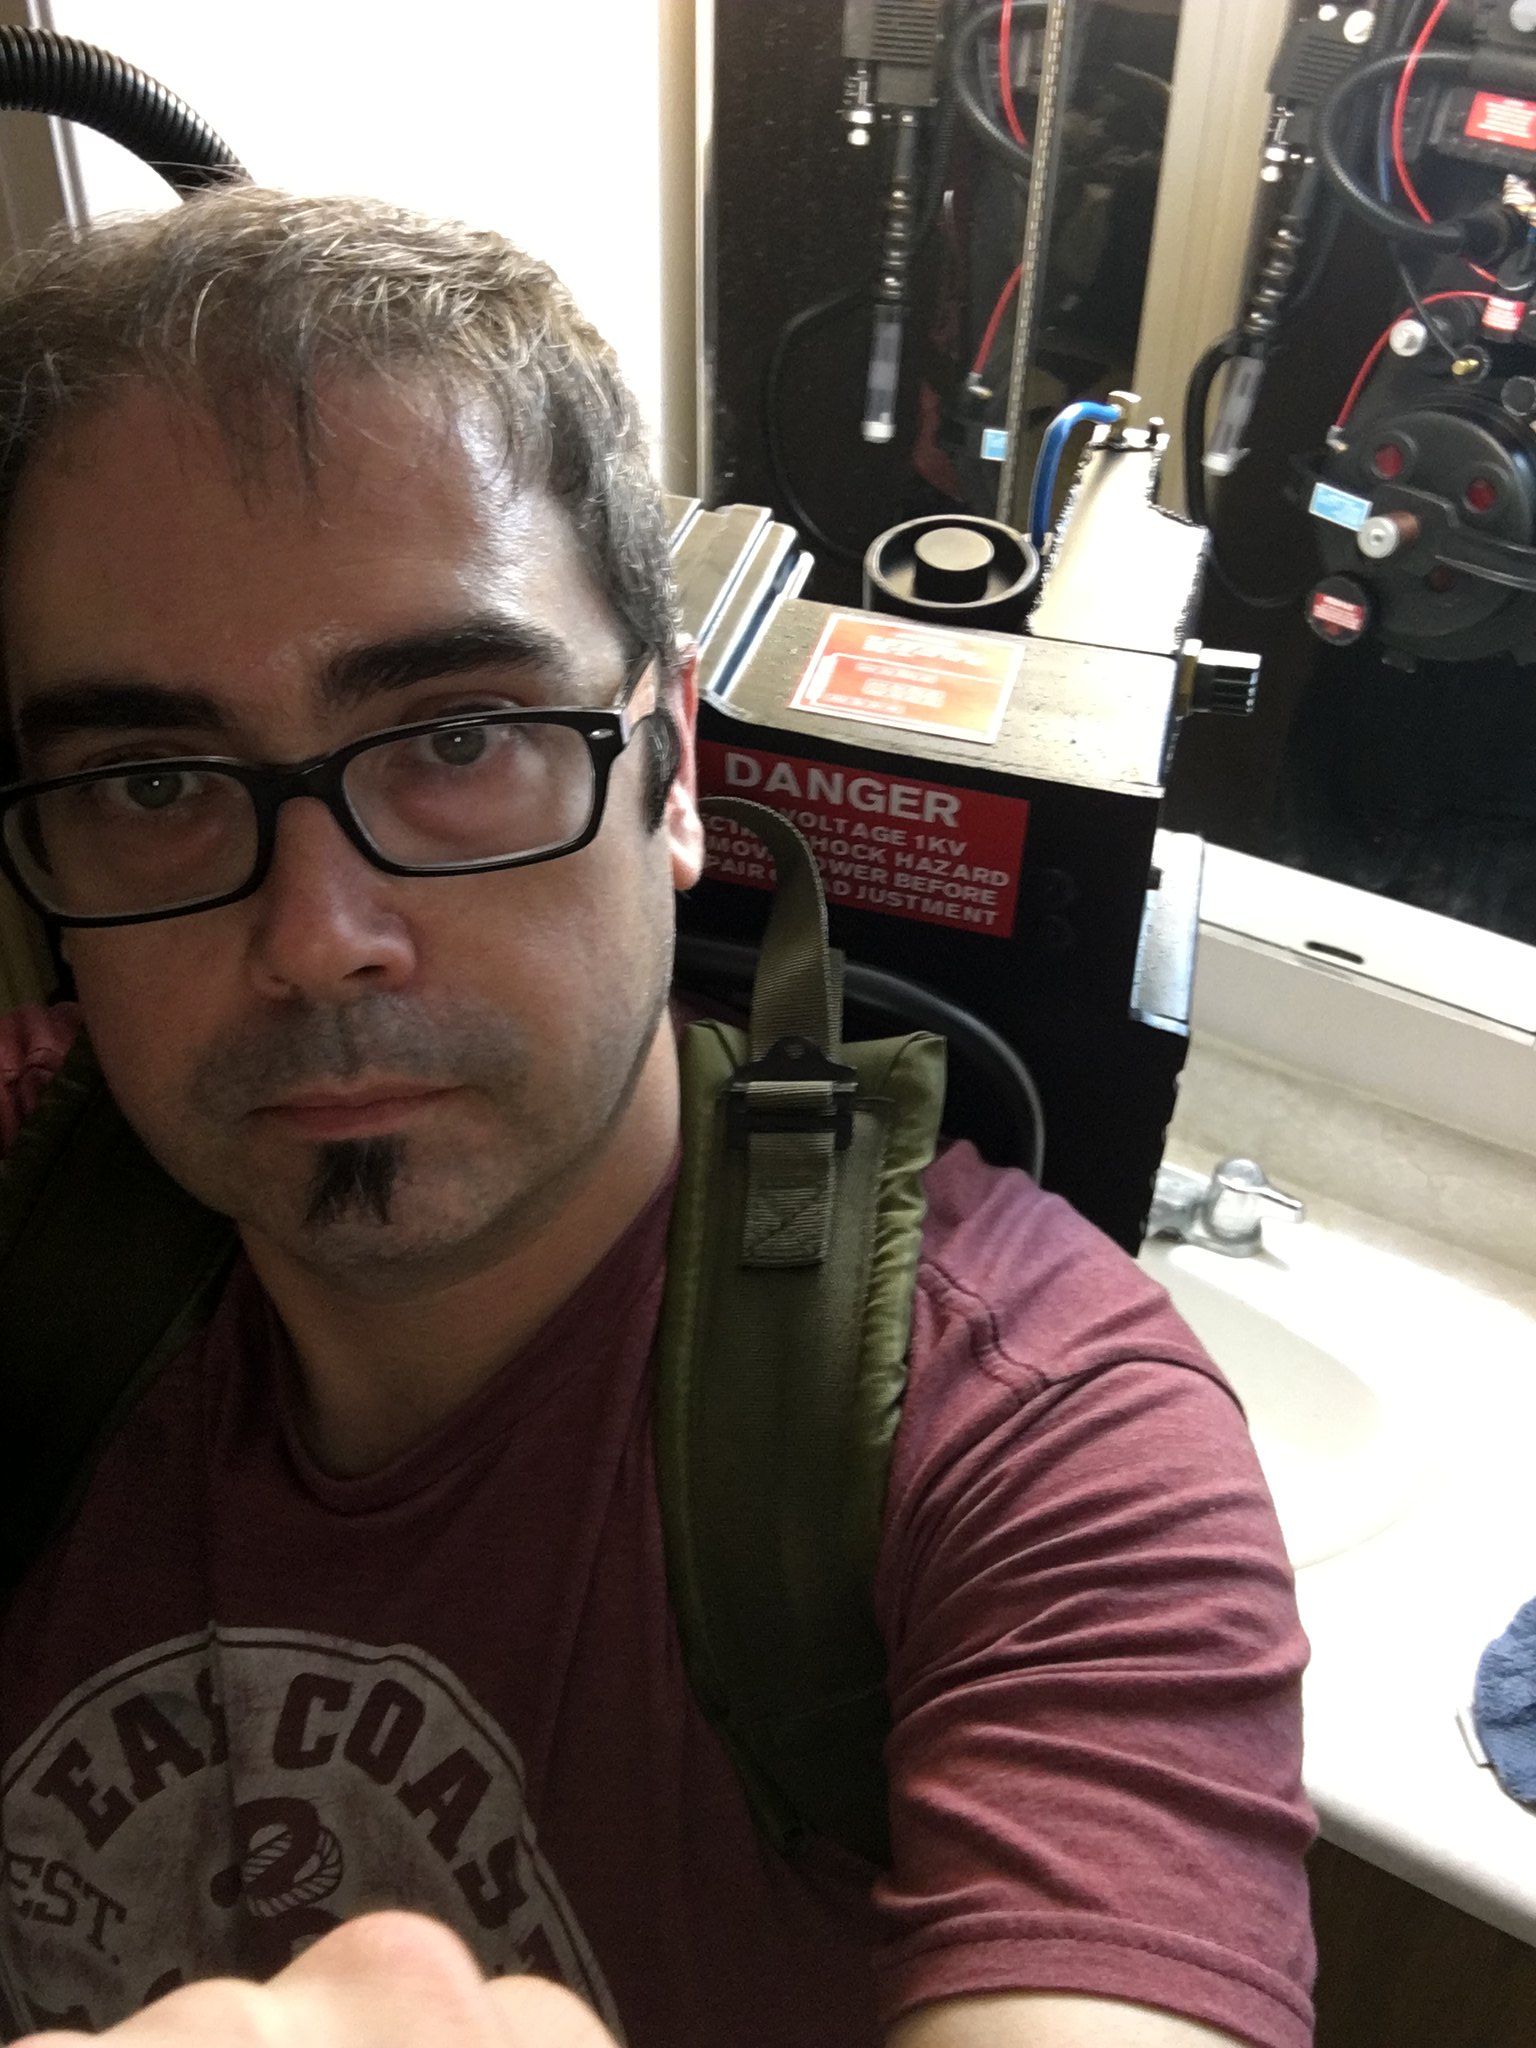
You are both absolutely right! There isn't any law saying that I am limited to just a single pack!
Regardless, I could proudly wear this pack around at Halloween and be pretty good with it, but I think it needs lights, even if they are just static display lights...
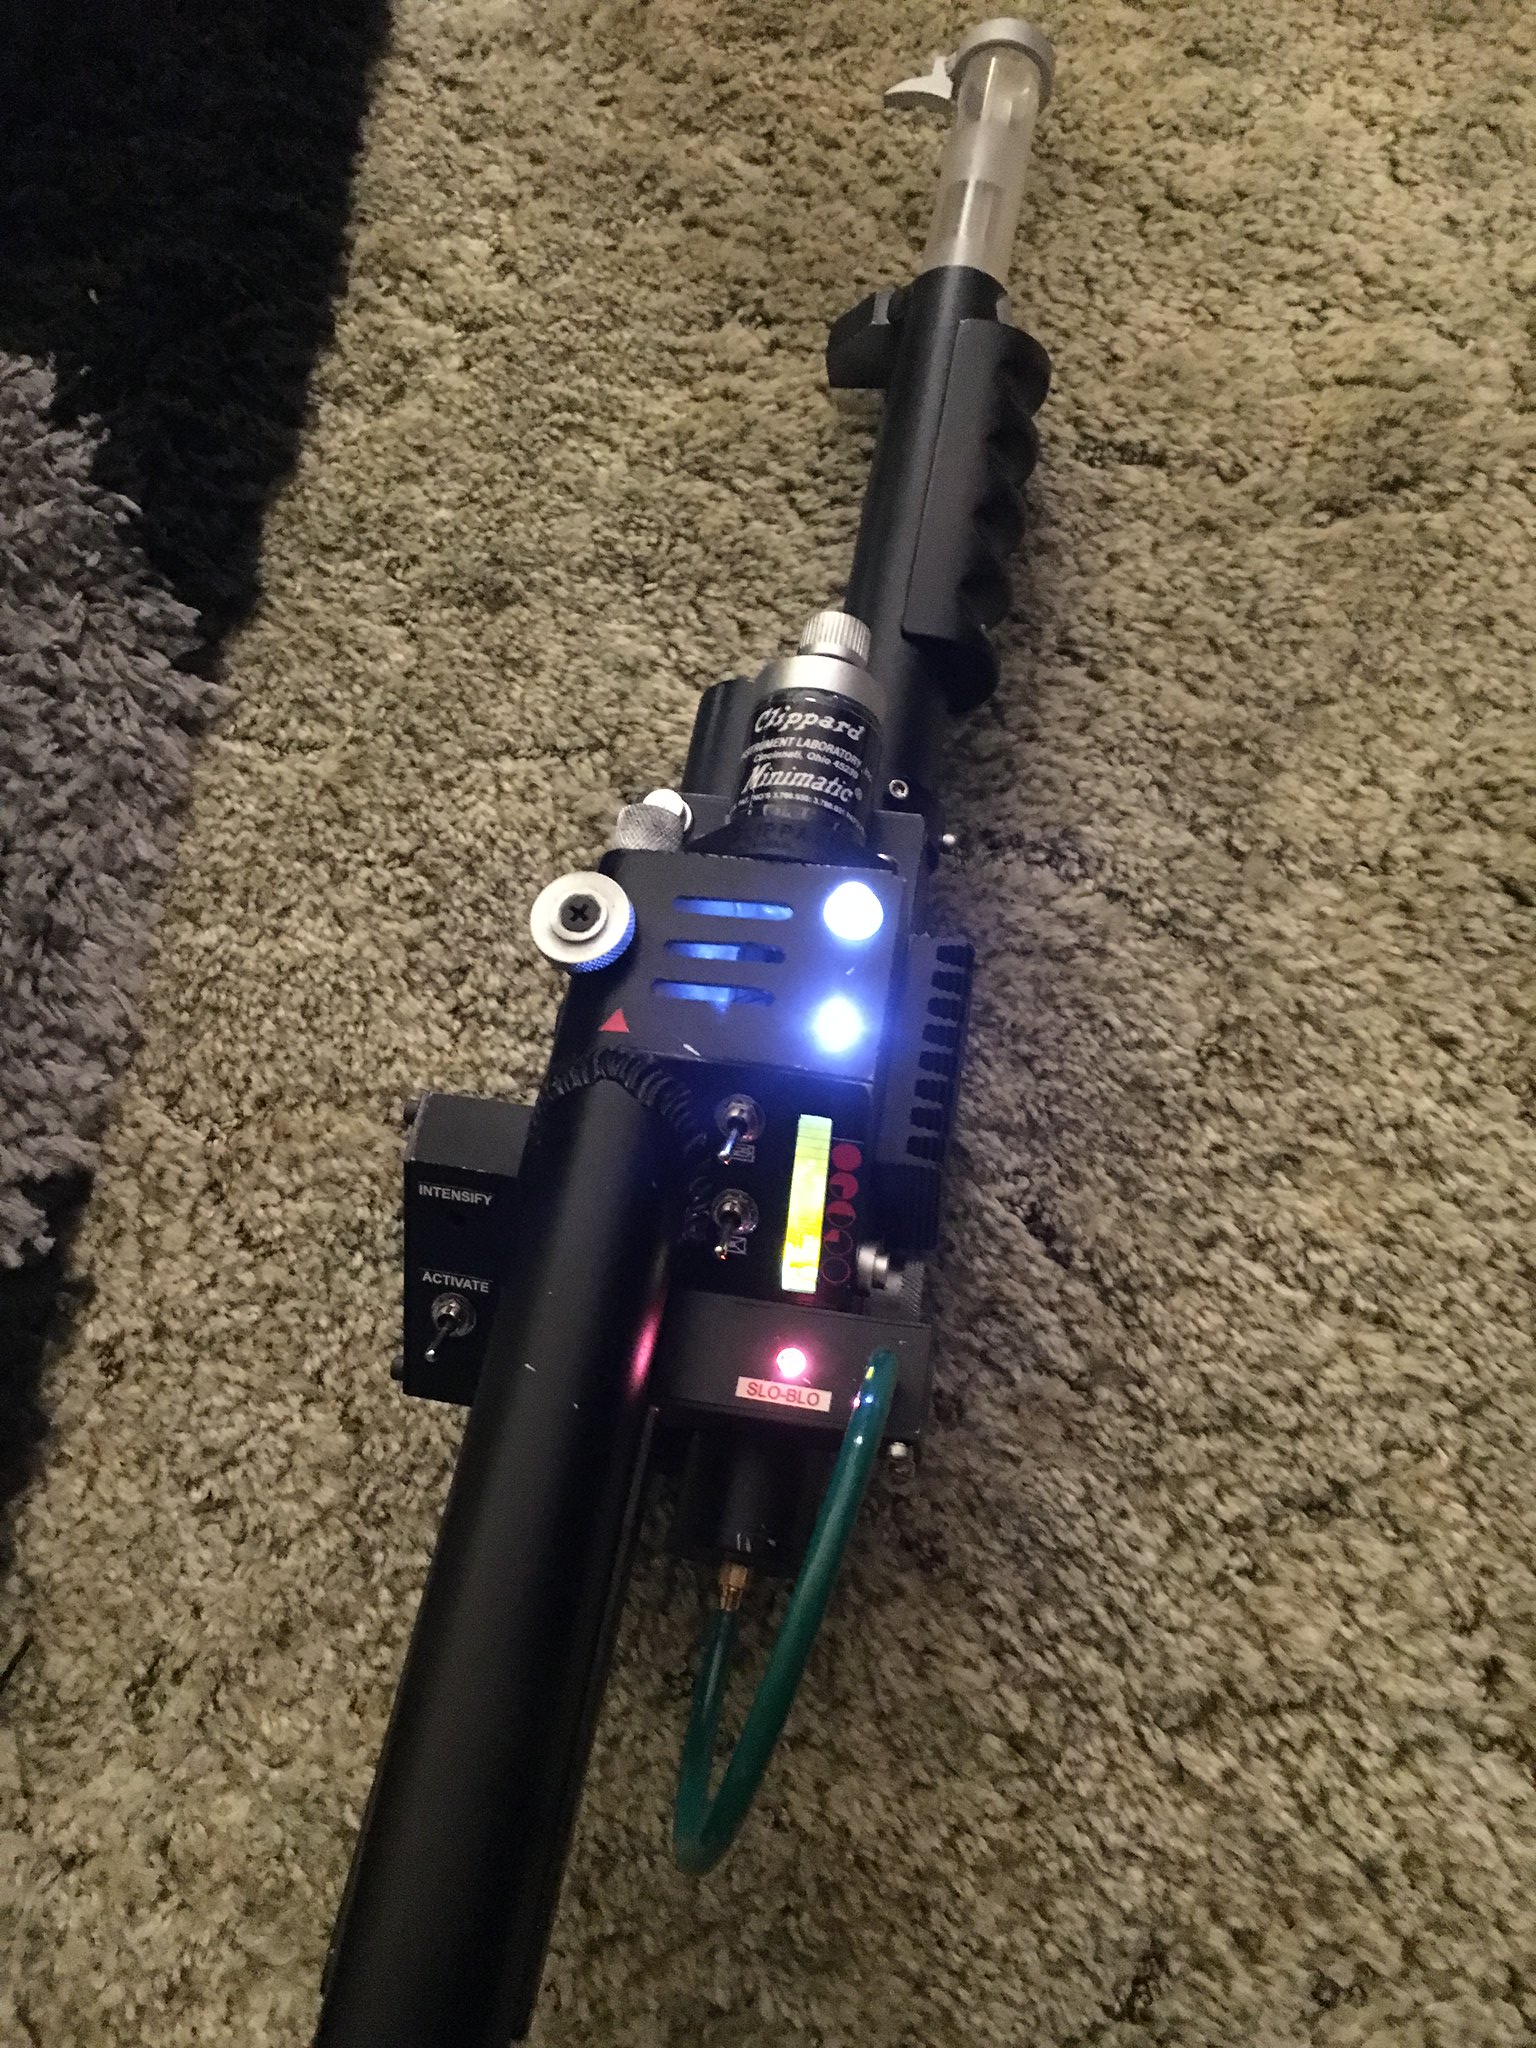
 Untitled
 by
Brett Watt, on Flickr
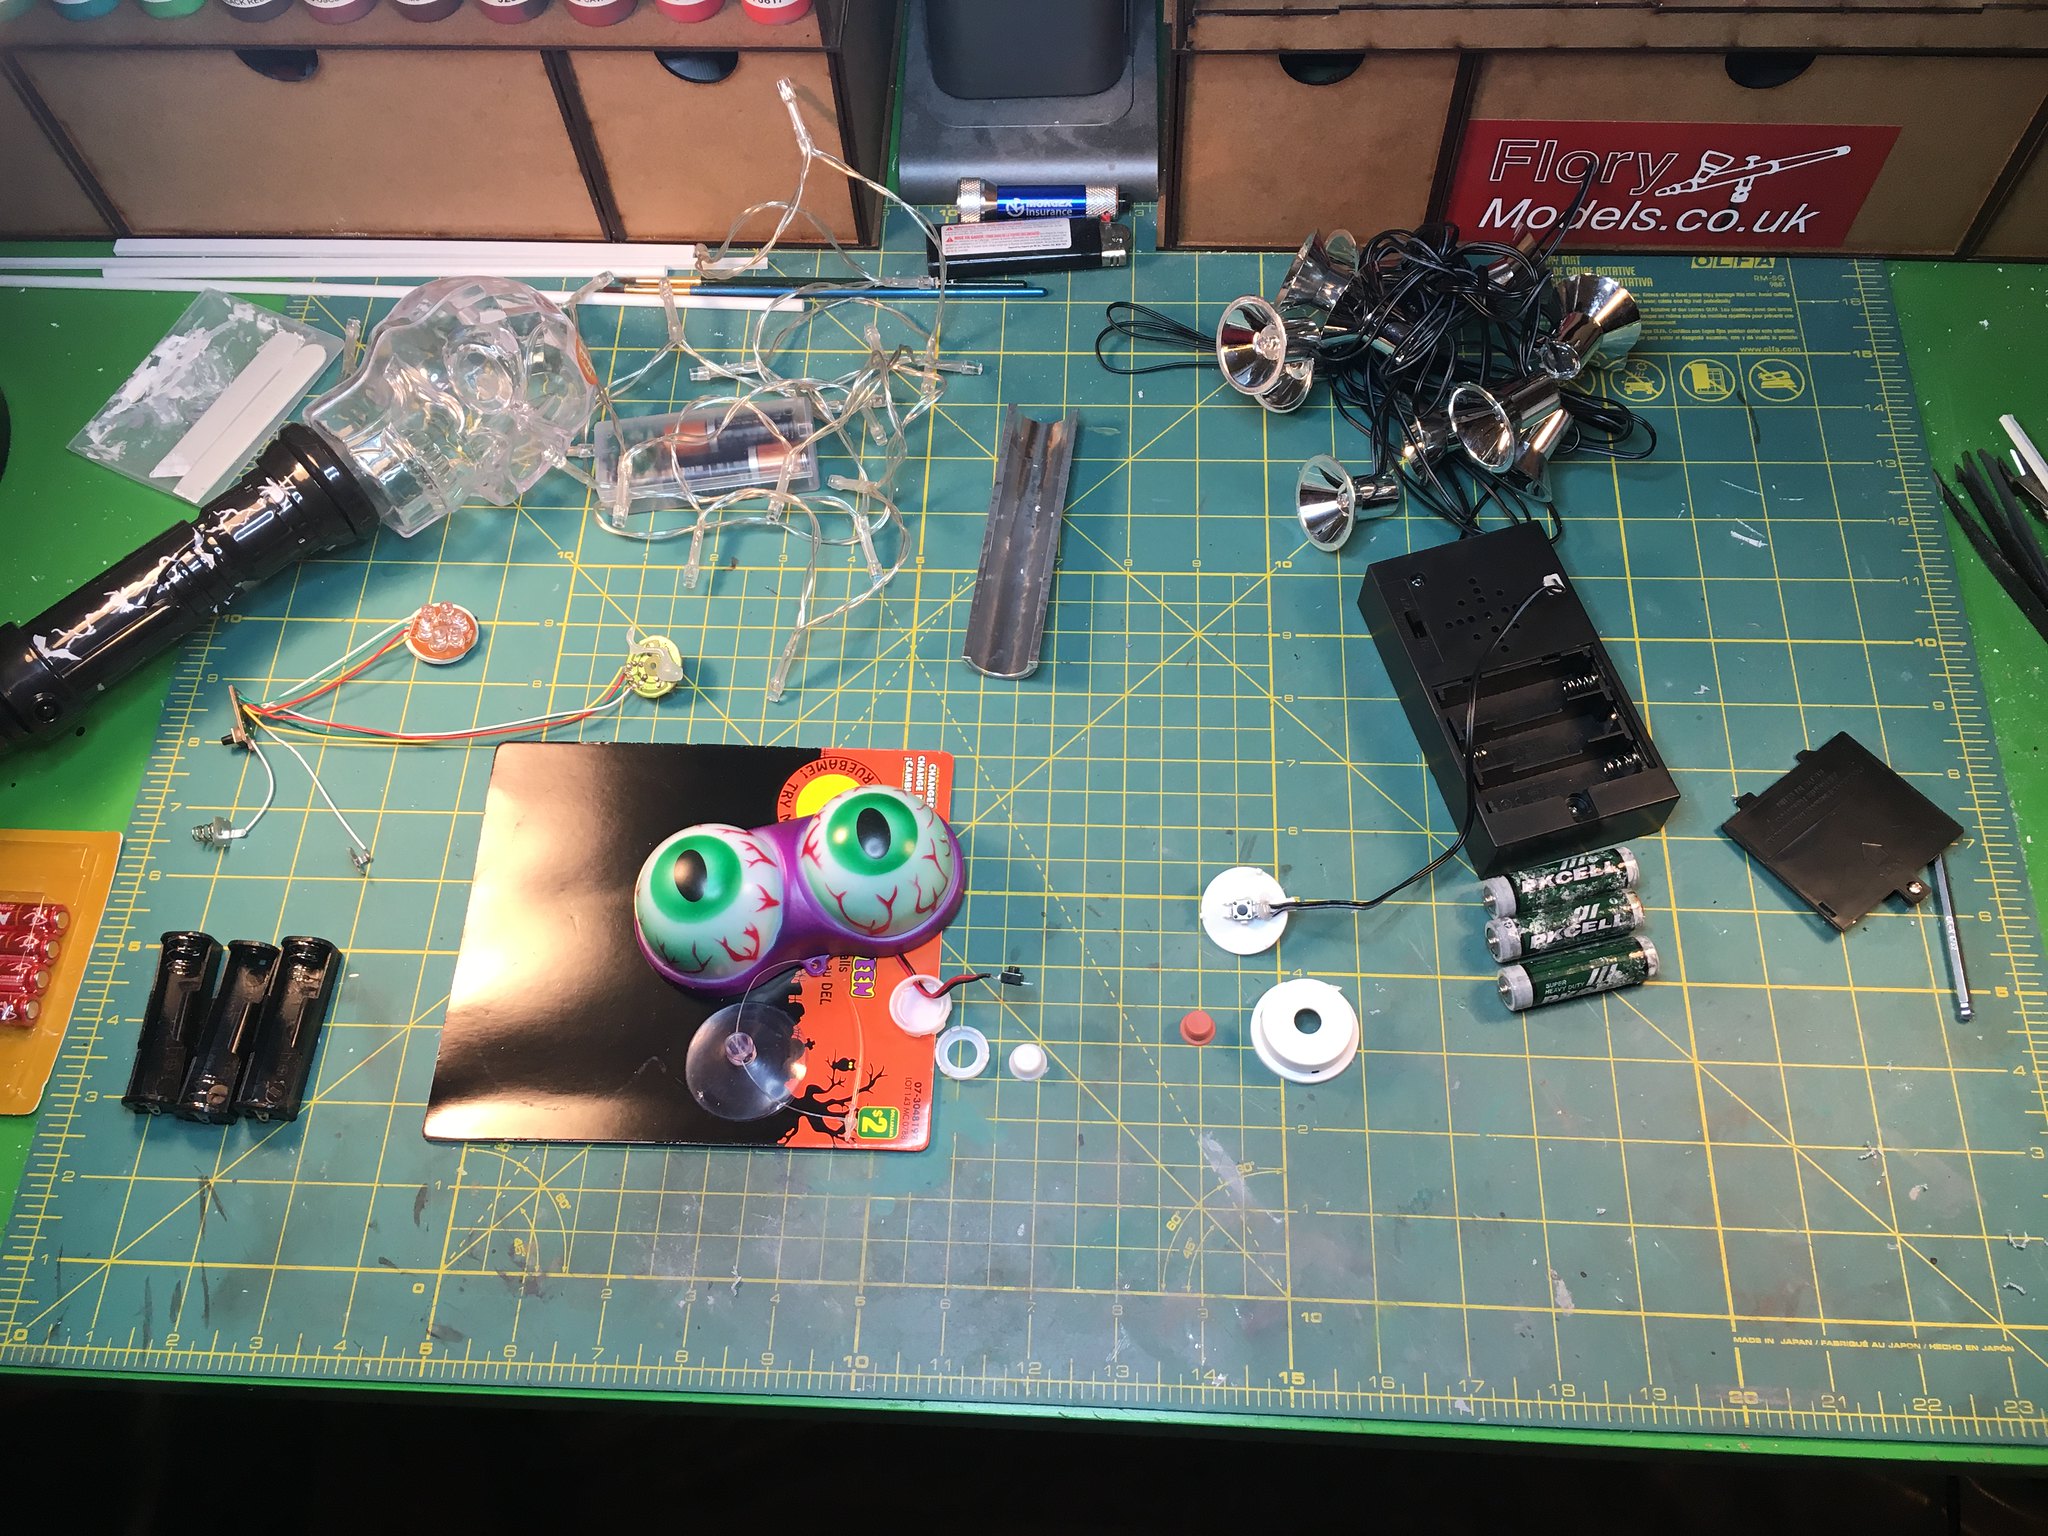
Okay, so I have a bunch of stuff going on in this picture.
1. Top-left is the laser-pirate-sword found at most dollar stores in the Halloween section, or those pop-up Halloween stores. Thomas Galvin disassembles one of these and rebuilds it for gun-firing lighting effects in his Galvinator wand. They were $3 Cdn each, so I grabbed two, in case I screwed it up.
The first wand was disassembled and its electronic components were stripped out. That is the tangle of wires and mini-bread-boards studded with LED's on the left side of the frame.
The second gun is intact, in case I need to scavenge a part.
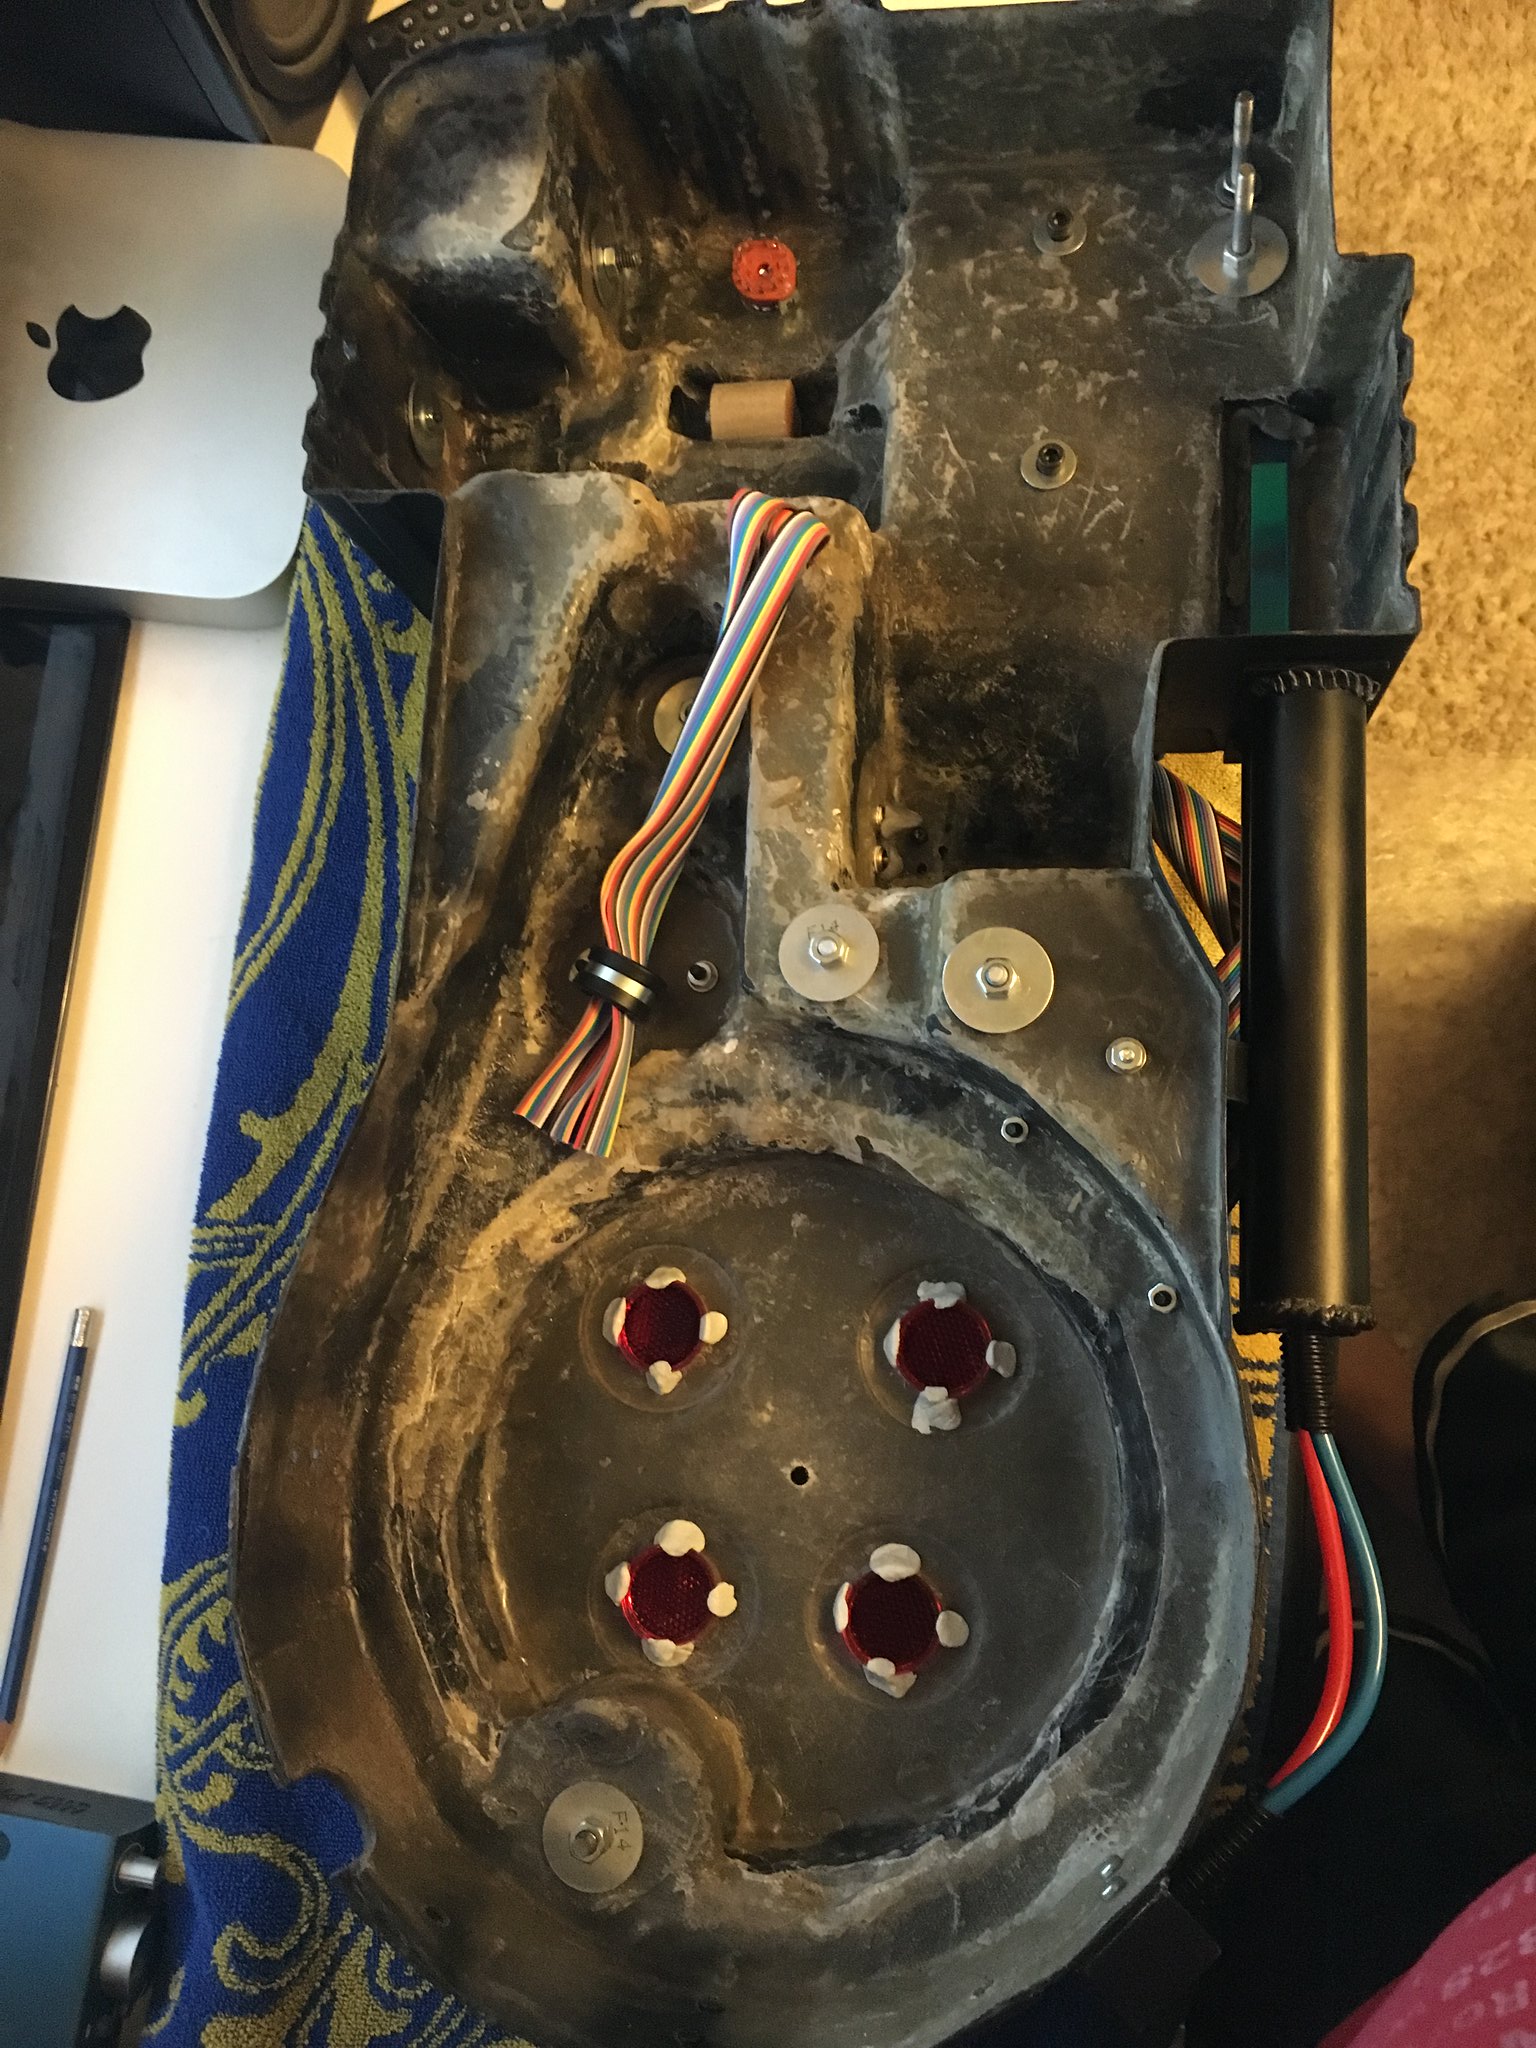
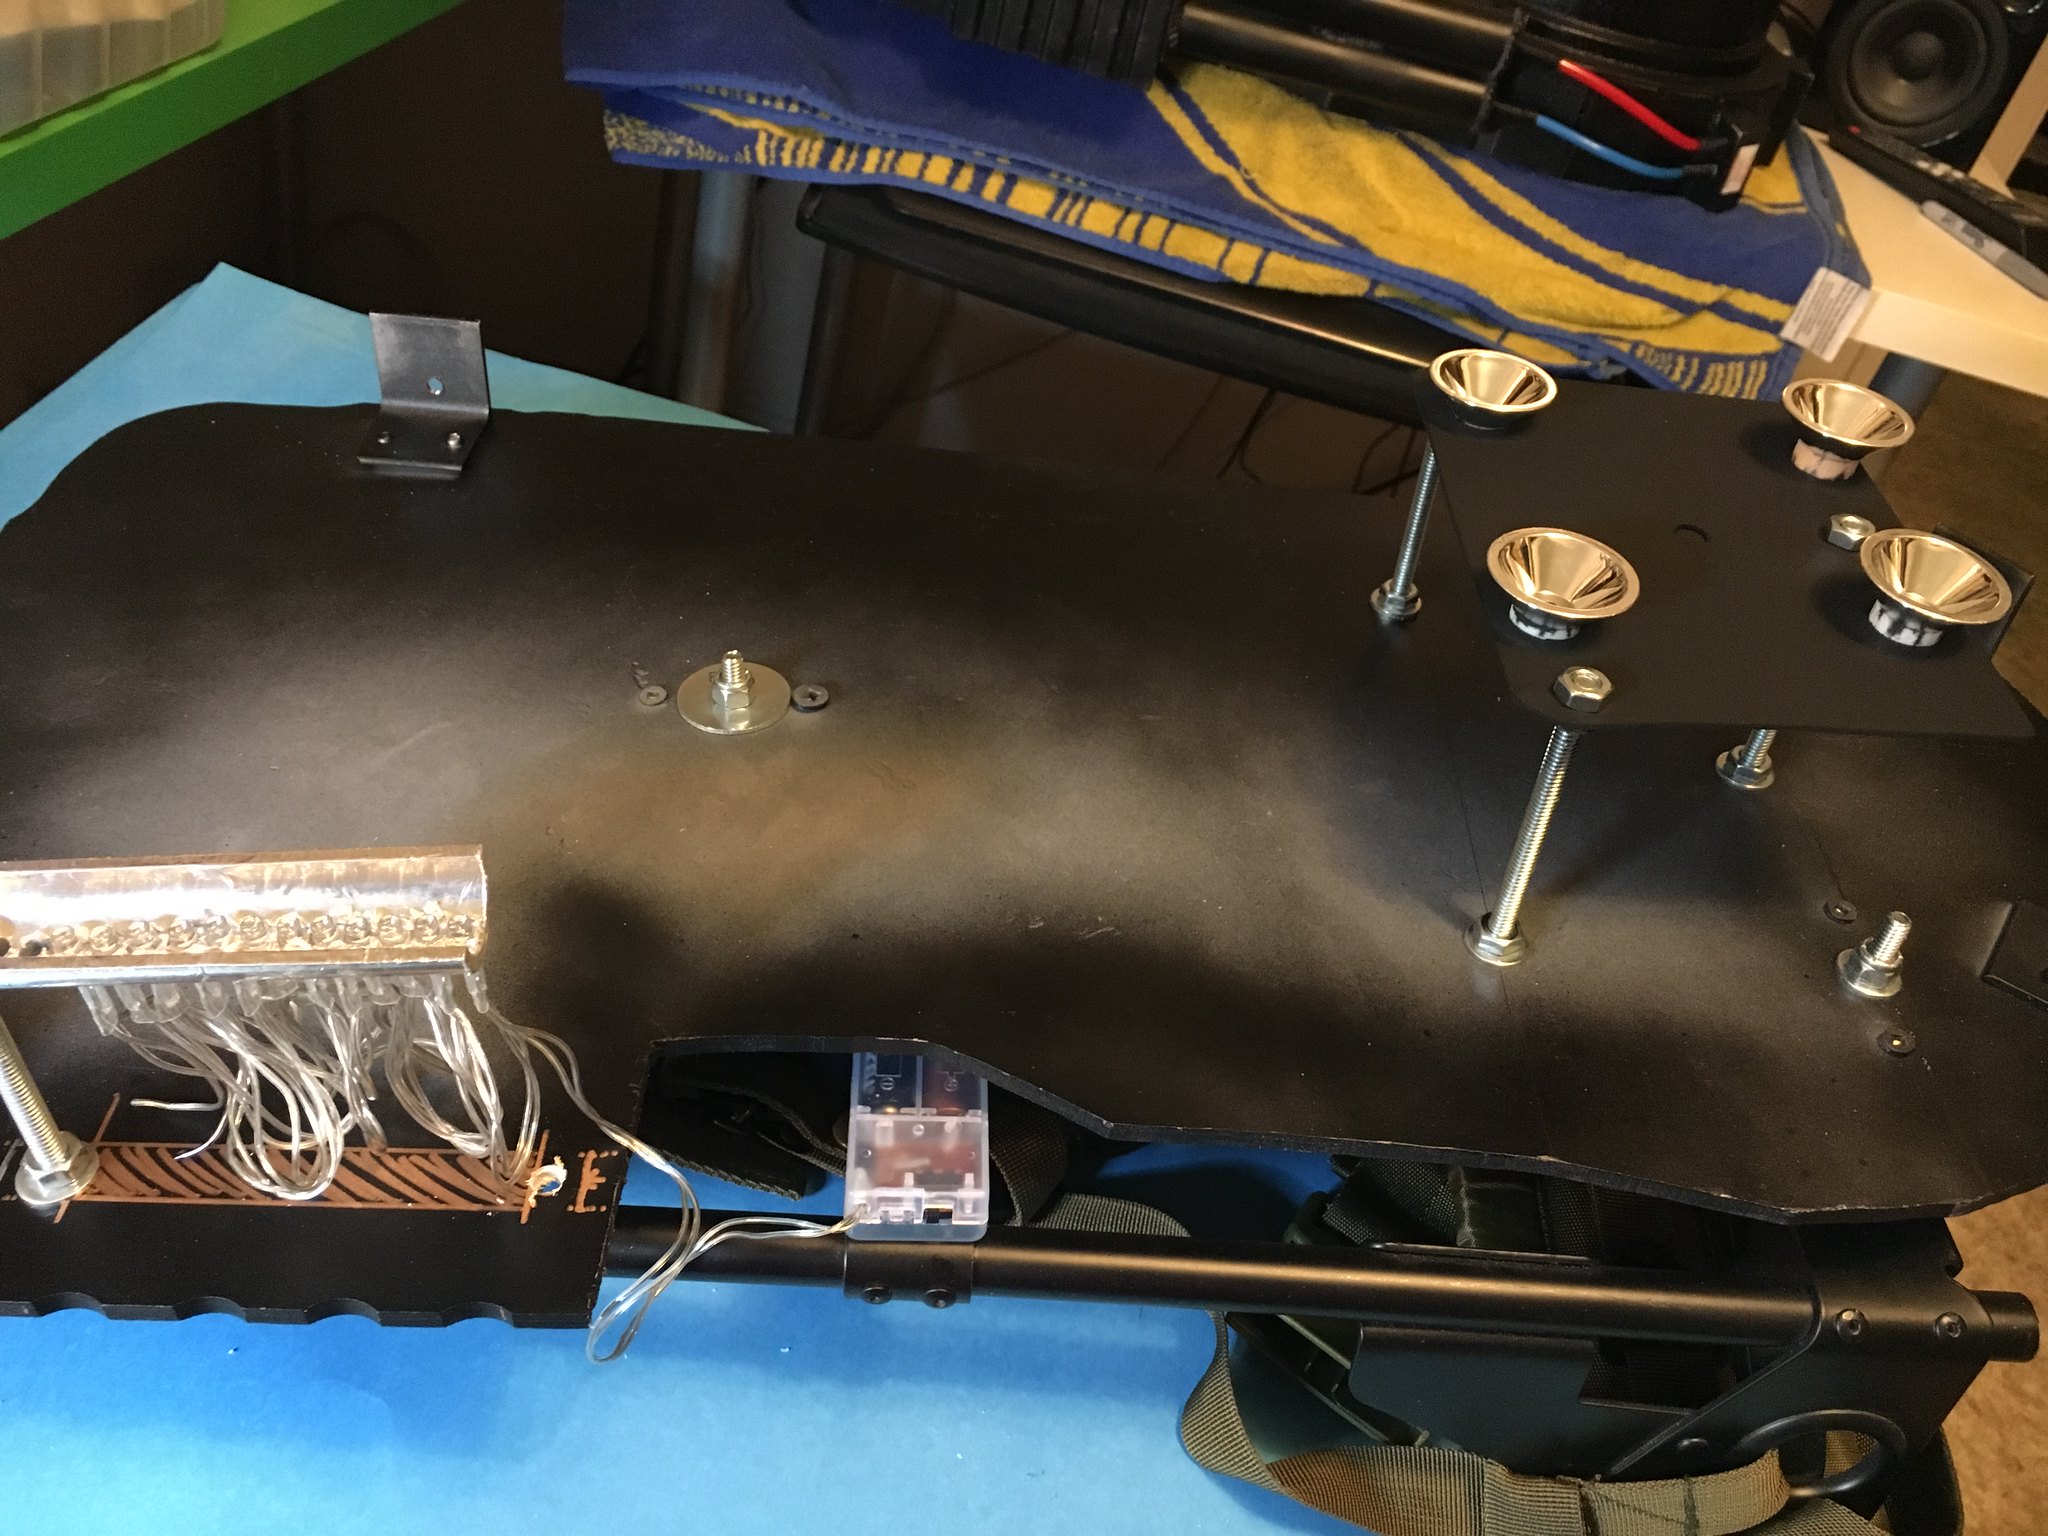
One disc has 6 LED's that flash in bright, multi-coloured patterns. That fits very nicely at the front of the barrel, before the clear part of the wand. The other disc has 3 LED's which will look good under the grill in the gun body.
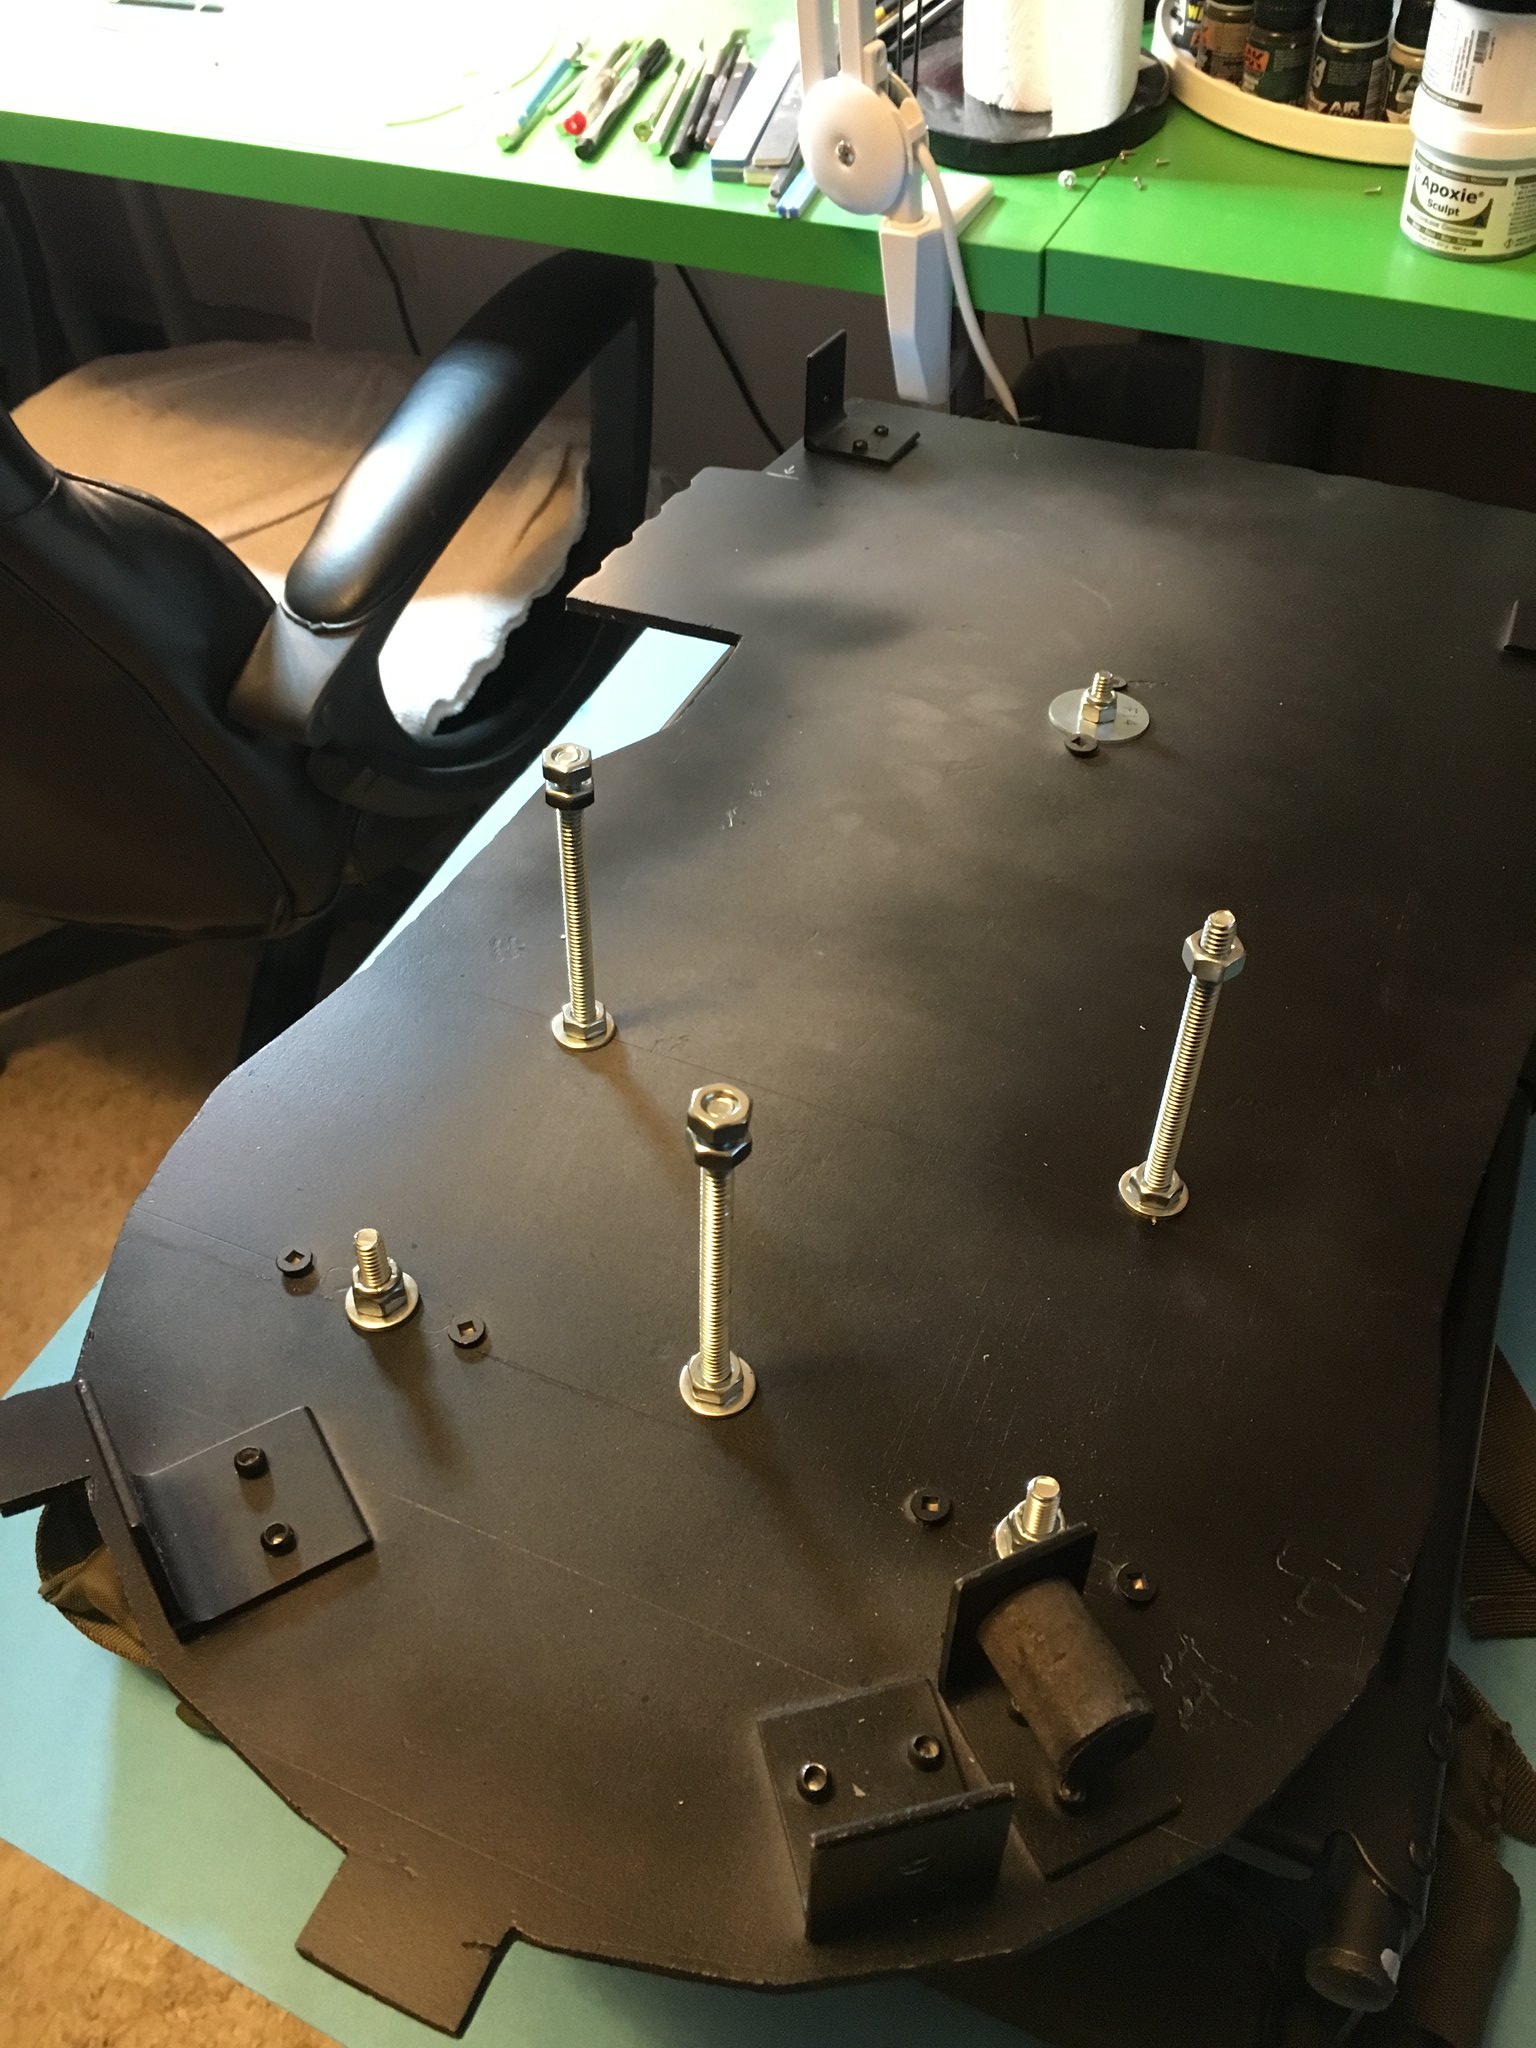
2. The laser sword electronics use three 1.5V AAA batteries. At my local electronics store (MRO Electronics in the west end of Edmonton, Alberta), I picked up a few AA battery enclosures (no AAA stuff in stock). They are separate, which gives me a lot of flexibility in sizing, spacing, and stuffing them inside the wand body.
3. Top left-centre is a cheap string of battery-operated LED Christmas lights. These will be used for the cyclotron lights and the Power Cell lights. I'll simply extend the wires a bit here and there. I also want to extend the last 3 or 4 LED's through the wire loom from the pack to the gun, for use as 'hat lights' on the proton gun body. If they are wired in series, I may also wire in one of the toggle switches on the gun body to power up and down the whole pack.
4. Top-centre is a piece of 3/4" PVC electrical conduit that's been sliced in half. It's also been wrapped in aluminum foil hreat tape, to make a reflective curved surface. This will be the reflector backing for behind the Power Cell window.
5. The Googley-Eyes were other option I may have had to use for gun firing lights, if I couldn't find the laser sword. I bought a few, which at $2 each, wasn't too hard on the wallet. Surprisingly, the on-off switch kind of fell apart, and the button itself looks almost exactly like a hat light lens! Score!
6. The right side of the pic is of the Thunder Strobe light set. The lenses are fabled for their use as parabolic reflectors for the cyclotron lights. But check out the high-quality batteries that came shipped with the item! Just ignore all the corrosion...

Once again, serendipity strikes as the Thunder Strobe switch falls apart too, revealing an orange hat-light lookalike!
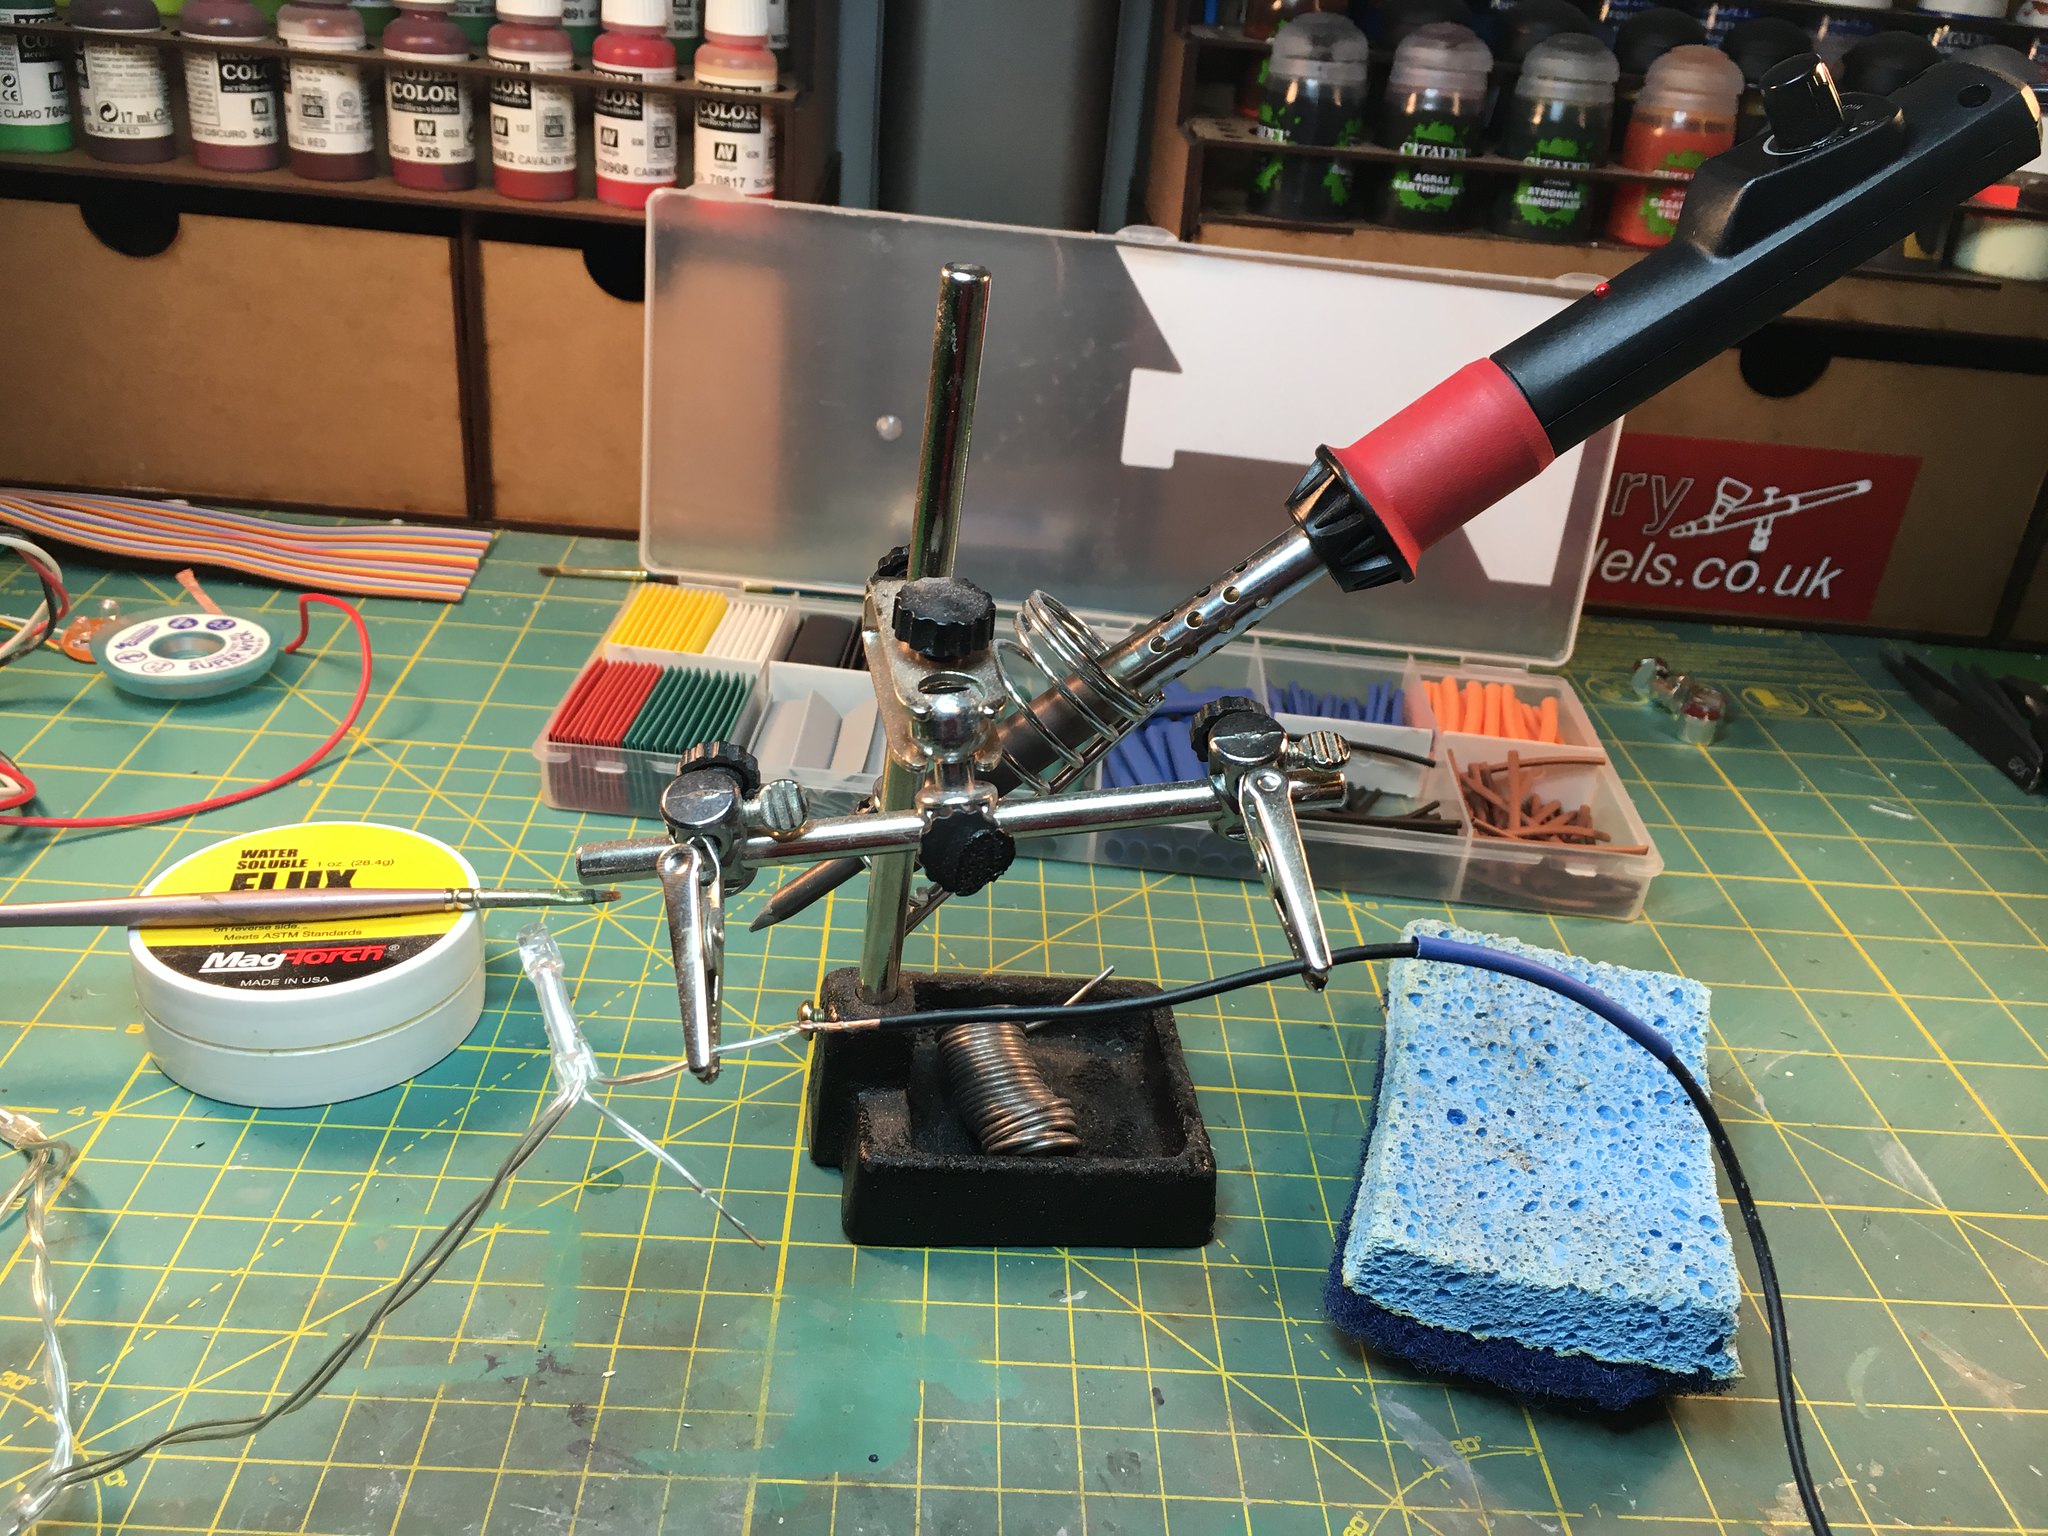
I'm taking off to play a gig in Hinton in the next hour or so, but tomorrow I'll spend the afternoon wiring up the Proton Pack lights. The flashing wand light electronics will need a re-solder to both extend and replace the thin, cheap, and unreliable 26-gauge wires they used in the original manufacturing. I have suitable lengths of ribbon cable left over, which will peel apart nicely into color-coded 2 strand and 4 strand wire extensions!
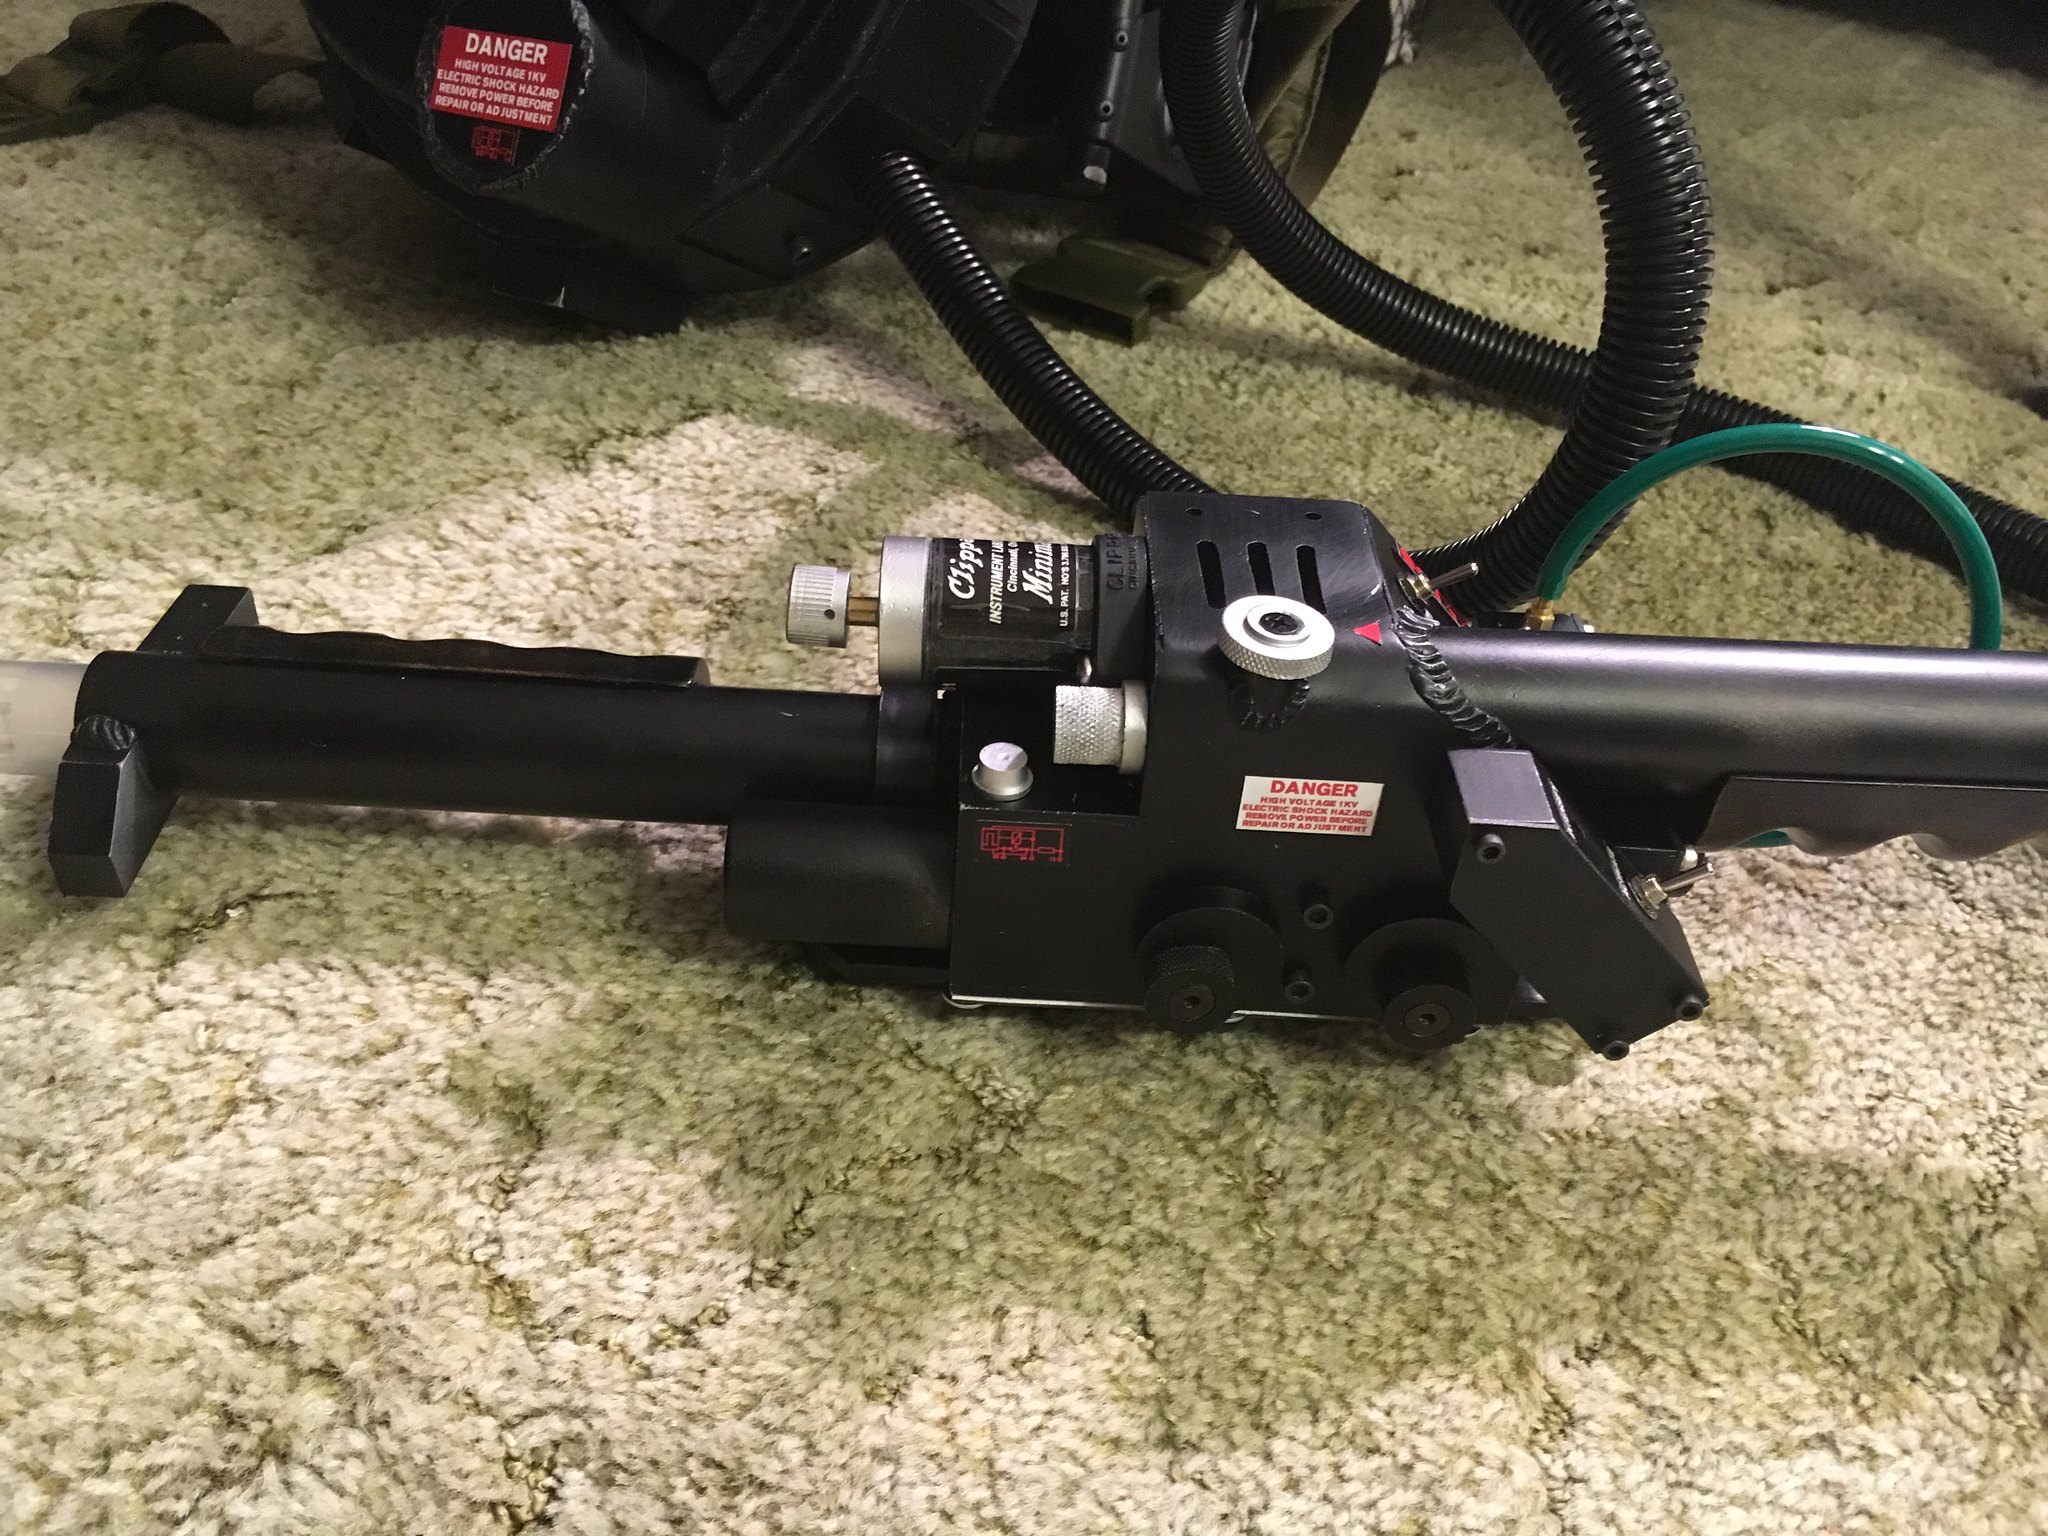
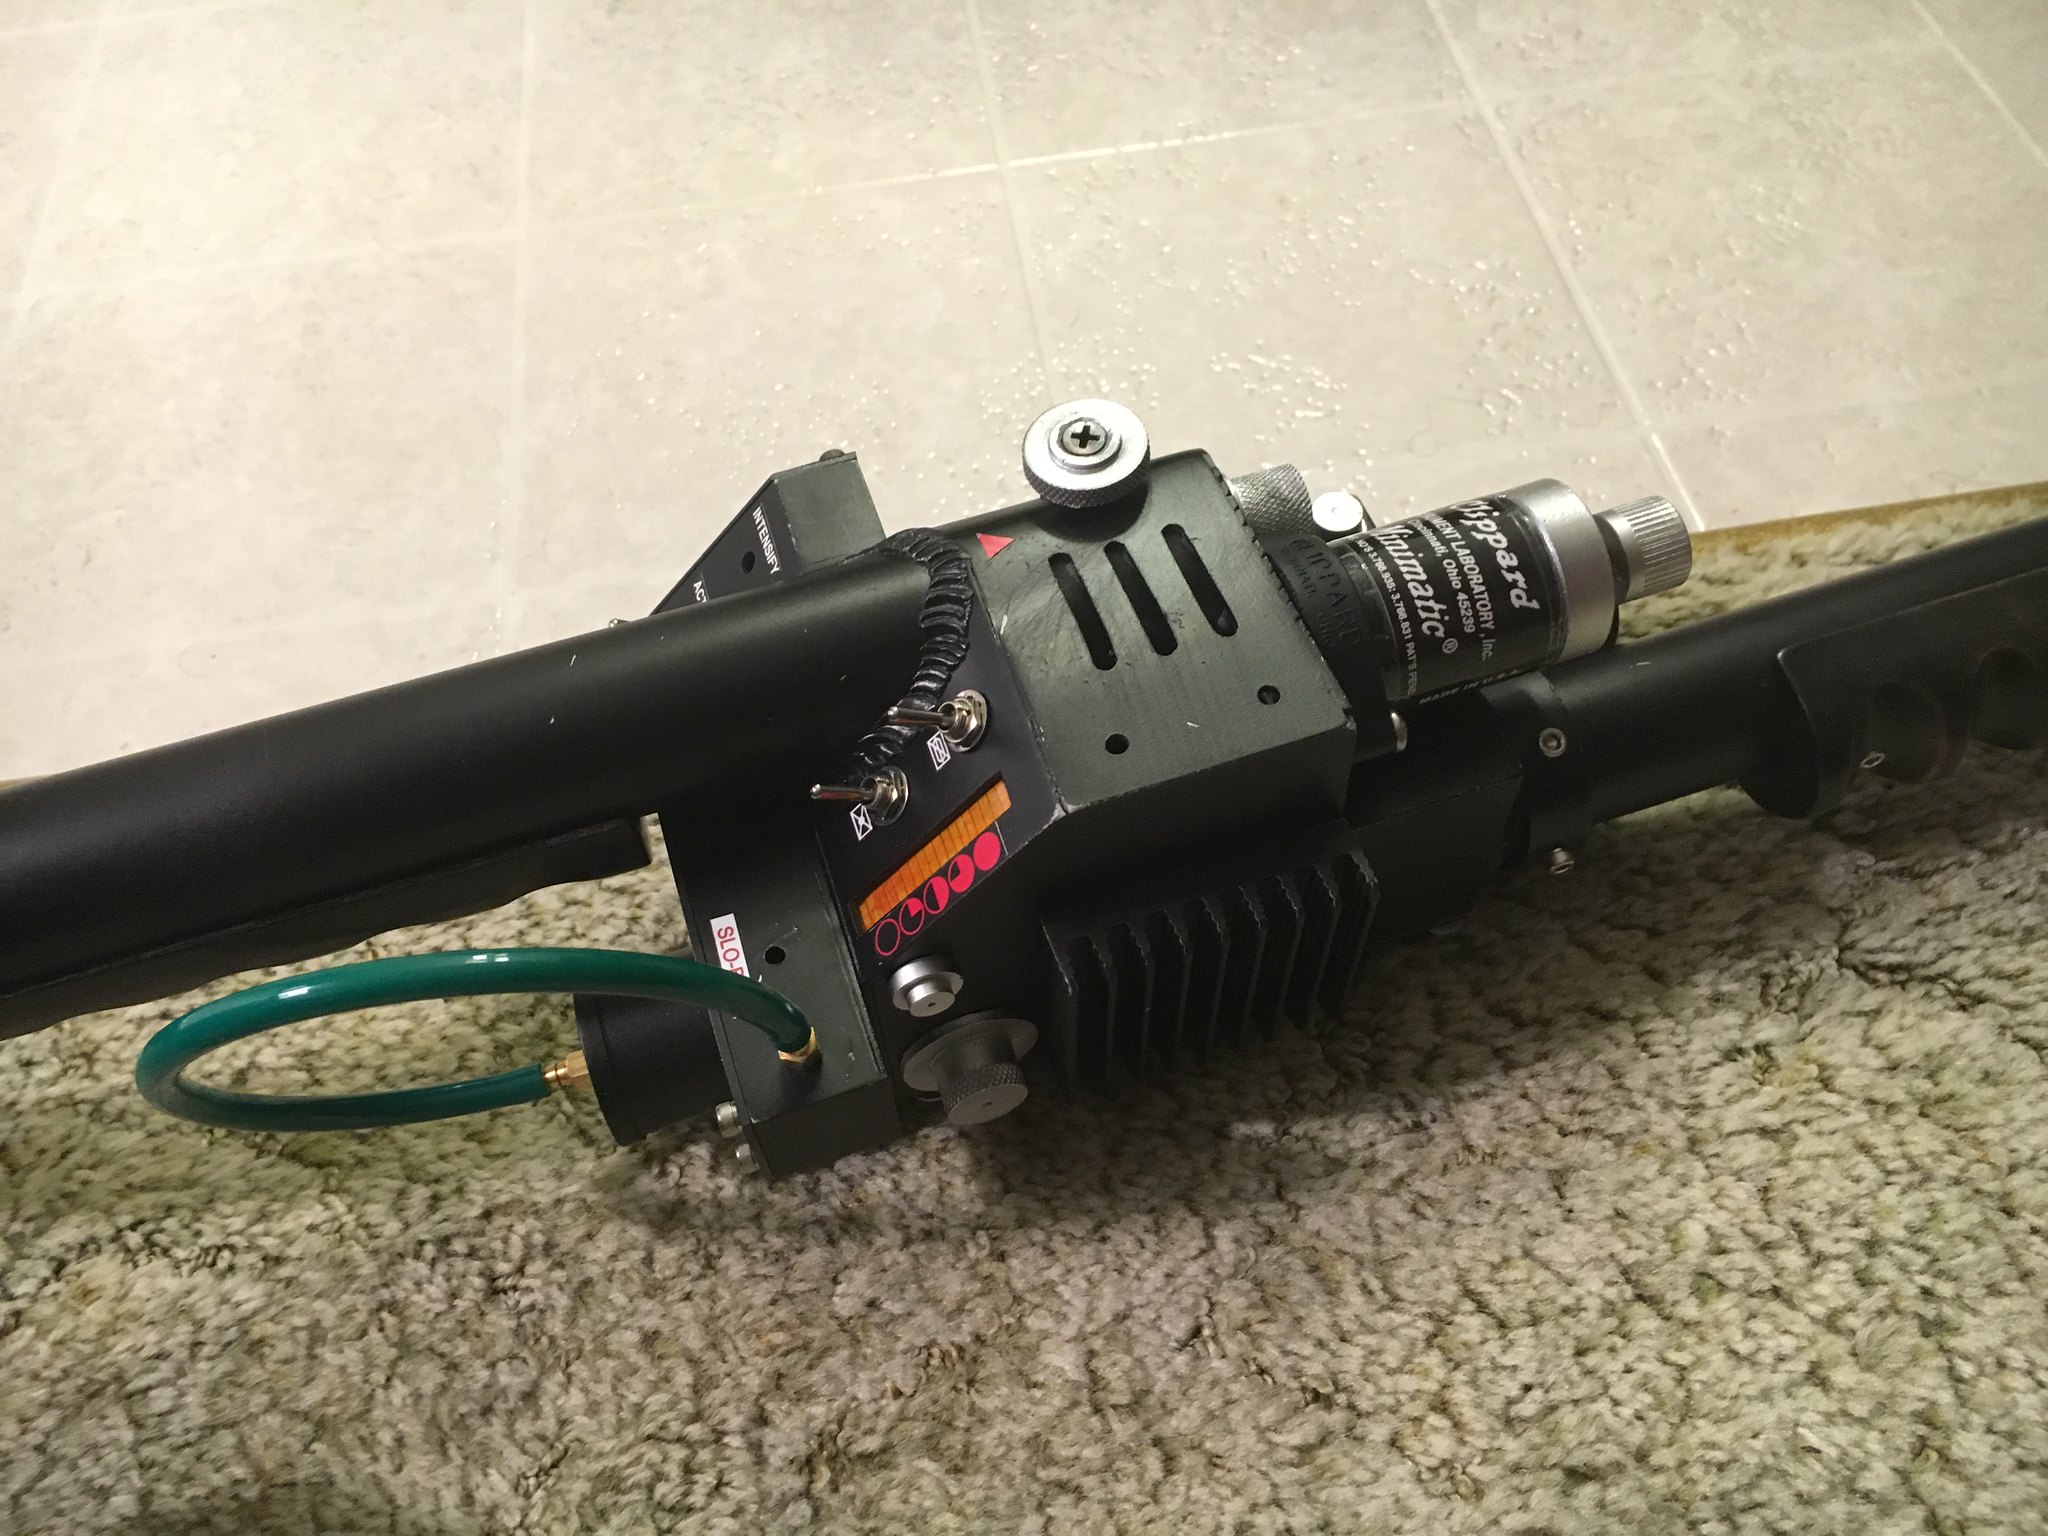
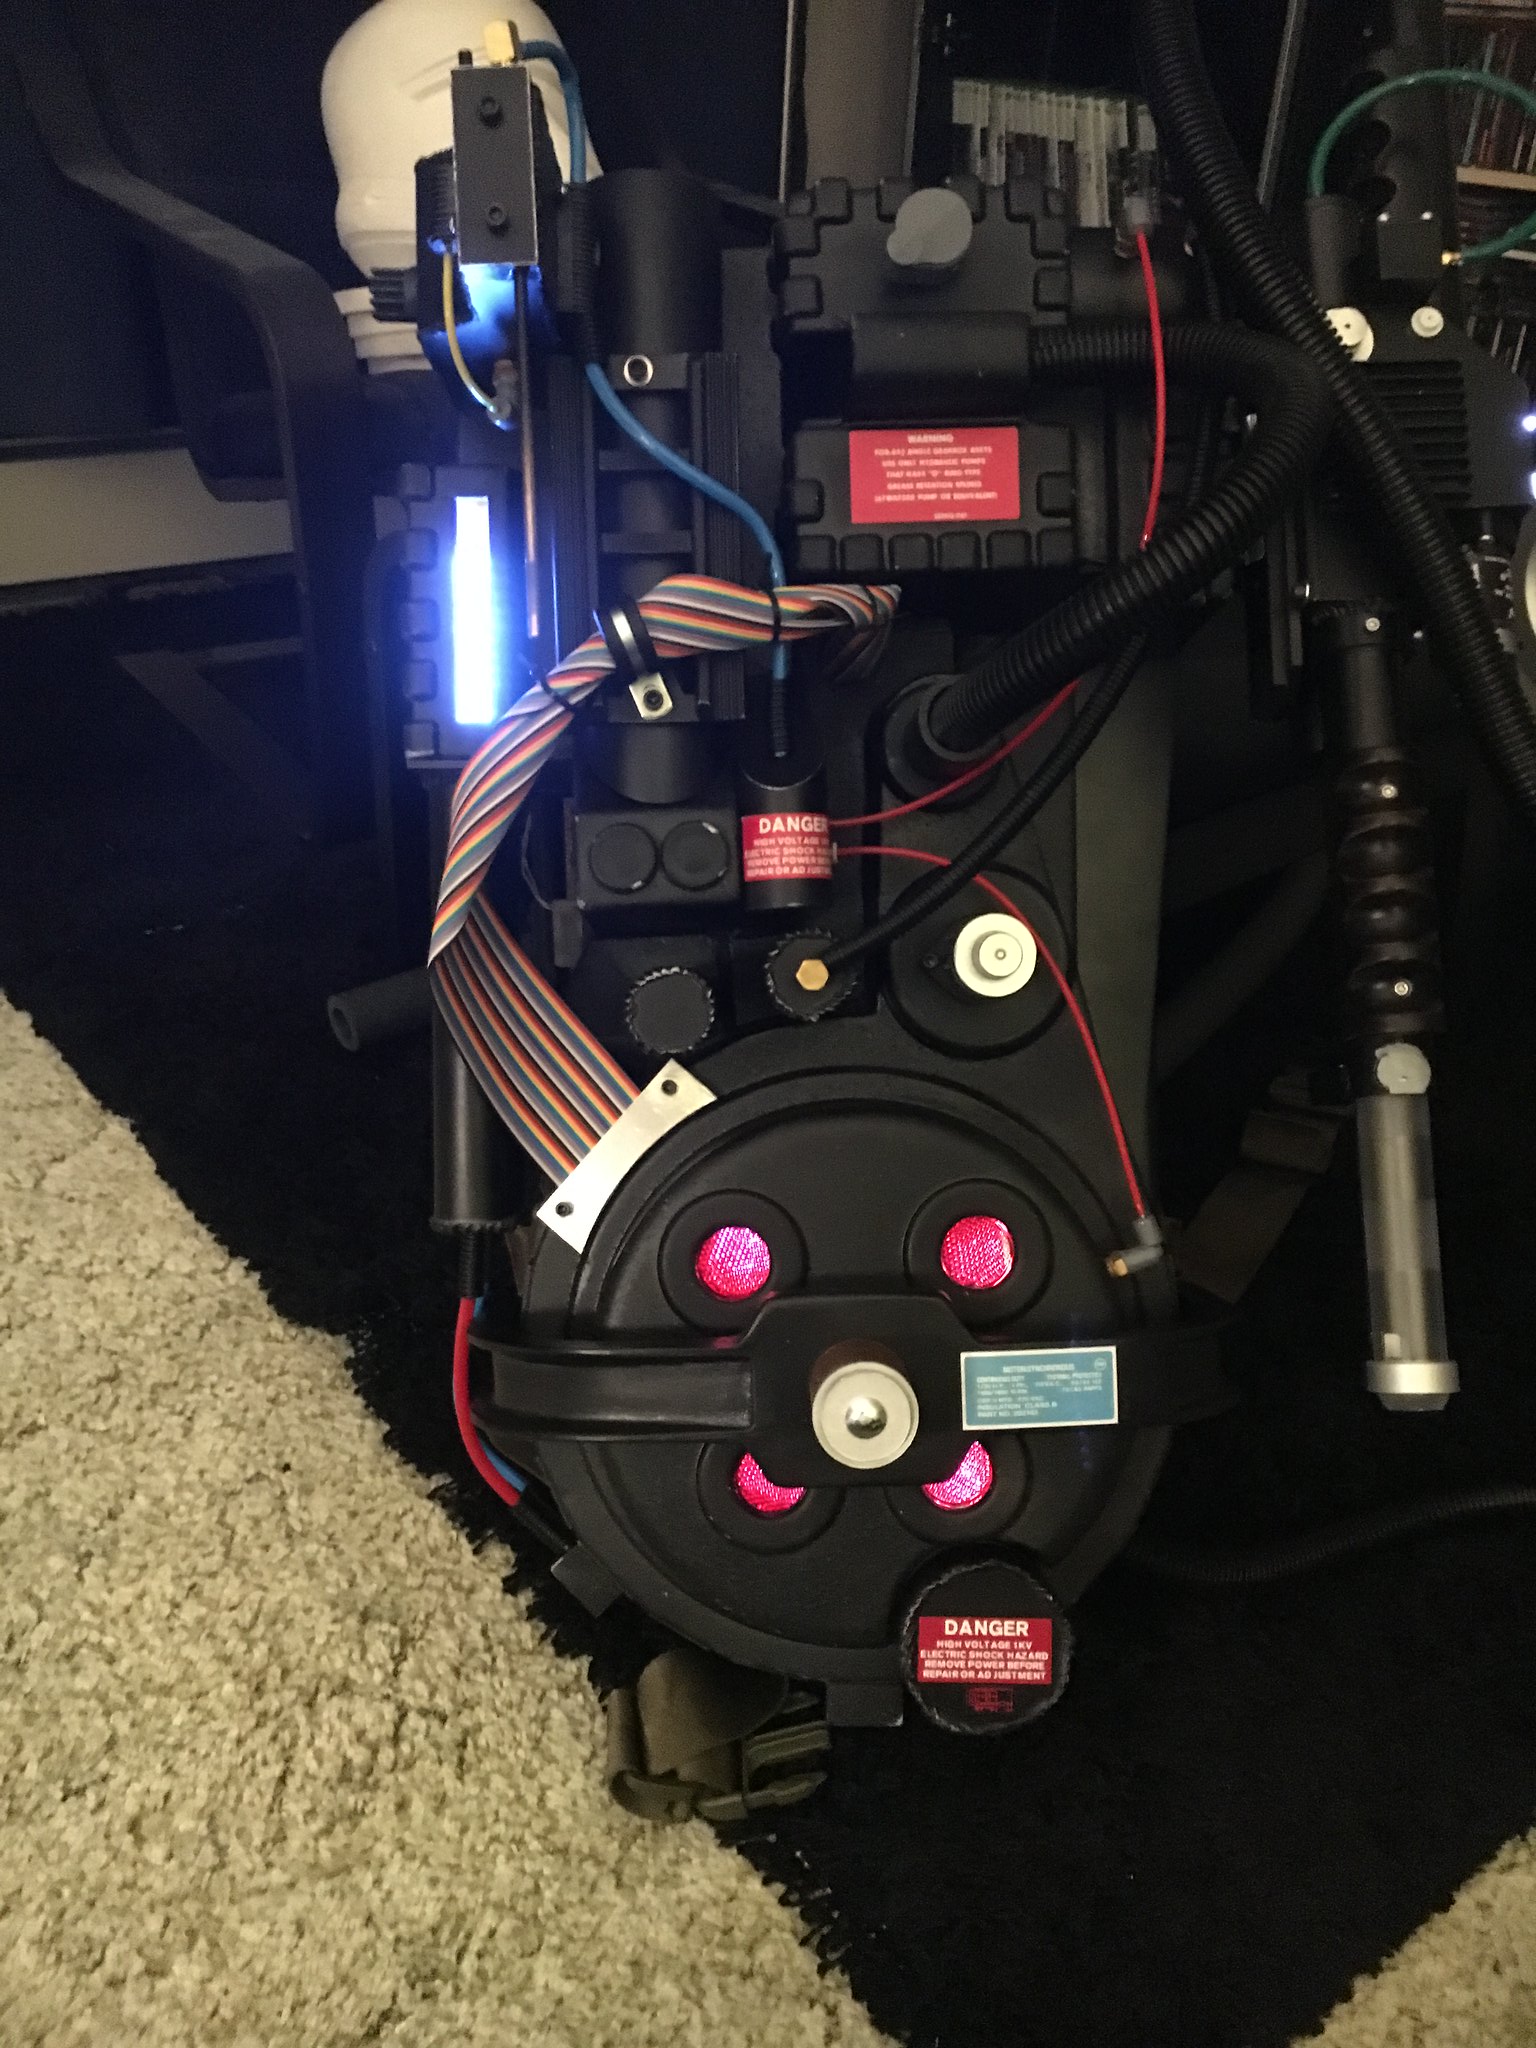
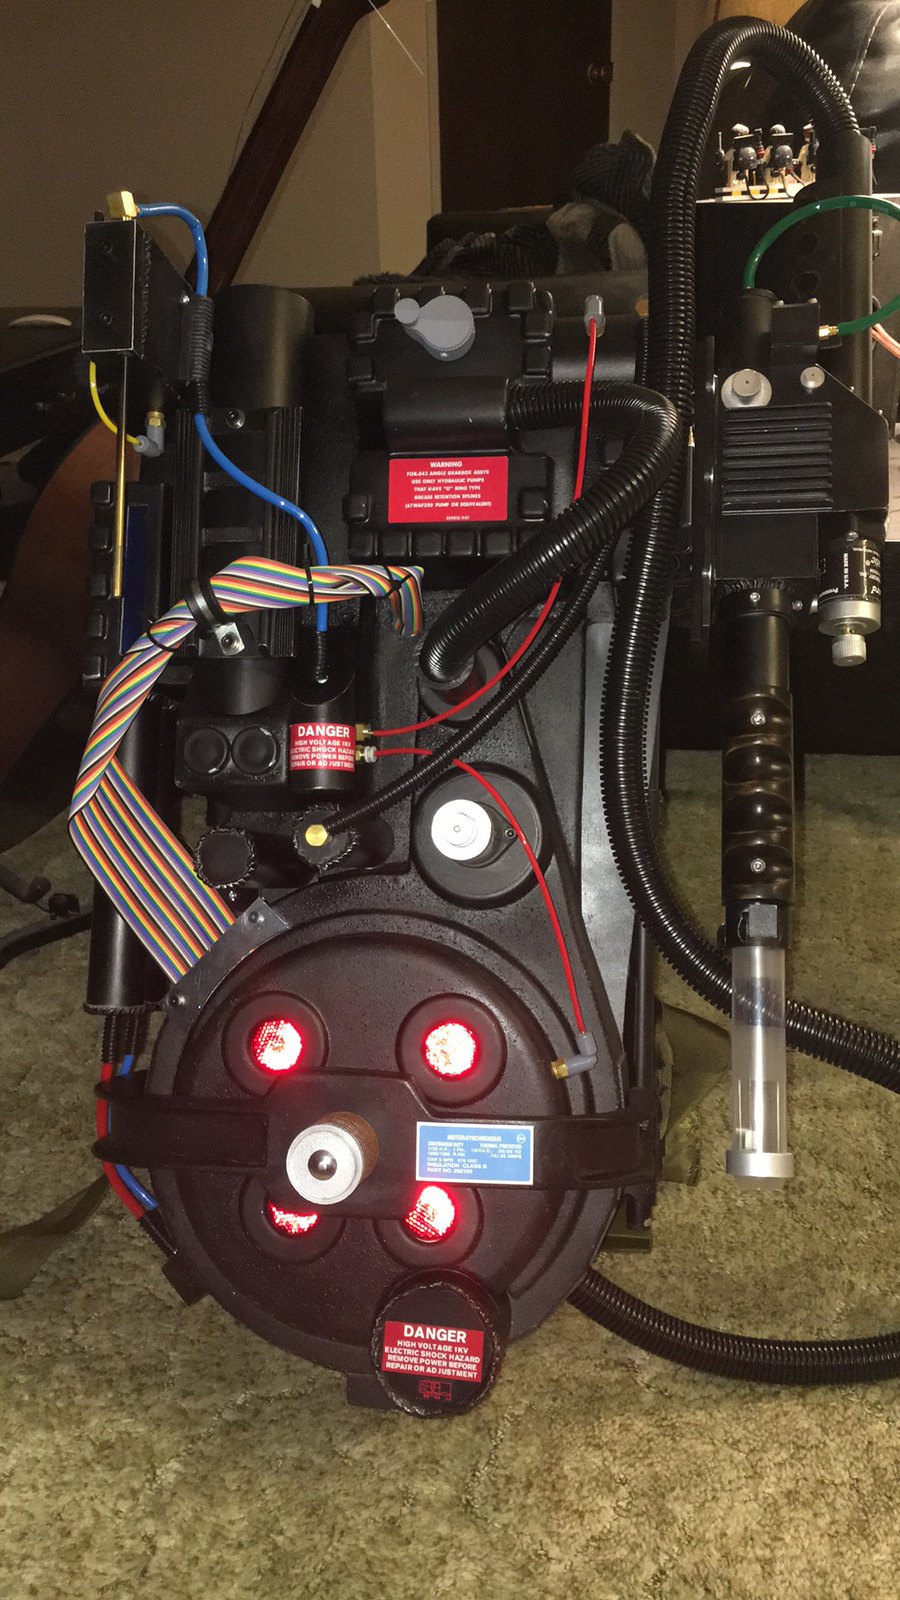 Finished Pack by Brett Watt, on Flickr
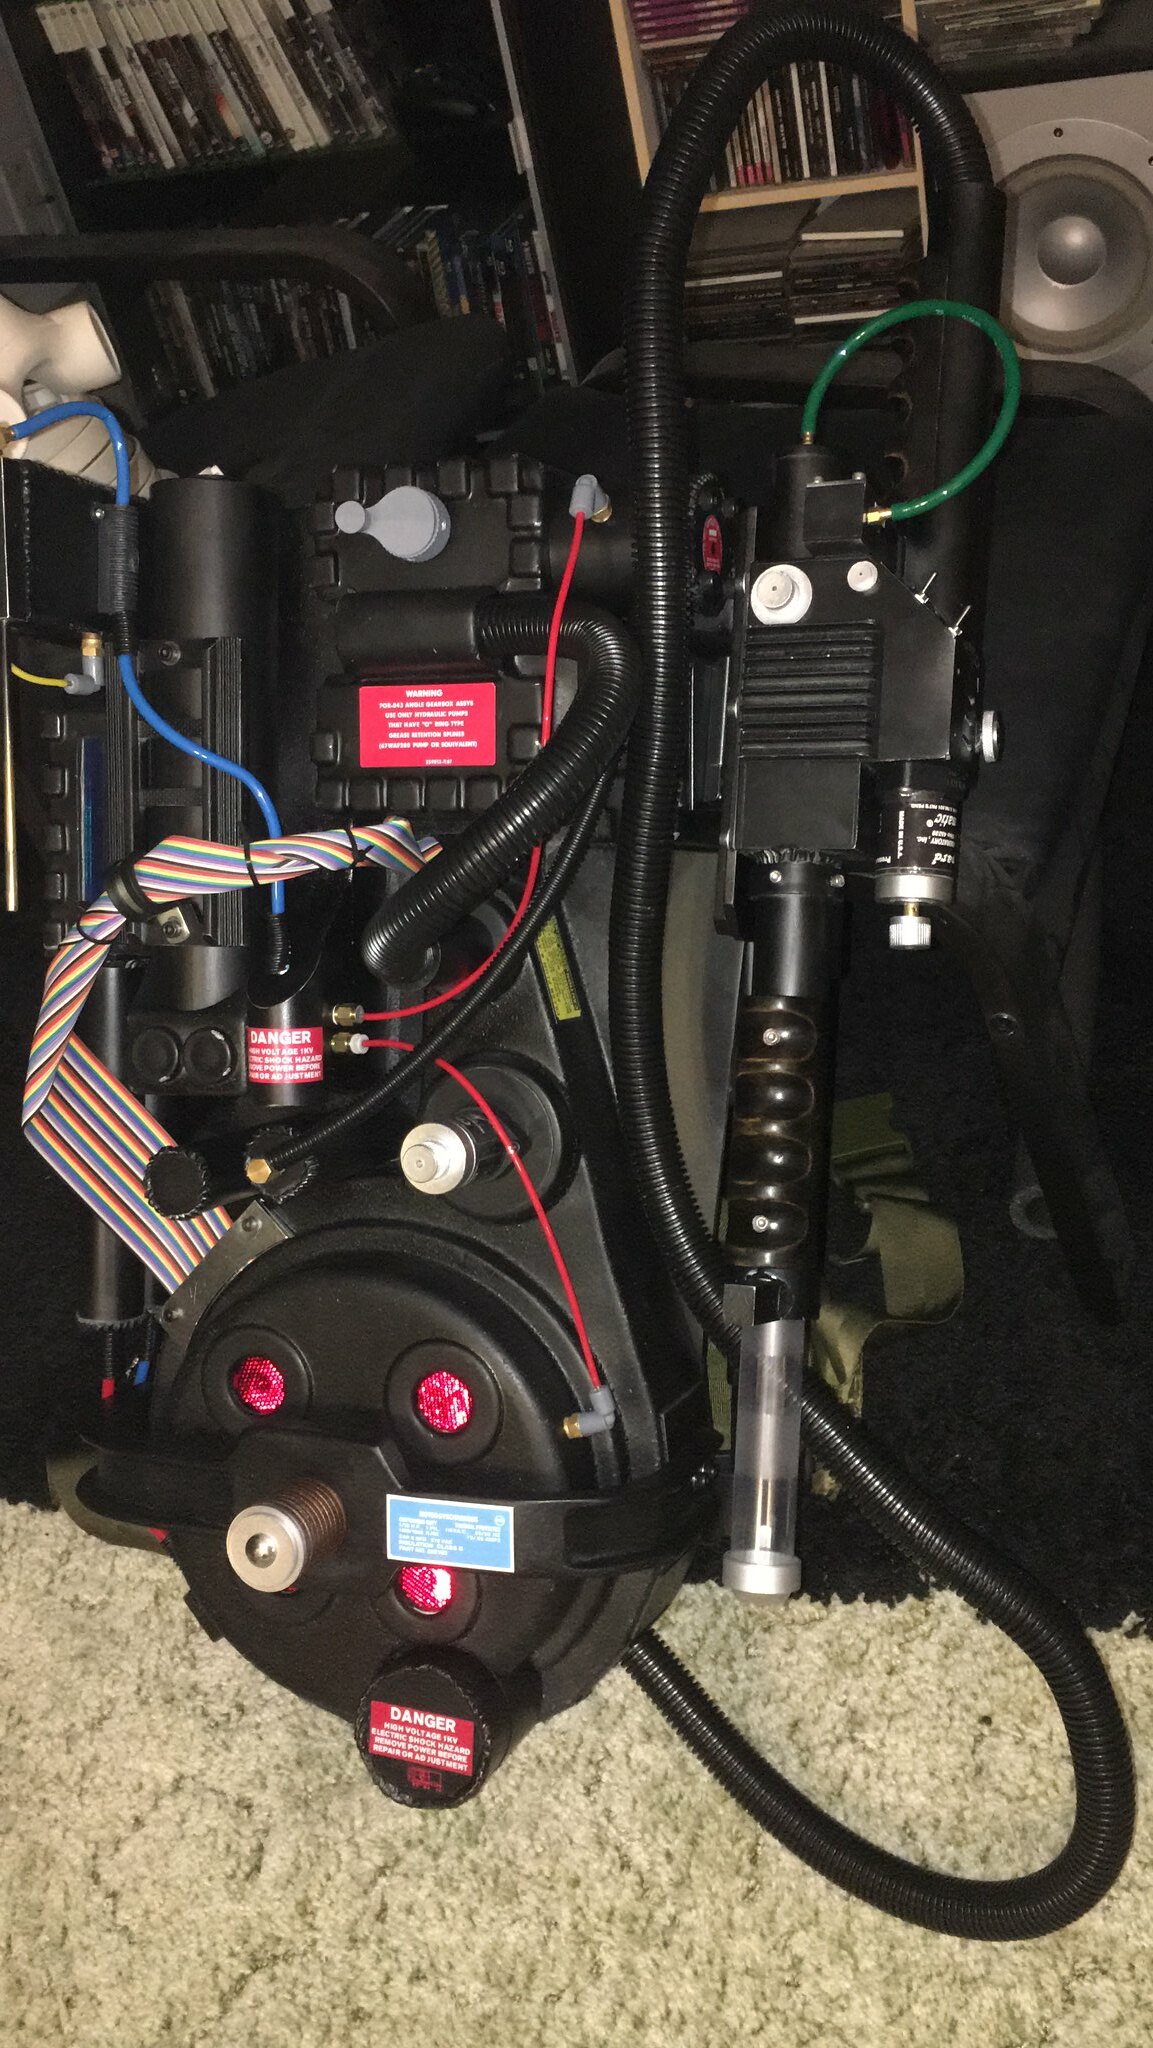 Finished Pack by Brett Watt, on Flickr
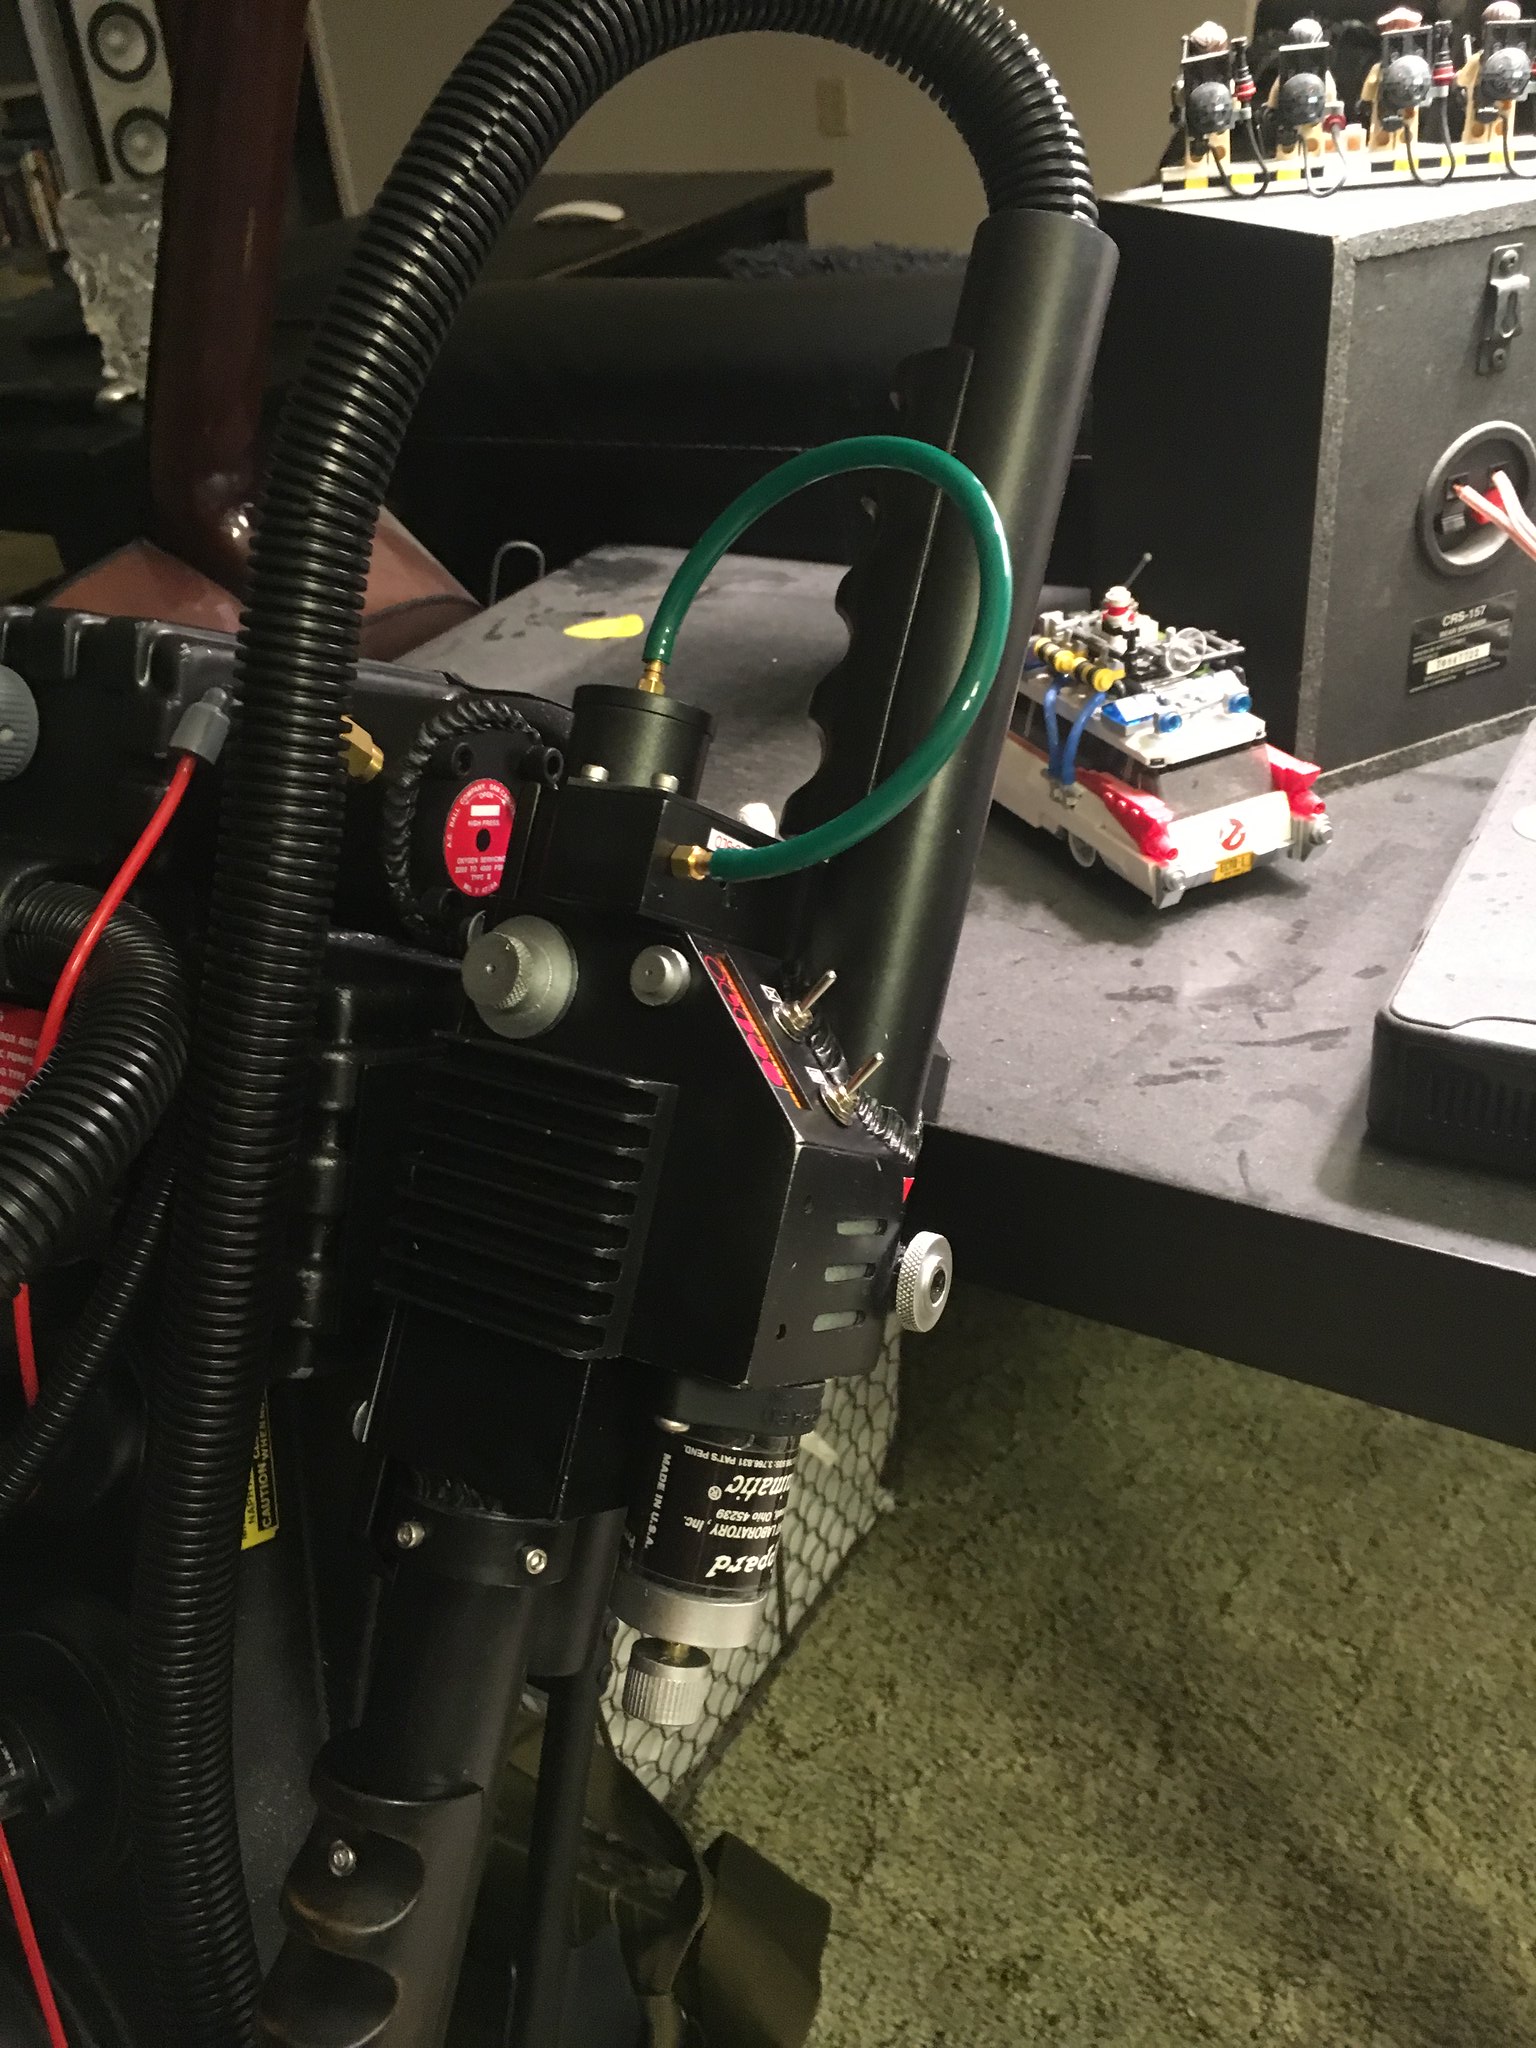


 - By pchrisbosh1
 - By tylergfoster