This is for other Ghostbusters Props that don't fit into the categories above.
User avatar
By Kingpin
#216609
Pending the final result, I may be interested in a set.

I've actually been toying with the idea of a Firehouse scale sign myself, and I'm interested in what efforts others make, before I decide whether to get one made myself.
User avatar
By CaptCyan
#216943
Spengler28 wrote:How you do the weather effect ??
I used 2 different techniques. For the building, 3 steps. I first coated it with a textured paint to simulate a stone surface. Next I painted it in the basic colors (acrylic Masonary Red and Stone Grey, both flat paints). Last and most important is a wash of acrylic Flat Black and Flat Brown paint.

The wash is done by wetting the whole model down with water ( I use a spray bottle with a mist setting). I put a few drops of Flat Black and Flat Brown paint in a cup and dilute it with water. I then brush the diluted paint at the top edges of the building and let it run down the sides, this stains it in a natural way. I work my way to the bottom, adding more wherever the building juts out, like the ledge around it's middle. If the starting point looks too dark, brush over it with plain water while it is still wet. I keep a paper towel handy In case it looks like there is too much color or puddling in one spot, just leach it away. The wash dries lighter, so a 2nd or 3rd application might be needed to get it to where you think it looks good.

The Firehouse doors were dry brushed to look stained because they have no texture. They were first spray painted Flat Black. I used a fan brush to apply the colors, brush strokes going from the bottom to the top, building up the brown colors dark to light. A topper of the Flat Black/Brown was applied to help match them to the rest of the building, then the hinges, locks and handles were painted brass to finish it off.

URL=http://img522.imageshack.us/i/p2240006.jpg/]Image[/URL]
User avatar
By CaptCyan
#217883
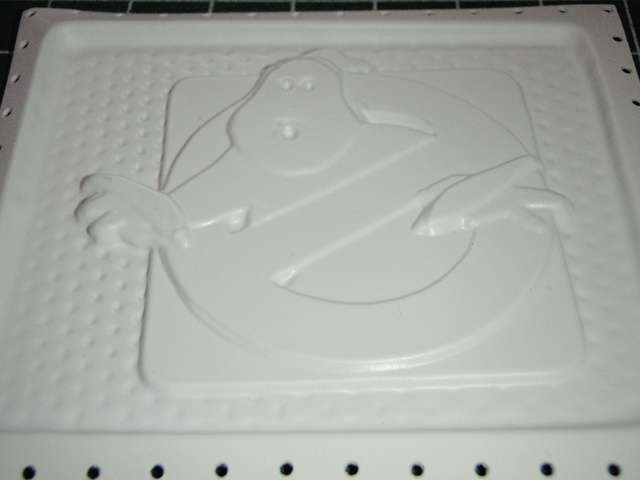
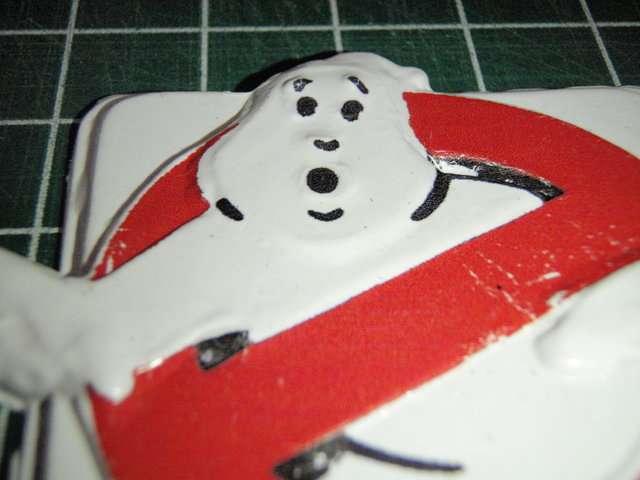
Started to soften up the edges on the ghost. I'm using Squadron Modeling Putty (in very small amounts) to do this.
Image

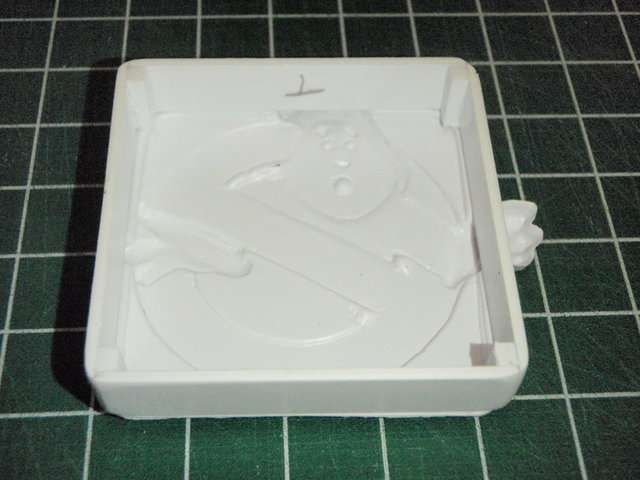
Here is a before pull.
Image

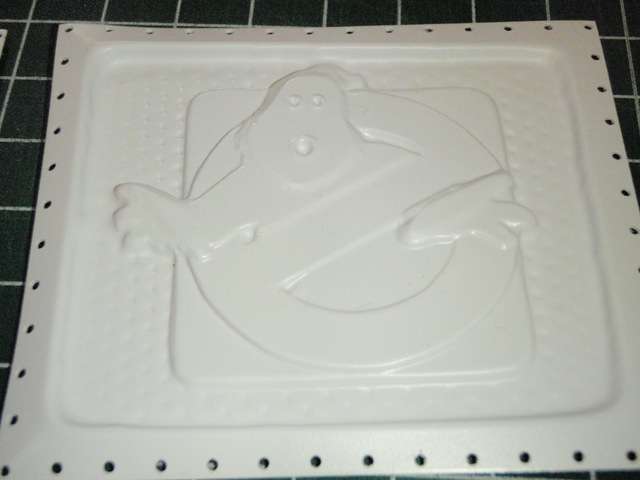
Here is after addind putty to the ghost's edges, then sanding it smooth. I also got rid of the small hitch at the bottom of the no ghosts circle and repositioned the eyes and mouth to match up with the decal I've made.
Image
By Gareee
#217992
Thats looking GREAT! I'm wondering though if you should add another layer to the back, so the entire sign is thicker? If I recall, the original source material sign was fairly thick.

If the plan is adding a black "framework" edge around it, you'll need enough of an edge to glue styrene to. And if its thick enough, you could probably even add micro leds inside it to light it up!
User avatar
By CaptCyan
#218086
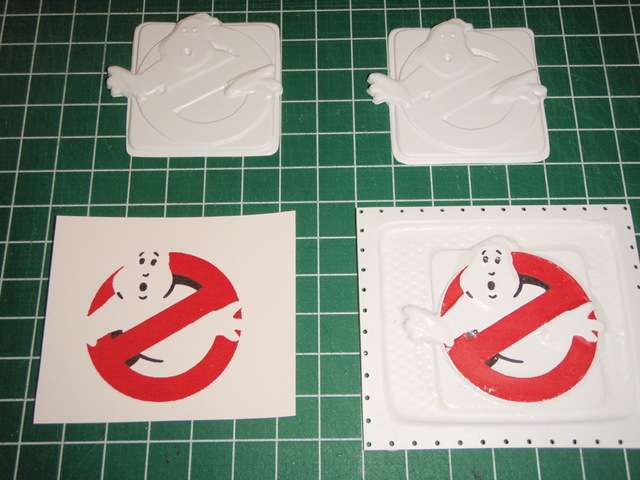
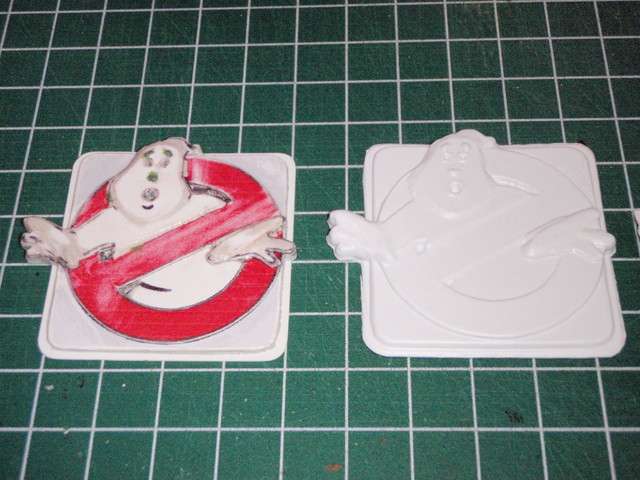
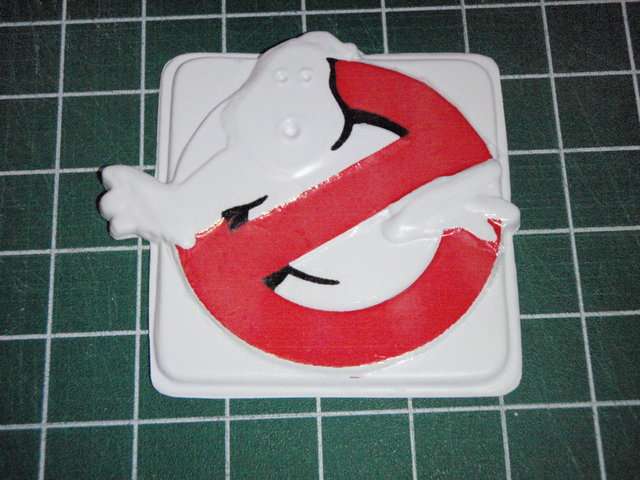
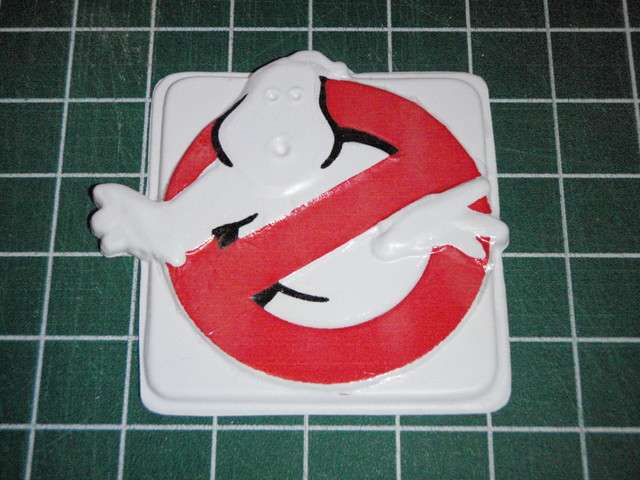
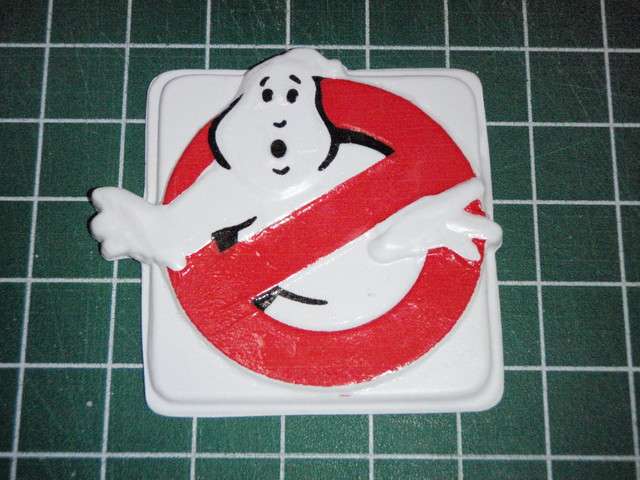
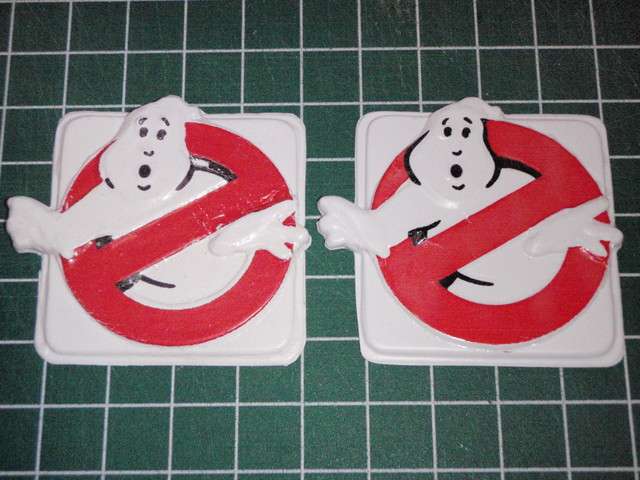
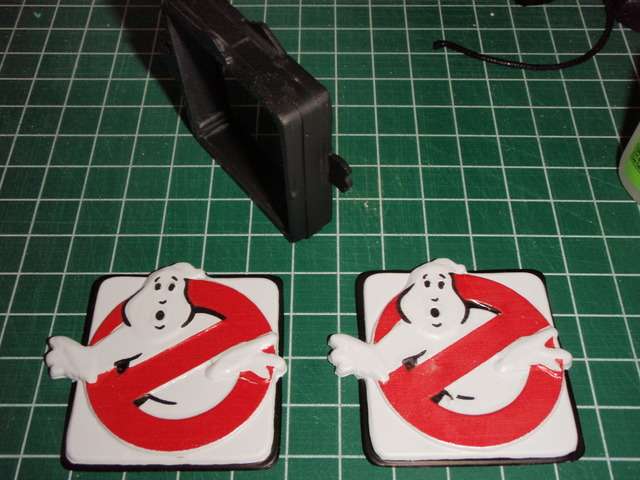
Top row shows 2 sign faces cut out from the pulls, I added a flange so they would be easier to mount to the frame (which I haven't made yet). The grid on the mat is half inch, so you can get an idea of how big these things are. Bottom row shows the decal (left) and the first attempt to apply the decal on a sign face (right).

Image

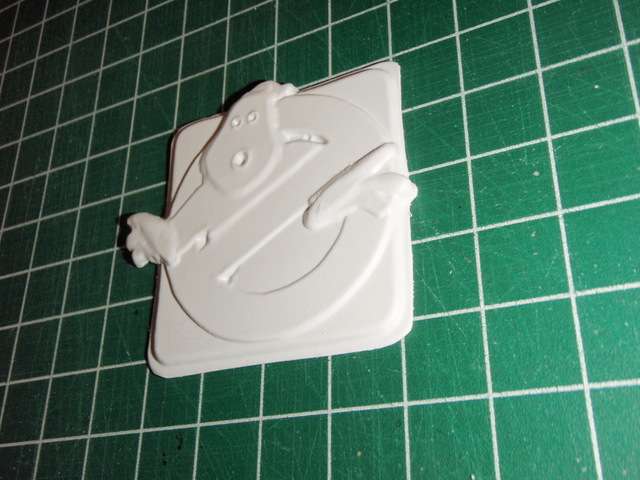
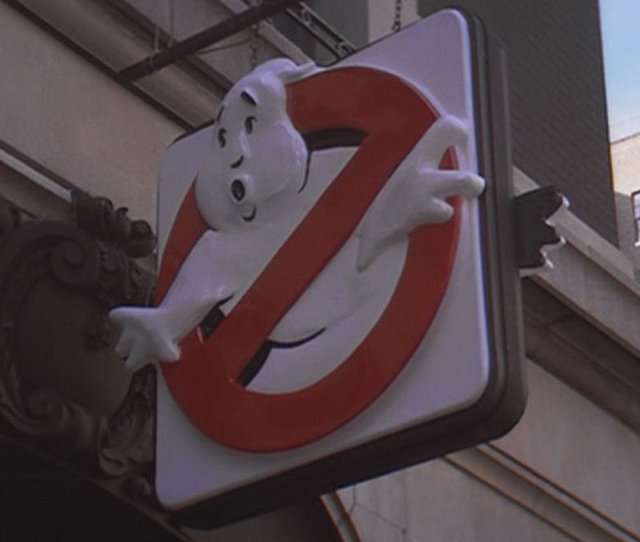
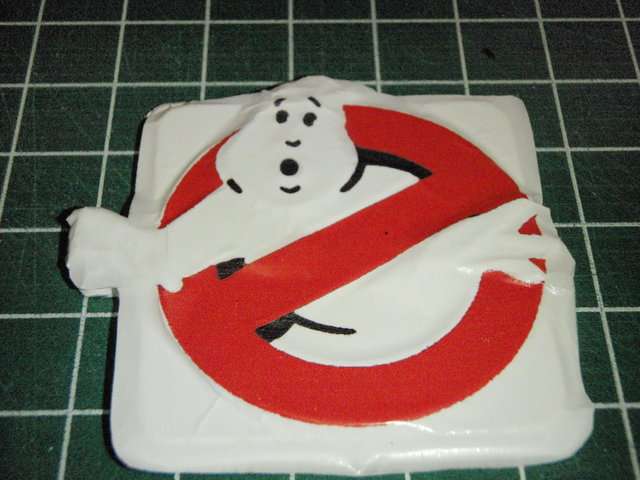
Tried to match the angle to the movie shot (without looking at the movie shot first). You get the idea.

Image
Image
Image
User avatar
By CaptCyan
#218088
Gareee wrote:Thats looking GREAT! I'm wondering though if you should add another layer to the back, so the entire sign is thicker? If I recall, the original source material sign was fairly thick.

If the plan is adding a black "framework" edge around it, you'll need enough of an edge to glue styrene to. And if its thick enough, you could probably even add micro leds inside it to light it up!
You're pretty sharp there, son. That's why I added the flange to the sign face.

Here you go, buddy.
:crunch:
By Gareee
#218139
Hmmm I'm actually seeing three edges to the sign. Here's my assembly thoughts:

First top "layer" is what you have in the vac formed sheet.

Second layer could be a black piece of craft foam, with the center cut out. Odds are, you'd need to add some thickening strips to the back of the vac formed front, so you'd have something that glue would adhere to. That would give you probably 1/8-3/8 inch thickness per side, enough for a string of those mini ribbon leds I found around christmas, or similar micro led strings.

The last edge layer could be thick styrene, plexiglass, or balsa wood. if thick enough, you could drill small pilot holes on the edge, and attach small jewelry "o" hooks, and then add a small jewelery chain for the chains to hang it from. It looks liek the electrica wires were run up the back chain, so thin led wires would work with that fine, I'd think.

You could power it by batteries, or if using those led ribbon things, plug it into the wall.

If you don't have access to anything like that, maybe we could work out a trade? I could send you one of those white led strings with the power pack for a set of the signs, with the decals?

I was considering adding one of those strings to light my firehouse, and this would give me more incentive, since it would also have an outside lit sign as well.

Great project!
User avatar
By CaptCyan
#219813
Had a minor set back with the sign faces. Seems that the heat buildup from using the buck a few times caused the putty detail to pull away from the sign. After building it back up I gave it a few coats of Zap-A Gap CA+ glue to seal it on the sign face. While I was at it, I added nose and eyebrow details.

Image

I took the new and improved pull and set a decal on it. You can see the large smount of air bubble that the highs and lows of the sign face create.

Image

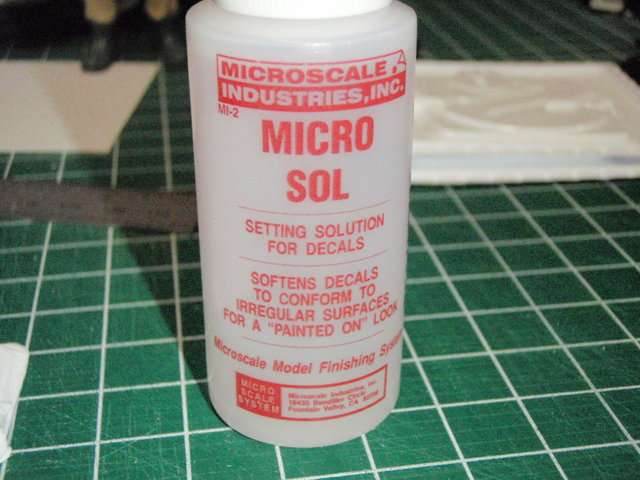
This is what I use to get the decals to hug the contours of the sign face. It does just what the label sez it does.

Image

There are other manufacturers that make the same kind of stuff, but I think this works the best. You can find it here:

http://www.micromark.com/

It will take 3 or 4 tries to get out all the bubbles, I'll upload a picture of the finished decal once it dries.

I also ran out of plastic sheets for the Vac-U-Form, so I bought some more of those on eBay.
User avatar
By CaptCyan
#219816
Gareee wrote: You could power it by batteries, or if using those led ribbon things, plug it into the wall.

If you don't have access to anything like that, maybe we could work out a trade? I could send you one of those white led strings with the power pack for a set of the signs, with the decals?

I was considering adding one of those strings to light my firehouse, and this would give me more incentive, since it would also have an outside lit sign as well.
Hey Gareee,

When I get the new plastic, I'll pm you and we can wheel and deal.
User avatar
By CaptCyan
#221915
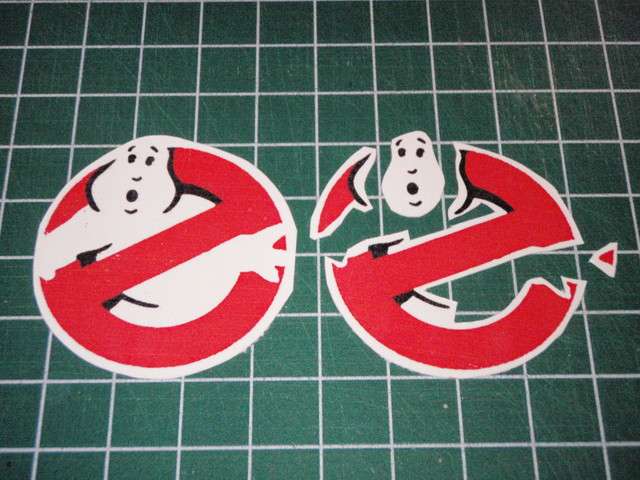
Sometimes things don't go as planned. The sign had too much depth to be covered by a decal in one go. I over softened the decal with Micro Sol to try to get it to contour to the sign, but wound up breaking it up.

Image

As I am back to square 1, I tweaked the sign image for the next decal try. I extended the red circle a bit and added black to the outside of the face where it meets the circle. I know it doesn't do that on the real sign but I thinks it looks better with it. This time I cut the decal into sections.

Image

Image

Image

Image

Here is a side by side to compair the decals.

Image
By Gareee
#222564
Once I get back on an even keel, I'll be trying the led lighting out with them.
User avatar
By CaptCyan
#222728
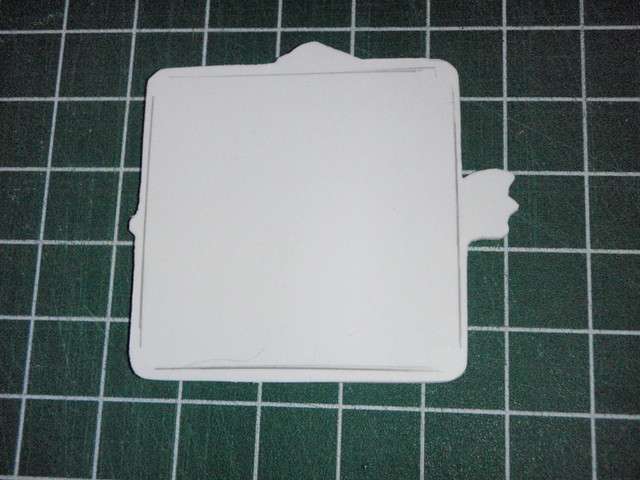
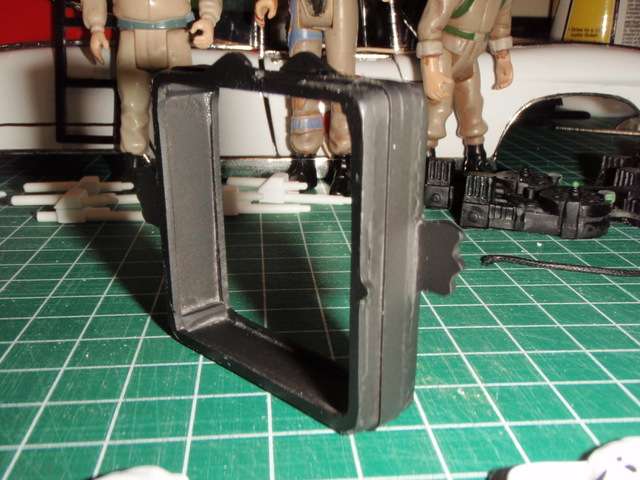
Started to make the sign box. I took thin strips of styrene cut to the size of the sign face and glued them together with some small square styrene rod. I then sanded the outer edges to match up with the sign face.

Image

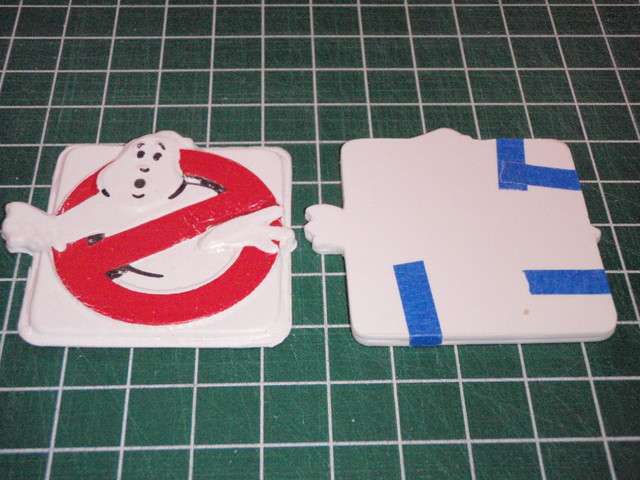
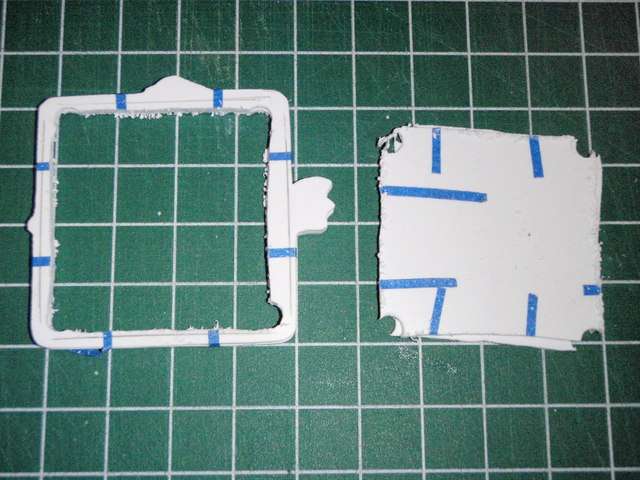
I then took some styrene sheet and cut it down roughly to the shape of the sign face. I taped them together so I could sand both at the same time and they would be exact duplicates.

Image

These are now the front and back plates. They will keep any light from leaking out of the sign where the ghost's head and hands break the frame.

Image

I've marked where the frame sits on the plates. The next step will be to cut out the centers and glue the plates to the frame. I can then give it a final sanding and one thinner strip to run around the center of the frame.

Image
User avatar
By CaptCyan
#225157
Drilled out the corners and cut out the centers of the plates

Image

Image

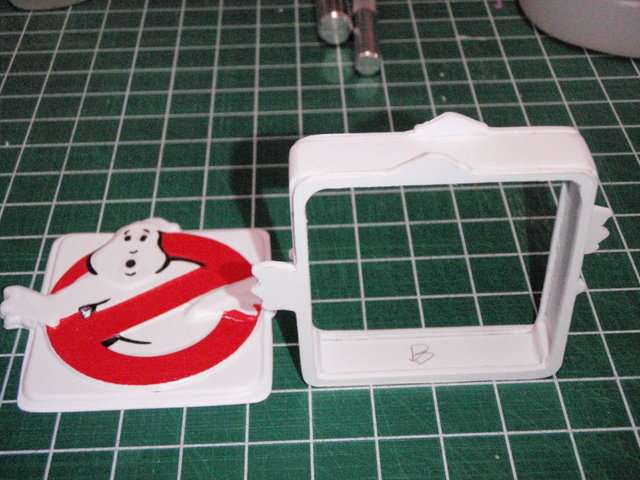
Glued the plates to the frame and sanded the center cuts smooth.

Image

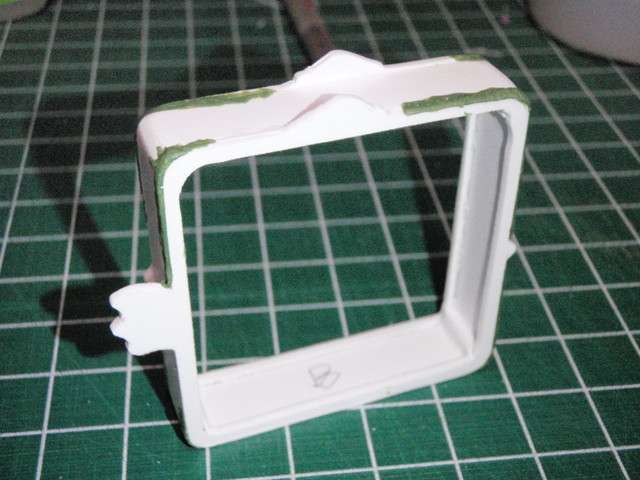
I did a little too much pre sanding on the outer plate sections, so I filled in with epoxy putty and will sand the edges smooth when it sets

Image
By Gareee
#225311
Lookin good! I'm out of the hospital after a week's "visit", but I'm not dead, so I look foreward to tinkering with this again, once things stabalize here!
User avatar
By CaptCyan
#225339
Gareee wrote:Lookin good! I'm out of the hospital after a week's "visit", but I'm not dead, so I look foreward to tinkering with this again, once things stabalize here!
Hey Gareee! Glad to hear your're not dead, otherwise you would cause a real frenzy on this site "ghost postin'".
By Gareee
#225580
CaptCyan wrote:
Gareee wrote:Lookin good! I'm out of the hospital after a week's "visit", but I'm not dead, so I look foreward to tinkering with this again, once things stabalize here!
Hey Gareee! Glad to hear your're not dead, otherwise you would cause a real frenzy on this site "ghost postin'".
Hehee.. yup!

I've got his earlier set here in hand, and can vouch for the potential of them. I've still been dealing with my sugarshock mess here, trying to get life back on an even keel, but as I speak, they are literally a foot away from me.

I think I have a possible easier mounting solution for them, but I'll divulge what I have once I confirm it works as anticipated.
User avatar
By CaptCyan
#228068
Astro_zombie wrote:Thats really sweet what your doing with the sign there. I just found my old Kenner fire house and this has inspired me to do the same thing.
Cool, got any pics you can post?
User avatar
By CaptCyan
#228069
I put the band around the middle of the sign box and painted everything black.

Image

I took the 2 sign faces and painted the rims where they will attach black also.

Image

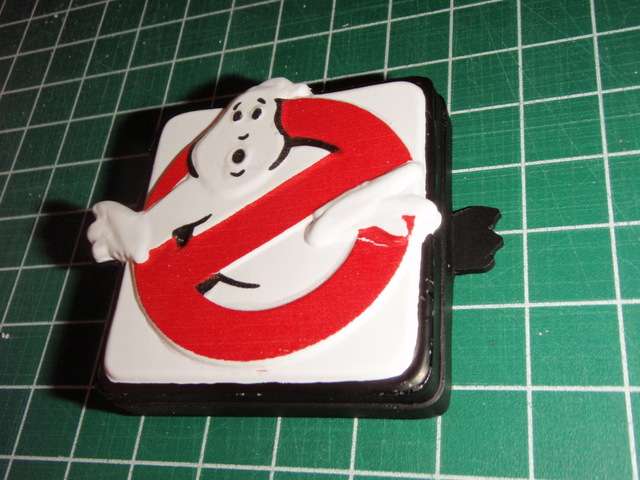
I used rubber cement to glue 1 face to the sign. This way I can take it off with no damage if I need to work on the insides. Whoops, lost a piece of decal between the fingers. I should have coated it before handling. Let thta be a lesson to ya'.

Image

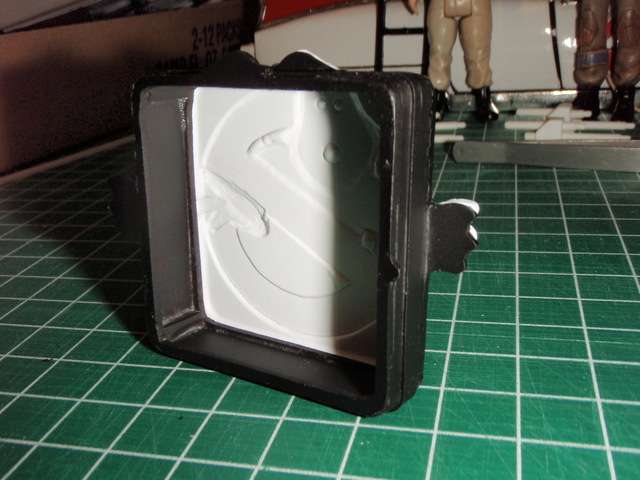
The inside is nice and empty, just waiting for those light Gareee is sending me.

Image

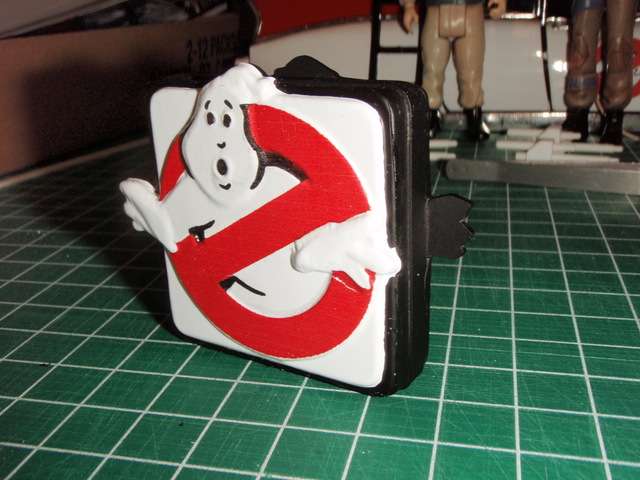
Here is a more familiar angle.

Image
By GB_J
#237195
UGH! My parents just had to have that garage sale while I was at summer camp one year didn't they. Great craftsmanship sir. The mini sign looks stellar.
By Gareee
#237208
Glad it finally arrived.. do you think they put out too much heat? Leds typically don;t but these for some reason do.. which is odd, because the yellow and blue ones don't generate any significant heat at all.

They aren't as bad as christmas lights,but its more then I expected.
User avatar
By CaptCyan
#237213
Gareee wrote:Glad it finally arrived.. do you think they put out too much heat? Leds typically don;t but these for some reason do.. which is odd, because the yellow and blue ones don't generate any significant heat at all.

They aren't as bad as christmas lights,but its more then I expected.
I plugged them in and sofar I don't think the amount that they generate will bother the sign. Just to err on the side of caution, I'll make an LED "sammich" with 2 pieces of vac-u-form sheets and let it go for awhile, just to see if it has any effect on them. I'll let you know if I burn my house down. :lol:

Also somewhat related question...I don't see giz[…]

Hey guys I've been doing some updating and adding […]

Ghostbusters Day 2024

Even if Frozen Empire somehow made a billion dol[…]

To repost what I said in the other thread: I don'[…]