- July 19th, 2014, 10:38 pm#4802031
Hey everyone! After a long break from this forum, I'm back in the GB world. I haven't made a new GB prop in a long time, and this year I decided to get back into it. So starting easy I made a new Belt Gizmo. My original one is OK at best, and will be kept for my girlfriends Uniform (which will eventually have it's own thread) or when I convince my buddies to finally get some uniforms of there own.
Anyway here's the new Gizmo build:
First the belt holder...
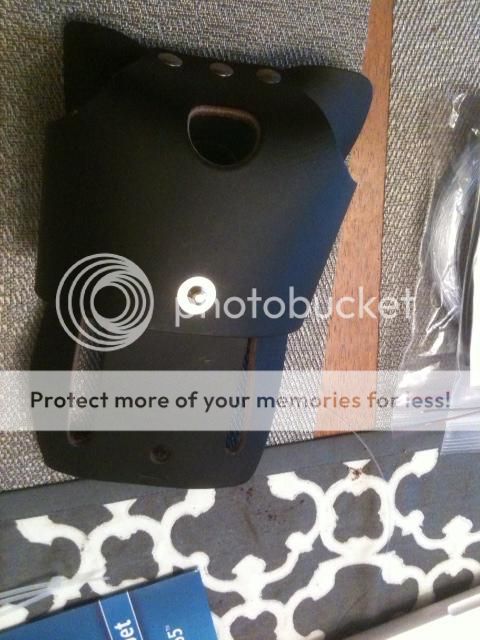
I am not going for 100% accurate on this. Kind of making it my own. I cut out the strap in the middle and I'll leave it at that.
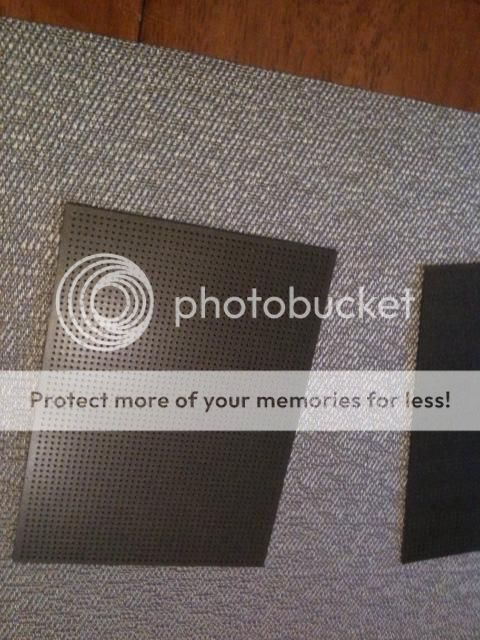
I'm using a blank circuit board from radio shack. Painted it with some Oiled Bronze color paint.
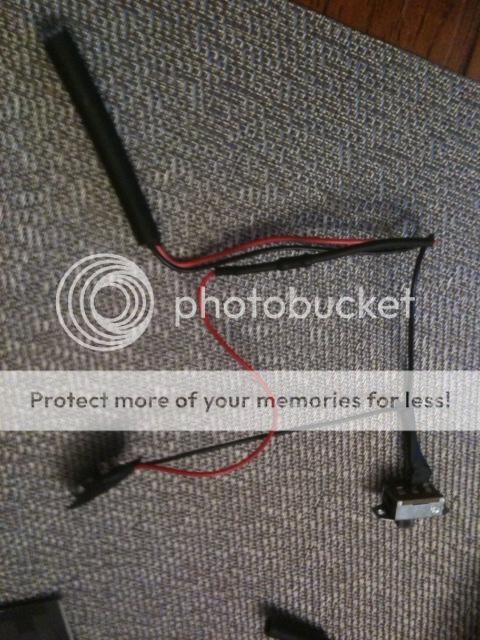
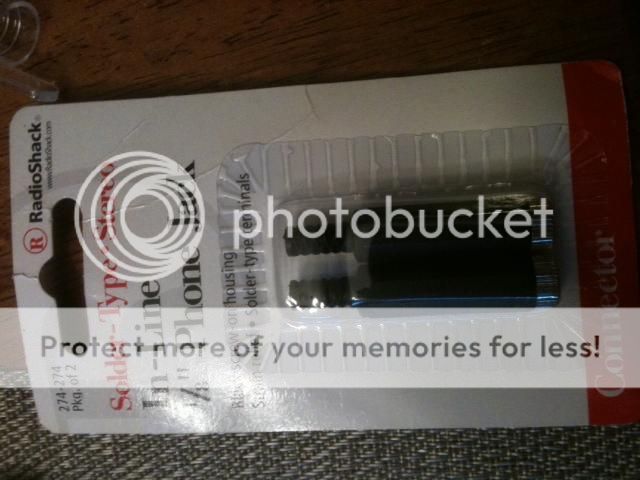
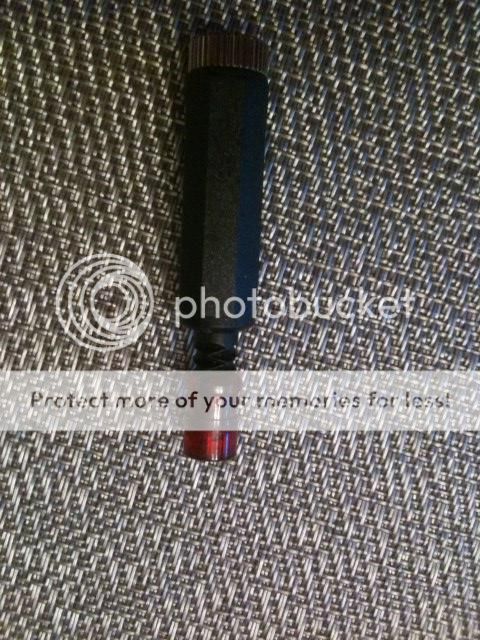
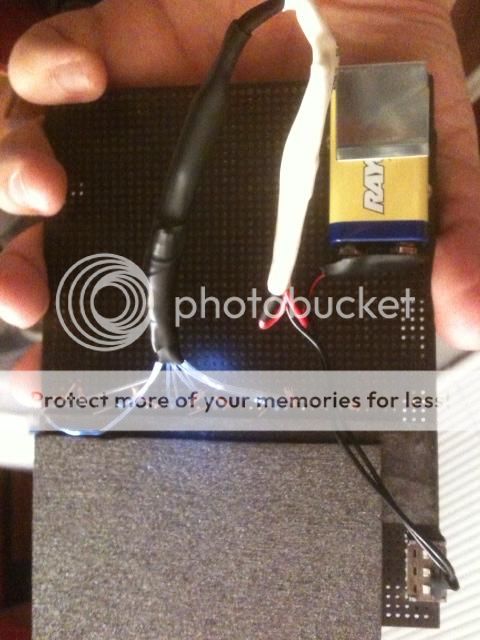
This is a LED bulb wired to a switch which is used for fiber optic lighting effects. This is usually used in models of ships and things like that. I had this hanging around, so no cost here.
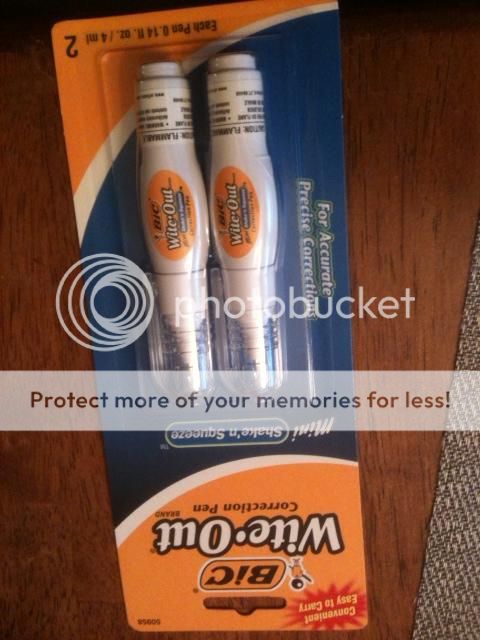
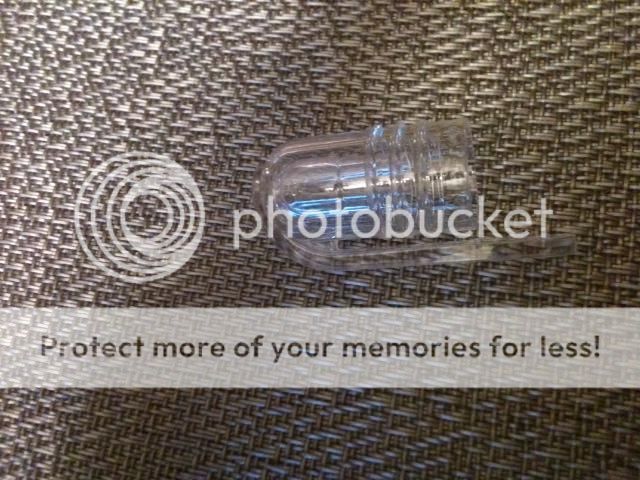
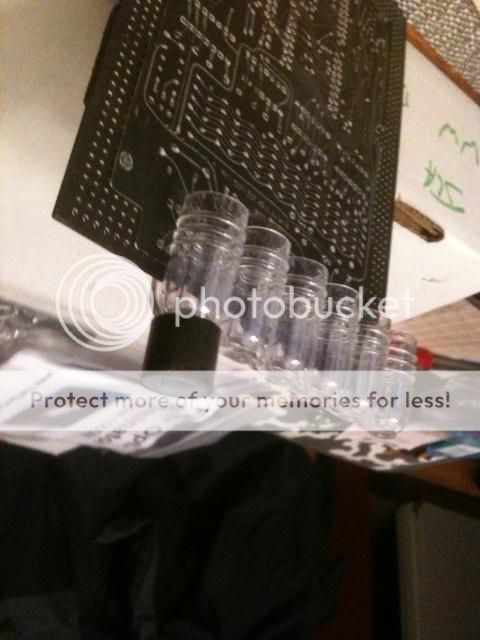
While looking for different pen caps to use for the "bulbs", I came across these white out pens. The caps had a really cool shape to them, so I tried them out. They look great!
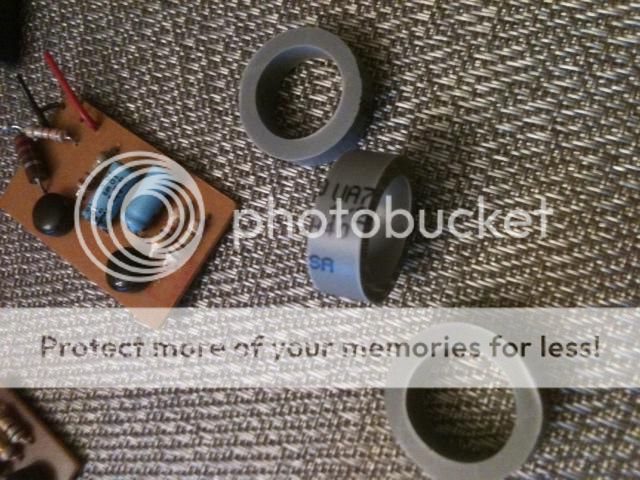
Originally for the "rings" on top of the "bulbs", I had used a PVC clipper to make these rings. But....
...They were too big to fit 6 "bulbs" into.
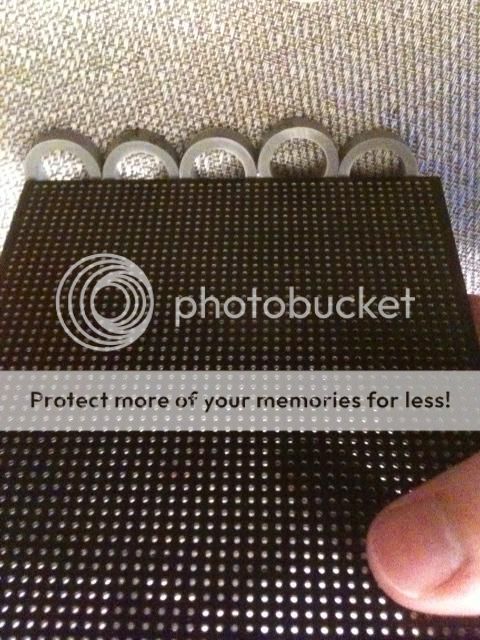
So instead I found some spacers at Home Depot and painted them with the same color.
Two of these to connect my Mother Board to the Daughter Board.
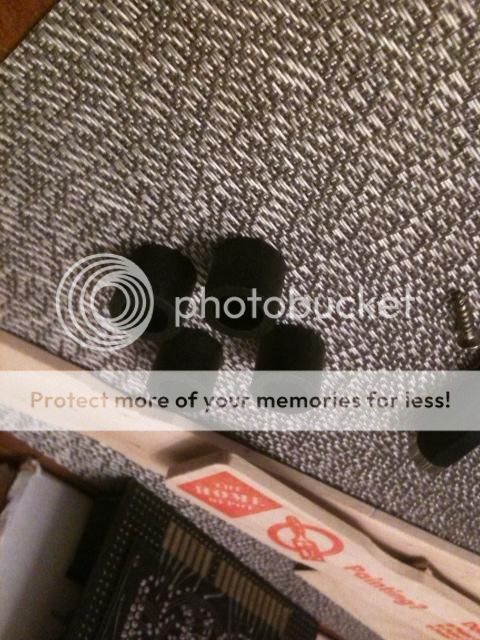
I had a few light covers left over from my pack build ages ago (and ya know, I never throw anything out), so I used them on the top of the cord connectors.
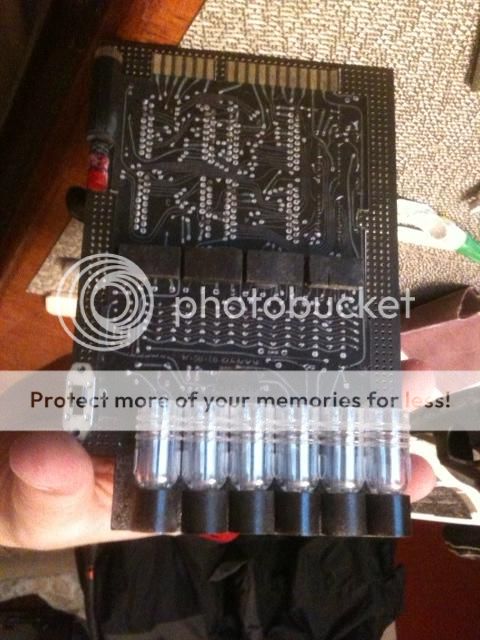
I then printed out the circuit board PDF onto a label, put it on the board, and got my "bulbs" where I wanted them. I glued the back of them to keep them in place. Then I glued the spacers on top of the "bulbs."
After that was good to go, I used my dremil to cut out a small notch on the side for the switch. JB Welded that in there, and also attached 4 small fake circuits to the board. They are simply Home Depot Paint stirrers cut up. Free and an endless supply of hobby wood. Got to love it.
On the back i attached a length of paint stirrer across the board, the a bigger piece of hobby wood on top of that. This will be the backing to the "bulbs" and also be added holding power on the clip part of the white out caps. Put some more JB Weld and those things aren't going anywhere.

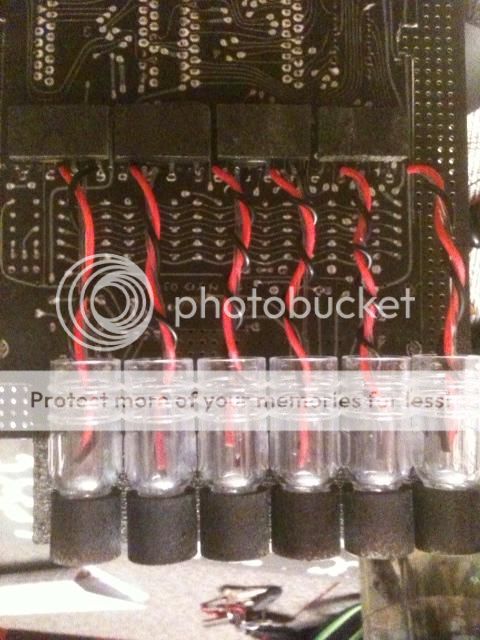
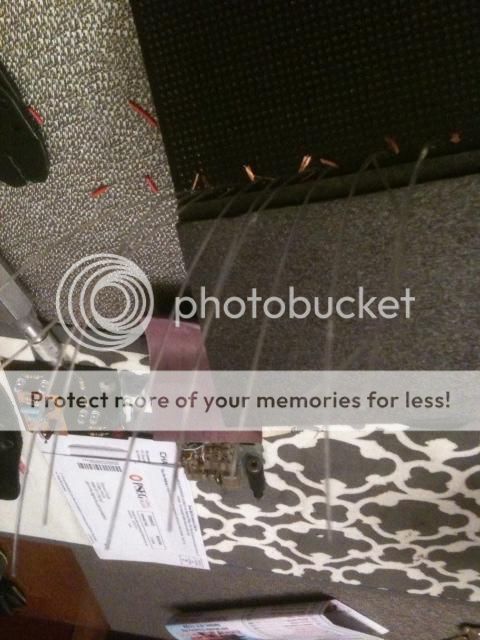
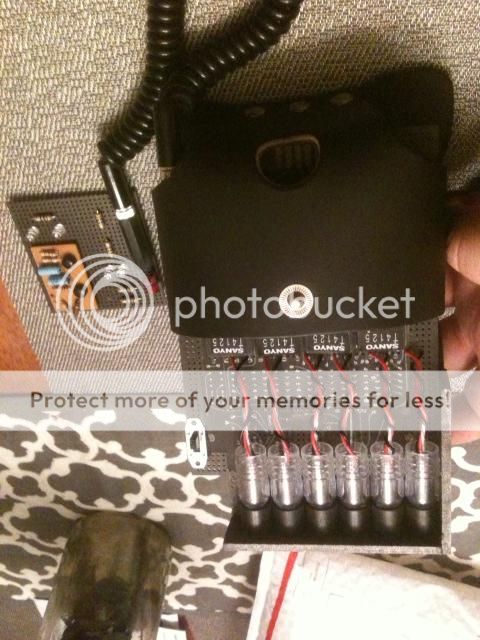
Next was to run the fiber optic cable, and some wire from the board to the "bulb".
...and the back
The back after I heat shrink the fiber optics. I added a very simple battery holder to the bottom back of the board. I also put some glue on the little bits of wire sticking through. Don't wan them coming out.
More paint stirrer for the top

And then the one side as well.
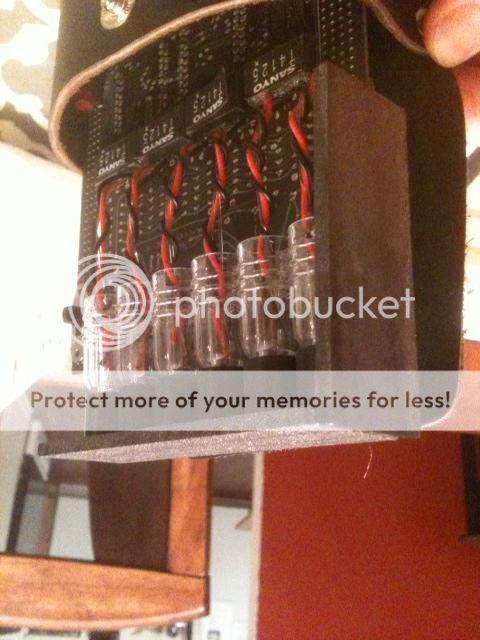
And here it is. The Daughter Board was a smaller piece of board, a few loose LED's and Transistors and a tape measure belt clip.
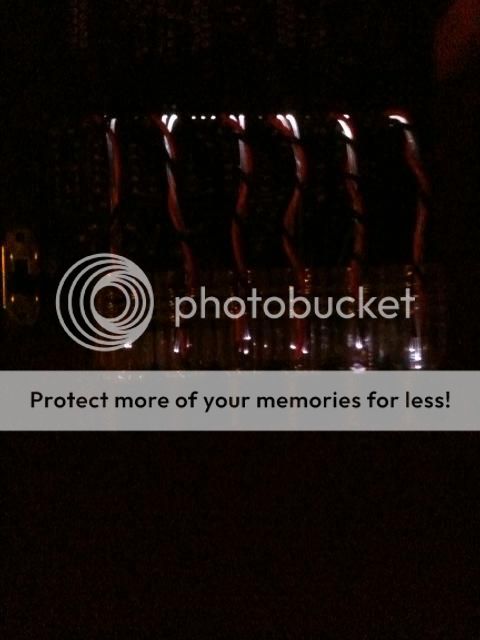
Its not super bright, but it adds a little to it. Something different.
So, What do you think?
Anyway here's the new Gizmo build:
First the belt holder...

I am not going for 100% accurate on this. Kind of making it my own. I cut out the strap in the middle and I'll leave it at that.

I'm using a blank circuit board from radio shack. Painted it with some Oiled Bronze color paint.

This is a LED bulb wired to a switch which is used for fiber optic lighting effects. This is usually used in models of ships and things like that. I had this hanging around, so no cost here.

While looking for different pen caps to use for the "bulbs", I came across these white out pens. The caps had a really cool shape to them, so I tried them out. They look great!


Originally for the "rings" on top of the "bulbs", I had used a PVC clipper to make these rings. But....

...They were too big to fit 6 "bulbs" into.
So instead I found some spacers at Home Depot and painted them with the same color.


Two of these to connect my Mother Board to the Daughter Board.
I had a few light covers left over from my pack build ages ago (and ya know, I never throw anything out), so I used them on the top of the cord connectors.

I then printed out the circuit board PDF onto a label, put it on the board, and got my "bulbs" where I wanted them. I glued the back of them to keep them in place. Then I glued the spacers on top of the "bulbs."

After that was good to go, I used my dremil to cut out a small notch on the side for the switch. JB Welded that in there, and also attached 4 small fake circuits to the board. They are simply Home Depot Paint stirrers cut up. Free and an endless supply of hobby wood. Got to love it.

On the back i attached a length of paint stirrer across the board, the a bigger piece of hobby wood on top of that. This will be the backing to the "bulbs" and also be added holding power on the clip part of the white out caps. Put some more JB Weld and those things aren't going anywhere.

Next was to run the fiber optic cable, and some wire from the board to the "bulb".

...and the back

The back after I heat shrink the fiber optics. I added a very simple battery holder to the bottom back of the board. I also put some glue on the little bits of wire sticking through. Don't wan them coming out.

More paint stirrer for the top

And then the one side as well.

And here it is. The Daughter Board was a smaller piece of board, a few loose LED's and Transistors and a tape measure belt clip.


Its not super bright, but it adds a little to it. Something different.
So, What do you think?
 - By pda4ever
 - By mrmichaelt
 - By UncannyGirl