- May 18th, 2009, 9:45 pm#120123
This is my first build. A long time ago I worked on some Star Wars costumes, a few drain pipe sabers... small stuff; nothing as big as this. I've never worked with resin parts before, so I am learning as I go: browsing here and there, tutorials, etc. I've tried to use some putty to fill holes, sanding, etc; so if you notice I am doing something wrong, please let me know! This thread might be of help to many newbies like me 
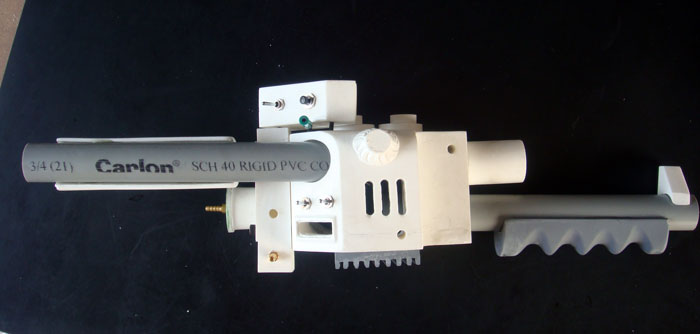
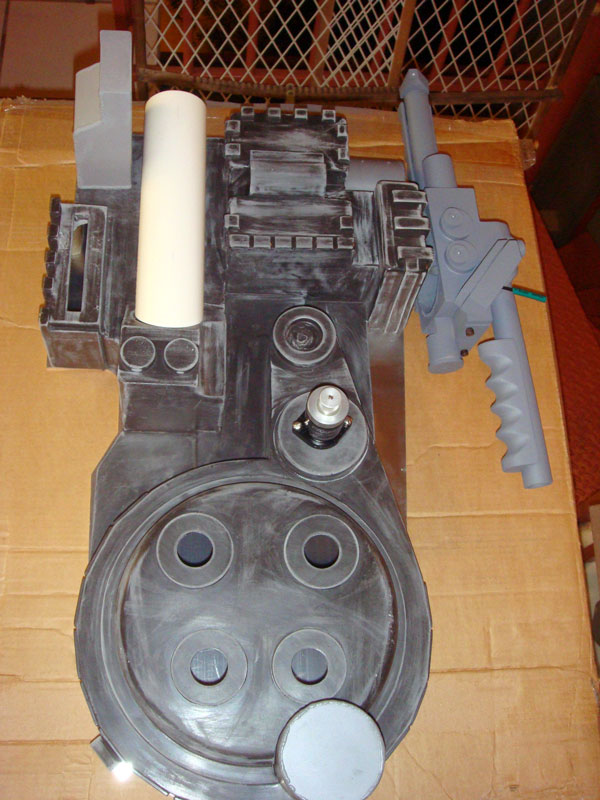
I decided to start working with the wand, since there's a lot of info around. Here are some progress pics. Please feel free to post. I really appreciate your feedback!
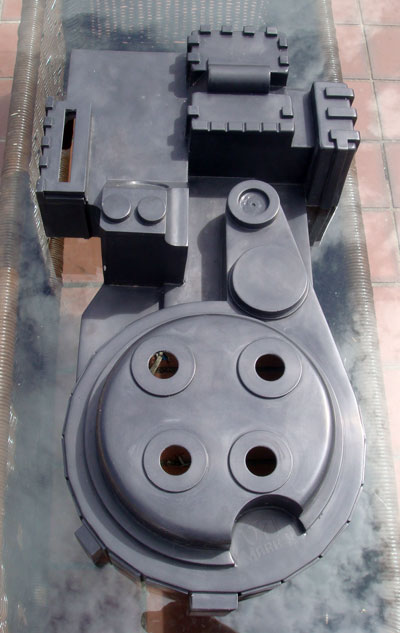
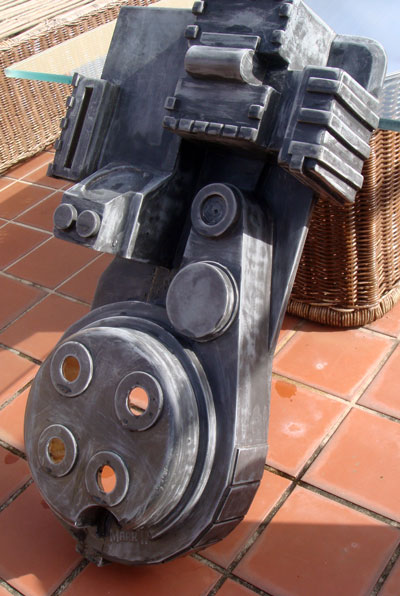
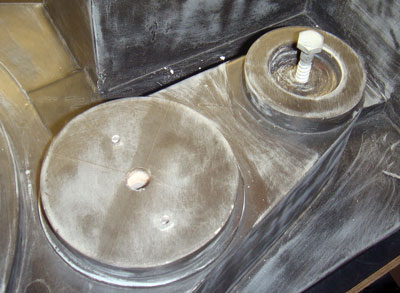
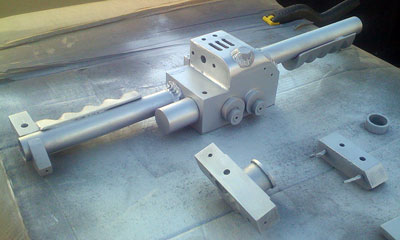
MMM parts are just great. There's little to be done, and the castings are absolutely beautiful. Props to Colin!
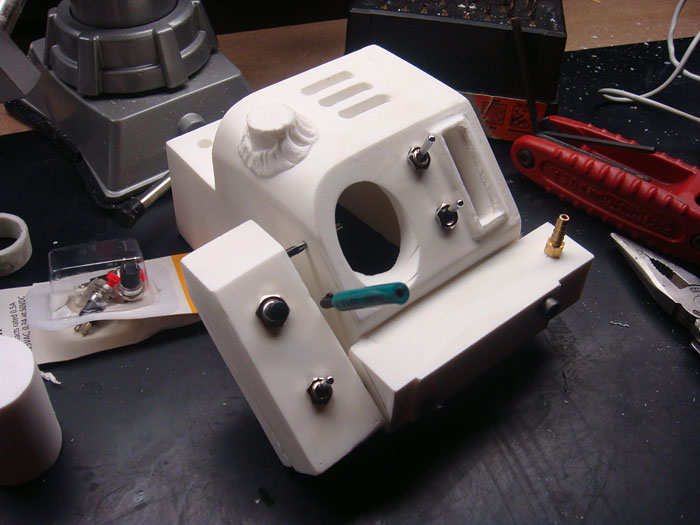
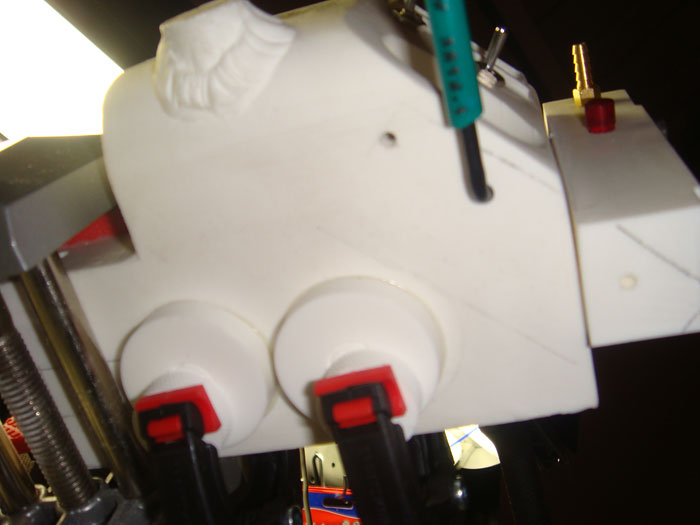
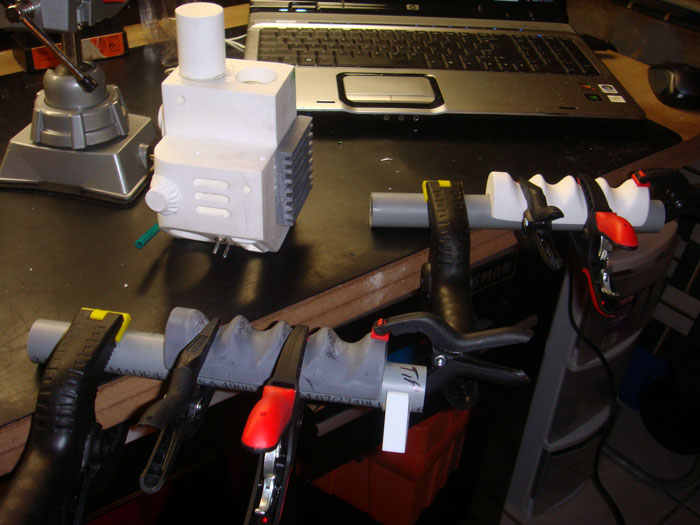
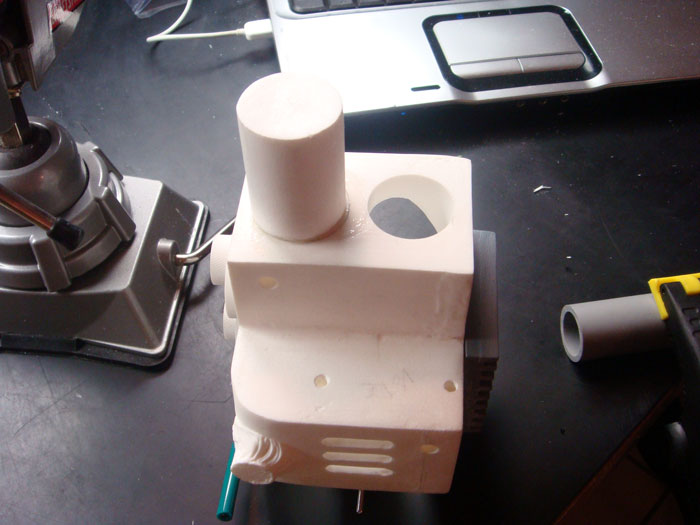
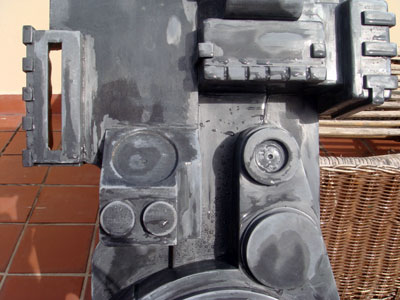
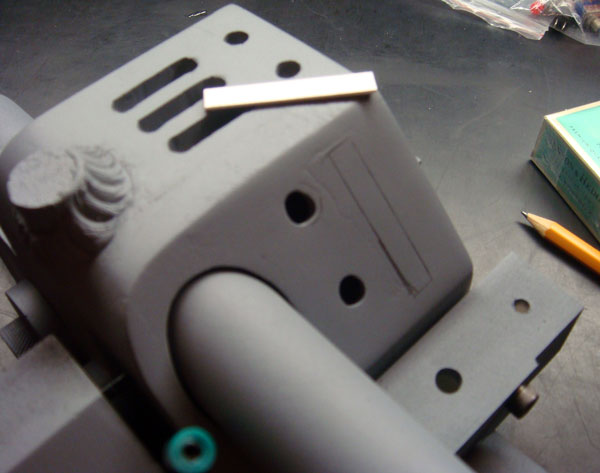
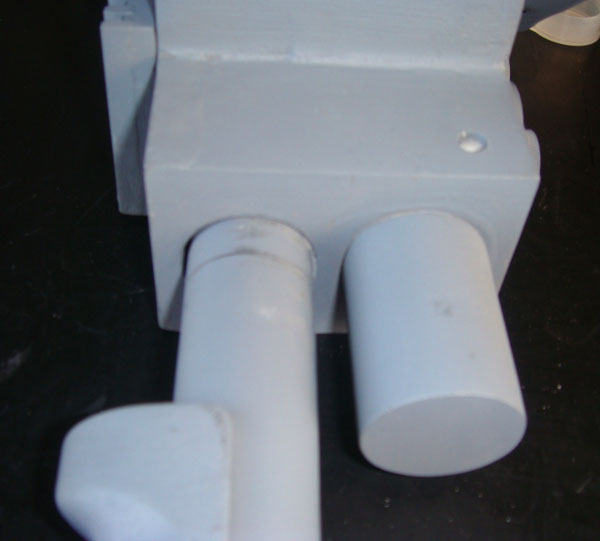
The top holes were already cut, so I just took some time to clean them up a bit.

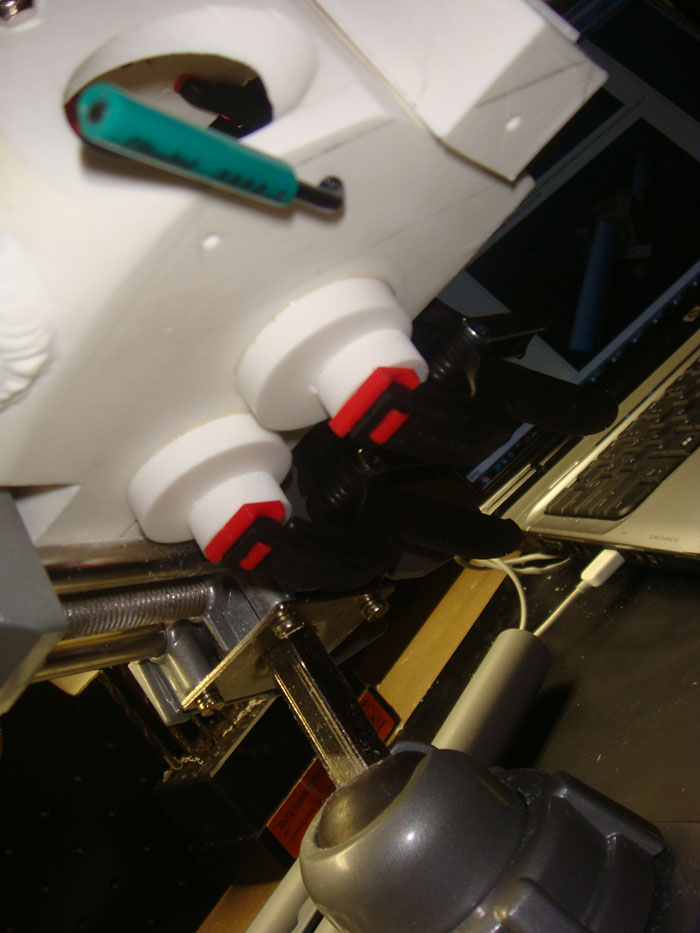
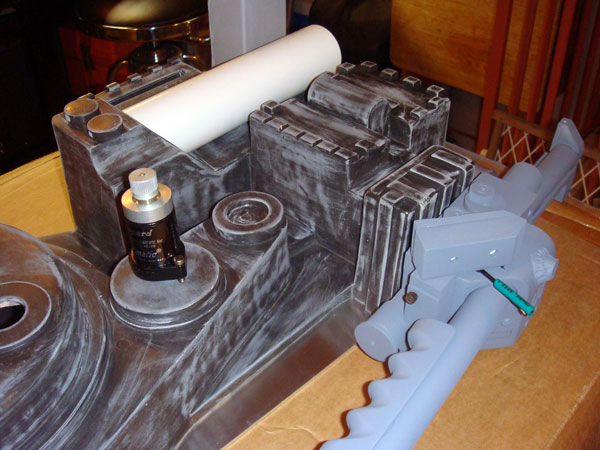
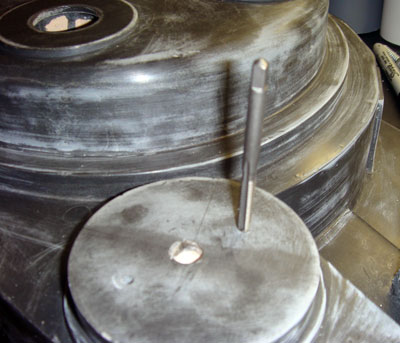
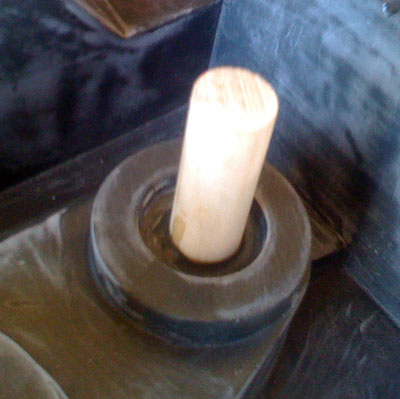
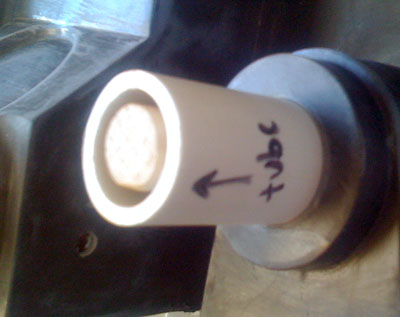
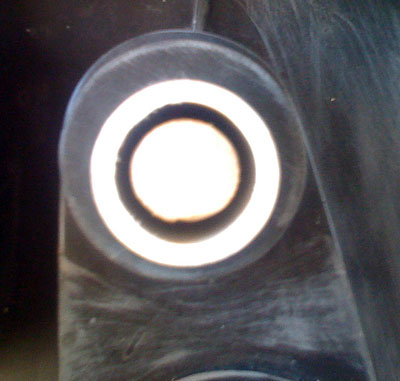
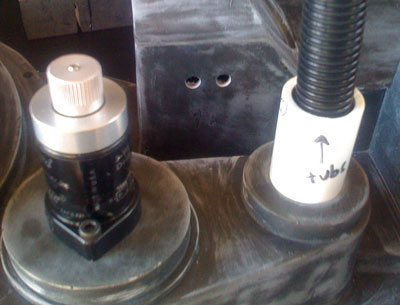
Time to drill the bar area.
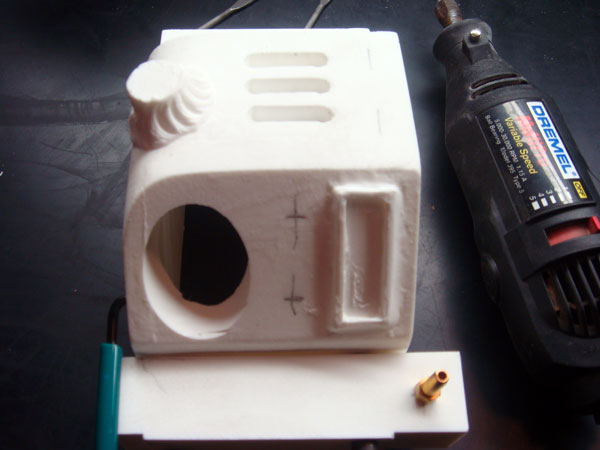
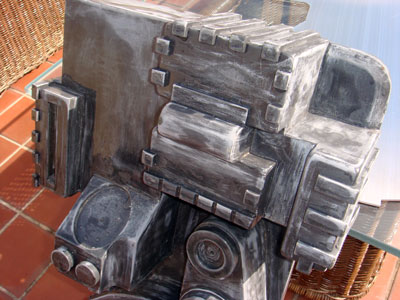
Almost there...
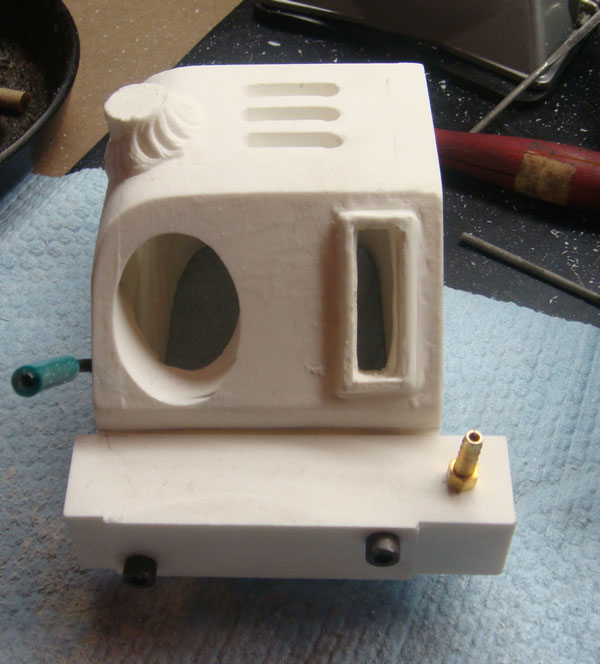
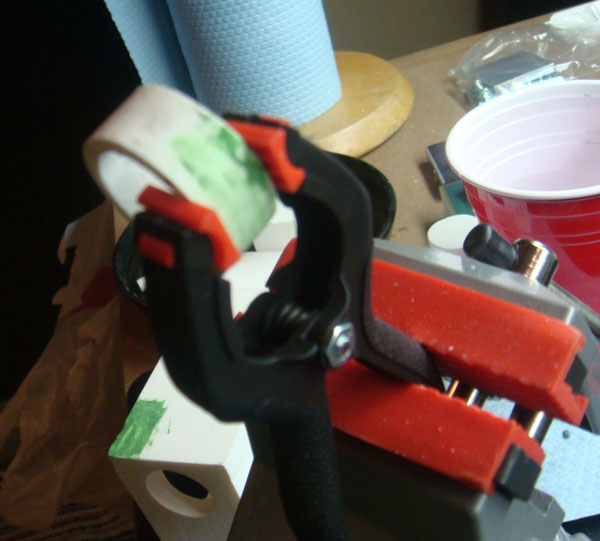
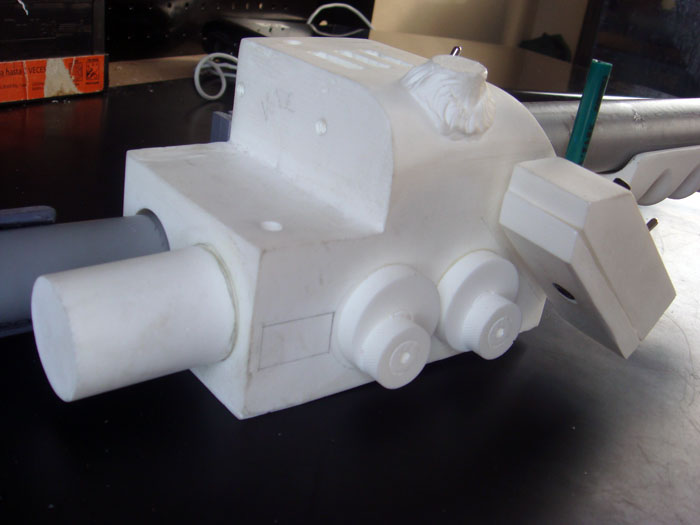
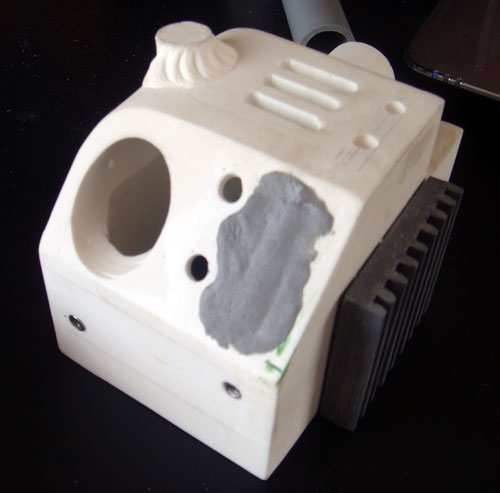
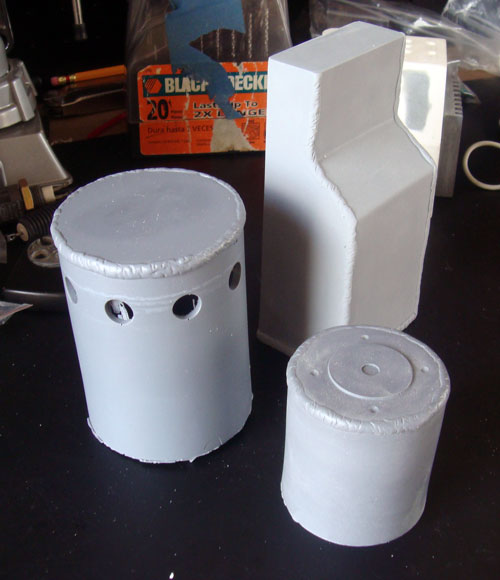
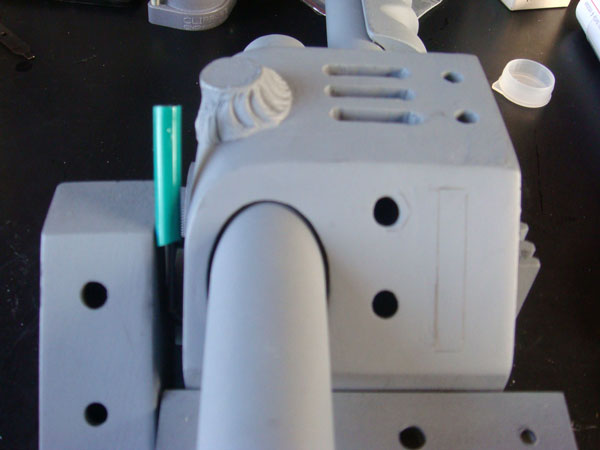
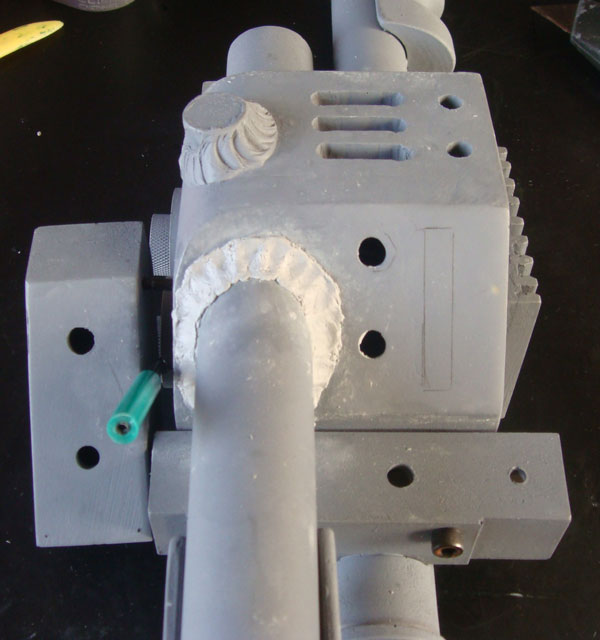
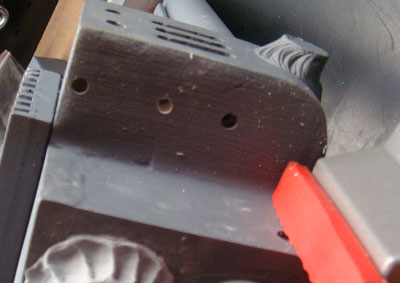
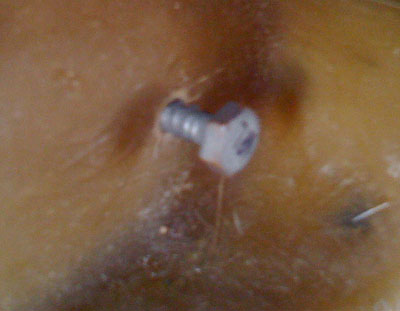
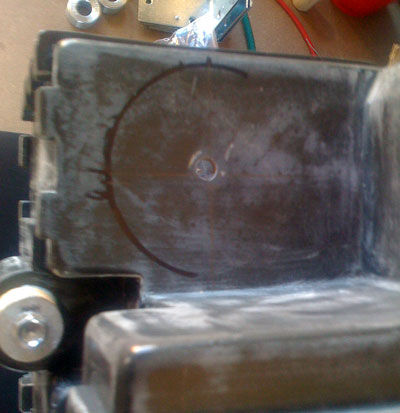
I decided to try and fix a spot over there. I used Squadron's green putty. It is my first attempt so it was a bit hard to get it right. I've heard some people mixing it 50/50 with thinner. I'll sand that later.
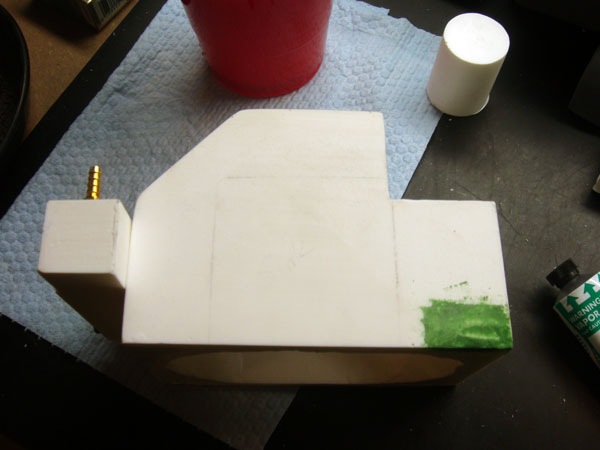
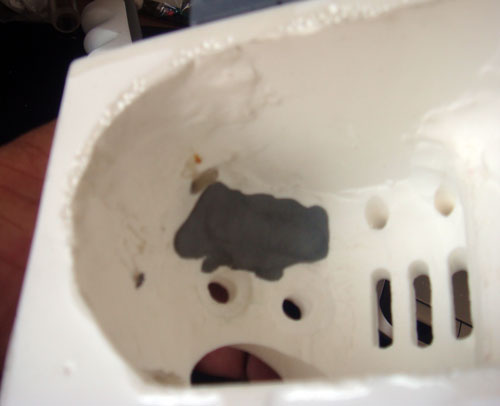
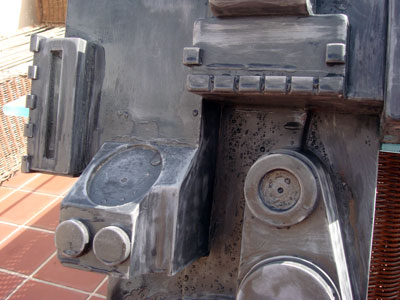
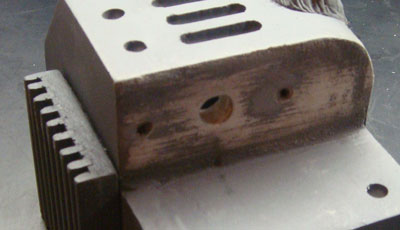
That piece had a little crack. I tried to fix it with that green putty thing again.
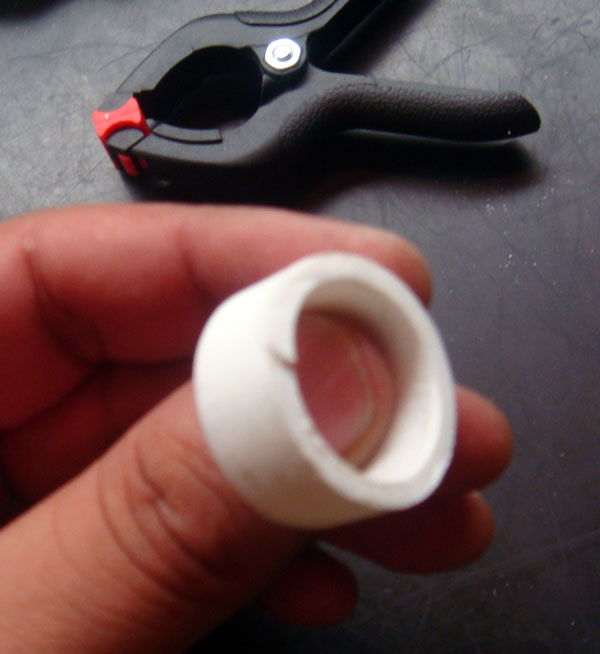
I *think* this one came up a little better. I applied the putty and removed the excess. I had to wet my fingers because that thing is a bit hard to control. Your suggestions are greatly appreciated!
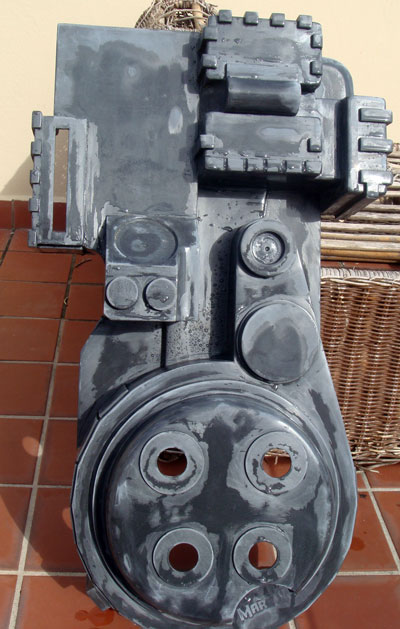
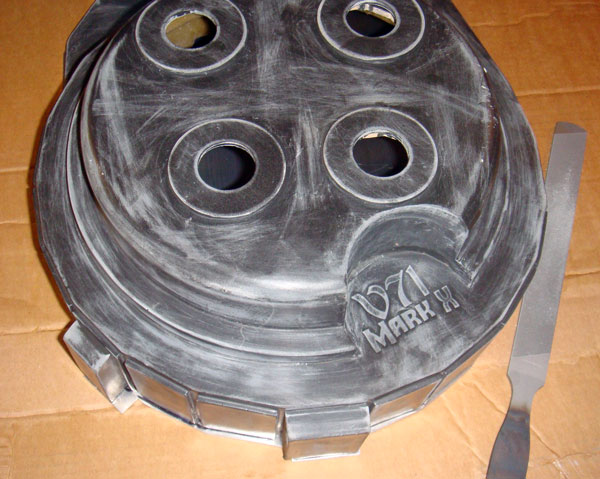
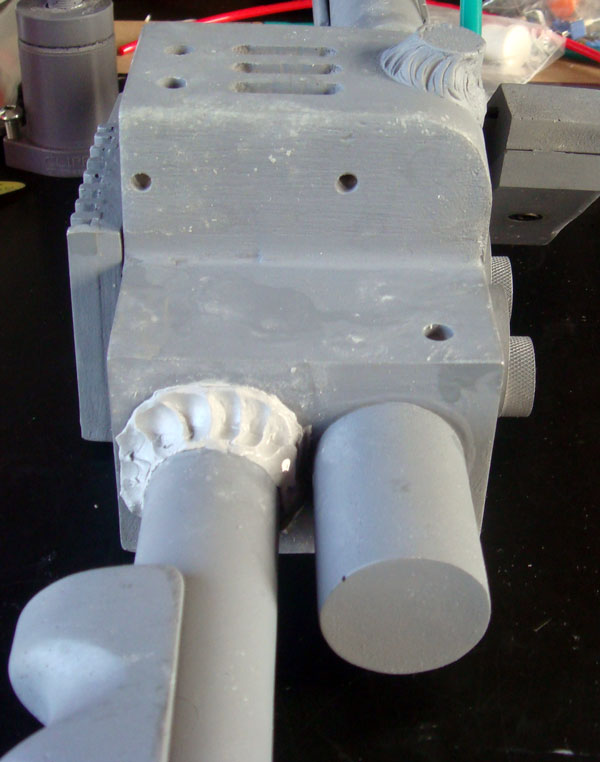
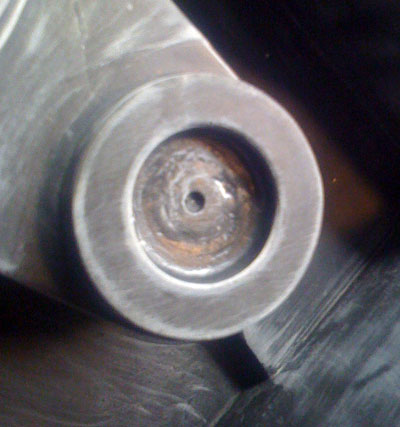
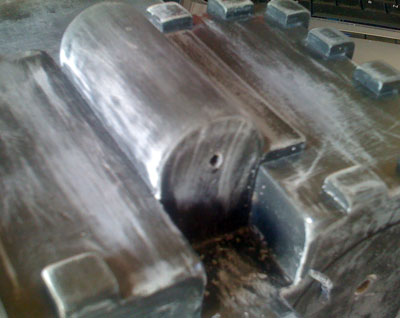
This part had a few bubbles. I sanded the top and decided to try my luck again!
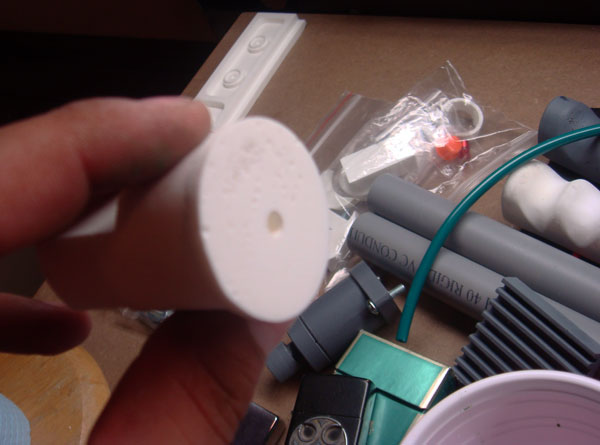
It looks like it has a few bumps, but actually it's pretty smooth. I tried using my fingers to apply it and then used a mini spatula I had around. Please let me know if it's supposed to look like that after filling the bubbles!

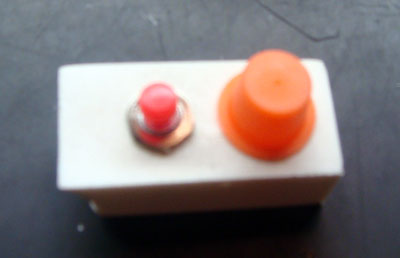
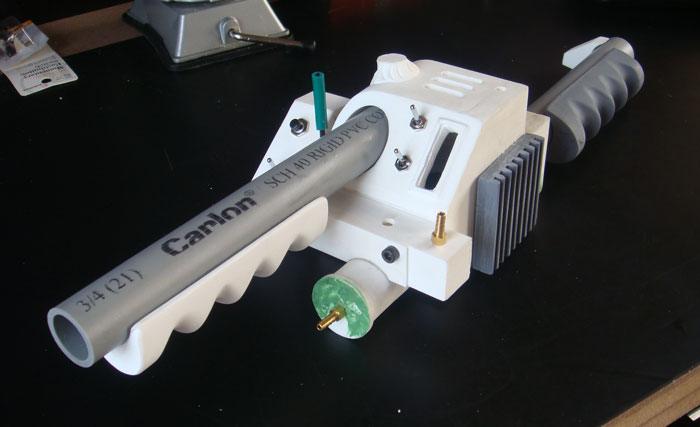
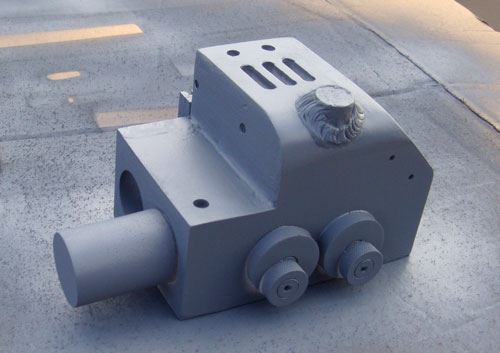
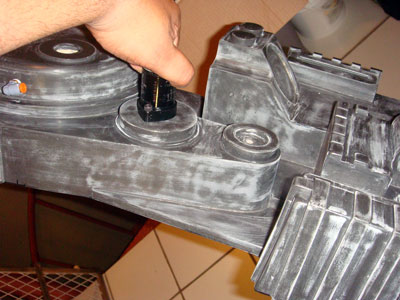
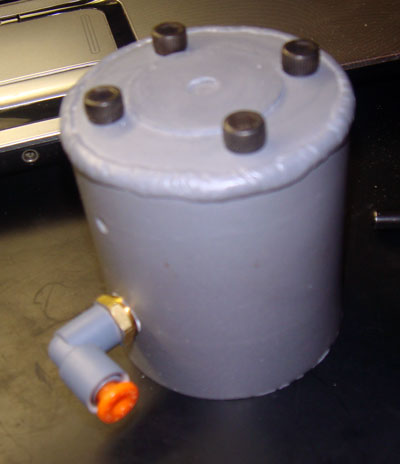
Progress pics
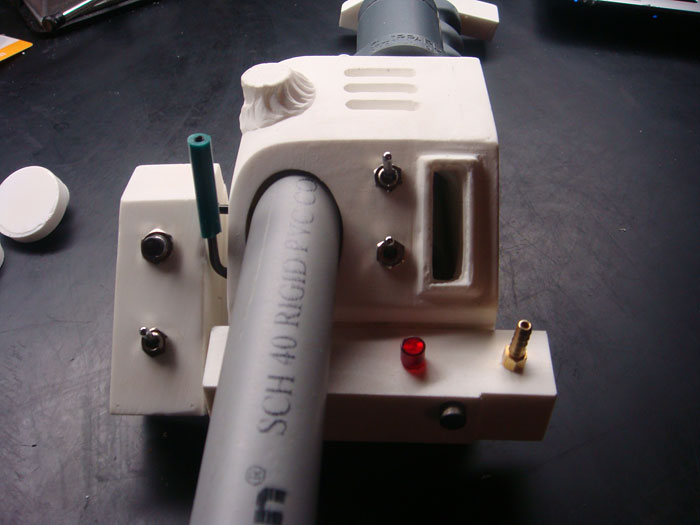
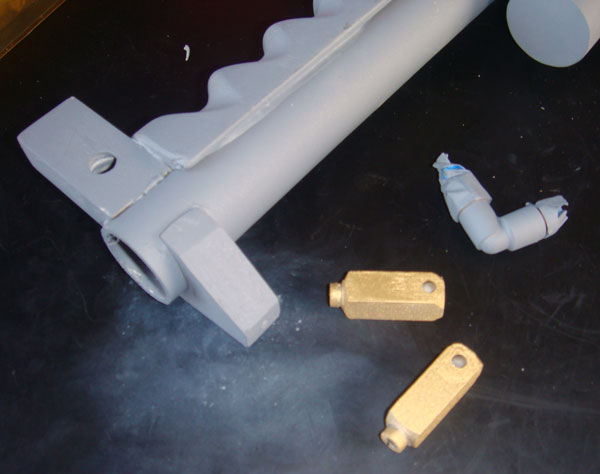
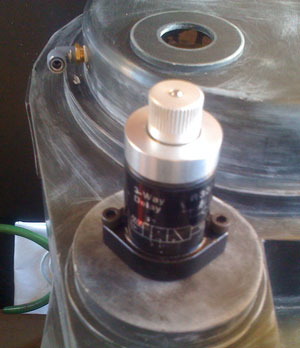
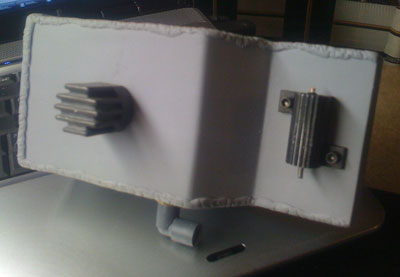
What do you guys use to attach the control bar on the left side of the box?


Well, that's it for now.
I decided to start working with the wand, since there's a lot of info around. Here are some progress pics. Please feel free to post. I really appreciate your feedback!
MMM parts are just great. There's little to be done, and the castings are absolutely beautiful. Props to Colin!
The top holes were already cut, so I just took some time to clean them up a bit.
Time to drill the bar area.
Almost there...
I decided to try and fix a spot over there. I used Squadron's green putty. It is my first attempt so it was a bit hard to get it right. I've heard some people mixing it 50/50 with thinner. I'll sand that later.
That piece had a little crack. I tried to fix it with that green putty thing again.
I *think* this one came up a little better. I applied the putty and removed the excess. I had to wet my fingers because that thing is a bit hard to control. Your suggestions are greatly appreciated!
This part had a few bubbles. I sanded the top and decided to try my luck again!
It looks like it has a few bumps, but actually it's pretty smooth. I tried using my fingers to apply it and then used a mini spatula I had around. Please let me know if it's supposed to look like that after filling the bubbles!
Progress pics
What do you guys use to attach the control bar on the left side of the box?
Well, that's it for now.
Last edited by jt001 on August 24th, 2009, 7:17 pm, edited 16 times in total.
WIP thread: http://www.gbfans.com/community/viewtop ... =2&t=12030
Priming and painting tutorial: http://www.gbfans.com/community/viewtop ... =2&t=12589
Priming and painting tutorial: http://www.gbfans.com/community/viewtop ... =2&t=12589


 Ghostbusters London Facebook:
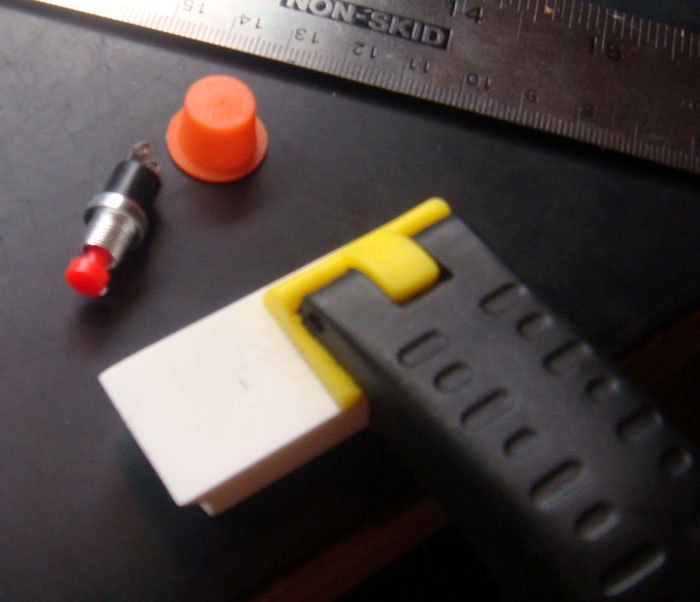


 - By The_Y33TER
 - By mrmichaelt