User avatar
By mcfly
#203823
Started work on the pack today, using an |alkaline| shell, real Clippards and stuff when I can, and parts from MMM including his new gun kit. I'm still waiting on an ion arm and ion arm assembly, as well as a bumper and the PROTON PACK THE SILVER LARGE BUMPER STOP FINNED KNOB, and I haven't gotten a frame and straps yet. The ultimate goal is a GB2 pack.

Today my friend and I mounted the mobo to the pack first (probably a really weird thing to do first), and mostly prepped and primed stuff and drilled holes into things. Anyway, here are a few pictures.

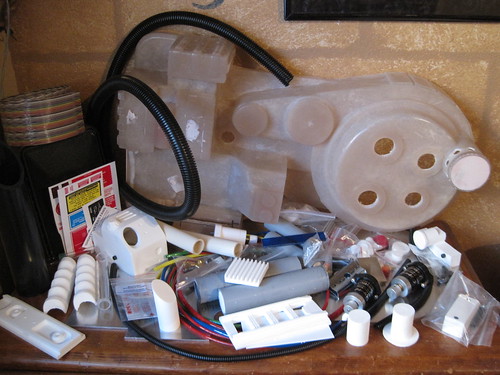
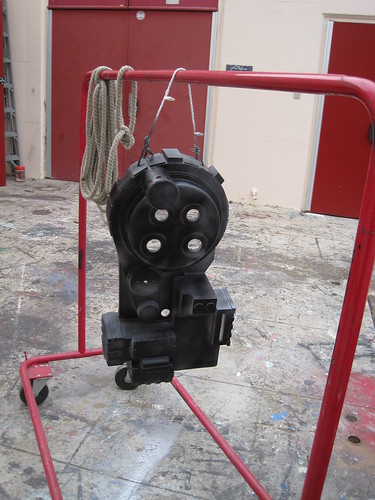
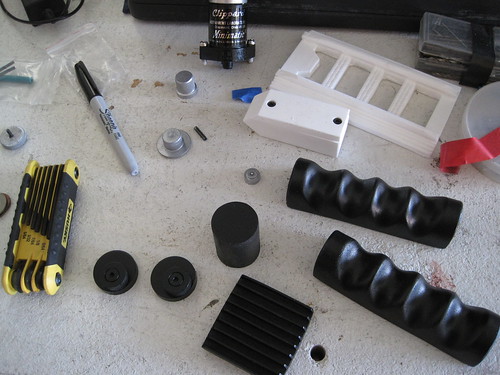
The parts assembled:
Image

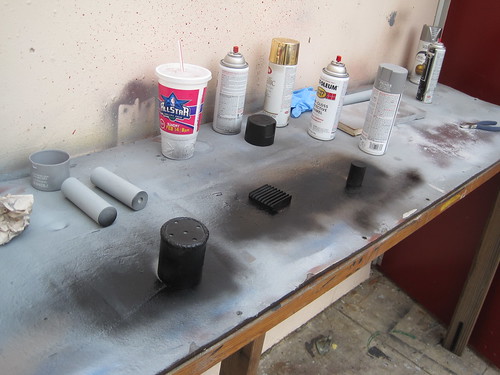
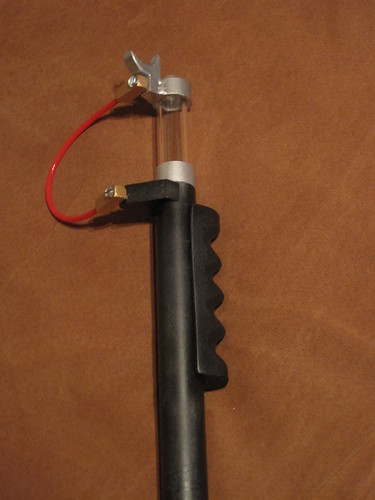
Parts in the shop at work. The grips have been prepped and primed in this shot.
Image

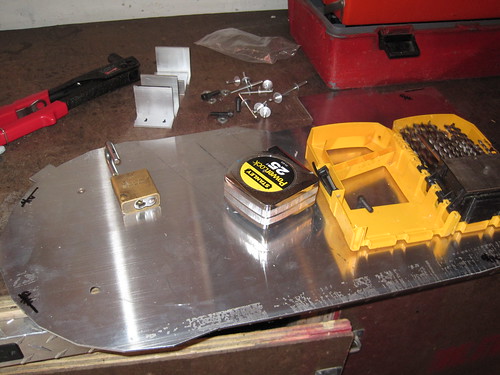
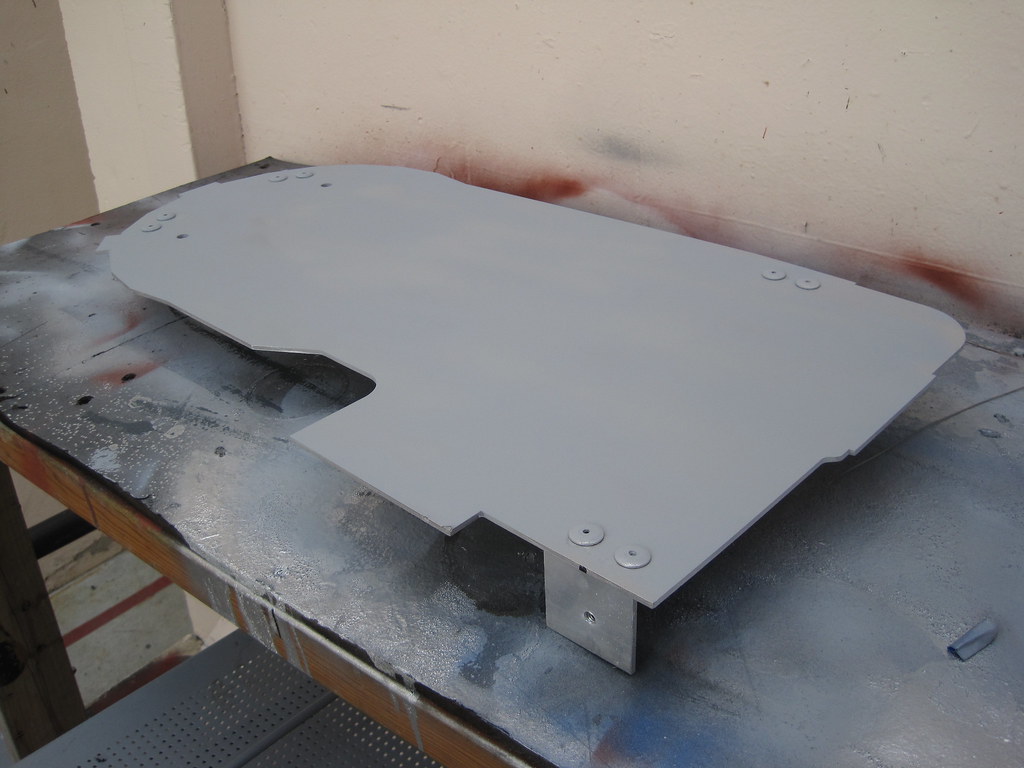
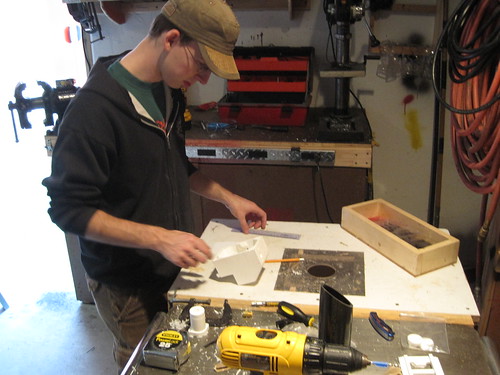
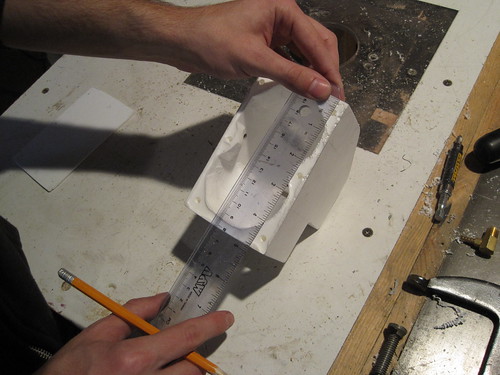
Prepping the mobo for mounting - taking measurements and making marks.
Image

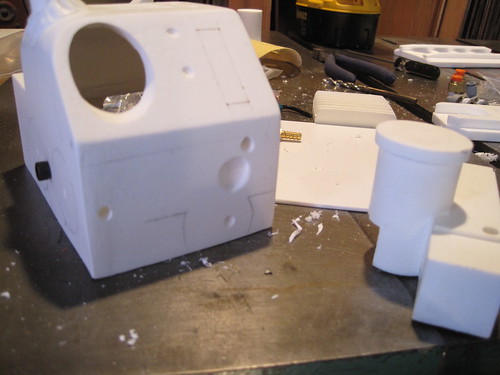
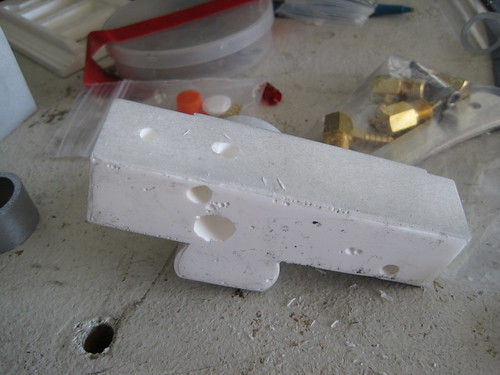
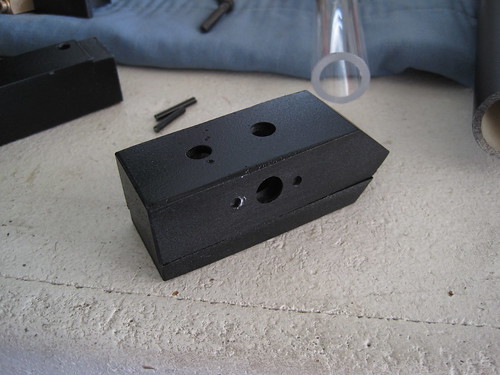
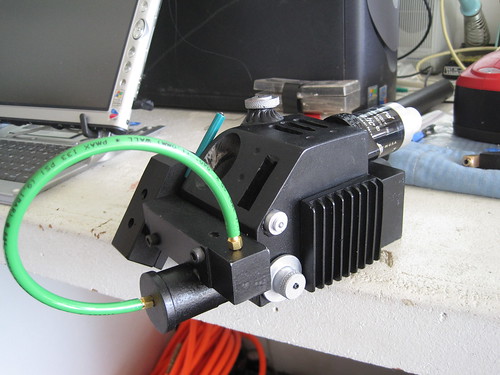
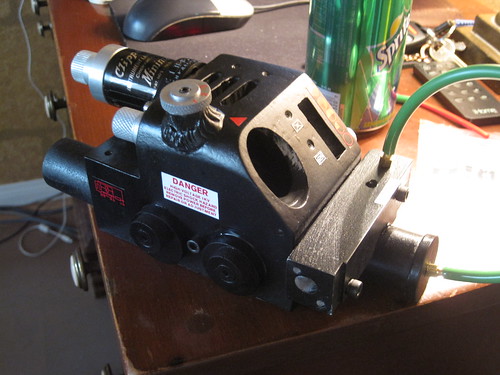
Gunbox with Colin's reference marks, plus some holes drilled for the slo-blow box.
Image

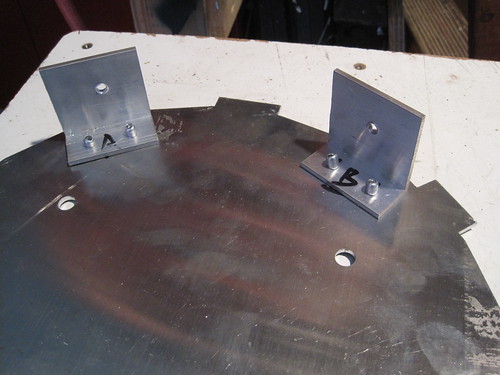
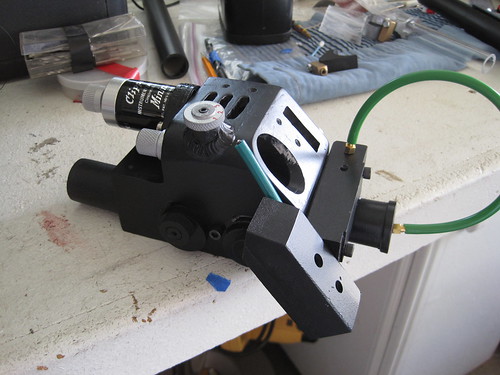
L-brackets attached!
Image

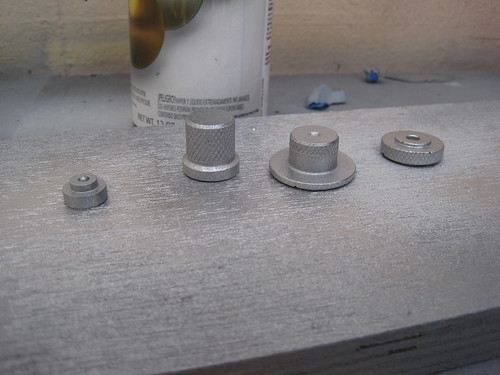
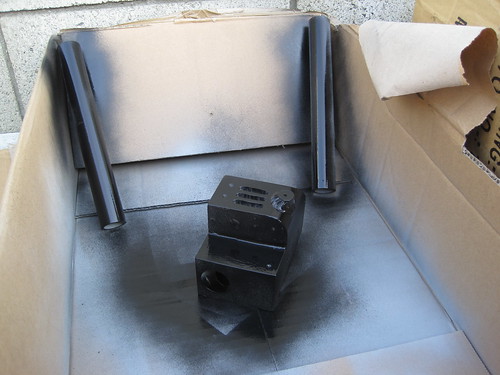
Painting the gun knobs - I used a chrome paint, which I think came out really nice looking. If anybody's interested, I'll find out the brand. It was just some paint we had in the shop.
Image

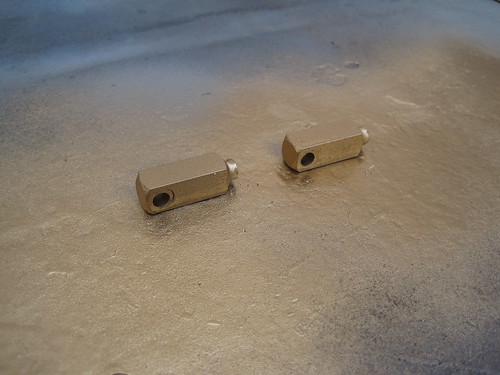
Painting the banjos:
Image

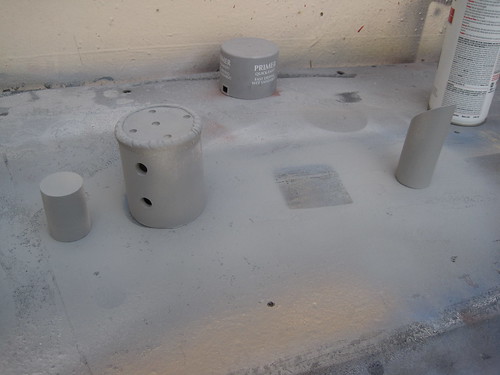
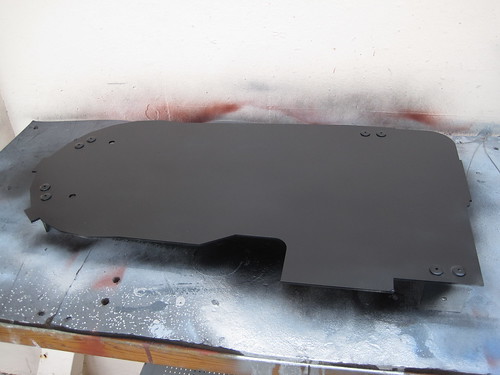
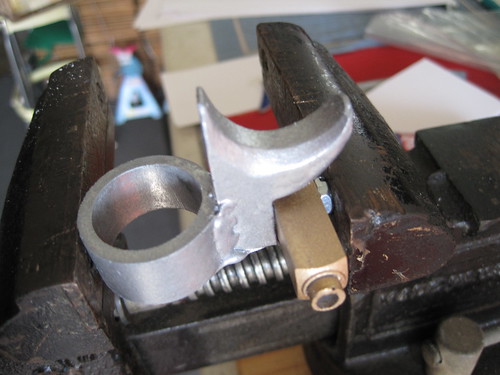
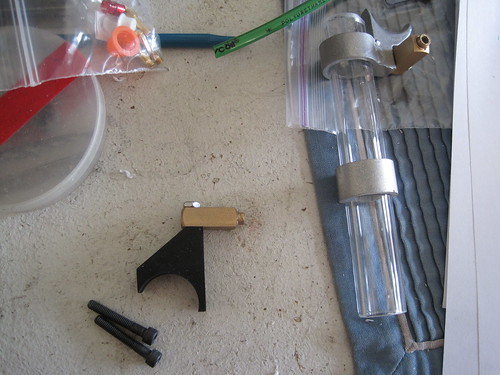
Priming some of Colin's parts - holes drilled out for the HGA, which actually needs to be trimmed a little:
Image

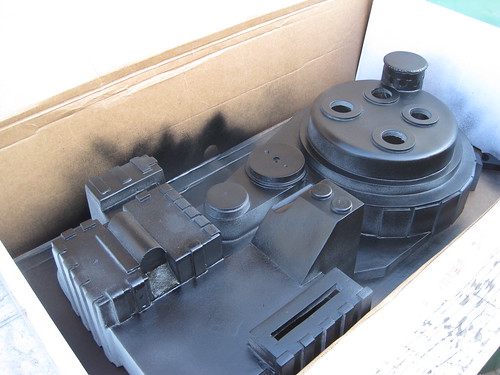
More painting... pretty much most of today was painting.
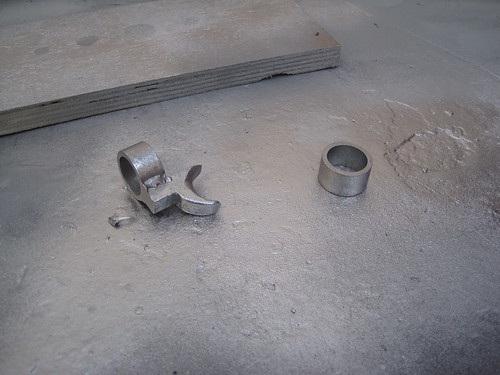
Image

Image

Image

Oooooh:
Image


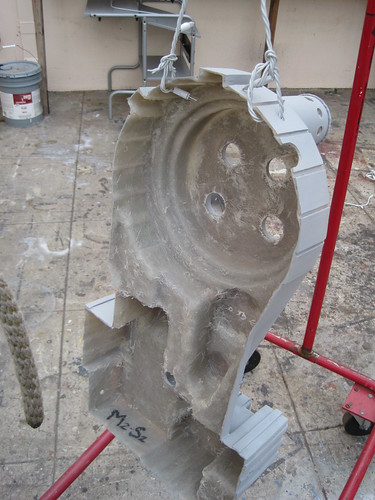
Sanding the shell for... painting:
Image

Image

Image

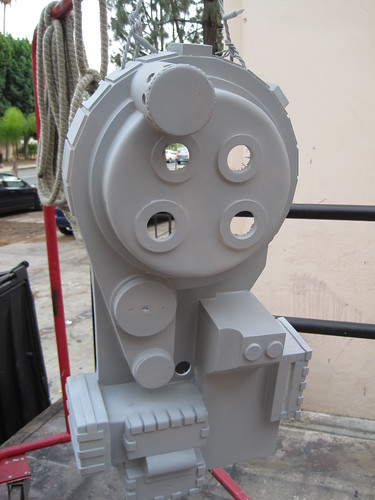
First quick coat or two:
Image

My buddy Nate uses his dremel on steroids to smooth out the shell a little between the fins.
Image

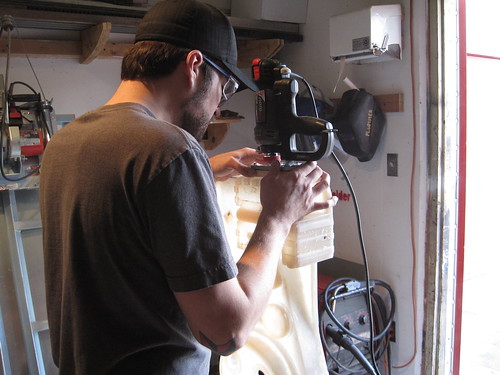
He also cut out the vent holes and the hole for the bar graph.
Image

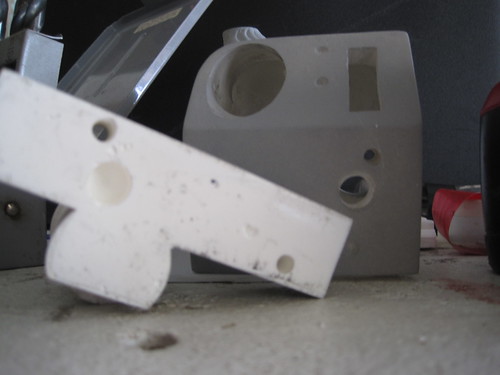
Here I am working on putting the holes in the bottom of the gun box for the cover plate.
Image

Image


That's it for today - I'm hoping to work more on the gun tomorrow and see what I can do. Let me know what you guys think - I know I didn't take too many detailed pictures, but I think by now you guys all know what you're doing. :cool:

Shane
Last edited by mcfly on October 25th, 2010, 8:31 pm, edited 8 times in total.
User avatar
By mcfly
#203832
Thanks! Most of the shell was very, very crisp. Only between the fins was it bumpy in some places, and John does a few fixes and things before he sends it out anyway. But remember that his n-filter has a hollow top. I actually filled mine in for more screen accuracy. (Shhh!)

Shane
By Ant3869
#203852
This is looking great, I'm going to be ordering a alkaline shell soon, so I'll definitely be watching this. Did you have to bondo or spot fill any on the shell? And do you plan on putting in lights and sound? I can't wait to see how you do it if you do.
User avatar
By mcfly
#203935
Thanks!

John recommends spot filling a little if there are some bad spots, but he does some for you to straighten out some edges and fill in bigger holes. I didn't have so many problems with holes as much as I did with bumps, so I mostly had to sand down rather than fill in.

I do plan on doing lights and sound though!

Shane
User avatar
By mcfly
#203940
Absolutely! As soon as I finish this thing! I'm really excited to see it come together. The stupid mobo and nycoil tubing has been sitting around for far too long. I got about 90% of the parts (ALL the resin except for the bumper and ion arm, as well as the ion arm assembly, shell, and shock mount) on Thursday and started as soon as I could.

Shane
User avatar
By mcfly
#204120
Just a small update today - I put the banjos on the trigger tip and the ear (using 2 part epoxy - like ya do!), painted some more stuff, added another coat of black to the shell, (found some spots to fill on one of the rings on the cyclotron - d'oh!) and mounted a pin into the top gun knob. I also drilled out the slo-blow box for hidden wiring and the red LED.

Here are a few shots!

Newest coat of paint
Image

Wet paint!
Image

Image

Watching epoxy dry
Image

Image

And the slo-blow box...

So there's the holes on top for the barb and LED. The hole for the LED is now sort of countersunk, so it's big enough for the LED cover that Colin sent me to squeeze in, but then it gets narrower, and that'll be where the wires go through. Then that leads into the bigger hole you see (just barely out of the way of that hole for the bolt that goes into the gunbox).
Image
And that larger hole connects here:
Image

Hoping tomorrow to do some more work on the gun. I'd keep going now but it's cooling off and the paint takes forever to dry!

How are you guys running wires from the gun ear into the pack? Just through the ear and the handle? What size hole do I need for the LED that goes into the orange cap?

Shane
#204125
For the wires on the gun ear you can either run it thru the gun tube (inside) or under the grip, just make a channel on the underside of the grip to fit the wires, you'll likely have to do it that way if you're using an Exoray kit as you'll need the space in the gun tube for the barrel light, whatever you do plan it out and dry fit before committing to drilling.

The gun ear holes are 1/4" for the LED under the cap and 9/32" I believe for the push button switch
#204139
Thanks Colin! I guess I'll have to go pick up the push button switch. I don't really want to go ahead without having the lighting kit either, but it's just too cool to build this stuff.

And actually, I was just test fitting some of the pieces that are nearly dry now, and look what I have!

Image

So cool! The paint isn't quite done yet (could take another coat or two), and I've got to attach the pieces still, but it looks awesome! I guess I'll have to make some tunnels in the ear with the light and switch on it for the wiring. I've never seen anybody use that push button though - does anybody use it??

Shane
#204146
I'm not sure what the theory is on that button, if I recall.... I think its exorays lights, he uses it as a safety button, in that the wand does not work without the safety off, or something to that nature.


I always liked that theory
#204155
it is unknown what the red gun ear pushbutton did on the screen-used props, if it indeed did anything other than make the gun look more busy.

the button is included in both exoray and proptronix' light kits.

exoray uses it to activate a small strobe burst effect from his barrel lights, different from when you push the black button on the triggerbox.

proptronix uses it to make the LED in the orange cap next to it light up

since the discovery of Rob at Replica Props and his sound chip, a popular thing to do is have the button activate a sound like the pack venting from the game, or music from the movie.
#204170
Kind - thanks for that very good information! In that case I'll hold off on buying the button and just grab an Exoray kit, since I've got my tax refund sitting here and no resin parts left to buy. :cool:

Feind - thanks!! I'm really pleased with how it looks so far, and I'm excited about hopefully making good progress on the thrower tomorrow.

Shane
#204220
Looks good Shane!
I'll certainly add your thread to my references.

Did you just tap/thread your gunbox basecover screws right into the resin box material?

I'd start on my gun, but my gararge is like 25 degrees today. Talk about watching paint dry!

~Steve
#204252
I actually haven't tapped anything at all! What we've been doing is basically making the holes just big enough for the bolts to fit, and then screwing them in, letting the bolts themselves tap the resin (or aluminum). The result is that they've been holding on very tight, which I like.

Shane
#204336
Today I epoxied the resin parts onto the gunbox and attached the Clippard 701 to the front. I did have a few irritating mishaps though. The knobs on the left side of the box had too much epoxy on them and so it came out the sides and you can see it around the edges of the knobs. Then after finishing the gunbox, I put some of the decals on it, and my namebrand transfers practically distintegrated most of the times I tried to use them. Colin's free vinyl decals are great though, and I ended up using those for most stuff except the red triangle above the back handle and the "1 2 3" on the top knob.

I also epoxied the grip onto the rear handle (saving the front for when the lights come) and the trigger tip onto the end of the acrylic tube.

Lastly I drilled holes for the trigger box and dry fitted it, glued in the barbs for the slo-blo box, and put on the green tubing.

Here's some shots.

The holes for mounting the trigger box. 2 small ones for the pins Colin includes with the kit, and one large one for electronics later.
Image

Dry fitting the trigger box - you can kind of see the epoxy around those side knobs. :walterpeck:
Image

Check out that heat sink!
Image

End of day 3 - the slo-blo box is not affixed yet, but this is lookin good, I think.
Image

It was pretty cool to slip the handles in and be holding a thrower! Hopefully I won't have too many more mishaps. Hope you guys still think it looks good! :blush:

Shane
#204340
I definitely need to remember to file down the bargraph frame when my own MMM Gun kit arrives, should it be too small for the bargraph of the kit I got from Flynn.

Interesting to see you're putting the finishing touches on before fixing the handles in place.
#204344
Do you think the bargraph frame might be too small? The gunbox originally didn't come with one at all, so my friend and I had to cut this one in.

I don't think the handles are going to involve doing much to the gunbox, which is why I decided to put the "finishing touches" on it before doing those. Also I was excited to get the decals on. :blush:

Having never really built anything before, I'm definitely learning a lot. :lol:

Shane
#204353
mcfly wrote:
Having never really built anything before, I'm definitely learning a lot. :lol:

Shane
Thats what it's ALL about! You learn and thats part of the process, it's okay to make mistakes as you go and most can be easily fixed. I think you've done a great job Shane

Feels good to hold the thrower for the first time huh? :cool:

Oh and I leave the bargraph area plain so you can cut the window to the size of the light kit you use as they seem to differ slightly.
#204355
Thanks for the encouragement, Colin. Much appreciated! I realize I'm sort of doing things out of order, but that stupid gunbox was SO close to looking finished that I had to put the decals on it. :lol:

And man it is cool to have that thrower set up so you can hold it!

Shane
#204364
Well, everyone builds a different way and in different order so what ever works for you. This is part of the reason why I never did instructions as I figured there were enough plans and build threads out there. I like to see things come together in a build thread as you and others have done with my kits.

The_Y33TER , since the majority of the maker scen[…]

Thanks The_Y33TER ! Confirmation there's no elect[…]

A little sneak preview of one of the bedrock parts[…]

Where do the other ends of the red/yellow wire[…]