- May 23rd, 2013, 9:28 pm#446665
The following is a detailed idiot proof description on how I dye flight suits to a GB2 Charcoal Grey using a Black Tru Spec as the base. This guide utilizes a slightly tweaked version of Jarius's recipe and is the best way that I have found to dye a single suit the easiest using top load washing machine. (sorry you front load machine owners...I don't own one therefore I can make no guarantees as to your results)
Jarius original recipe can be found here: http://www.gbfans.com/community/viewtop ... f=4&t=5149
Step 1: Prepping the suit.
Unfold and hang the flight suit up. unzip all pockets and the front of the suit. Using a seam ripper remove all tags and the Velcro on the left chest. This can be tricky as smaller sized suits sometimes have Velcro that is sewn over other seams. you must be careful not to rip seams that are not a part of the Velcro attachment or you will be re sewing the front of the suit after its dyed. This is the seam ripper I use, it can be found at most any wal-mart, target or fabric supply store.
seam ripper: http://www.walmart.com/ip/Seam-Ripper/19757901
Step 2: Color stripping
This is by far the most time consuming part of the process and the trickiest in my opinion. The color the suit is once this step is completed WILL affect the shade of grey the end product will be. THE WATER MUST BE HOT. AS HOT AS YOU CAN STAND IT. If your machines hot water allows you to put your hand in it for an extended period it isn't hot enough. You can shut the cold water off if need be just make sure you turn it back on when it stops filling or you can damage your machine.
Cycle 1: My washing machines are top load models, using the small load size and hot cycle settings....let machine fill until the machine stops running water. Add 1 cup of bleach and stir water with a yard stick. Put the flight suit in the machine and press down with yard stick to make sure the suit is completely submerged. Let the machine run its cycle, then machine dry normal with a dryer sheet
Cycle 2: Same as Cycle 1 except this time use 2 cups of bleach
Cycle 3: Same as Cycle 1 instead of bleach use 2 packets of RIT powder color remover. Machine dry normal cycle
Once the bleach and color remover cycles are complete we will get a glimpse of what the suit looks like so far. Through the bleach cycles the suit should go brown then lighter brown. After color remover the suit should be a light tan. This light tan is the shade we want pre dye as it yields the best shades of greys.
Step 3: Dye
For a single suit the easiest way to go is using your kitchen sink, but be prepared, you will get blue dye EVERYWHERE if your not careful. I do NOT recommend using porcelain type sinks as the blue dye would be a serious bitch to clean up. For best results and easiest cleanup stainless steel is the way to go.
Remember you are putting a suit in the sink as well so leave some room for it or you will overflow the dye bath onto your countertops and floors. I also recommend putting a large pot of water on the stove to boil...you will probably need it during the dye process to keep your dye bath super hot. A plastic bin and chemical gloves are helpful as well for transporting the suit to the washing machine from the sink and back
Using a standard stainless steel 6" deep basin sink, fill with HOT water, as hot as you can stand it. Add 4oz of RIT Kelly Green liquid dye (half bottle) and 8oz of RIT Royal Blue liquid dye (whole bottle) and 1 cup of salt. Stir dye bath to ensure the dyes are mixed consistently and salt is dissolved.
Add the suit to the dye bath making sure it is fully submerged. Let the suit sit for 10 minutes agitating it frequently and pushing down air bubbles. You MUST agitate the suit frequently or the color will not be consistent.
Remove the suit from dye bath and take it to your washing machine....run the suit through a rinse cycle (shortening the time it takes manually) and let the machine go into the spin cycle to thoroughly rinse. Once complete, remove the suit from the washing machine and head back to your dye bath.
Remember that pot of water we put on to boil? use it. pour some of that water into the dye bath to make sure it is still HOT enough to scald.
Put the suit back into the dye bath for 10 minutes just like before, agitating frequently and pushing those air bubbles down. After 10 minutes pull it out and take it back to your washing machine repeating the shortened rinse and spin cycle as before.
Once the final rinse is complete, run the suit through a regular Cold cycle with your preferred detergent, then machine dry with a dryer sheet.
Once you have completed this final dry cycle...you will be the proud owner of a shiny new GB2 Charcoal Grey Flightsuit. Shades may vary slightly as the fabric of each suit reacts differently to the whole process. You may also experience some of the Velcro adjustment straps coming loose. In those cases I recommend that you take it to a consignment and alterations shop to re seam the Velcro if you cant sew yourself.
That's it folks. This is basically the same process I use when I do flightsuit runs I just do it in bulk with larger quantities of dye and water. It can be very tedious and extremely messy but you CAN do it yourself. I hope this helps someone.
For you folks without the desire and facilities to attempt this yourself look for my next run some time in the fall of 2013.
-Lunchbox739
-Ash
portugueseGB liked this
Feedback Thread: http://www.gbfans.com/community/viewtop ... 32&t=32331


 GB1 and GB 2 Uniform Build Thread:
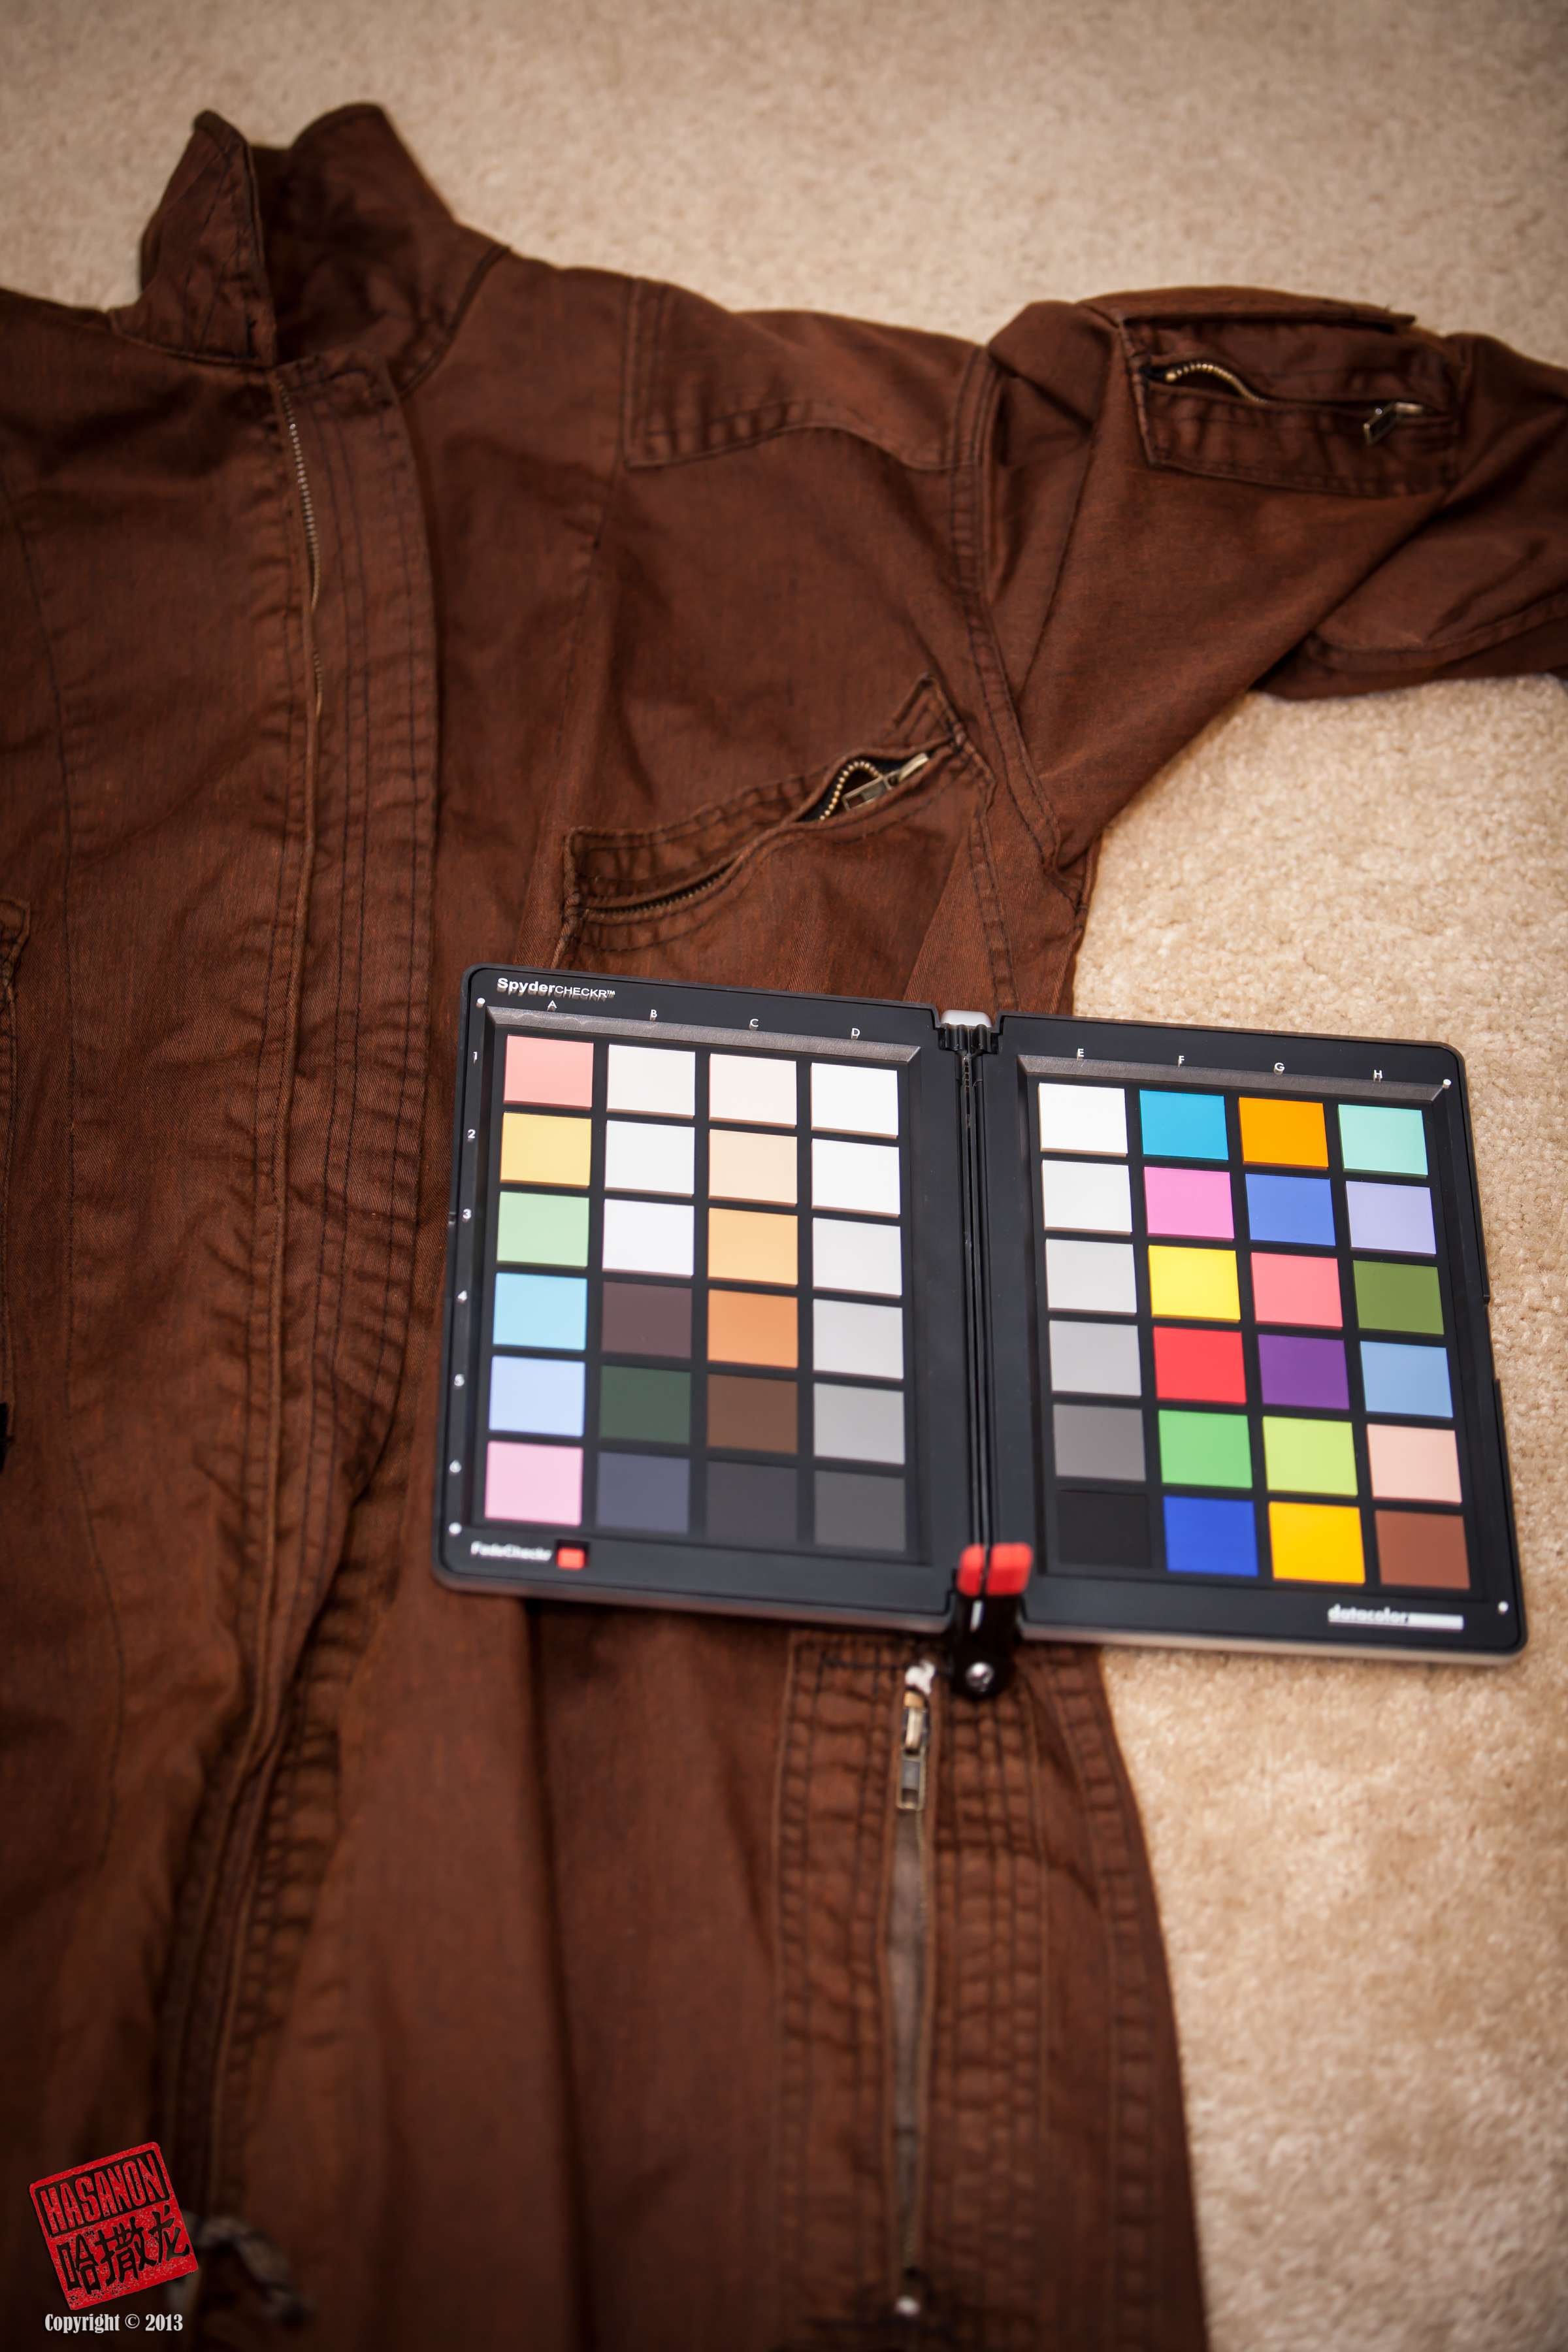
 - By mrmichaelt
 - By pda4ever
 - By UncannyGirl
 - By Kingpin