- May 6th, 2013, 2:56 pm#445101
So, after building the ghost trap last year i knew it would only be a matter of time before 'the itch' would come around again and, well, it wasn't long before i was back deep into this site reading up on which way to twist the ribbon cable and what angle the screws in the thrower barrel should be.
Although most of the hard work has been done by numerous people before me it didn't stop me spending a ridiculous amount of time trawling through the forums. I'm too much of a perfectionist to just cobble a pack together, which meant that this was going to: A. cost a lot; and B. take a long time to collect parts for. Which it has. And did.
I decided to go with the thrower first as i knew it'd be more time consuming and that most of the parts (in the UK) were easier to find than pack parts. And because i'm familiar with the high quality of his parts i decided to go with Nick-a-Tron's thrower kit. I didn't record a build log as although i love reading them myself i didn't think i'd be bringing anything new to the table. Although there are one or two things i'd like to show so i'll include them in the detail shots.
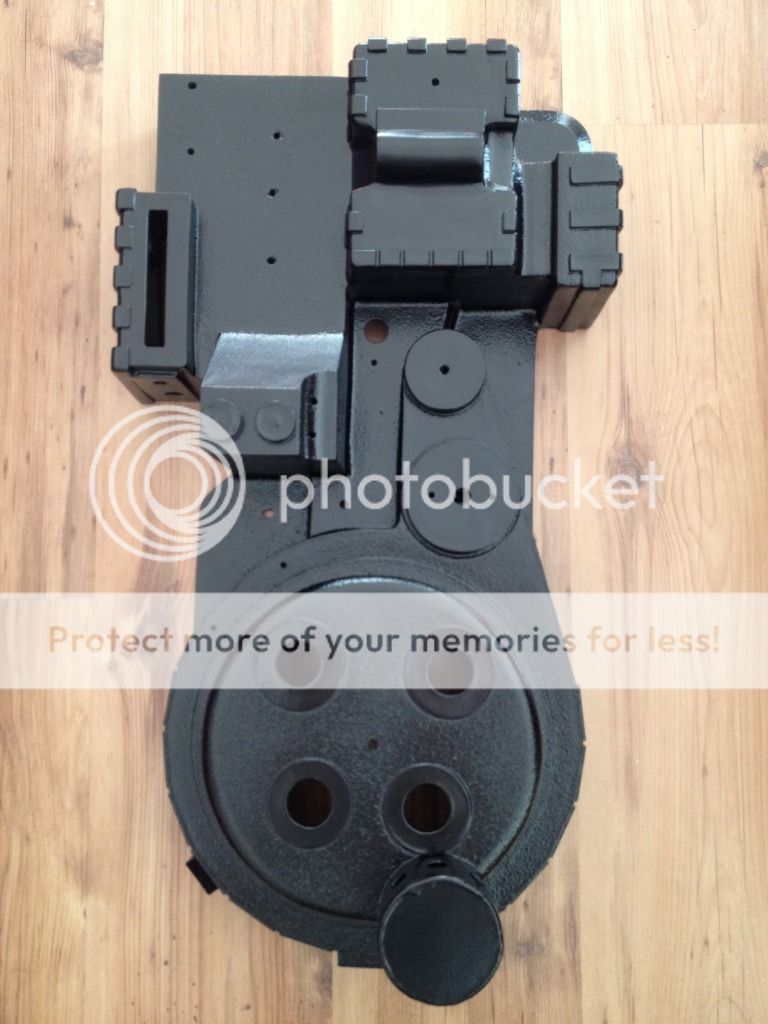
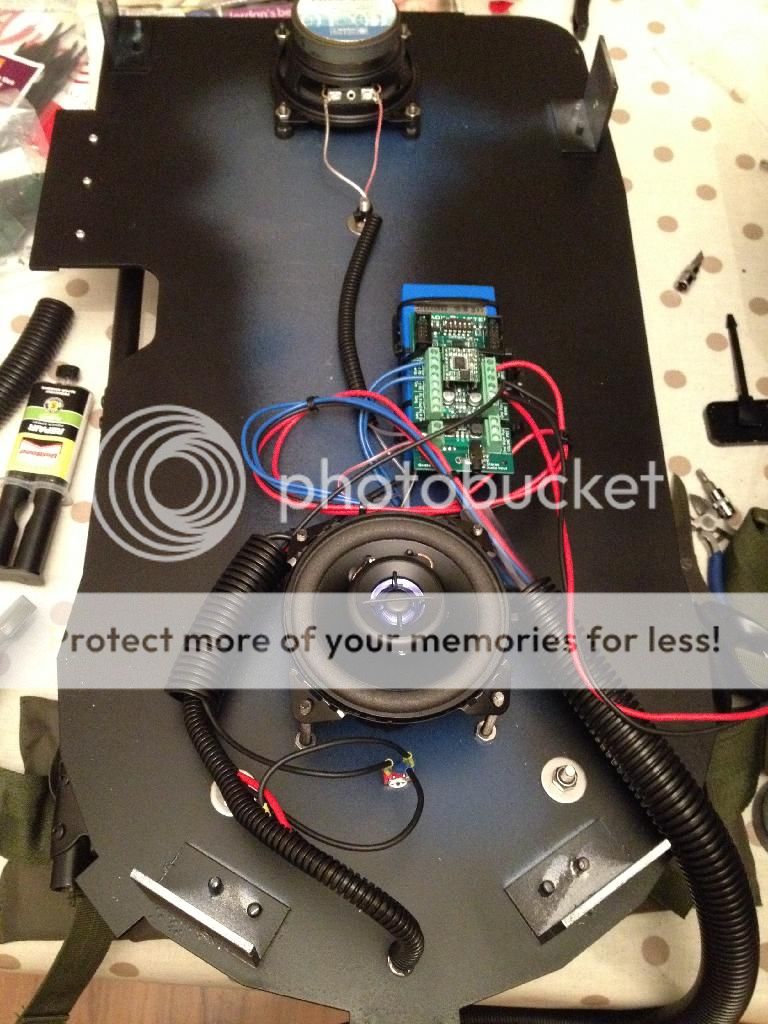
Now although the thrower is basically finished i haven't got any pictures of it yet, so for now i'll be posting my progress of the pack build (which i'll hopefully record the build of). I'll be going for accuracy to the GB1 Spengler pack and metal parts where i can. So, here's the start of my pack:


This is my metal MMM ion arm (which is amazing by the way, thanks Colin!) which came with a hole for the PH-25 and a tapped hole for the elbow. I had to drill and tap the holes for the cap and the resistors (10-32 and 4-40) which wasn't a problem as the whole process went a lot easier than i thought.
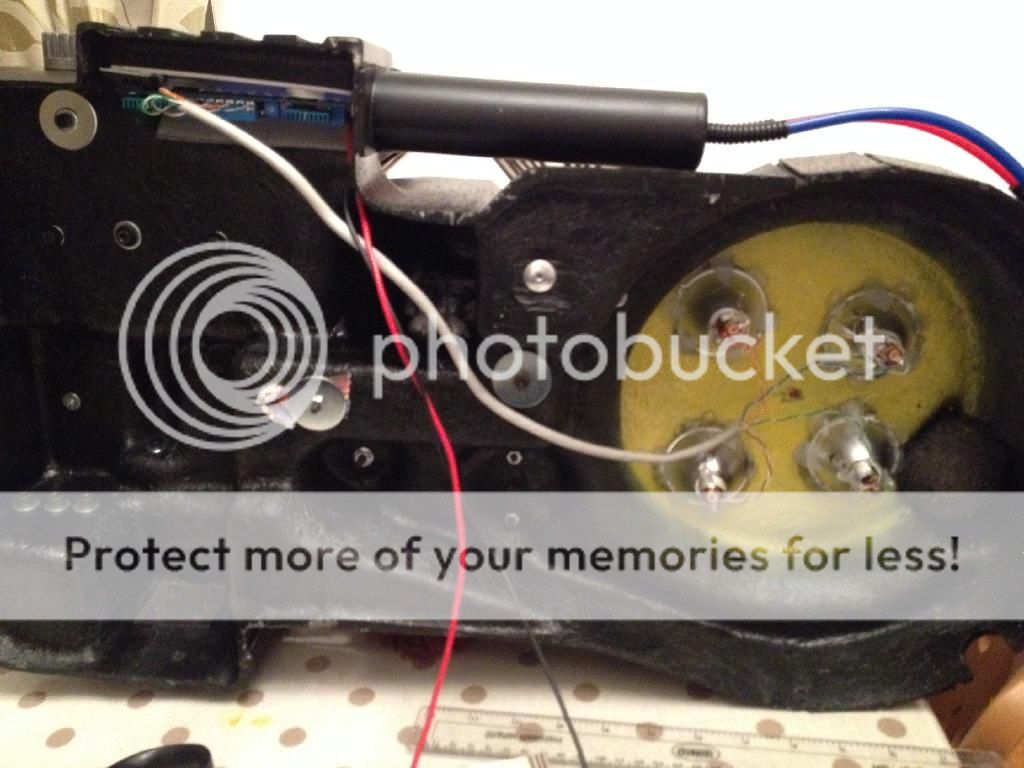
I've also got the ion arm cap from MMM, but in the [lengthy] process of fitting the blue tubing to the resistor and Clippard I managed to completely shred the thread on the cap (that bend in the tubing is really tight!). I'd tried going by the reference photos again but as the tubing was too short it kept kinking (did anyone else have this problem?), so i had to keep trying again until i just used a slightly longer length. I did try epoxying the Clippard back in but this didn't work, and because i'm a perfectionist i'm willing to fork out another $30 for another cap. Well, at least i've learned my lesson this time...
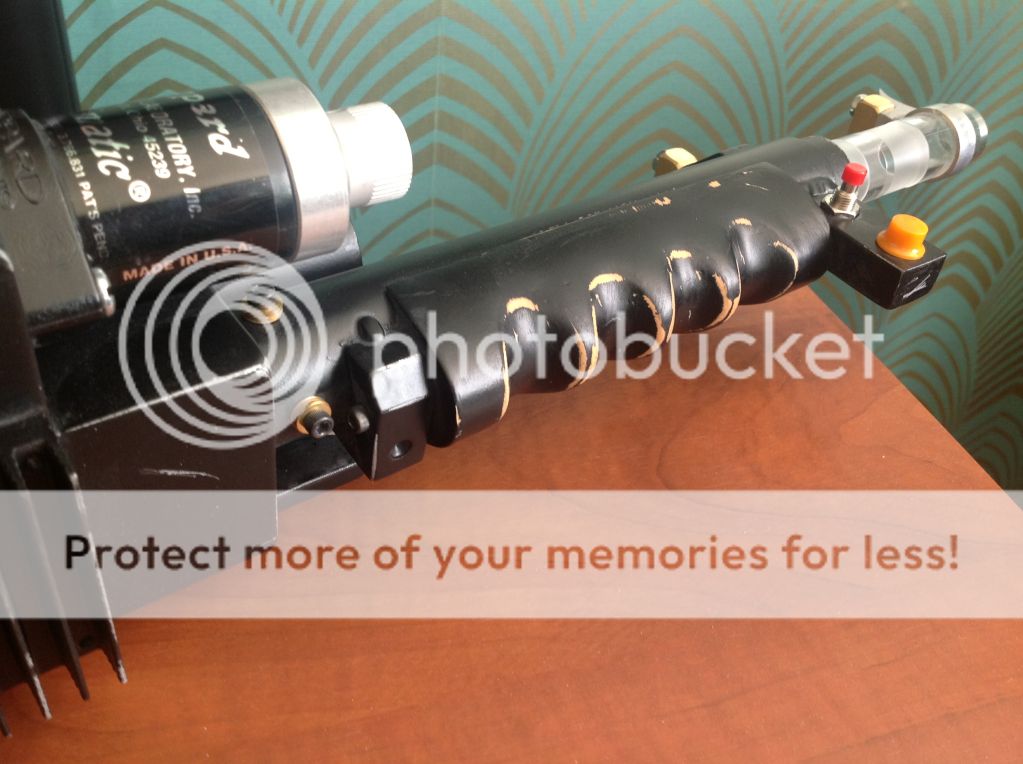
This also leads on to how i modified the SMC elbows to look more like the Legris versions. I've seen a couple of tutorials on here with good results so decided to give it a go myself.
First i removed the little plug from the front of the elbow. This just pulls right out with enough force.

Once i'd done that i painted the elbows with Plastikote grey primer (the kind with the twisty cap) and left to dry. When they were dry i cut 5mm brass tubing to length (4mm internal diameter, which is the same as the thinner yellow/red pack tubing) - i eyed this up and compared with reference photos to judge the correct length. I was able to cut the tubing with a hacksaw as the uncut end would be the one hanging out of the elbow. I just dropped a glob of 5 minute epoxy into the elbow and pushed the brass tubing into place and left to cure. Here's another shot:

[The primer was tacky for a while for some reason, so you can see the odd fingerprint on some pictures as the paint wasn't dry even a day later. It did dry with a slightly glossy finish though so i'm happy not clearcoating it as i thought i'd have to]
I'm really pleased with how these turned out. They make a massive difference compared to the stock elbows and it's so simple you've got no excuse not to do it!!
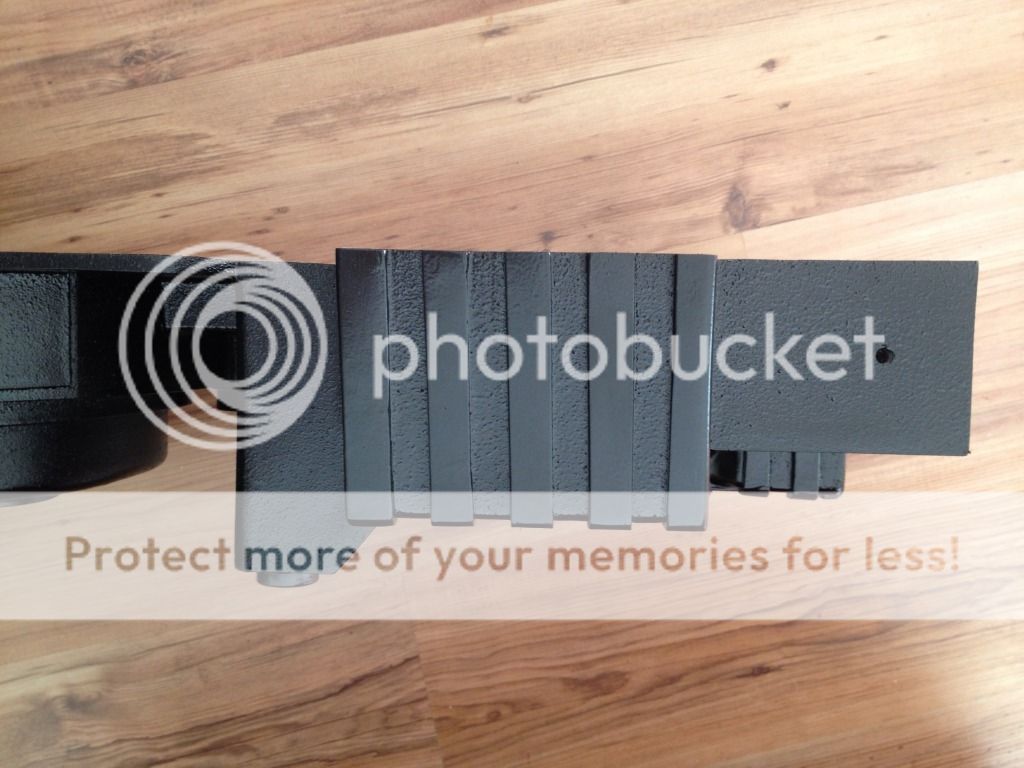
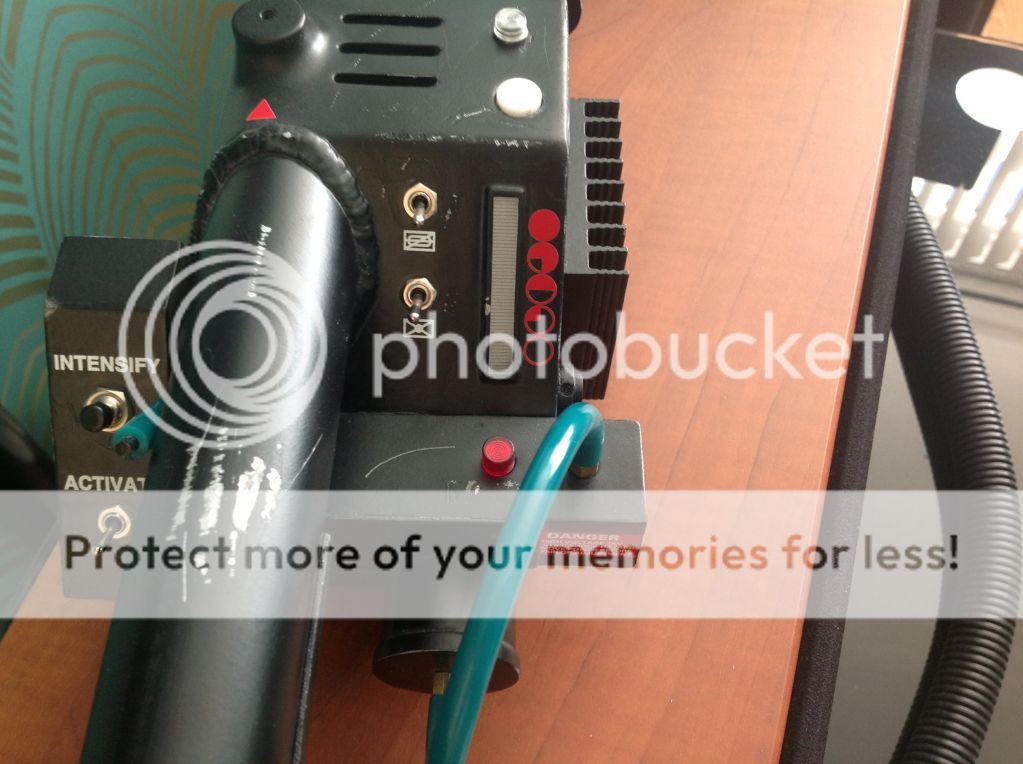
This is another great metal part from MMM, the HGA. Due to the different arrangements people ask Colin for this (understandably) came without the holes for the fittings drilled, and since i'm aiming for Egon's pack i drilled the holes offset:

I eyed this up from the reference photos and on second glance i think they may be a little TOO offset, which may reduce it's accuracy but i actually like it more somehow?!


That's also one of JoeLuna's fantastic metal labels on there. It's the first one and i can't wait to fit the rest to the pack it looks so good.
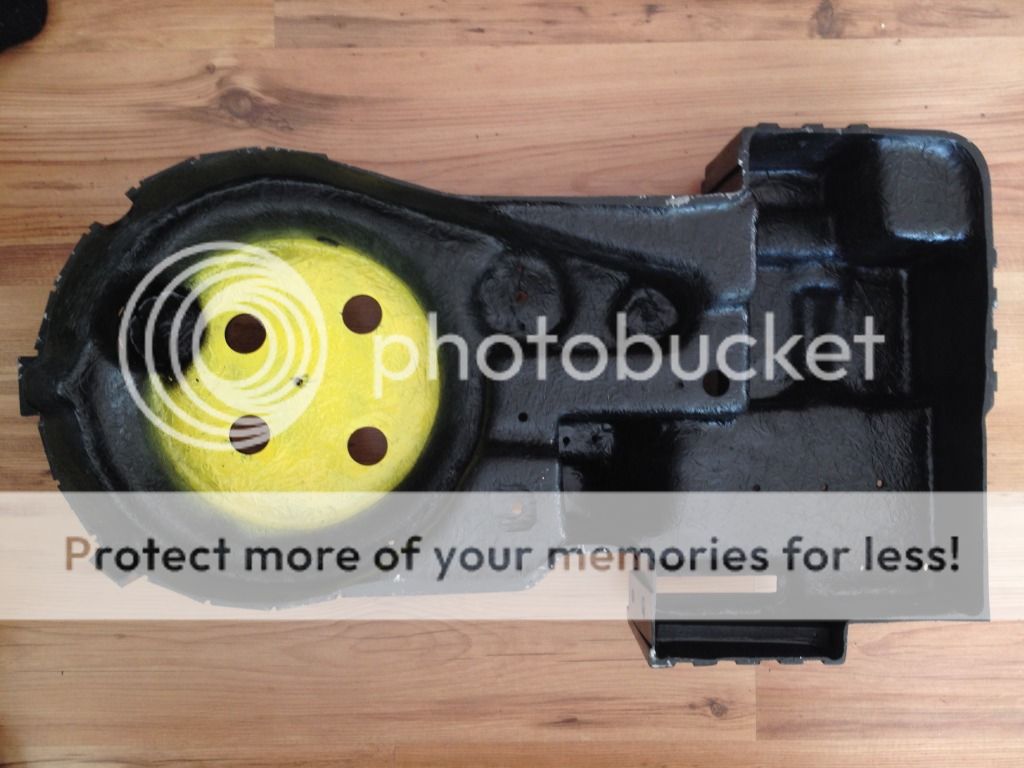
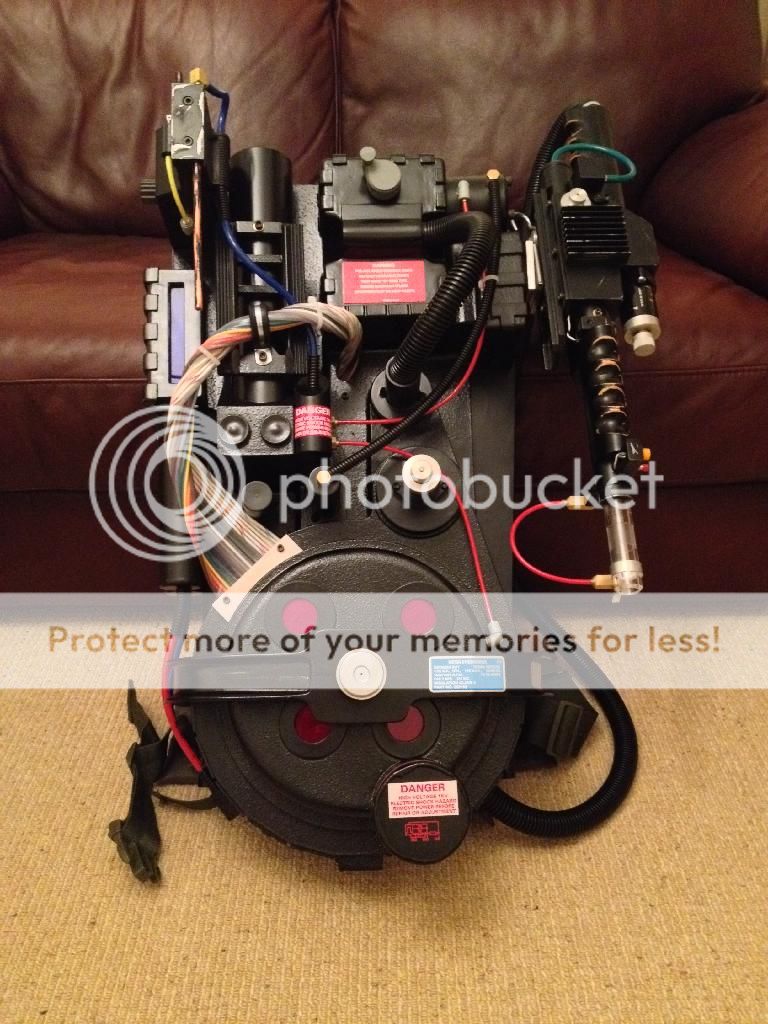
Here are the rest of the parts all together. As you can see i've also got the metal (MMM again) beam line, filler tube, PPD and vacuum line all painted up and ready to fit.

So that's it for now. I'll be posting more as the pack progresses, and when i fit the last few parts to the thrower i'll be posting photos of that too.
Thanks for reading,
Dan.
Although most of the hard work has been done by numerous people before me it didn't stop me spending a ridiculous amount of time trawling through the forums. I'm too much of a perfectionist to just cobble a pack together, which meant that this was going to: A. cost a lot; and B. take a long time to collect parts for. Which it has. And did.
I decided to go with the thrower first as i knew it'd be more time consuming and that most of the parts (in the UK) were easier to find than pack parts. And because i'm familiar with the high quality of his parts i decided to go with Nick-a-Tron's thrower kit. I didn't record a build log as although i love reading them myself i didn't think i'd be bringing anything new to the table. Although there are one or two things i'd like to show so i'll include them in the detail shots.
Now although the thrower is basically finished i haven't got any pictures of it yet, so for now i'll be posting my progress of the pack build (which i'll hopefully record the build of). I'll be going for accuracy to the GB1 Spengler pack and metal parts where i can. So, here's the start of my pack:
This is my metal MMM ion arm (which is amazing by the way, thanks Colin!) which came with a hole for the PH-25 and a tapped hole for the elbow. I had to drill and tap the holes for the cap and the resistors (10-32 and 4-40) which wasn't a problem as the whole process went a lot easier than i thought.
I've also got the ion arm cap from MMM, but in the [lengthy] process of fitting the blue tubing to the resistor and Clippard I managed to completely shred the thread on the cap (that bend in the tubing is really tight!). I'd tried going by the reference photos again but as the tubing was too short it kept kinking (did anyone else have this problem?), so i had to keep trying again until i just used a slightly longer length. I did try epoxying the Clippard back in but this didn't work, and because i'm a perfectionist i'm willing to fork out another $30 for another cap. Well, at least i've learned my lesson this time...
This also leads on to how i modified the SMC elbows to look more like the Legris versions. I've seen a couple of tutorials on here with good results so decided to give it a go myself.
First i removed the little plug from the front of the elbow. This just pulls right out with enough force.
Once i'd done that i painted the elbows with Plastikote grey primer (the kind with the twisty cap) and left to dry. When they were dry i cut 5mm brass tubing to length (4mm internal diameter, which is the same as the thinner yellow/red pack tubing) - i eyed this up and compared with reference photos to judge the correct length. I was able to cut the tubing with a hacksaw as the uncut end would be the one hanging out of the elbow. I just dropped a glob of 5 minute epoxy into the elbow and pushed the brass tubing into place and left to cure. Here's another shot:
[The primer was tacky for a while for some reason, so you can see the odd fingerprint on some pictures as the paint wasn't dry even a day later. It did dry with a slightly glossy finish though so i'm happy not clearcoating it as i thought i'd have to]
I'm really pleased with how these turned out. They make a massive difference compared to the stock elbows and it's so simple you've got no excuse not to do it!!
This is another great metal part from MMM, the HGA. Due to the different arrangements people ask Colin for this (understandably) came without the holes for the fittings drilled, and since i'm aiming for Egon's pack i drilled the holes offset:
I eyed this up from the reference photos and on second glance i think they may be a little TOO offset, which may reduce it's accuracy but i actually like it more somehow?!
That's also one of JoeLuna's fantastic metal labels on there. It's the first one and i can't wait to fit the rest to the pack it looks so good.
Here are the rest of the parts all together. As you can see i've also got the metal (MMM again) beam line, filler tube, PPD and vacuum line all painted up and ready to fit.
So that's it for now. I'll be posting more as the pack progresses, and when i fit the last few parts to the thrower i'll be posting photos of that too.
Thanks for reading,
Dan.
Last edited by bromie on June 19th, 2015, 10:14 am, edited 4 times in total.


 - By mrmichaelt
 - By pda4ever
 - By UncannyGirl
 - By Kingpin