
- September 15th, 2014, 6:13 pm#4809629
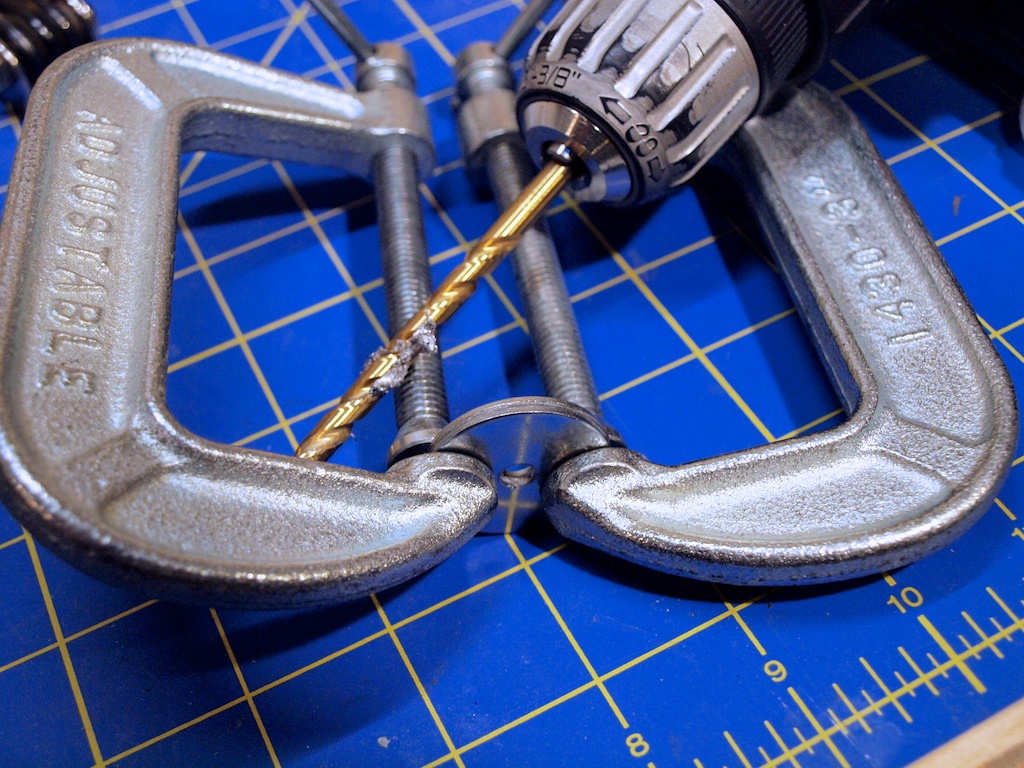
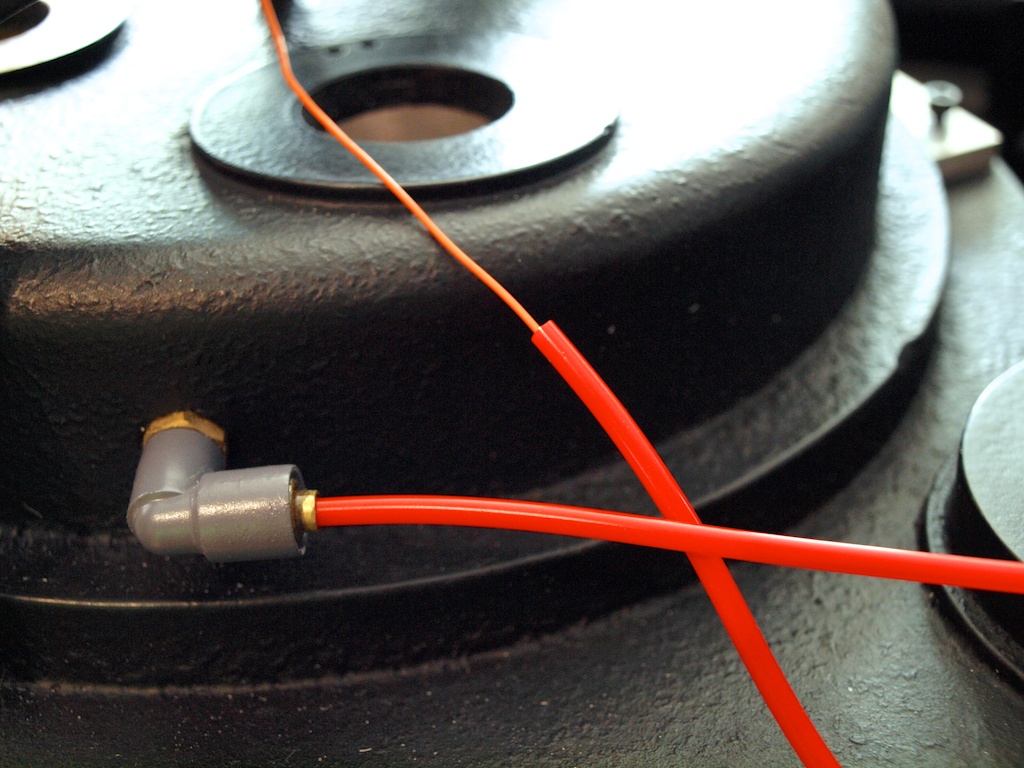
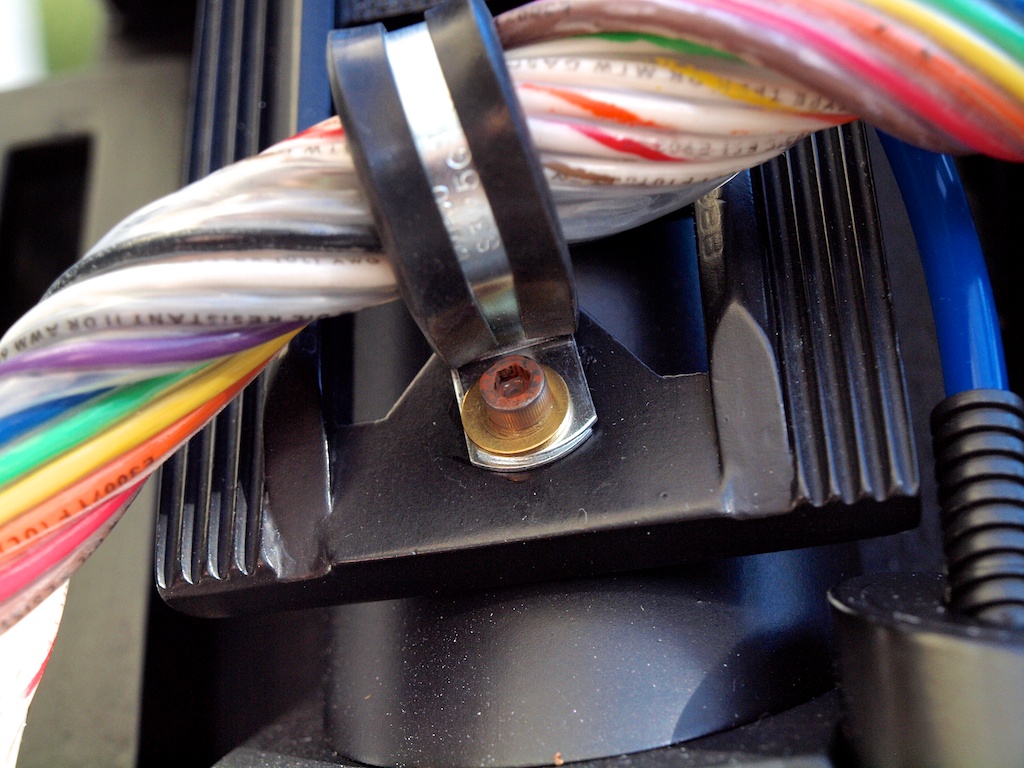
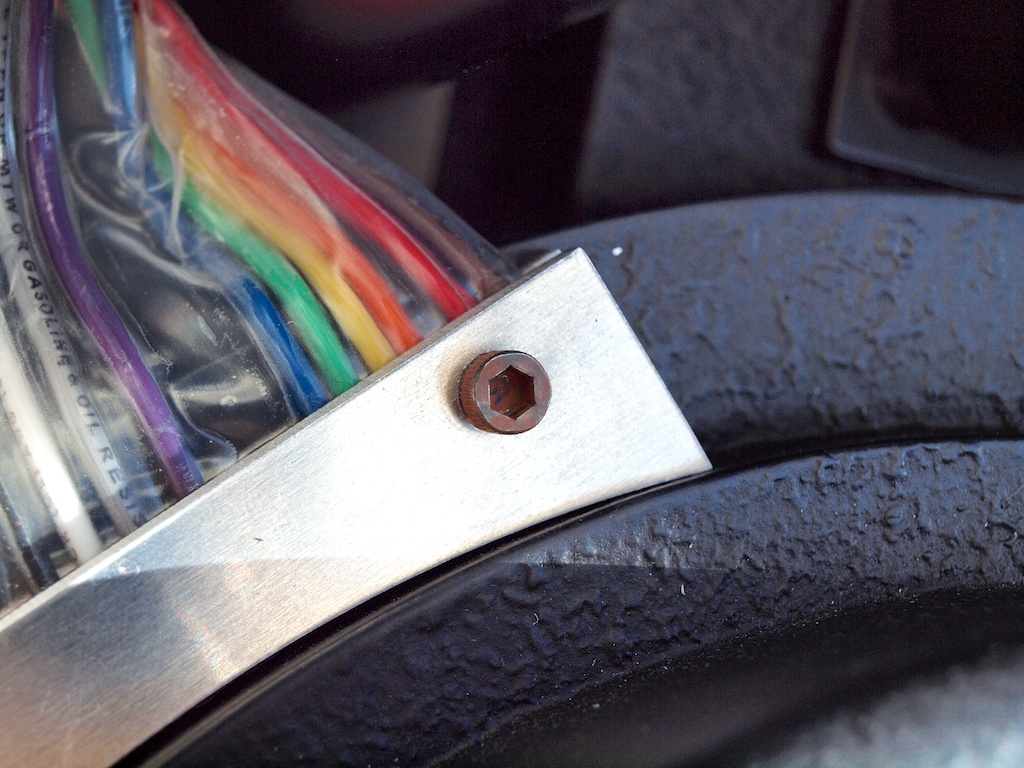
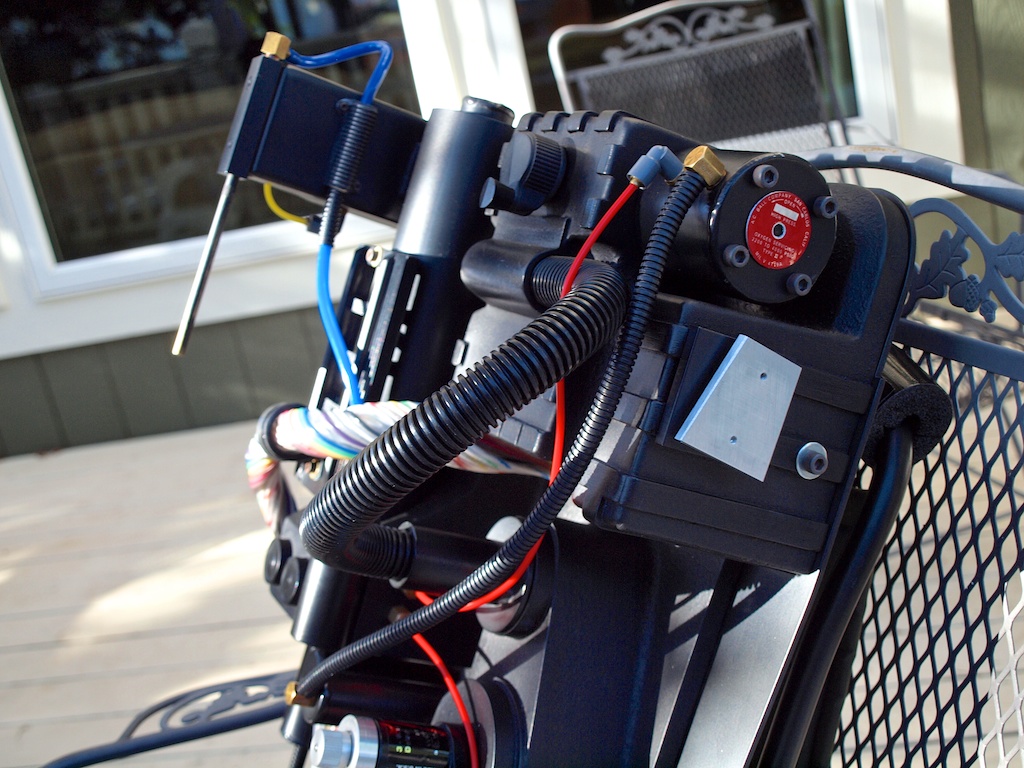
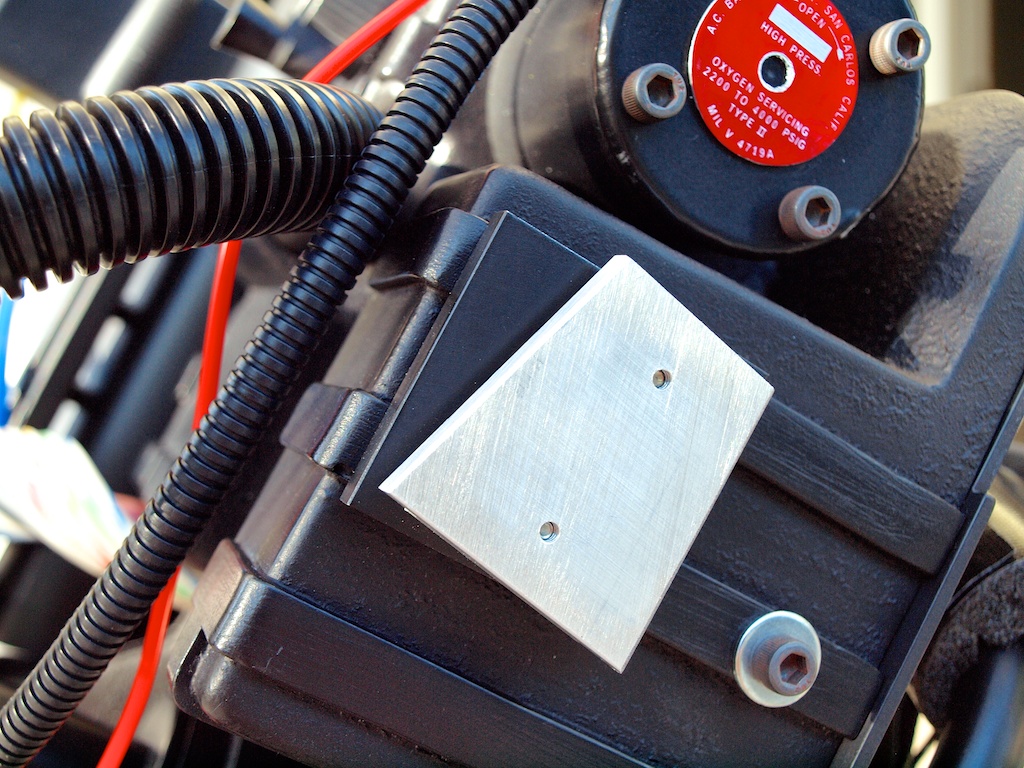
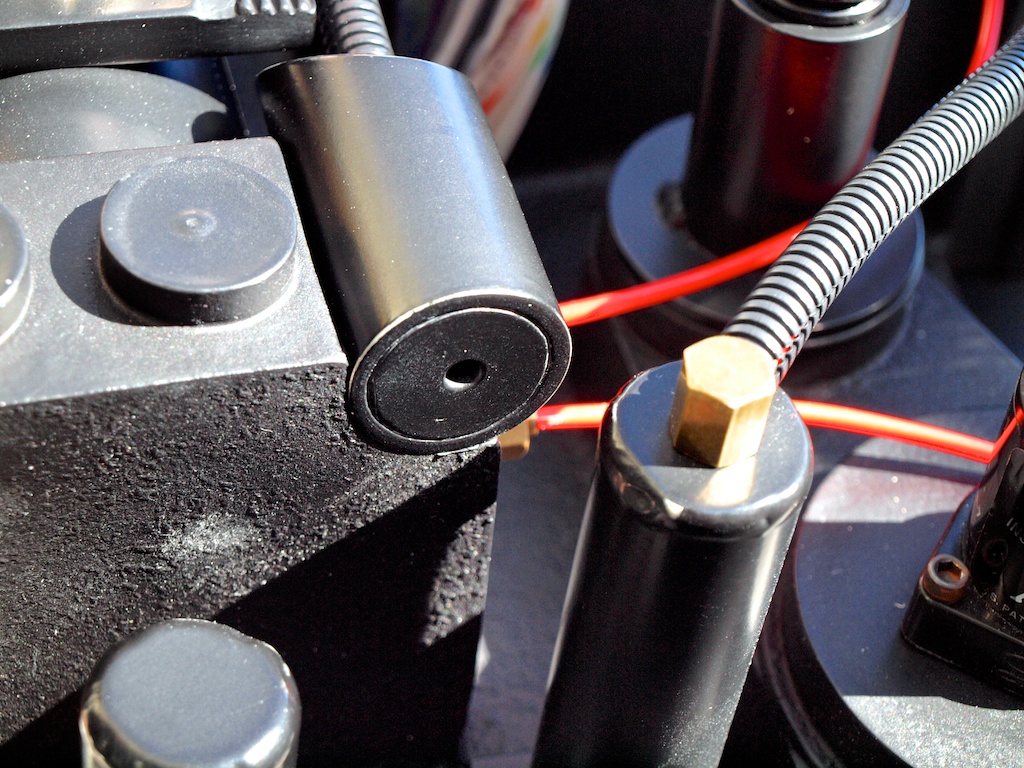
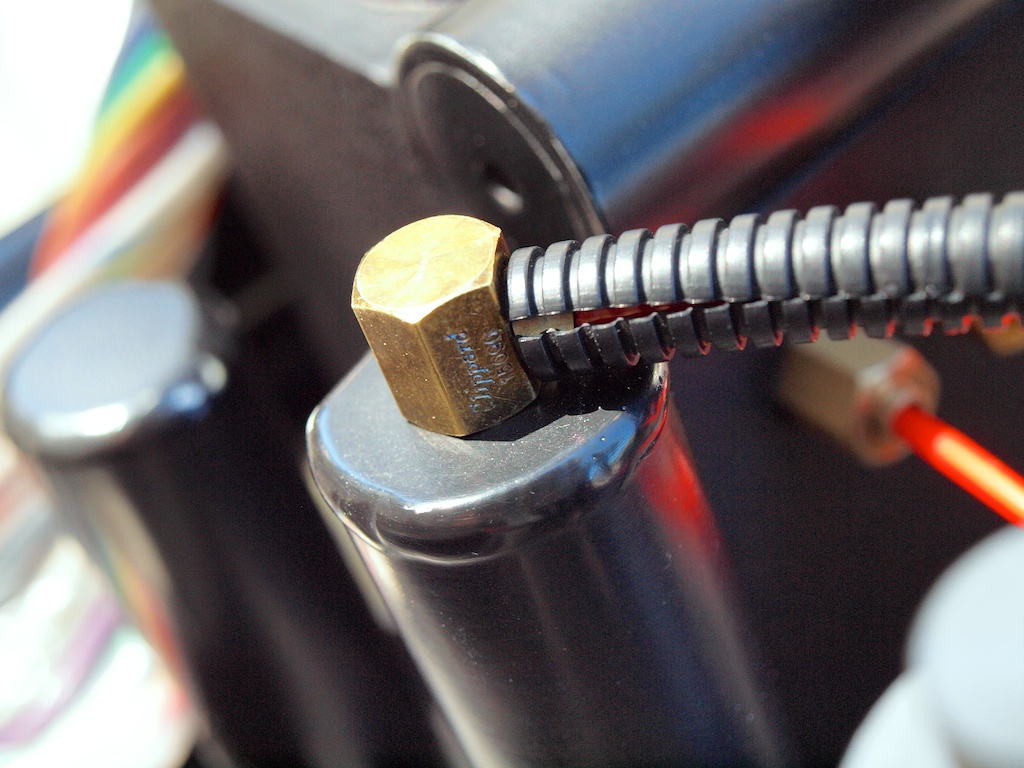
nick-a-tron wrote:That line is a result of the mould being split so the ion arm portion of the shell can be removed easier.So great to learn all these little details from the experts here.
nick-a-tron wrote:That looks amazing!Thanks Nick! By the way, your parts are fantastic. Thank you for making these high quality and clean parts available to the community.
Pack build ====> viewtopic.php?f=2&t=37102
ECTO-H2O ====> viewtopic.php?f=13&t=45376
Prototype belt pack ====> viewtopic.php?f=43&t=37057
MagSafe Leg Connector ====> viewtopic.php?f=42&t=36691
Spongeface Gizmo build ====> viewtopic.php?f=7&t=37170
Cheap Gizmo holder ====> viewtopic.php?f=42&t=37036
MT500 antenna conversion ====> viewtopic.php?f=42&t=37182
Wall clock ====> viewtopic.php?f=42&t=37547


 GB1 and GB 2 Uniform Build Thread:
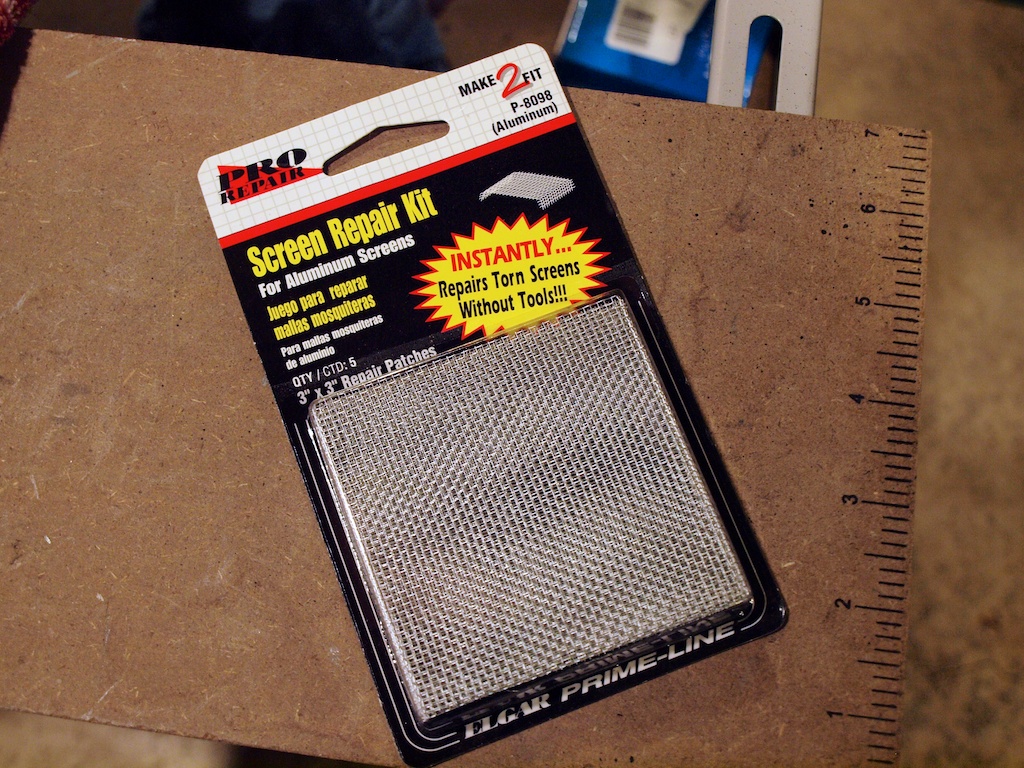

 - By Threadender
 - By tylergfoster