#4842109
I'm a sucker for Ghost Traps, and when I saw one of my favorite builders was putting out a kit, I had to get it. I'm just now finally getting around to working on it. I'm hoping to have it finished before Salt Lake Comic Con, this September. Please excuse the blurry photos; my iPhone's camera ain't what she used to be.

Image

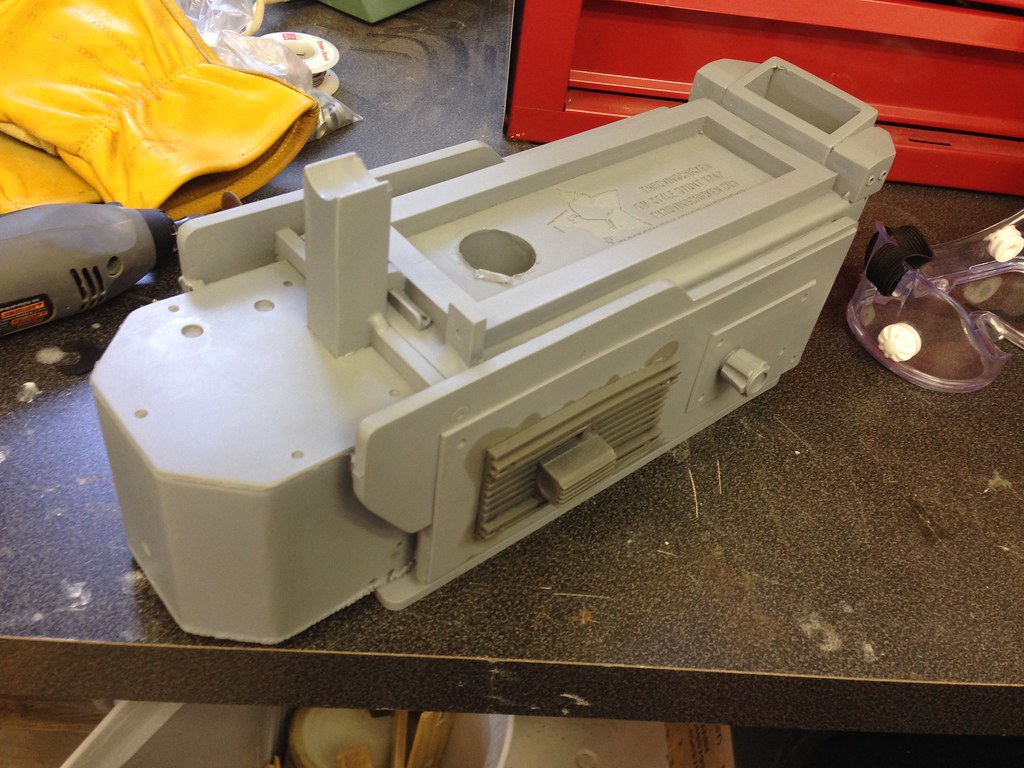
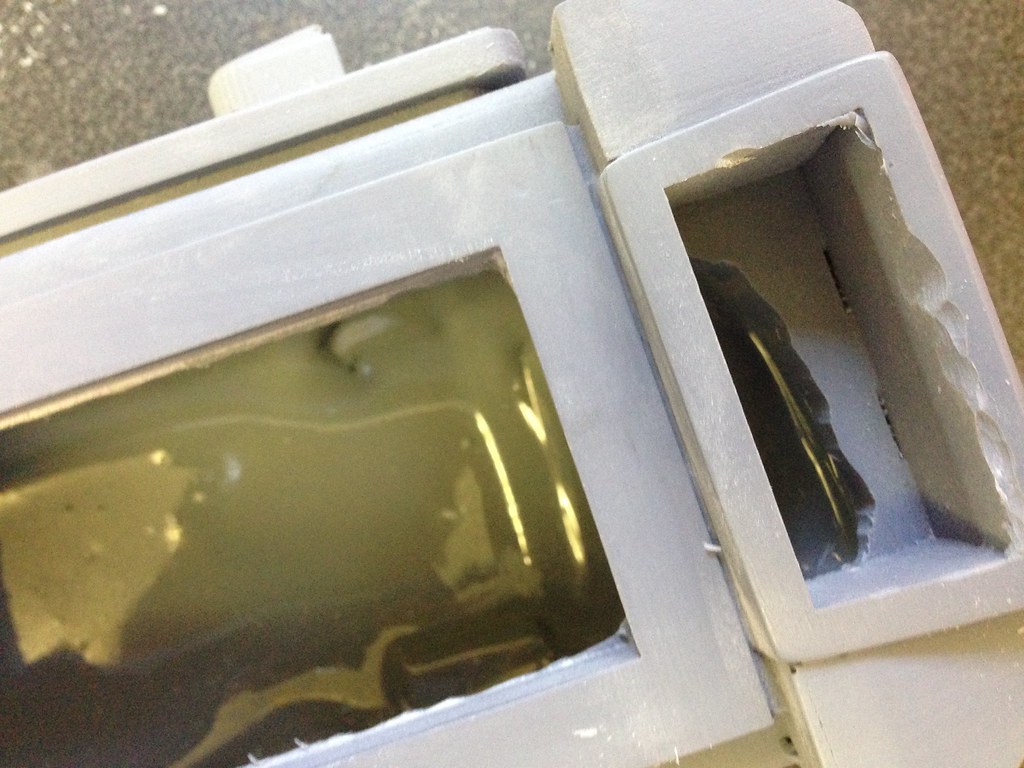
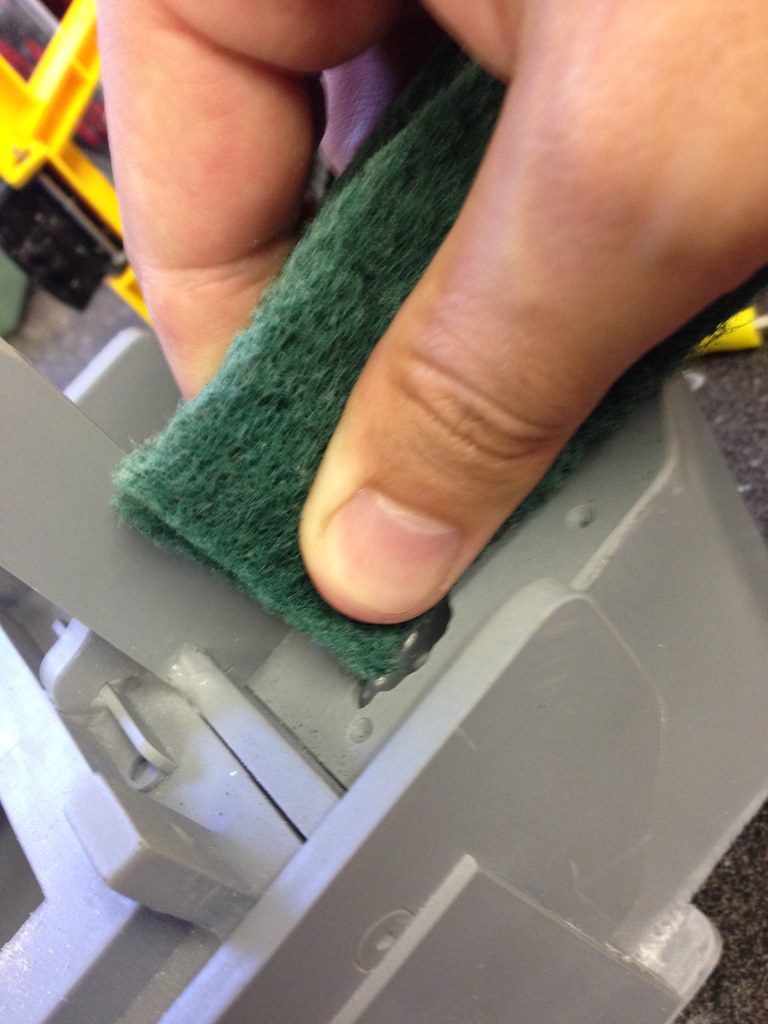
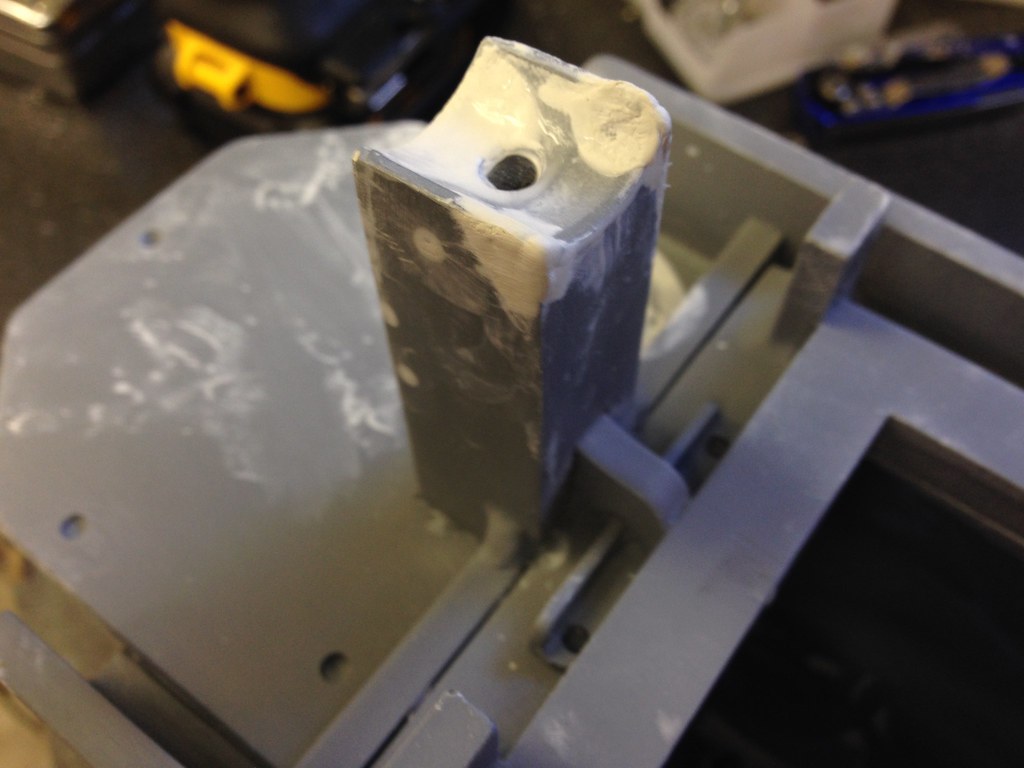
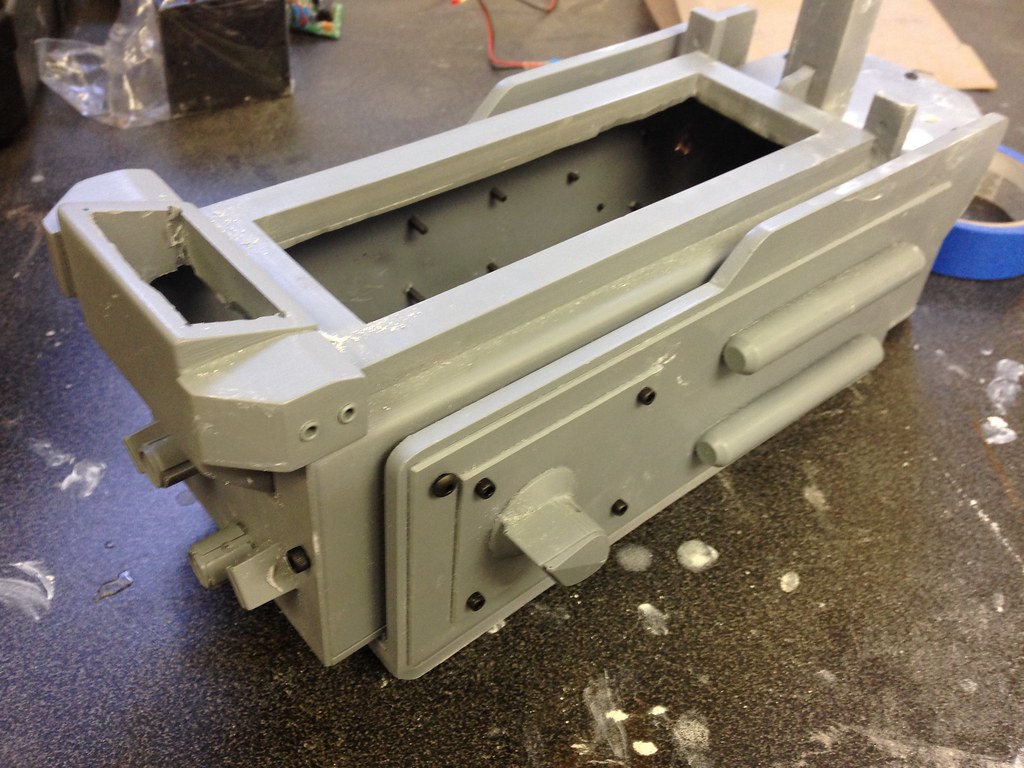
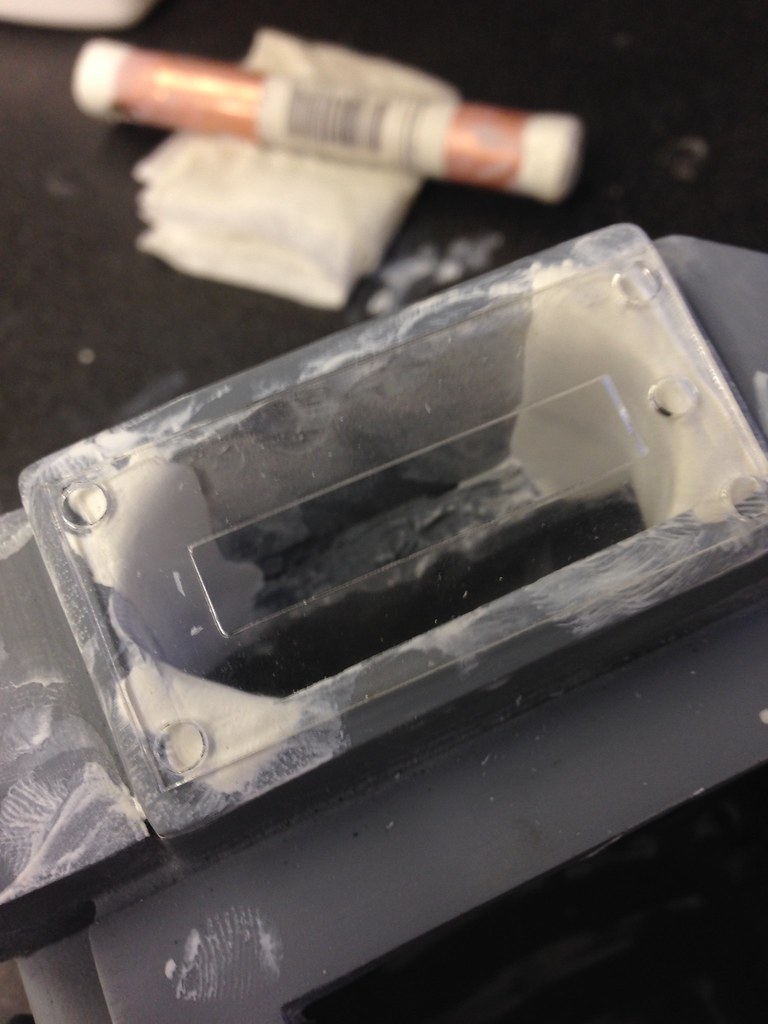
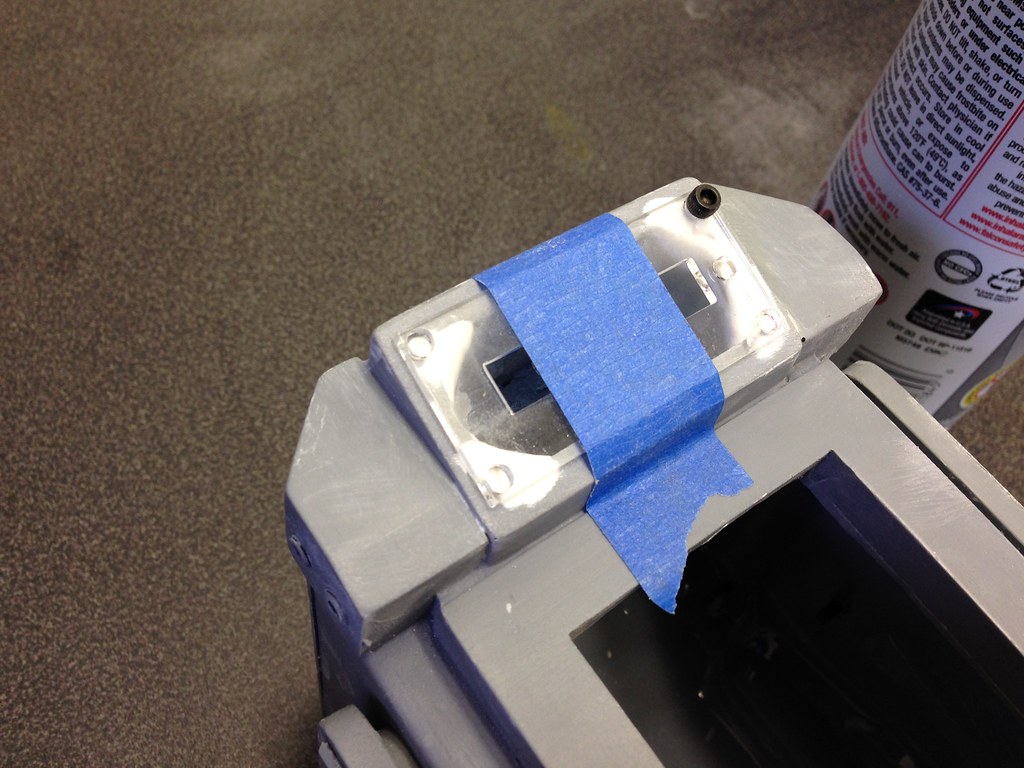
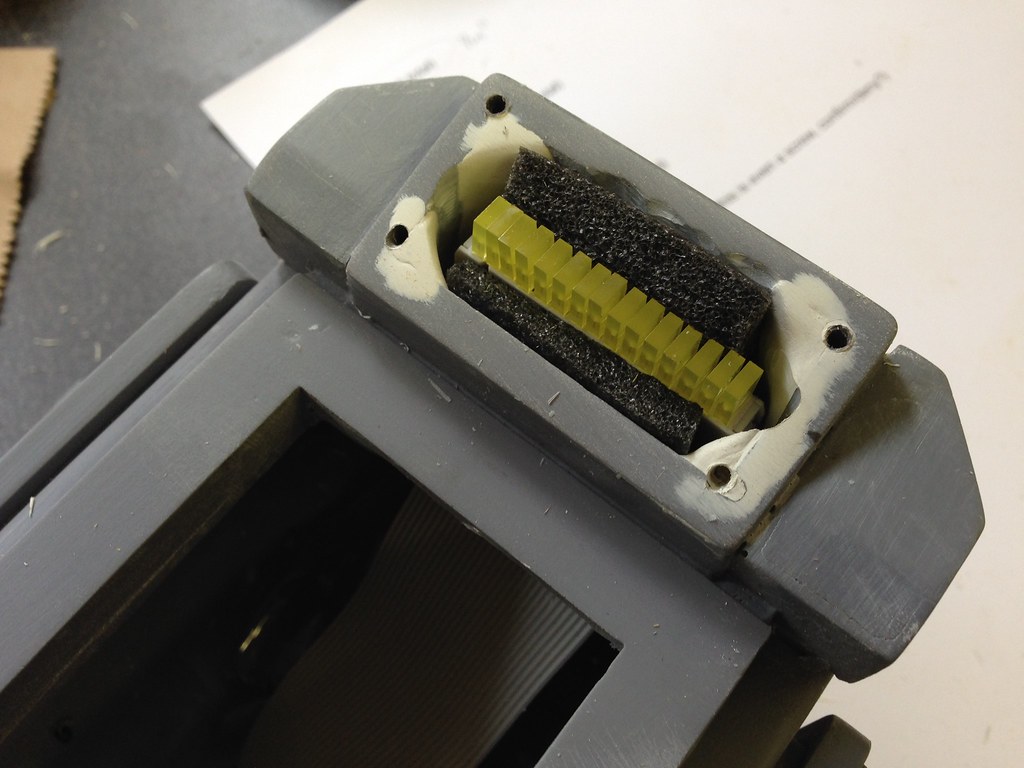
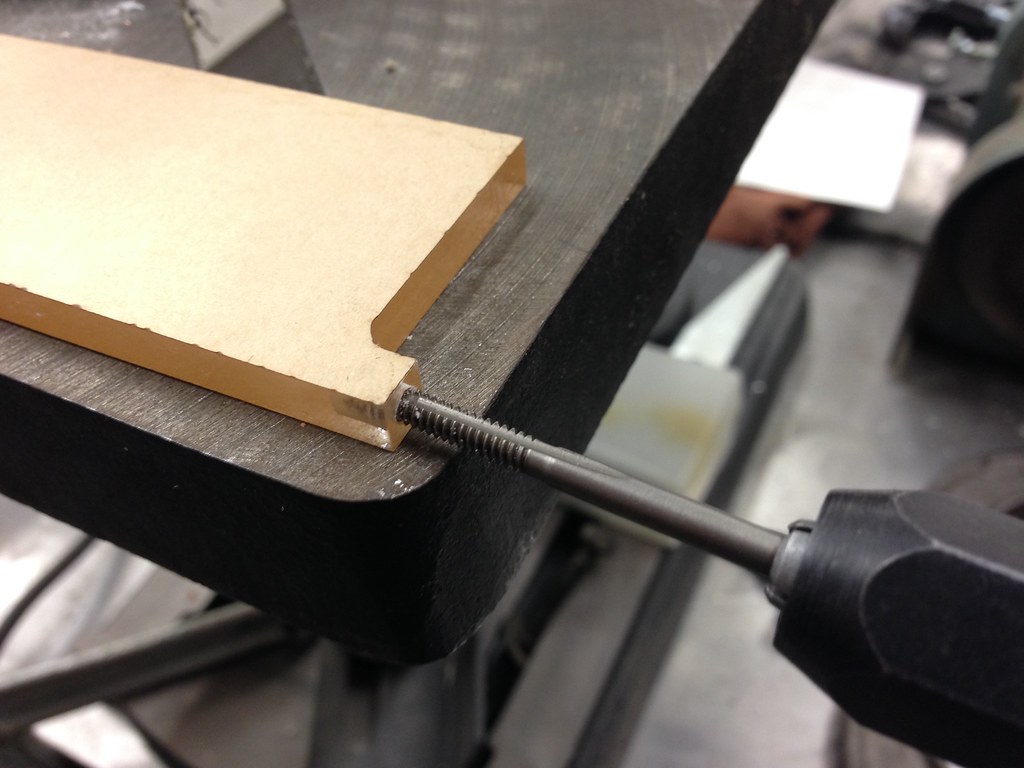
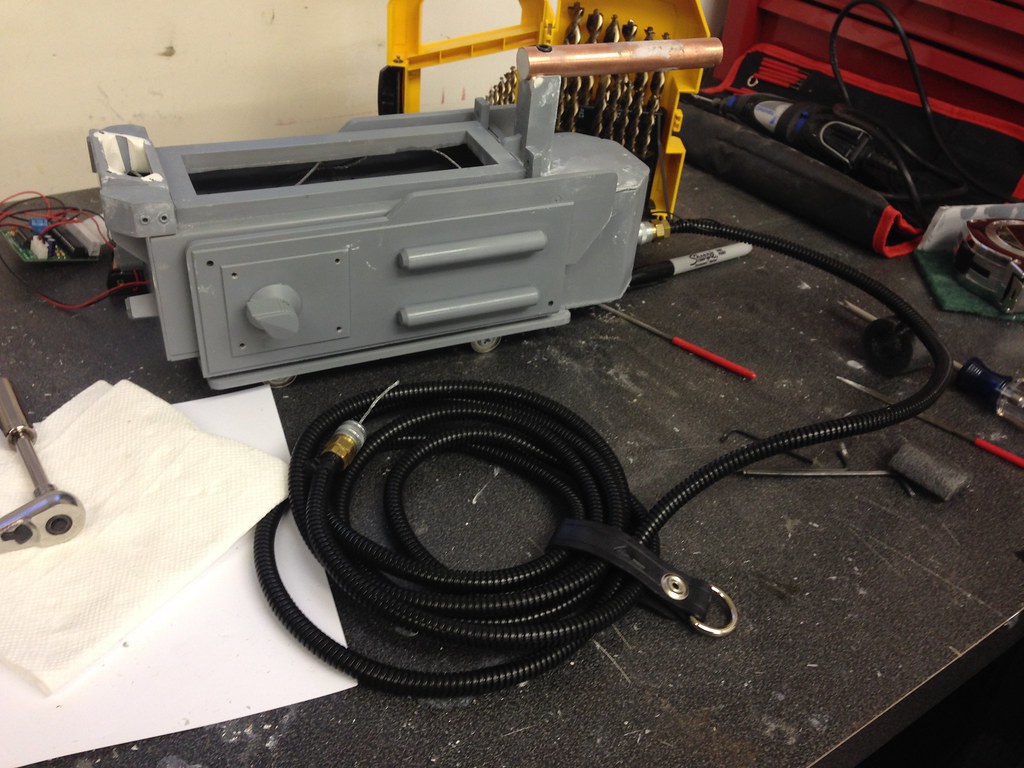
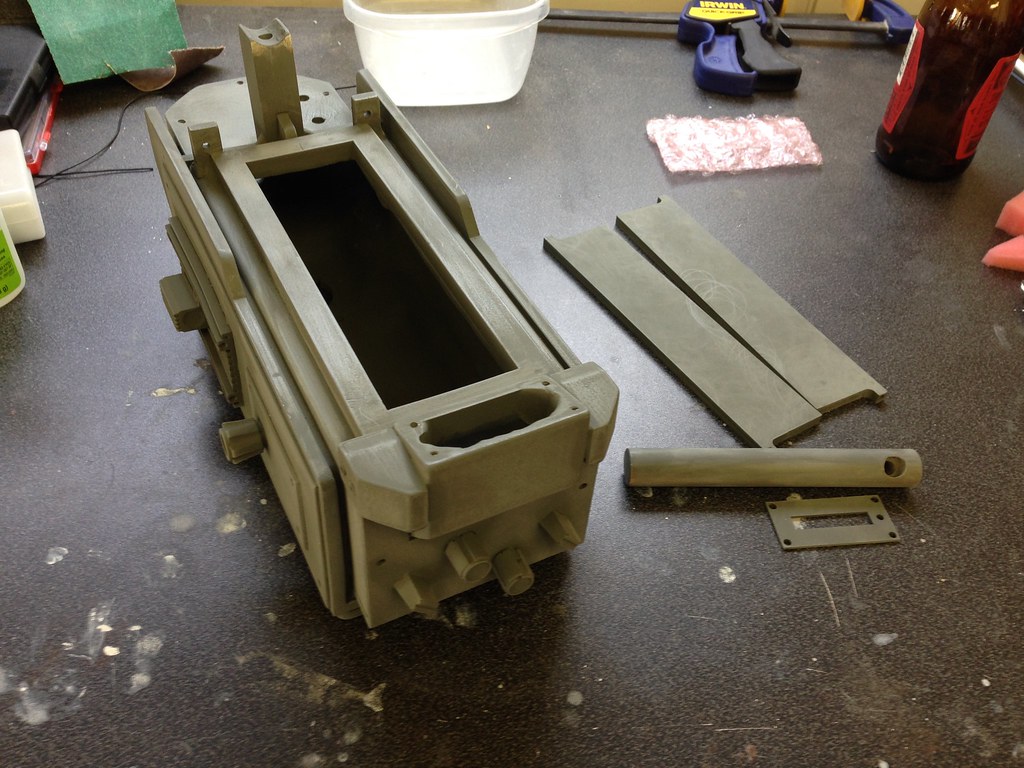
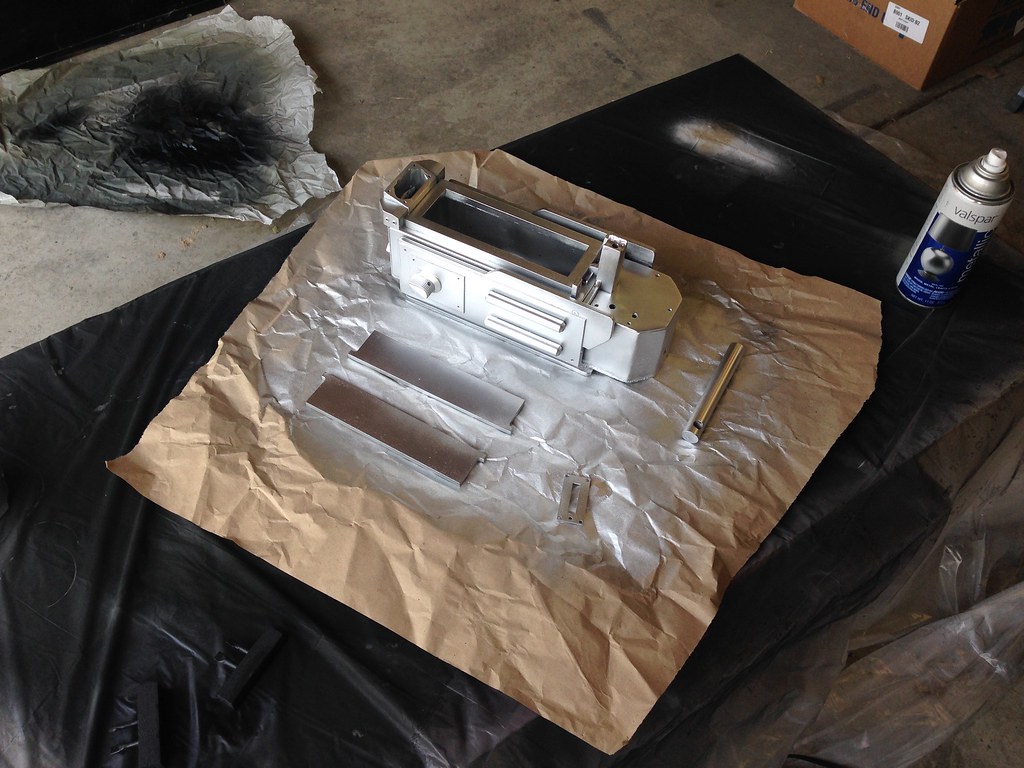
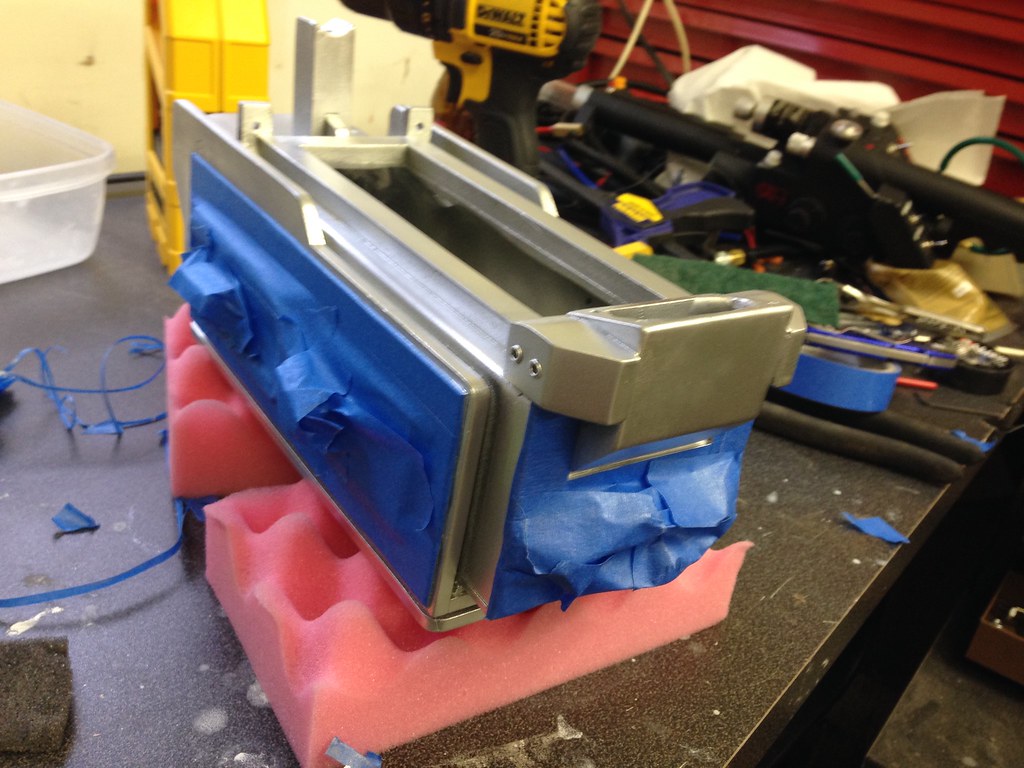
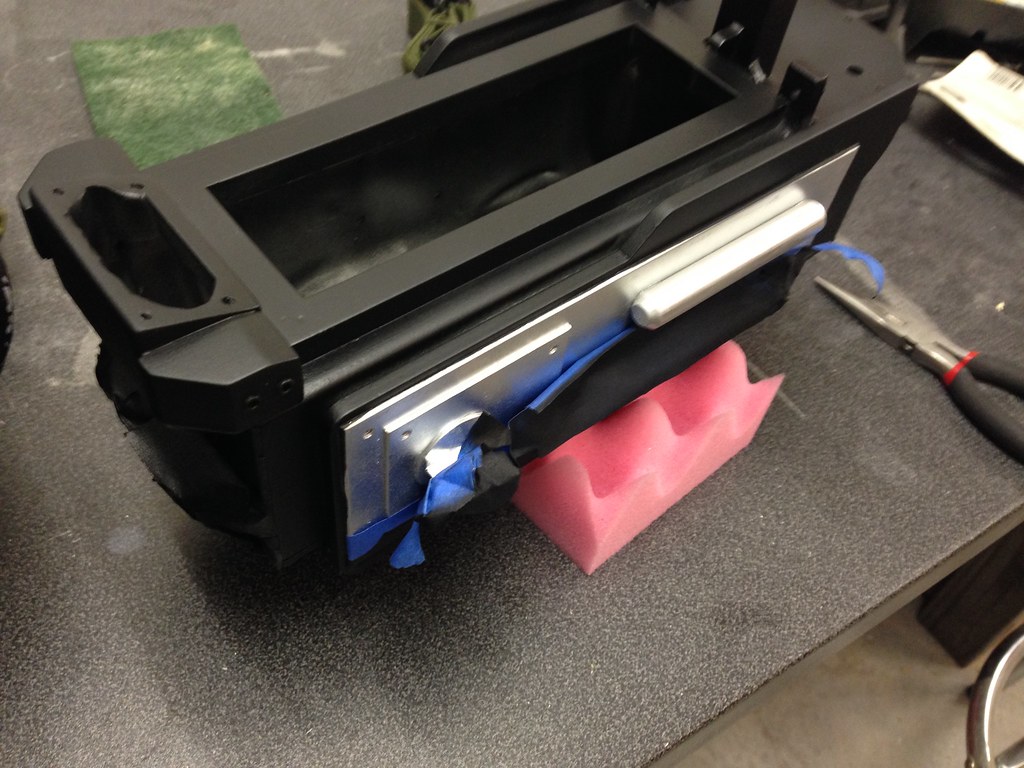
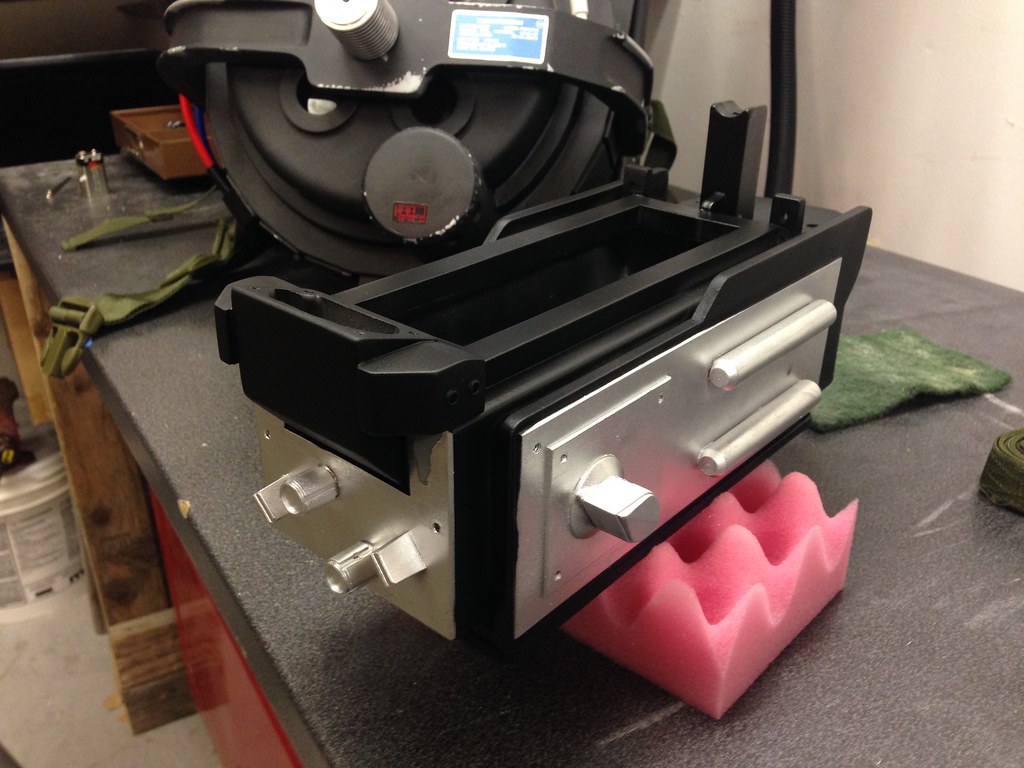
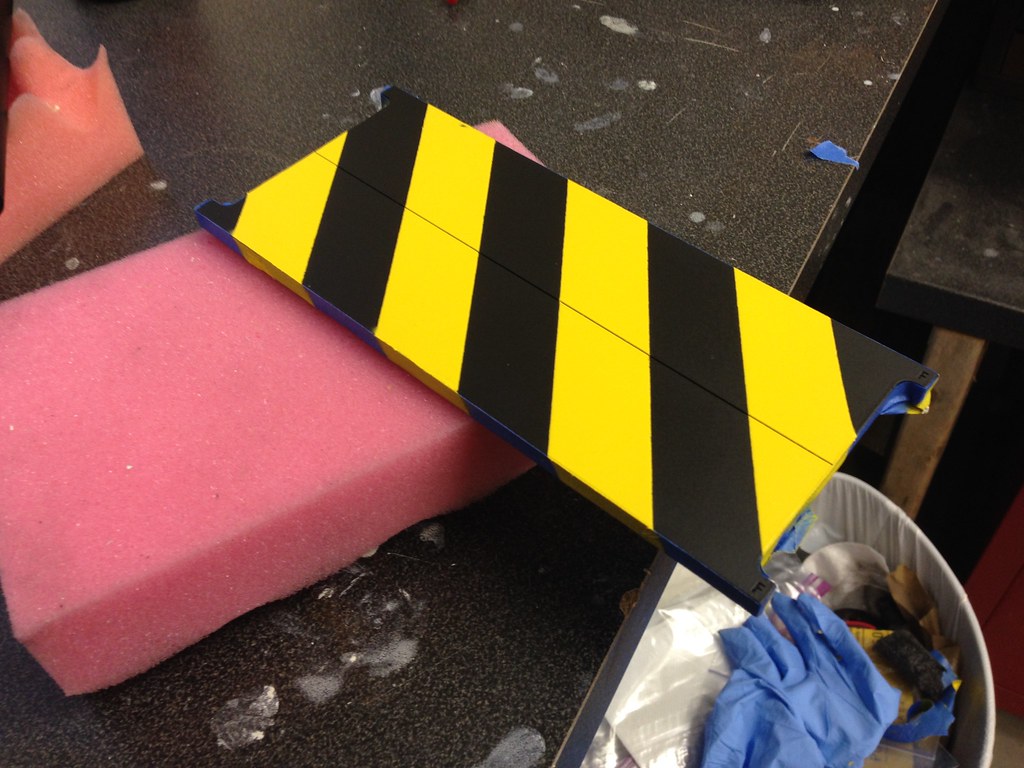
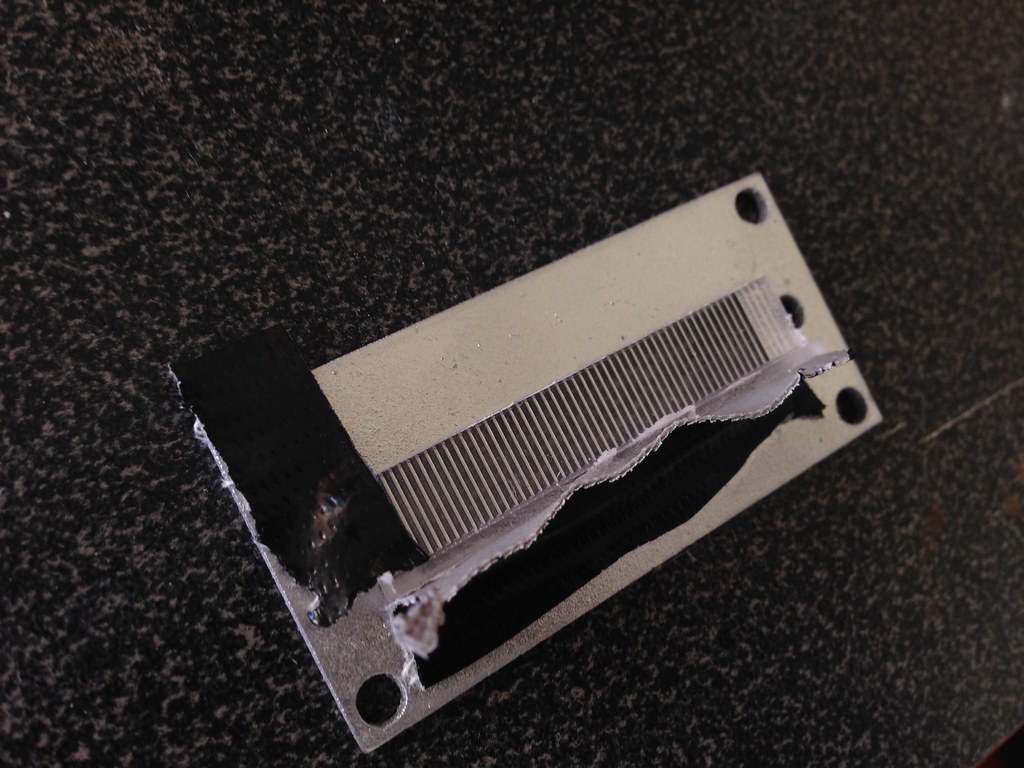
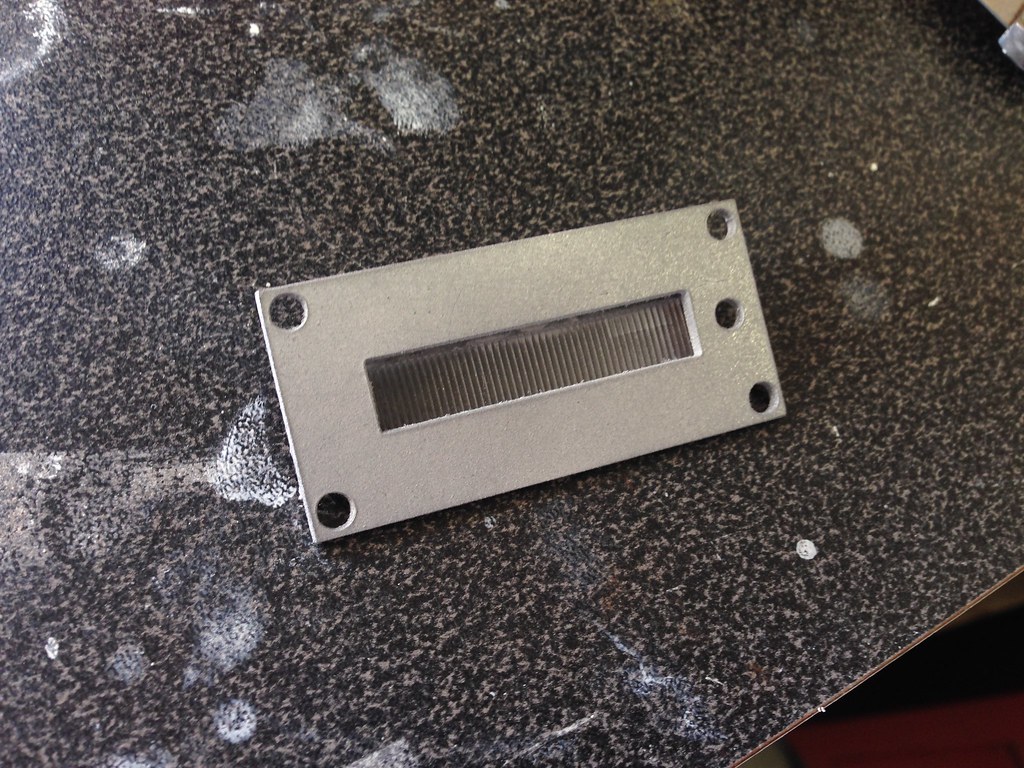
The first thing I needed to do was remove the top section of the cartridge. I am planning to install electronics into this bad boy. A little time with the Dremel and some flat files cleaned it up nicely. I also used those tools to clean up any blemishes from the mold.

Image

Image

Image

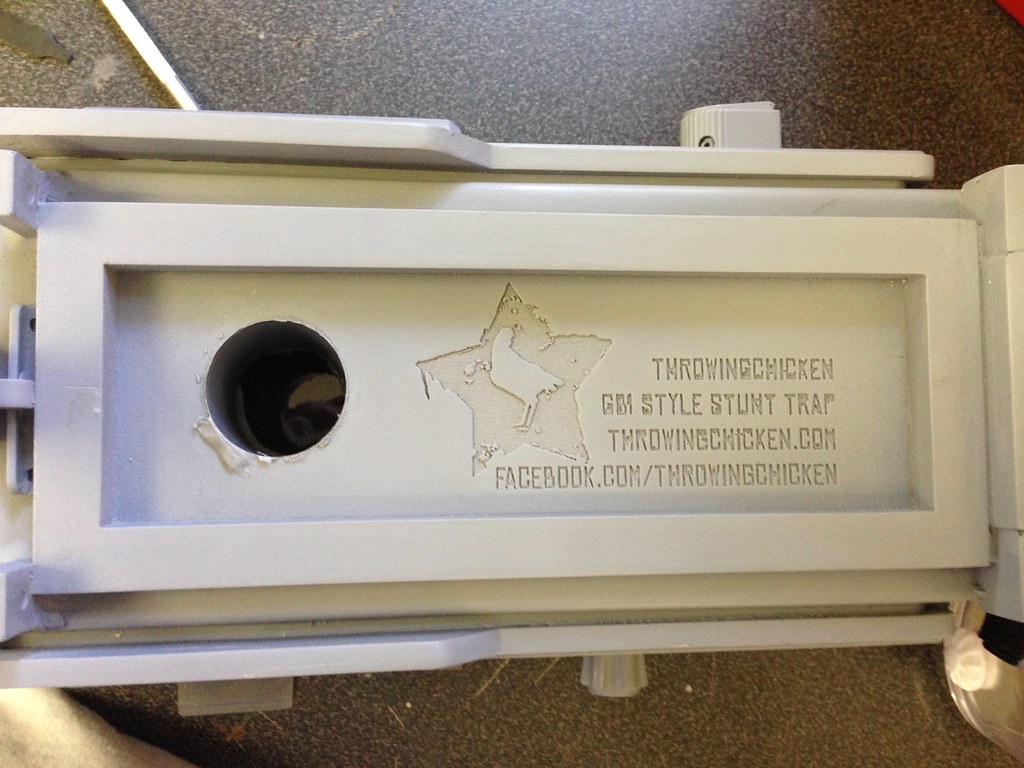
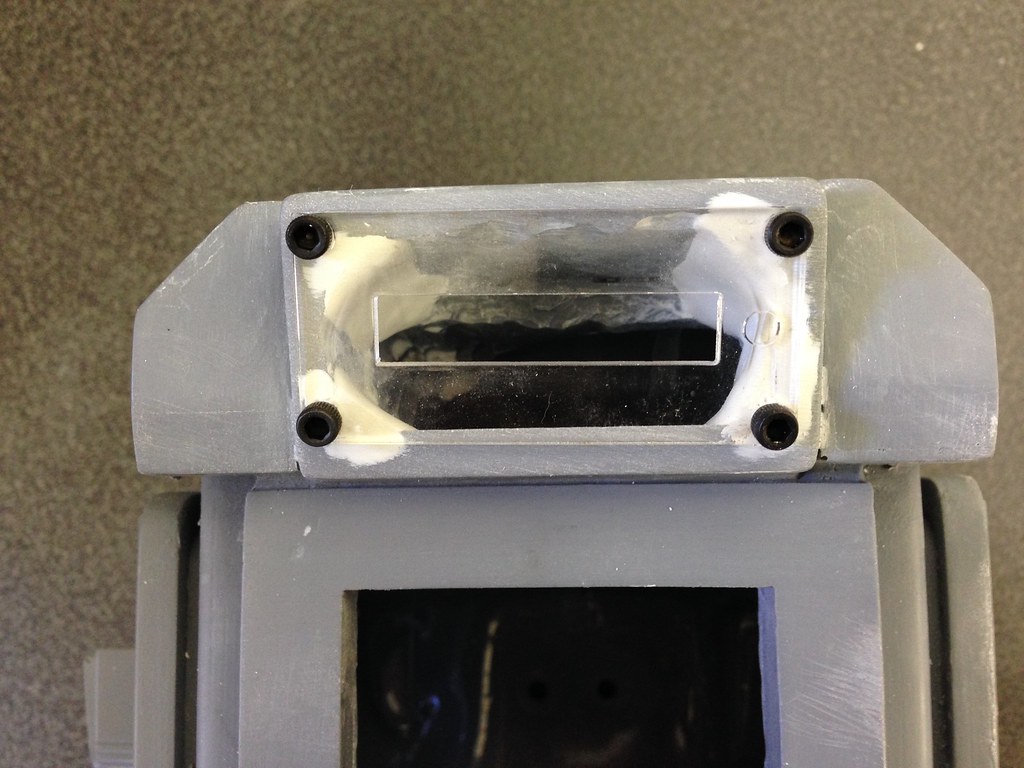
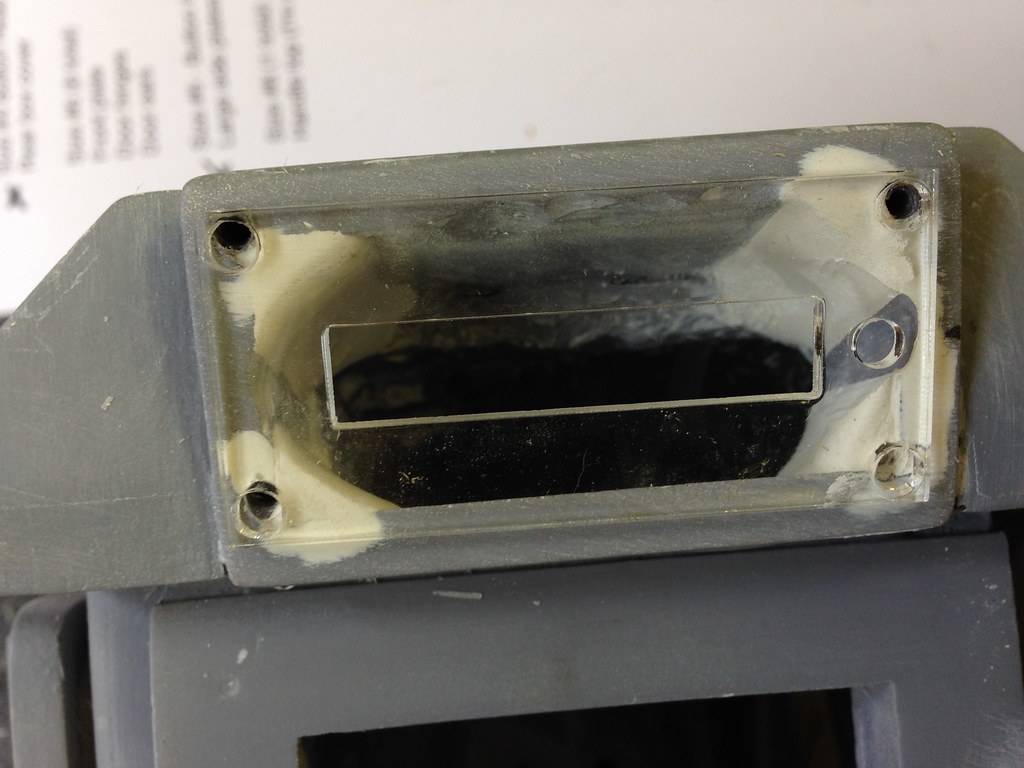
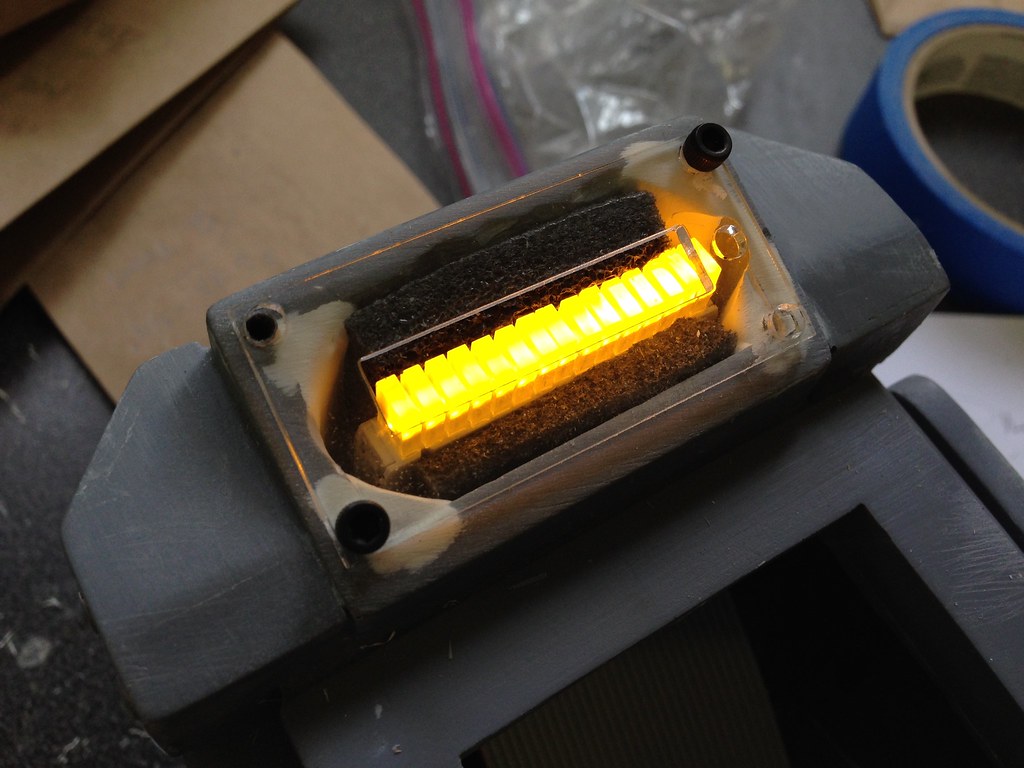
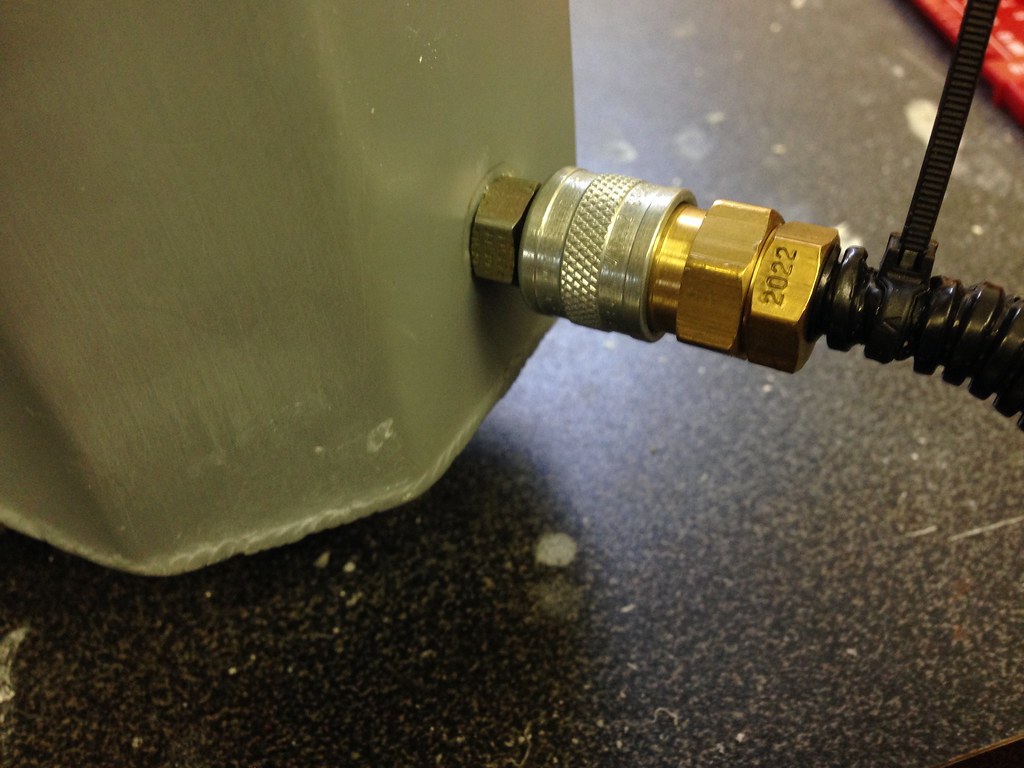
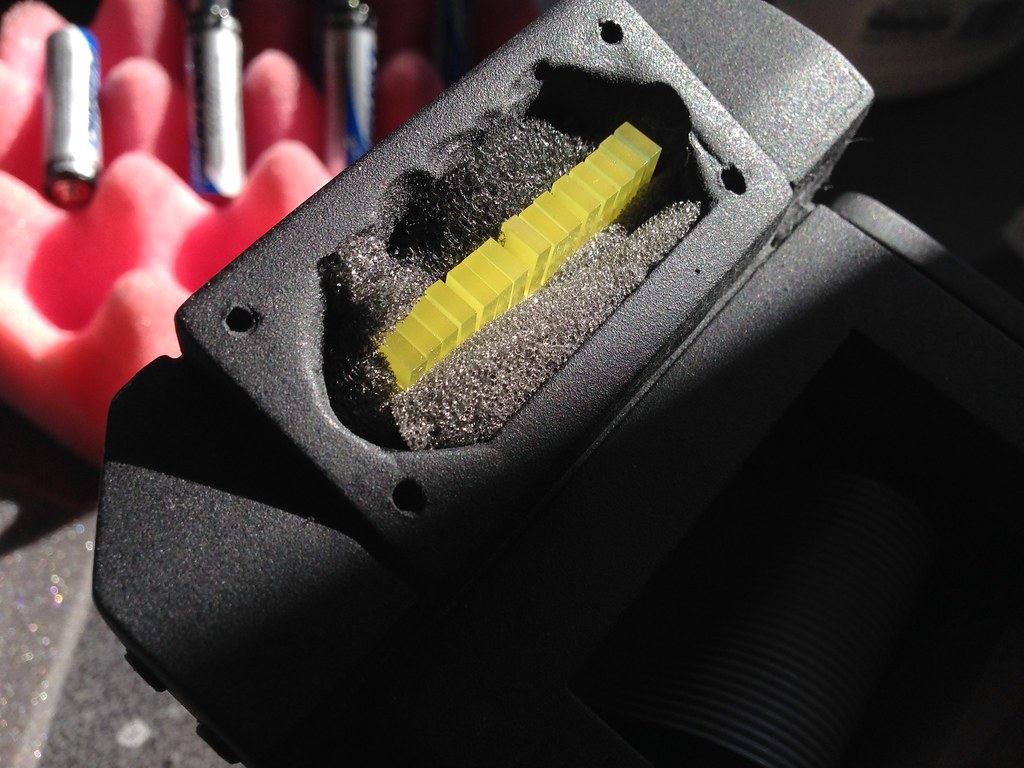
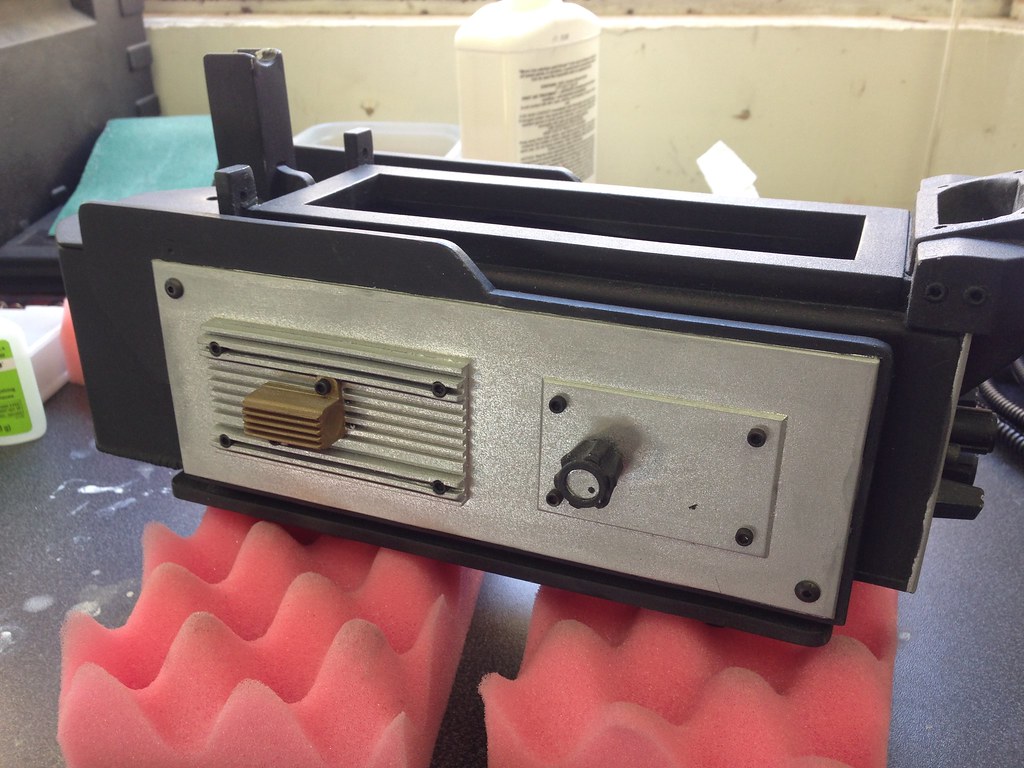
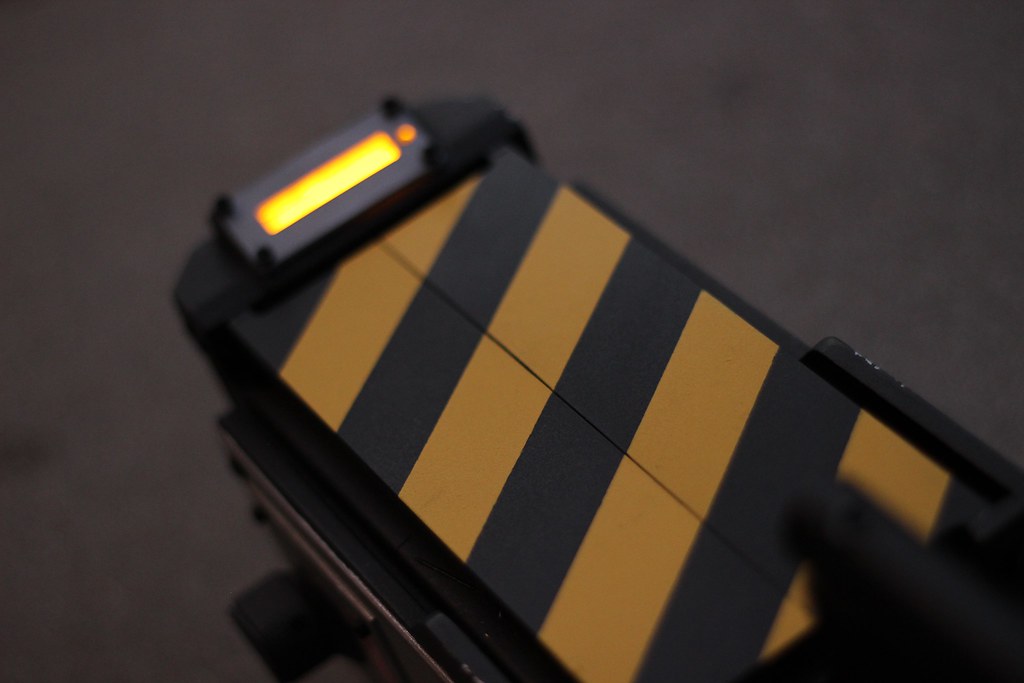
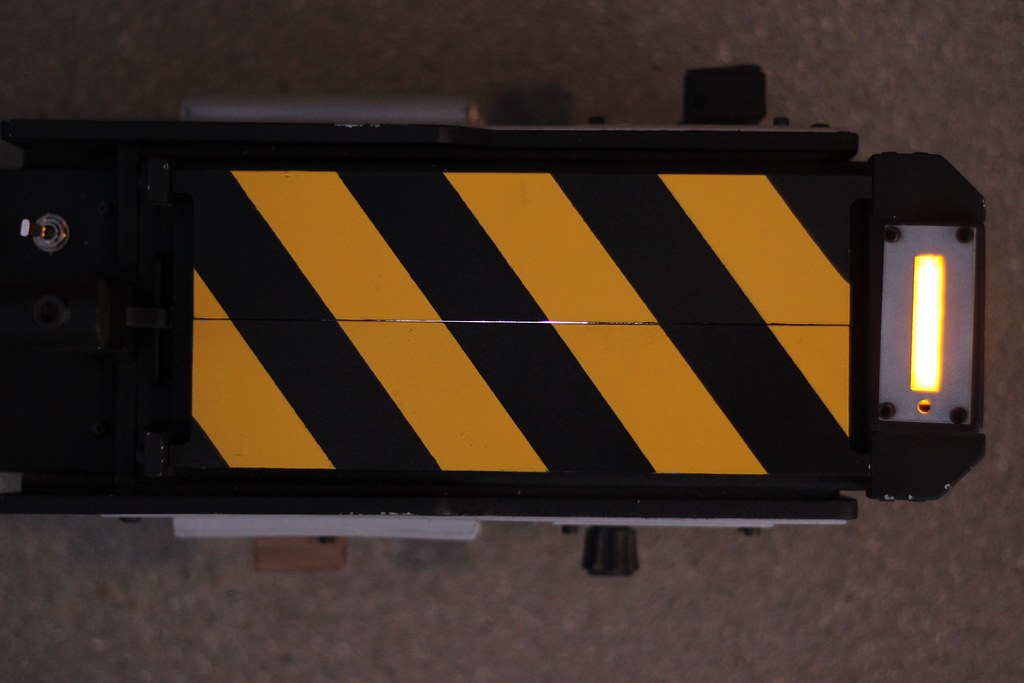
I also needed to open up the front area where the yellow light bar goes.

Image

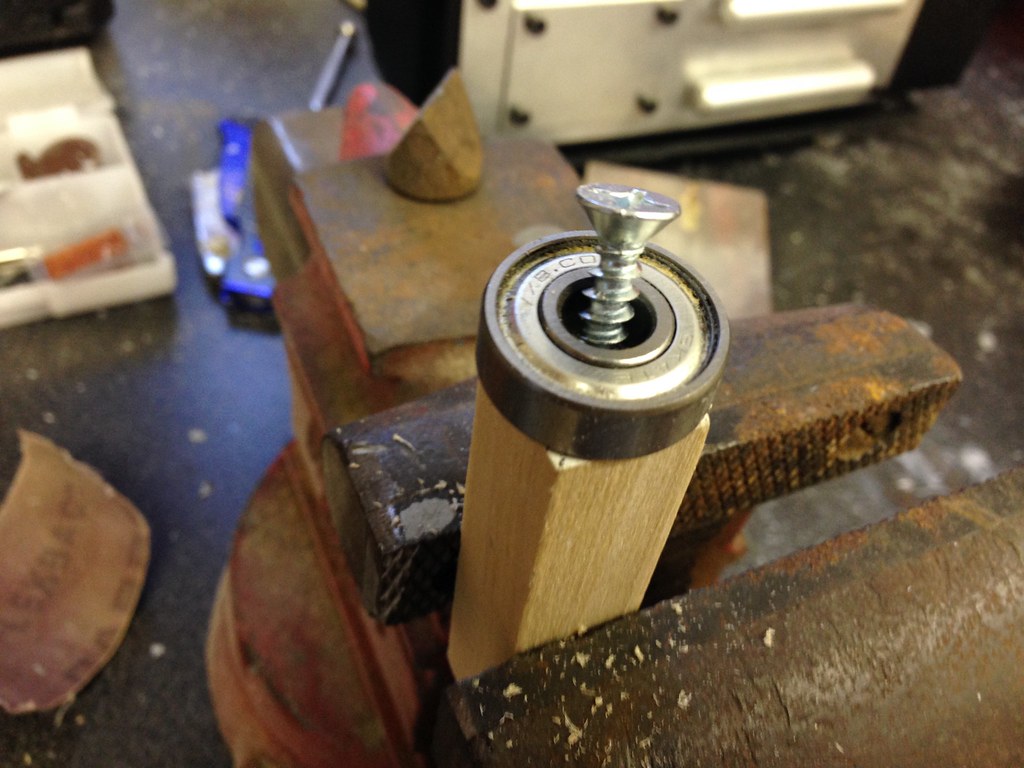
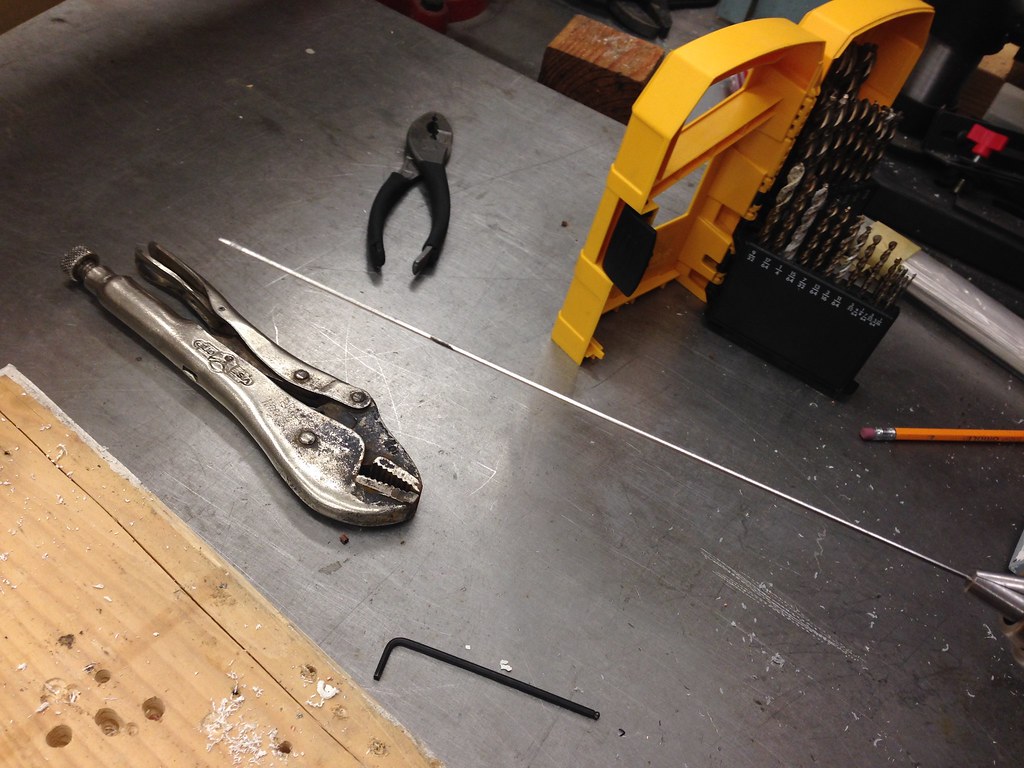
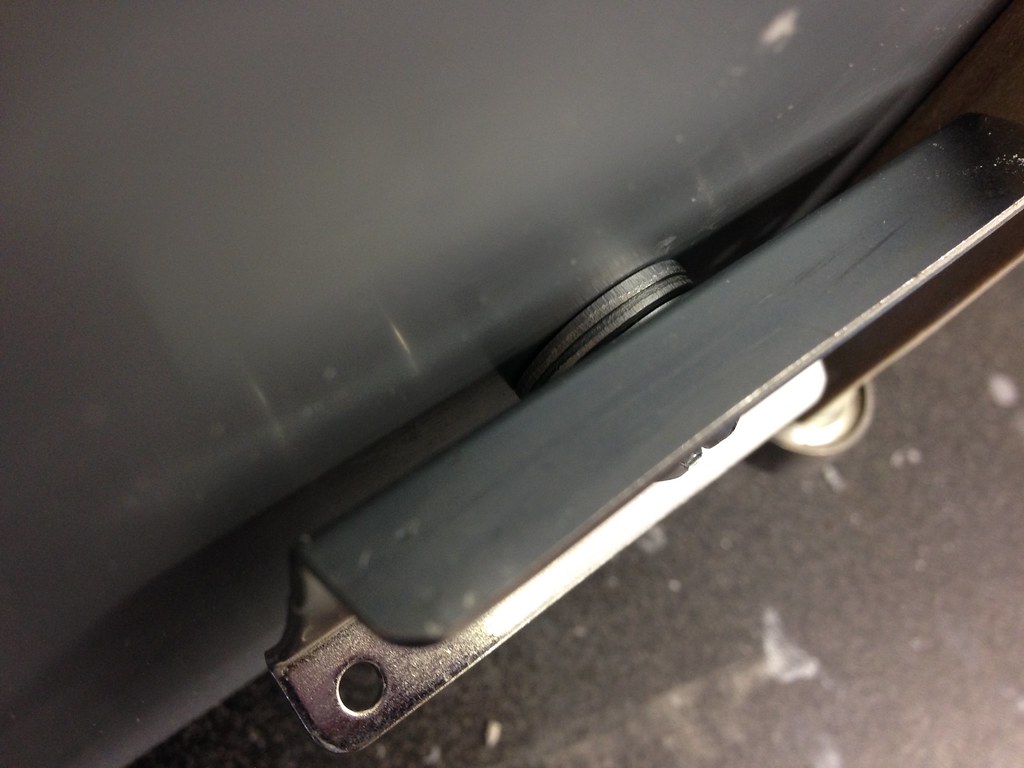
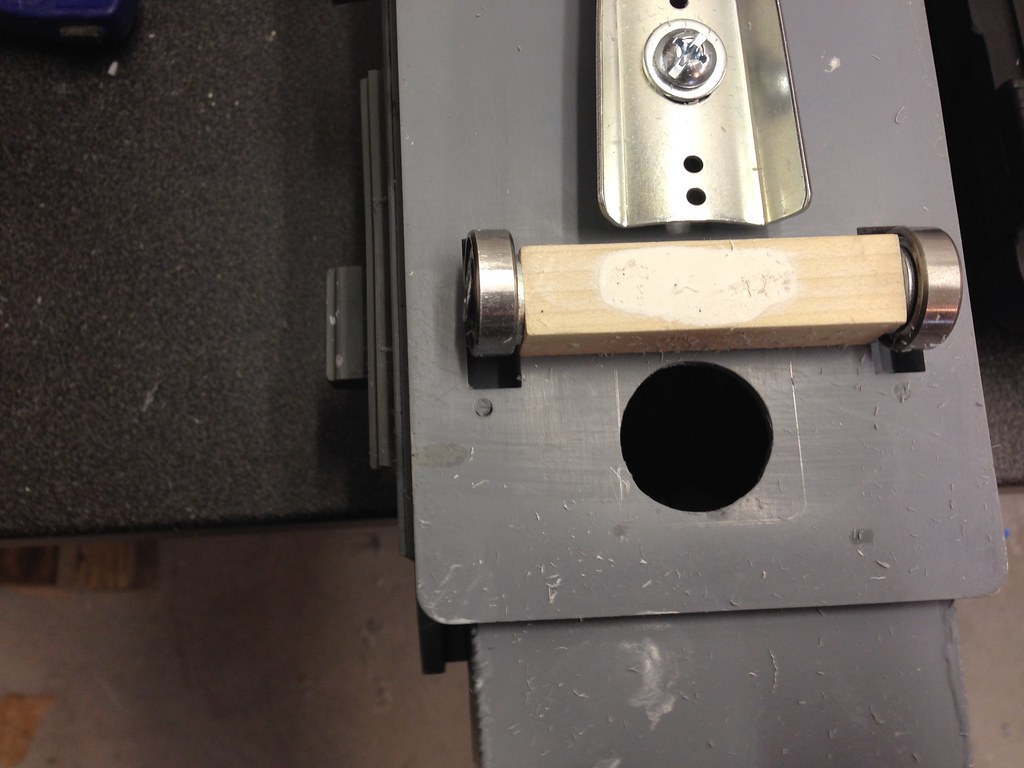
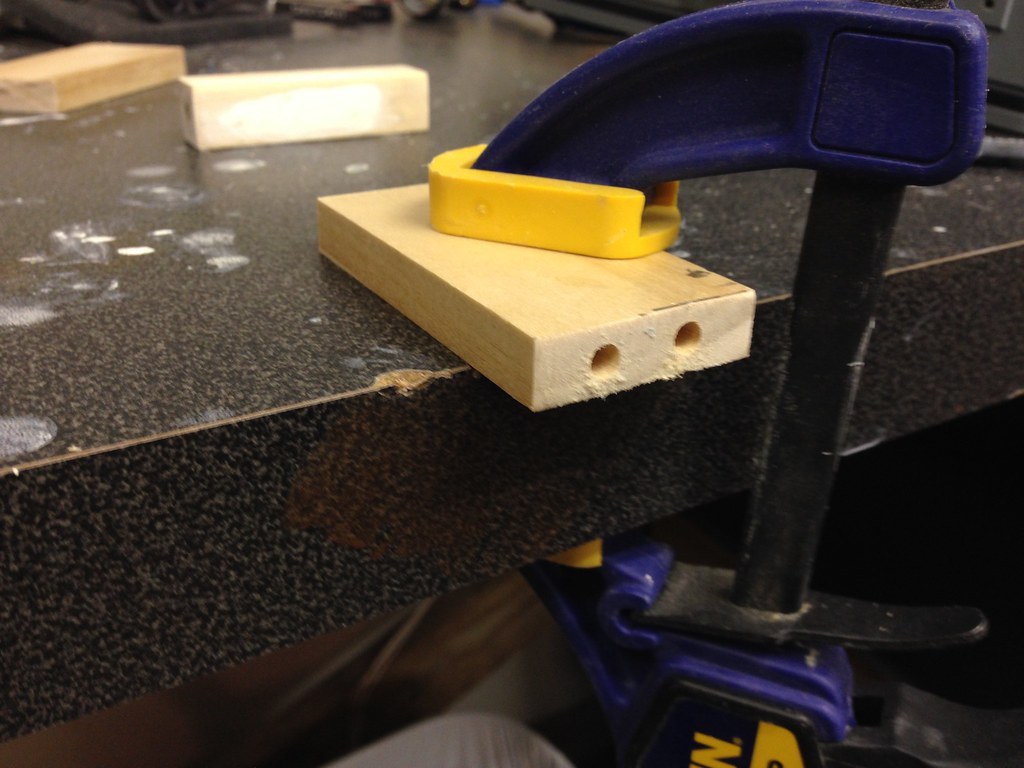
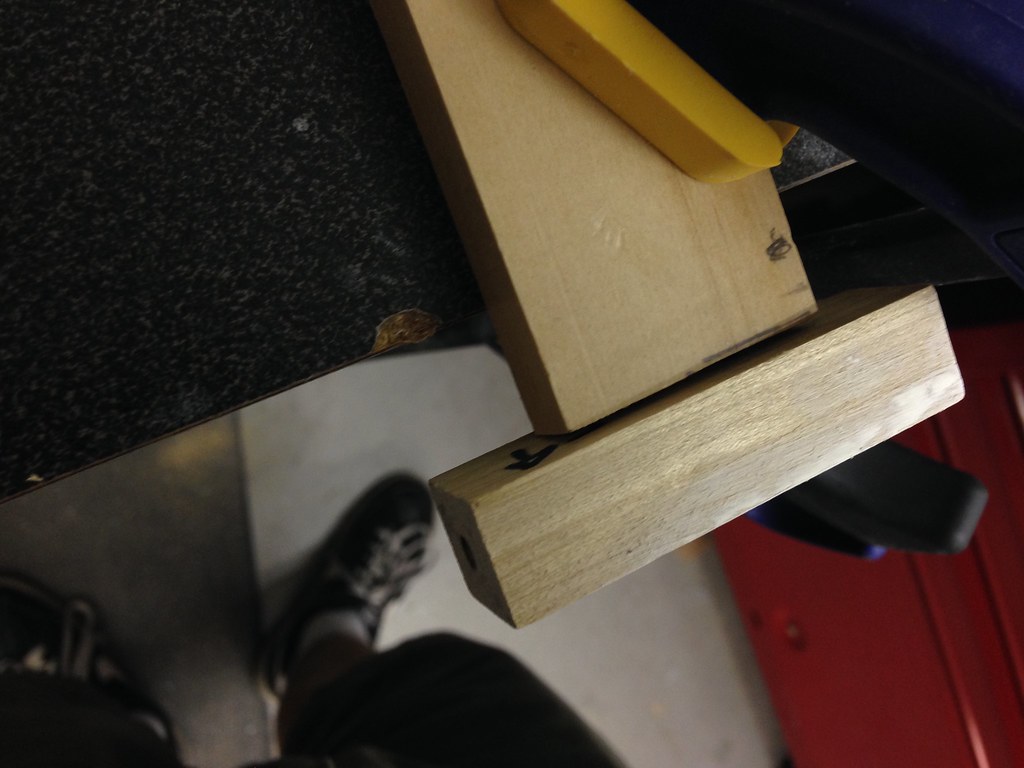
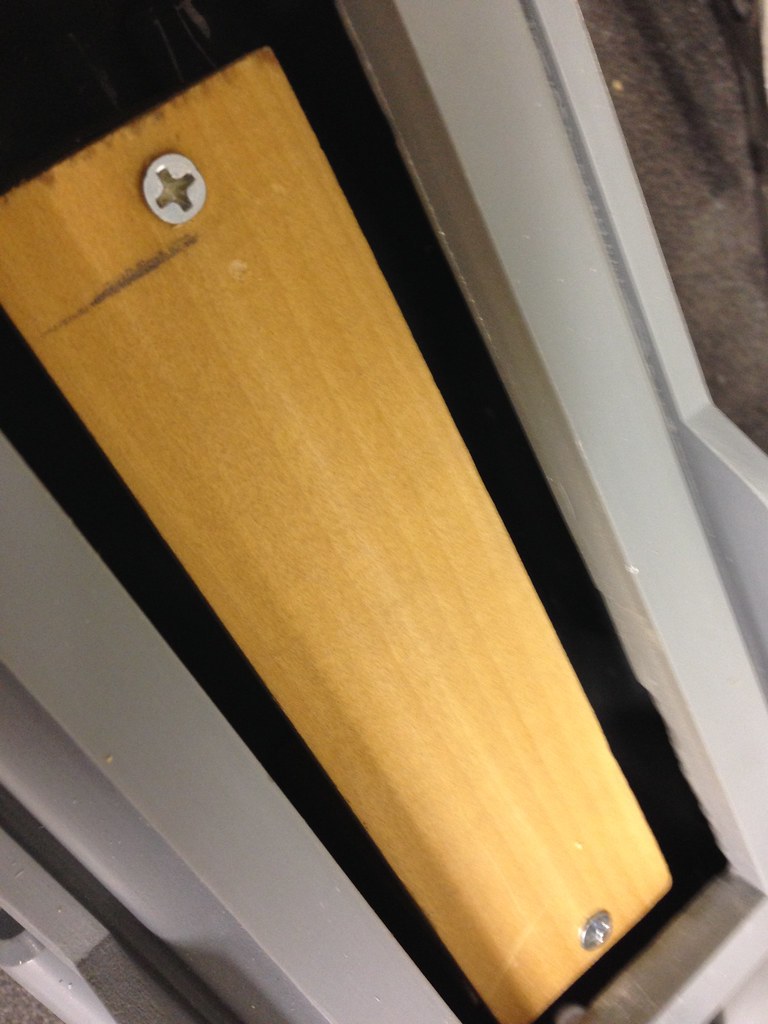
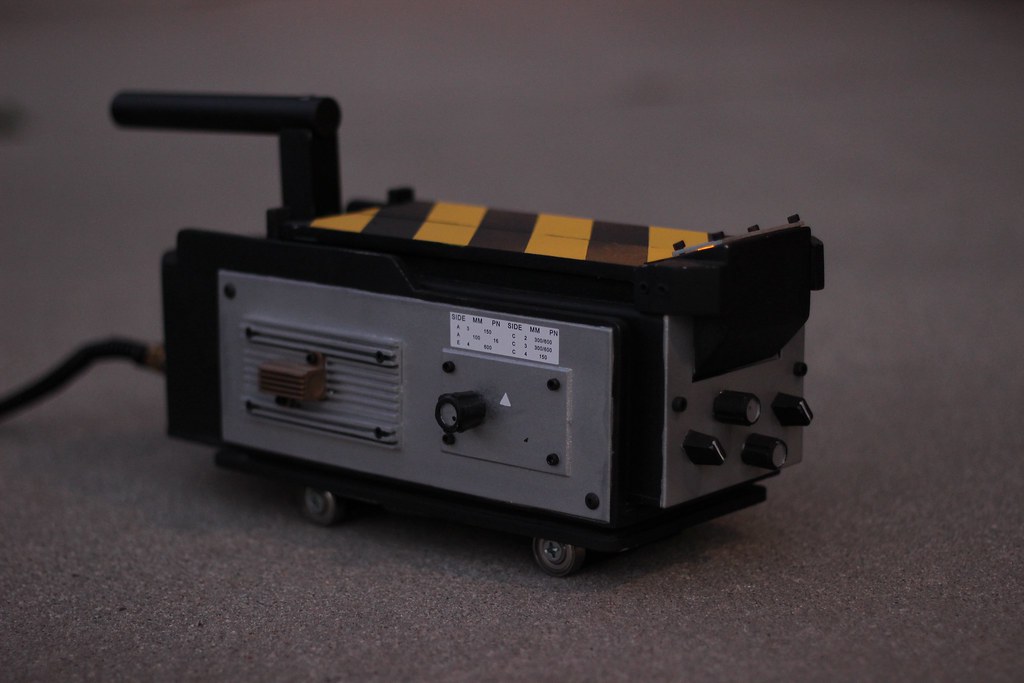
Now for the axel and wheels. I've found these crews with the wider heads. Using them along with a washer in between the wheel and the axel works pretty well.

Image

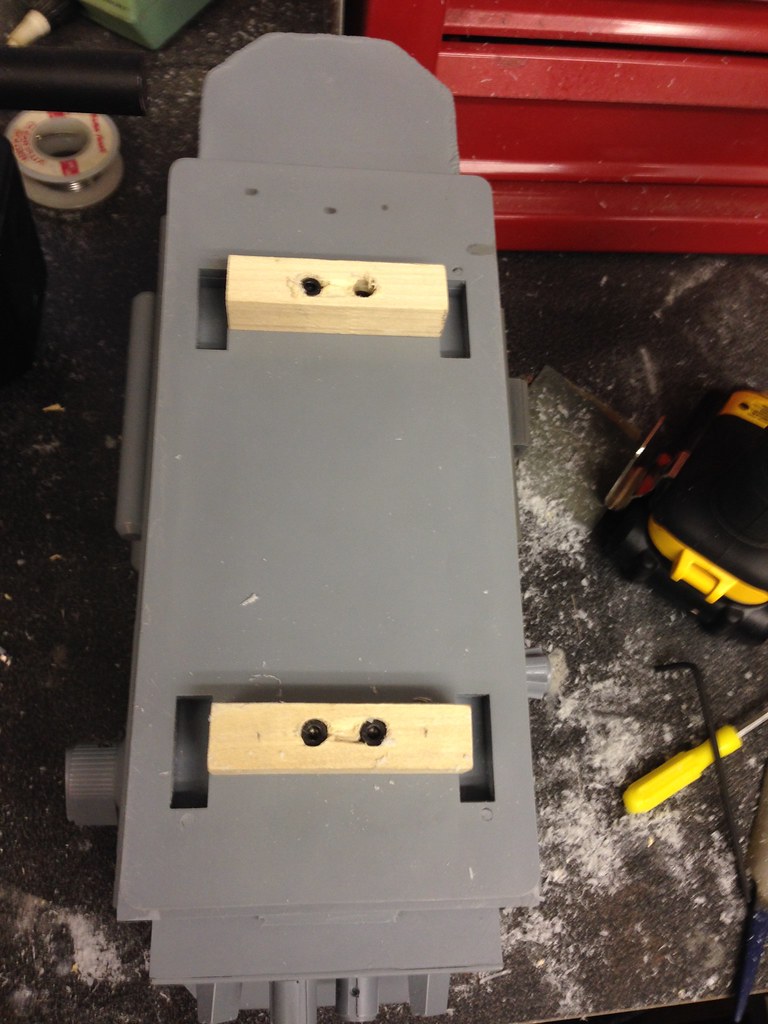
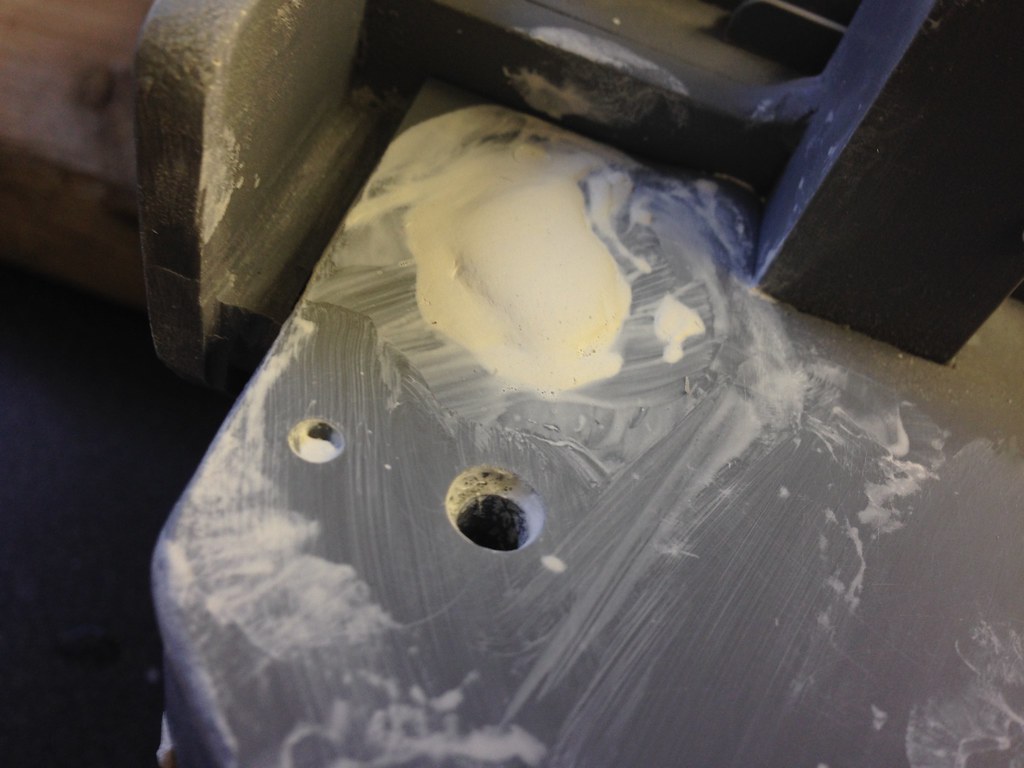
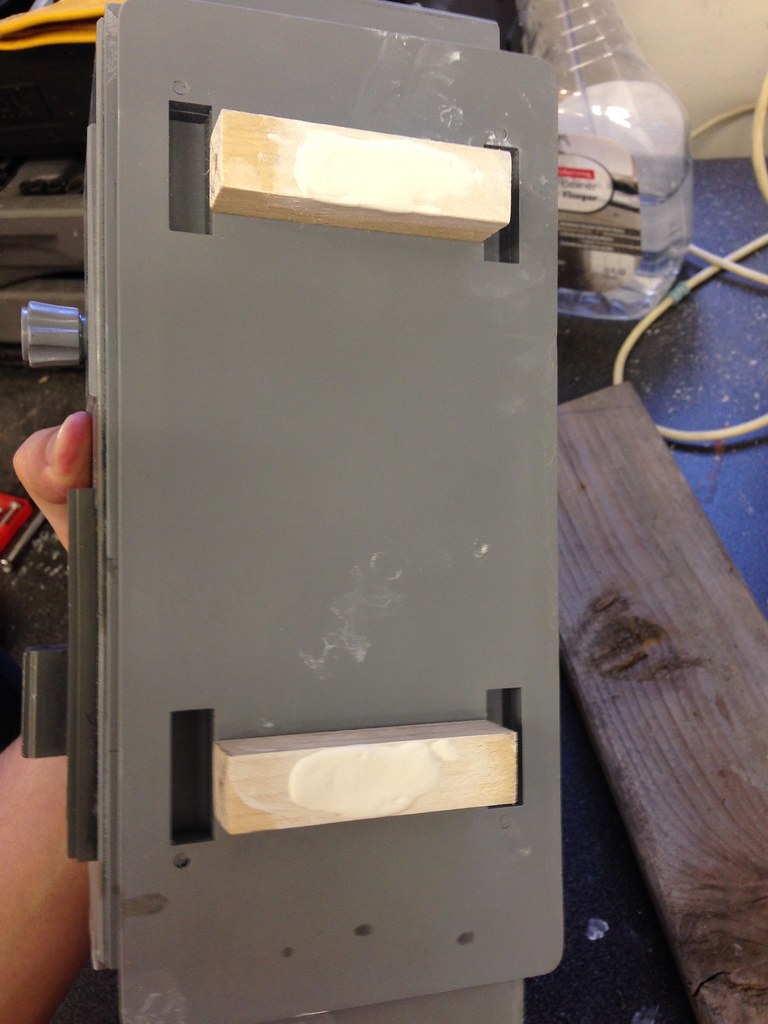
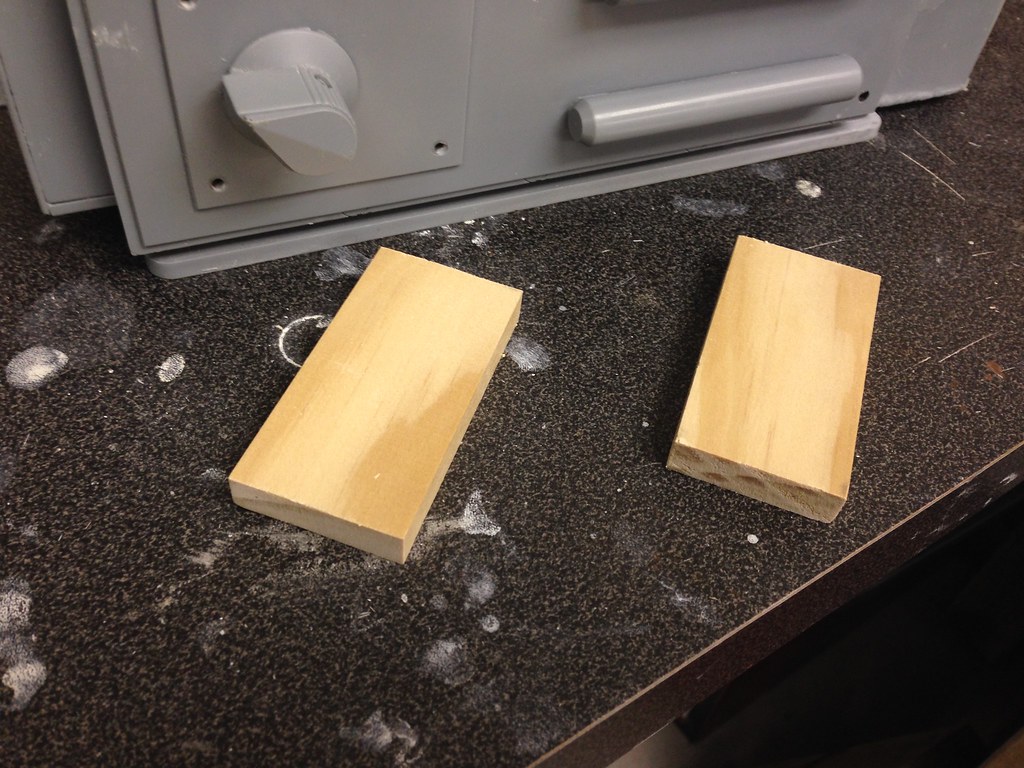
Learning from previous mistakes, I am going to attach these axels with two socket screws. This will keep the axel from rotating, and will also make it easy to remove if I need to down the line. I have recessed the heads into the wood and plan to use putty to smooth this out and hide the screws altogether.

Image

Image

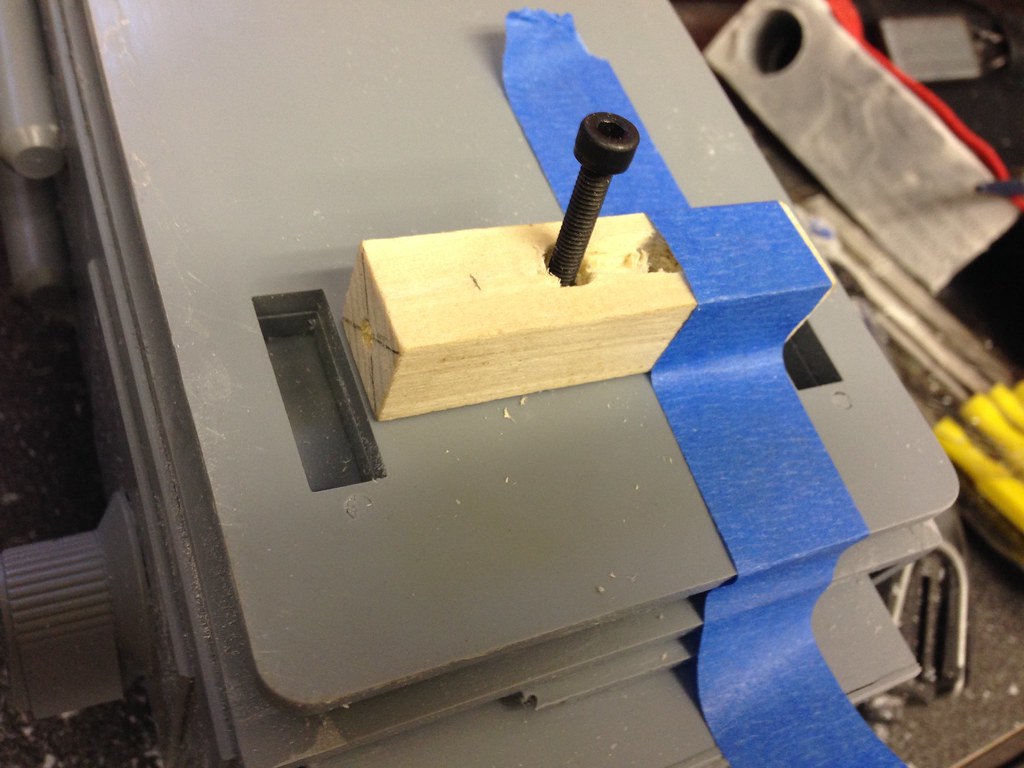
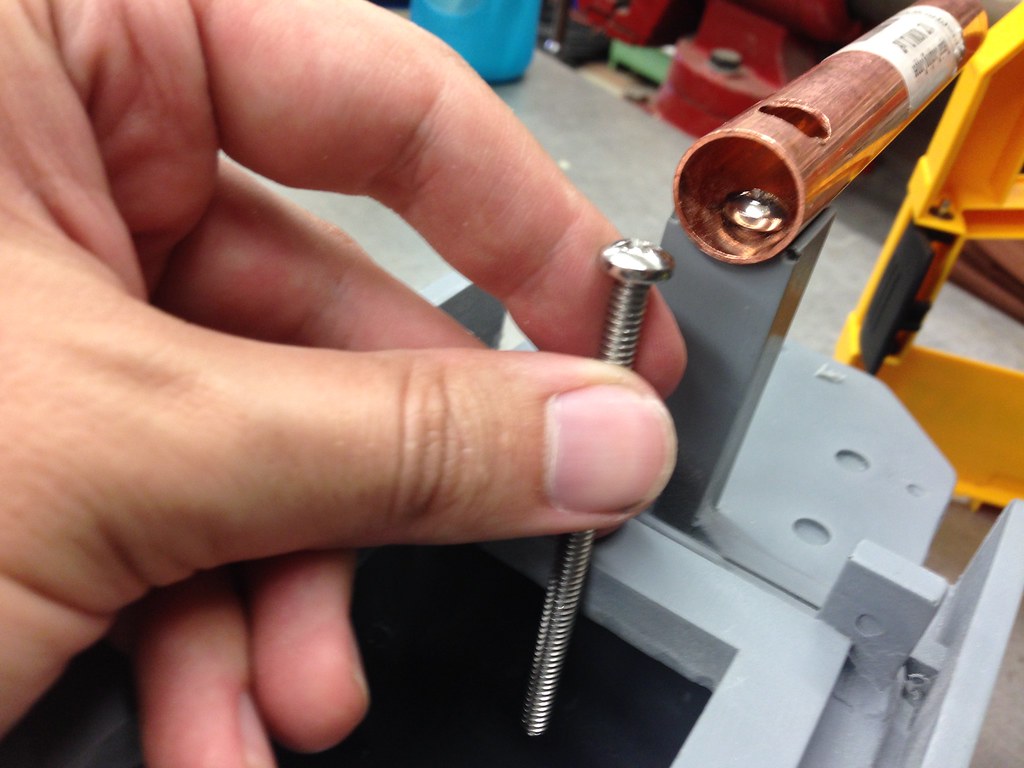
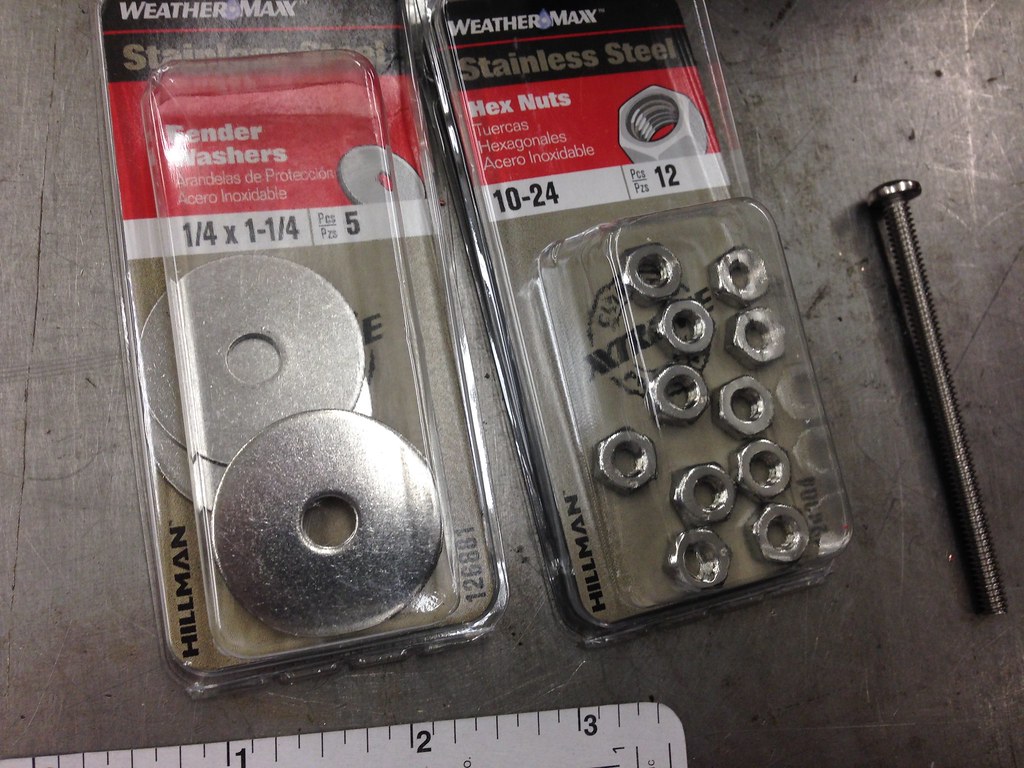
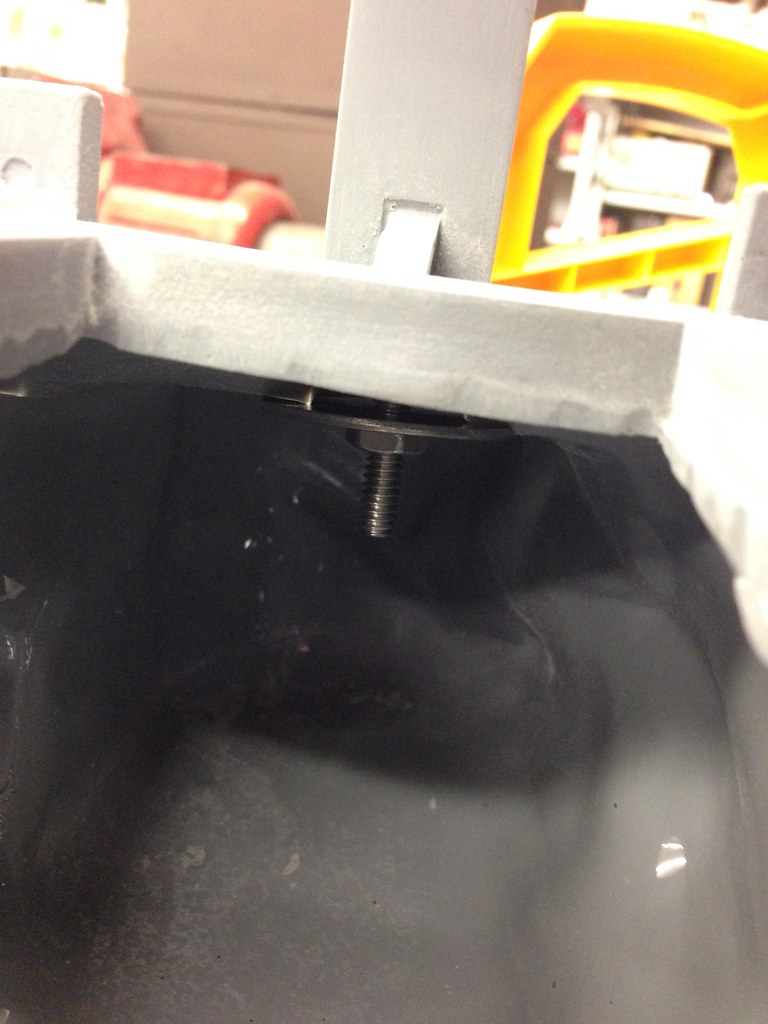
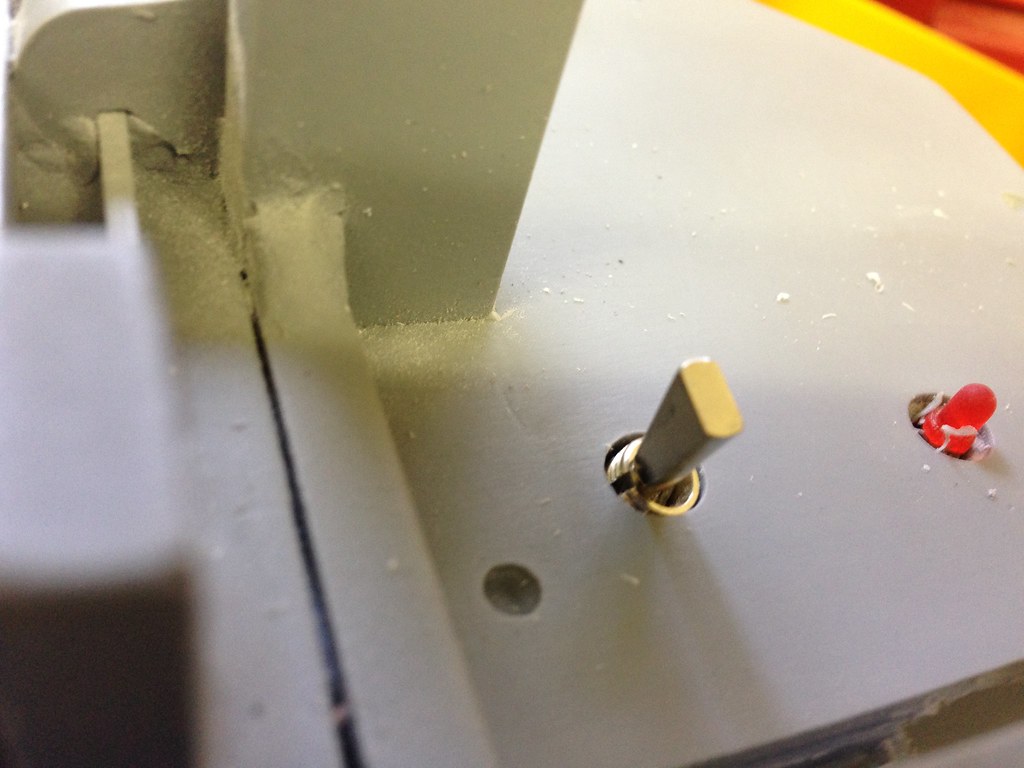
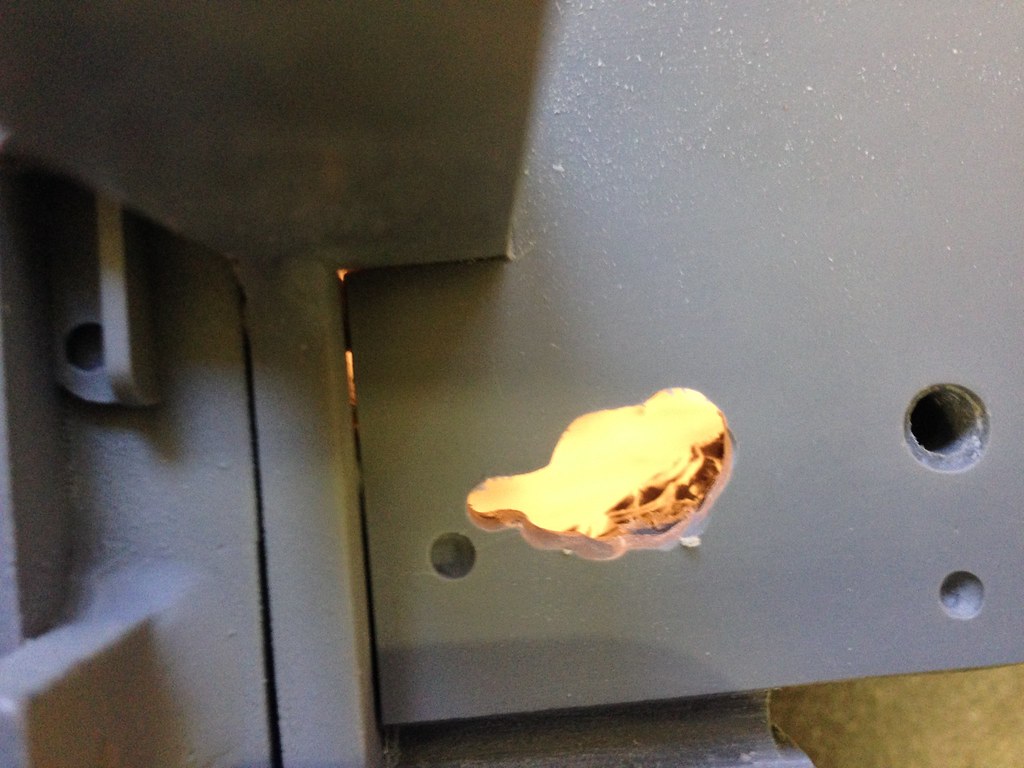
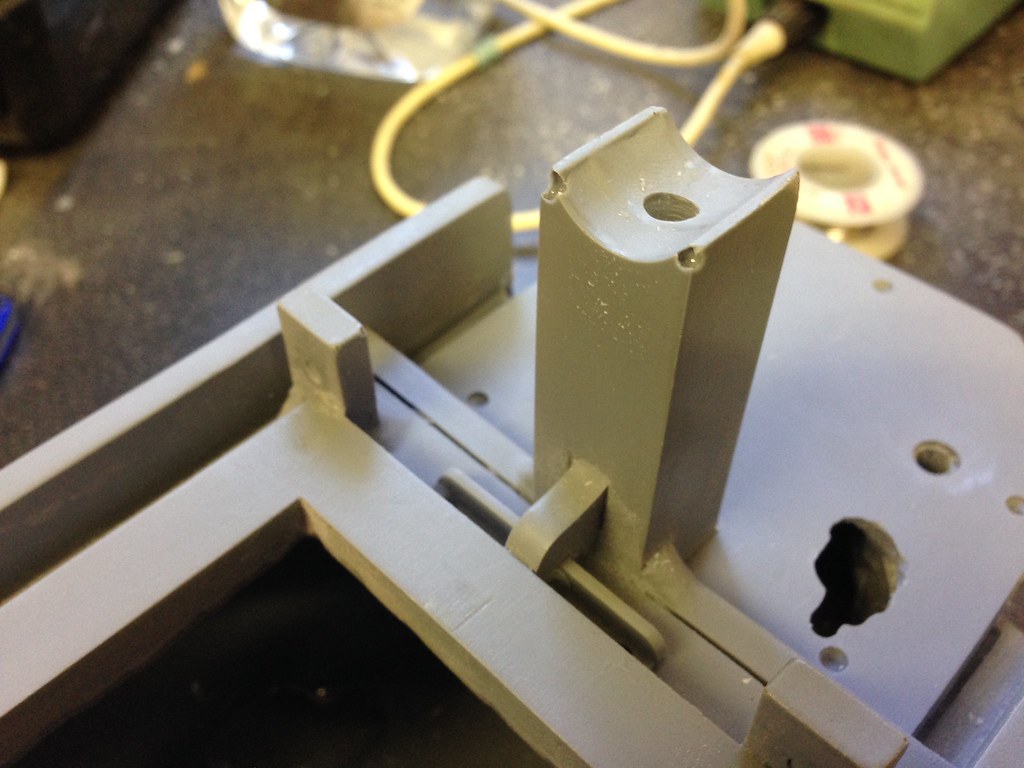
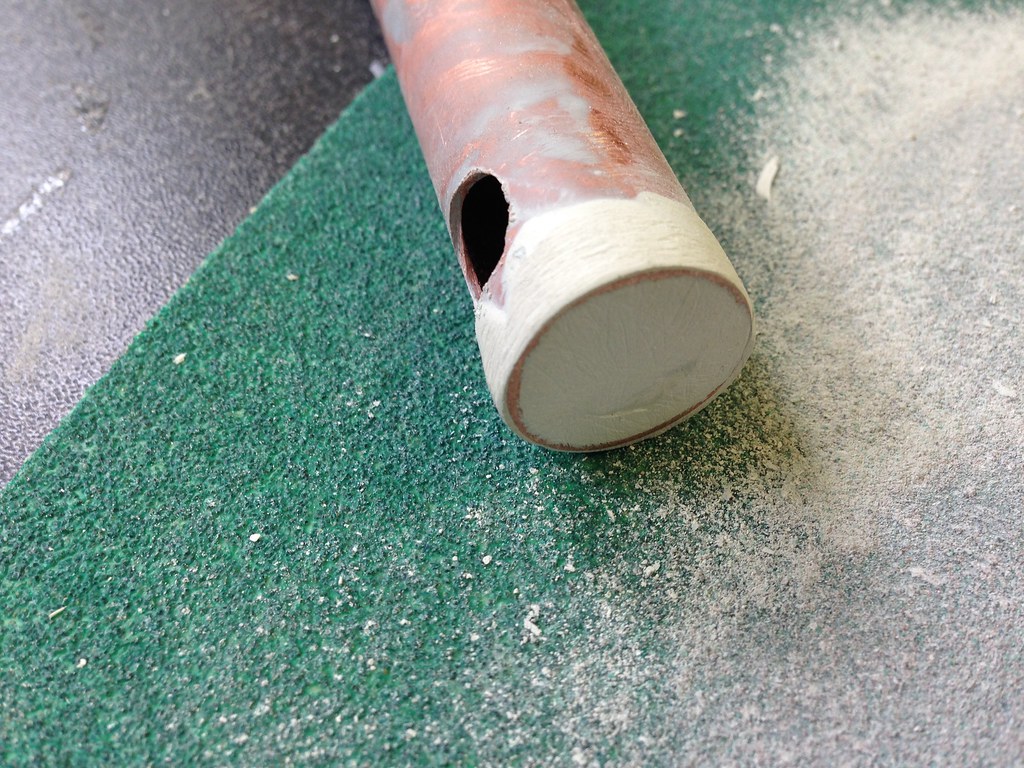
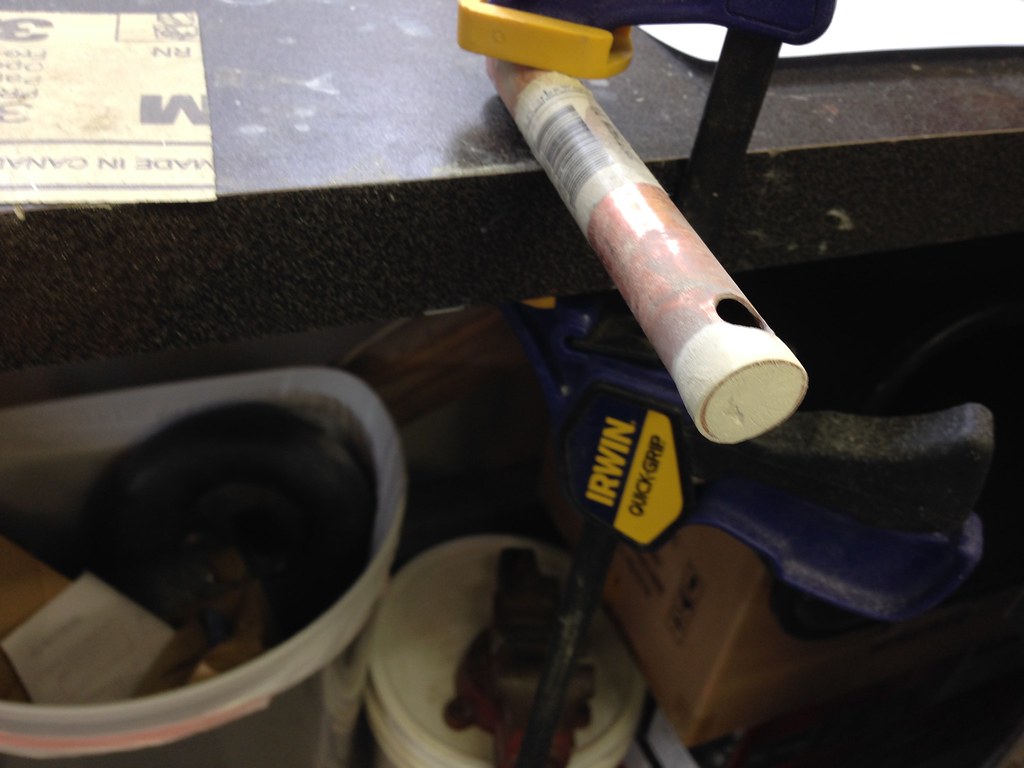
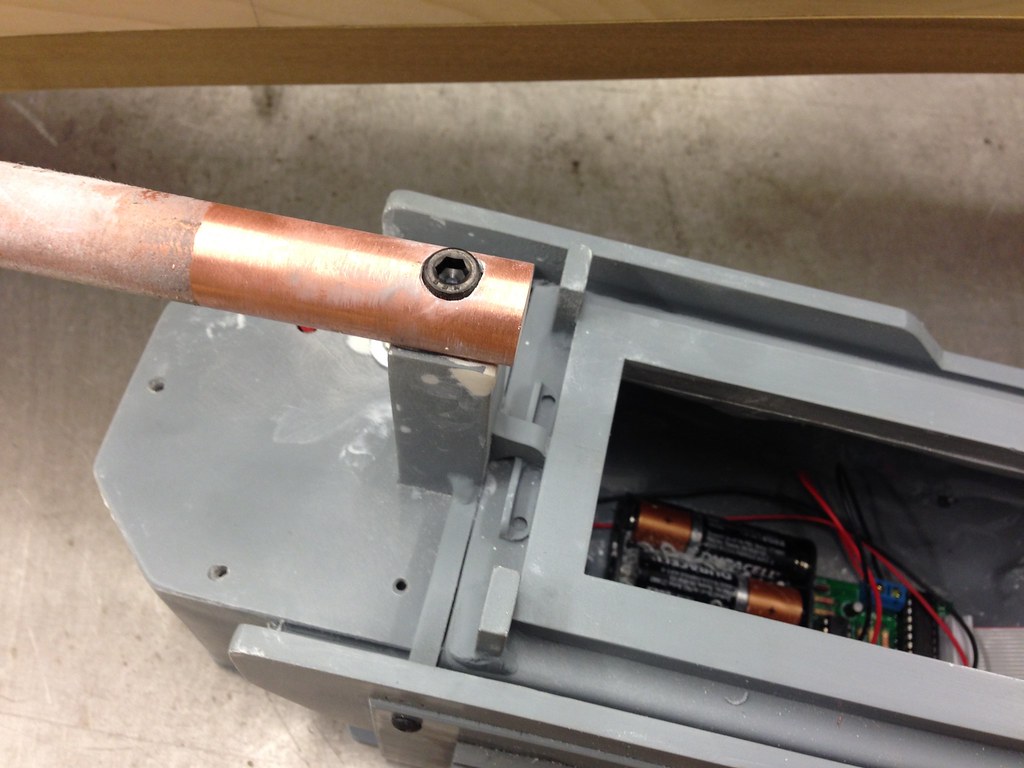
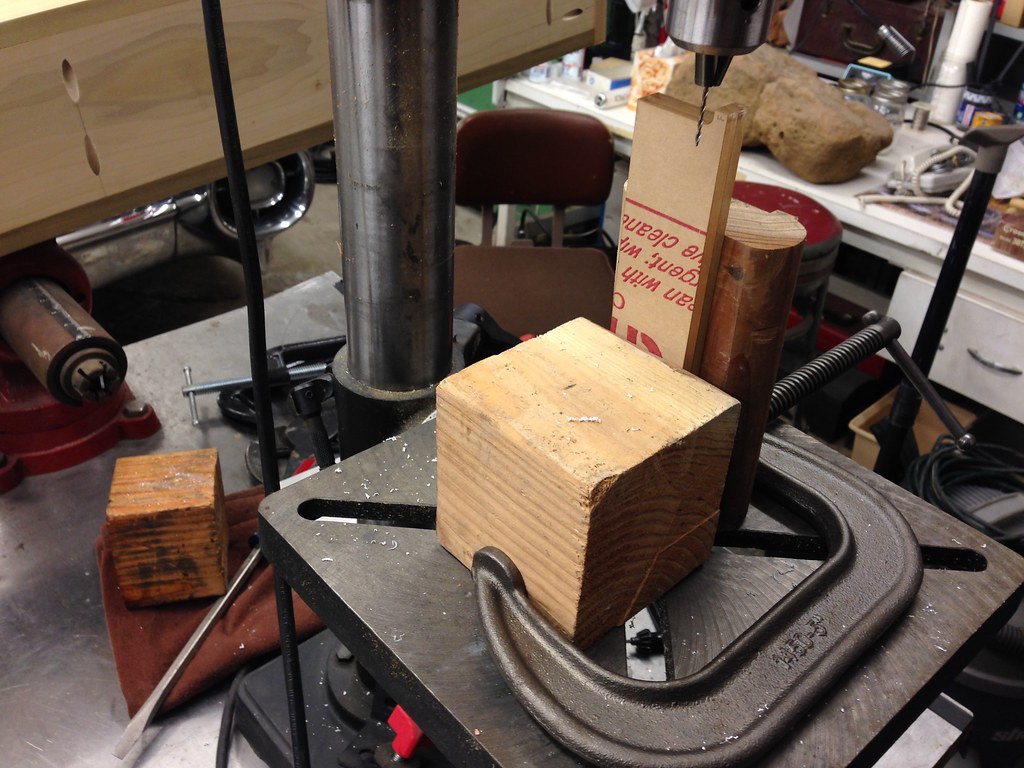
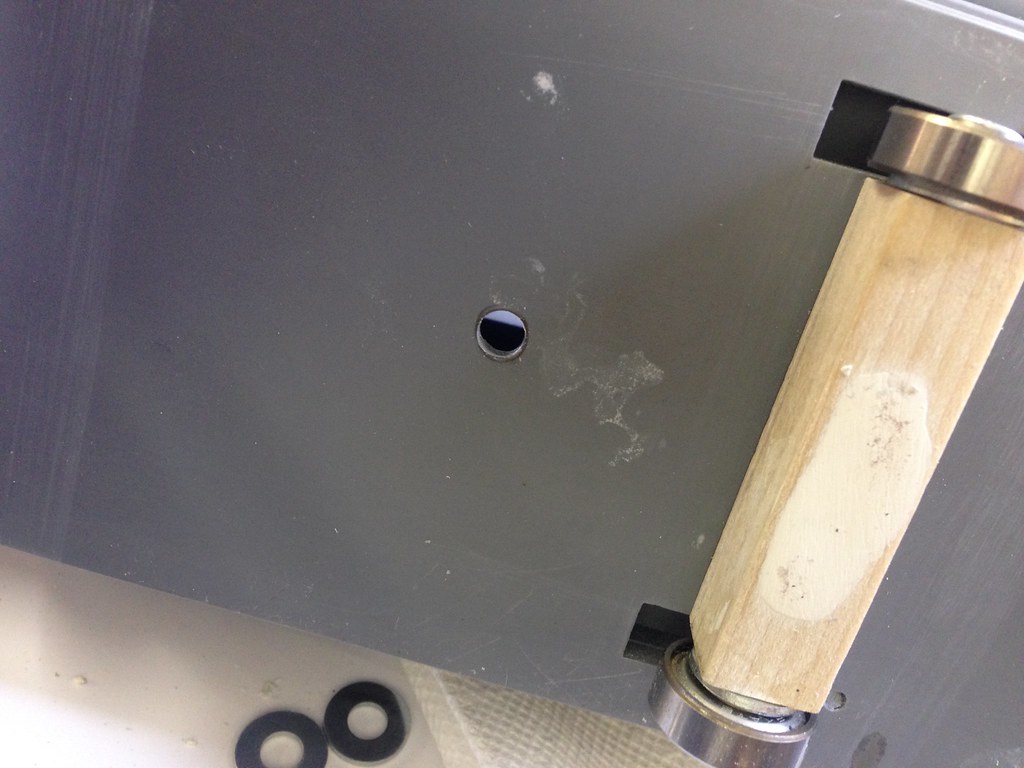
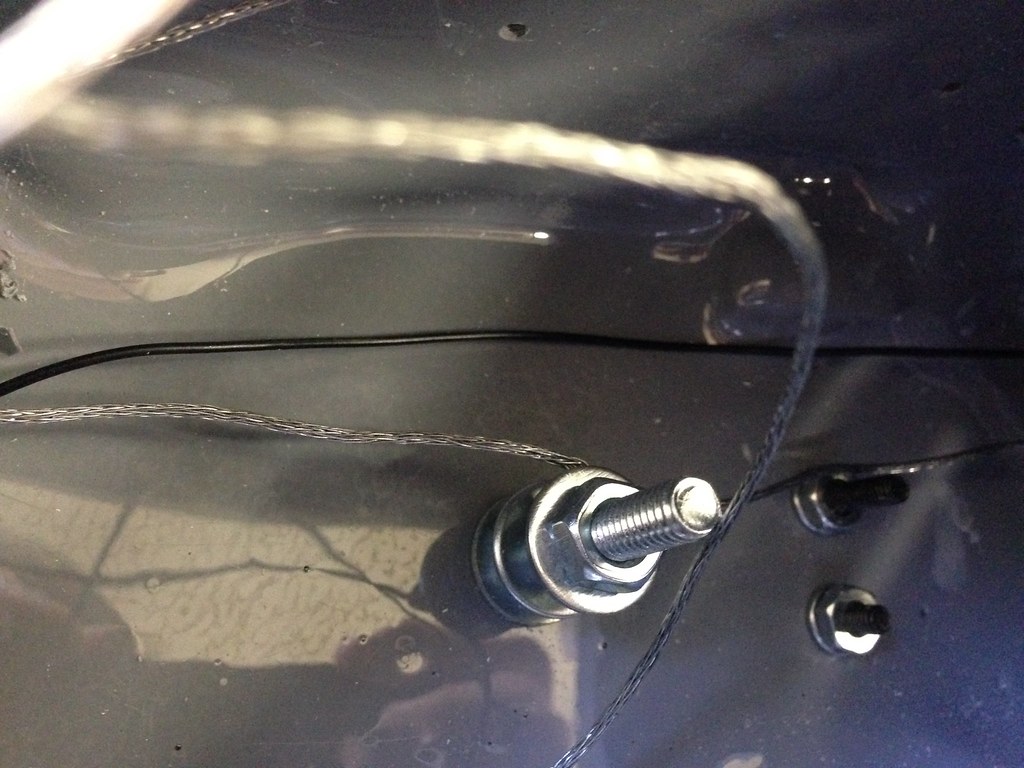
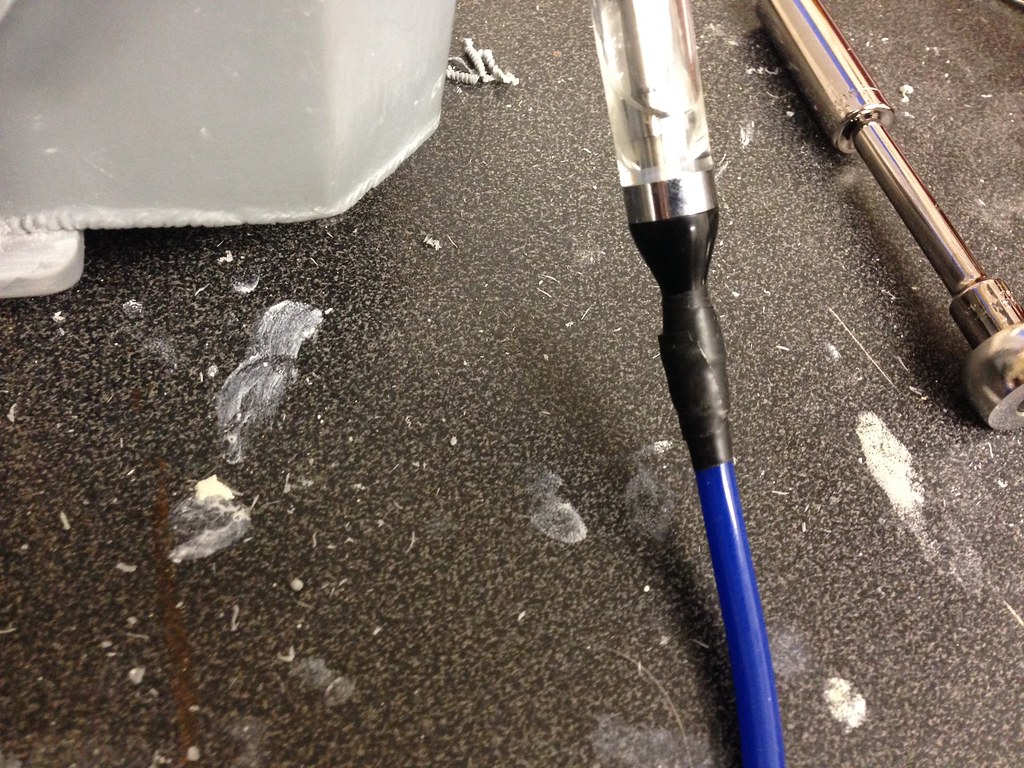
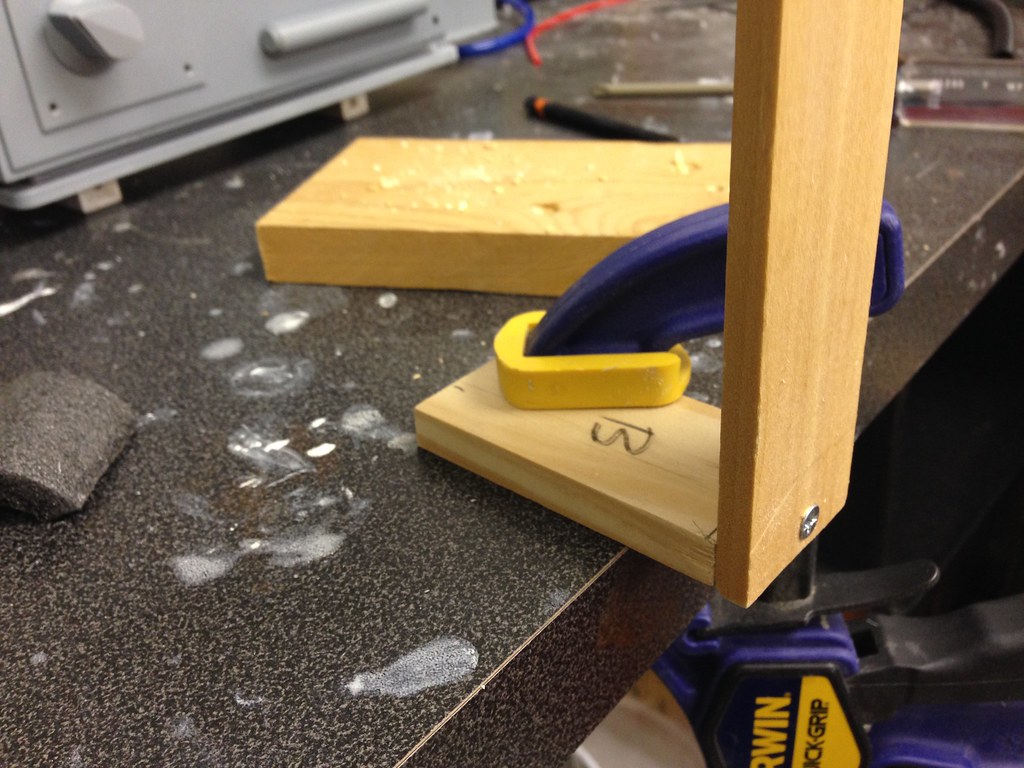
For the handle, I didn't want to have to worry about the resin post handling the weight of the trap. With a drill press I was able to install this 3 inch bolt through the copper handle. On the inside of the trap I am using a large diameter washer along with the bolt to help strengthen the post.

Image

Image

Image

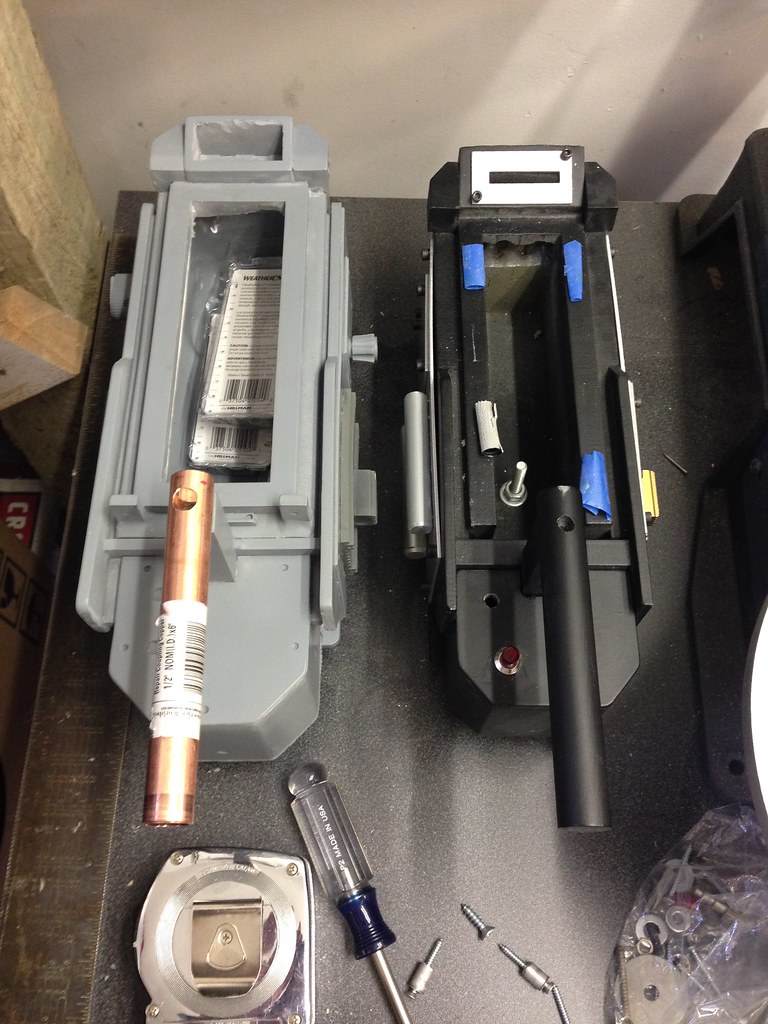
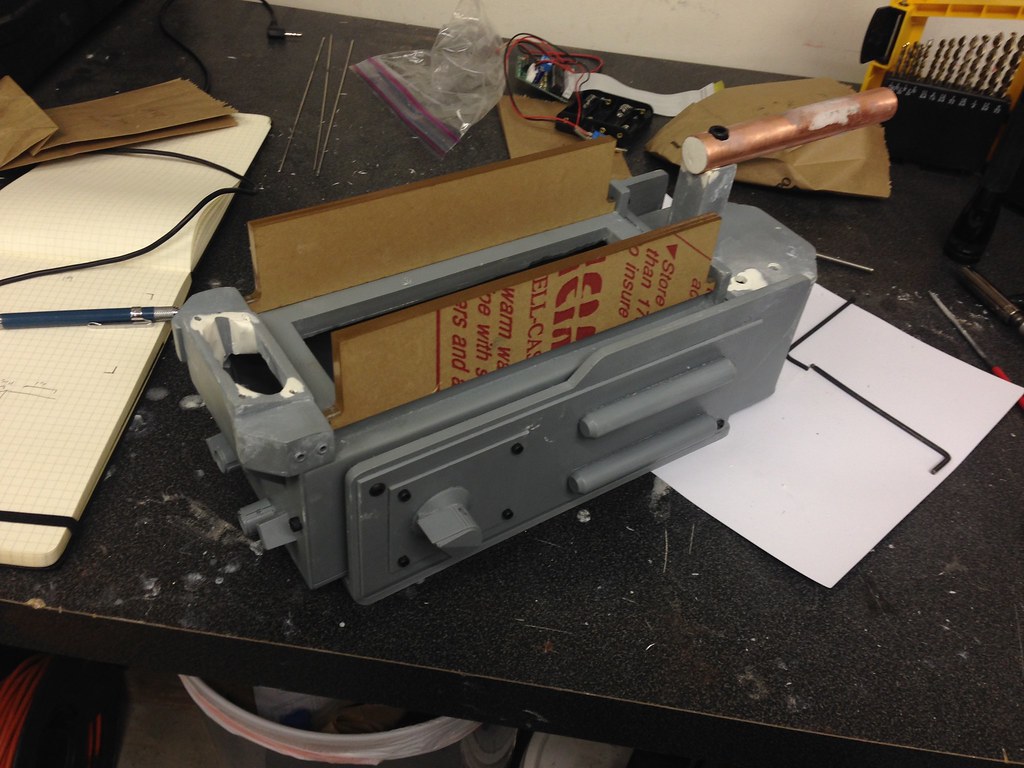
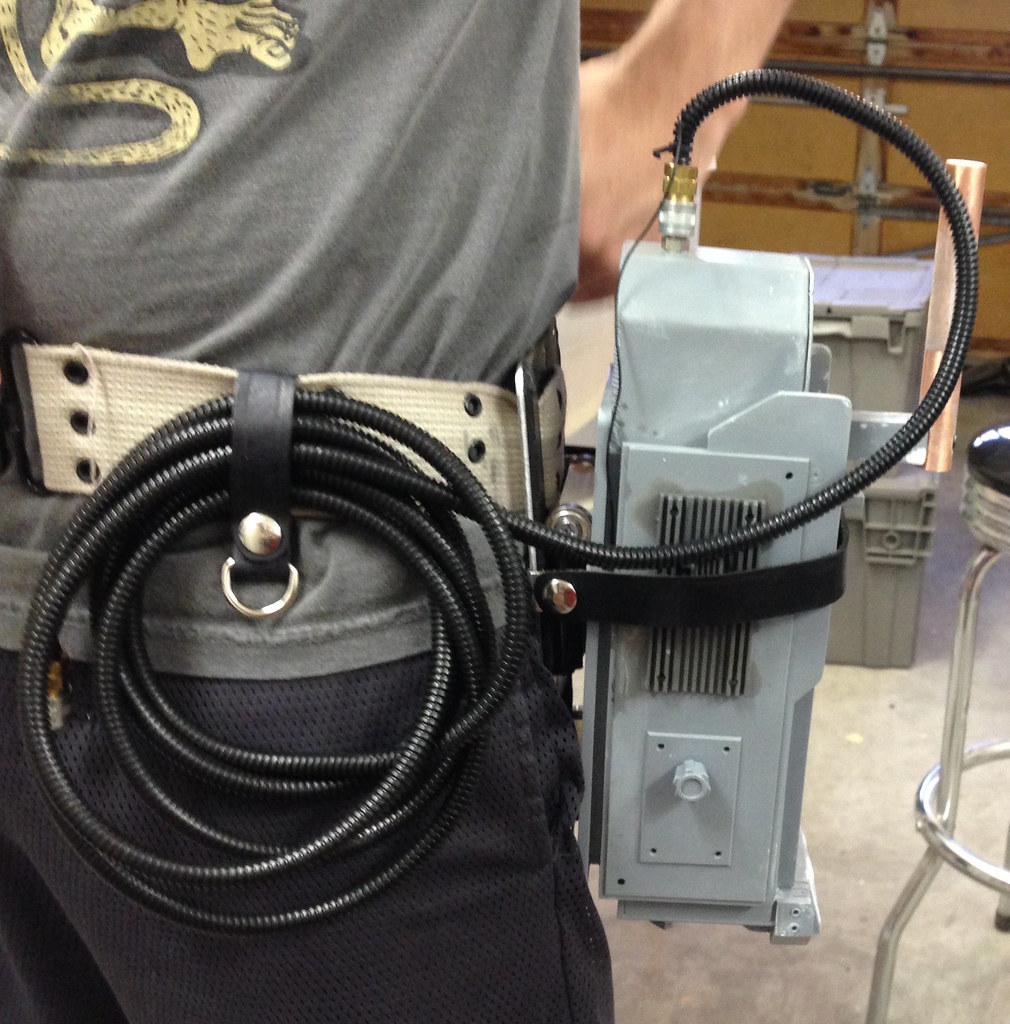
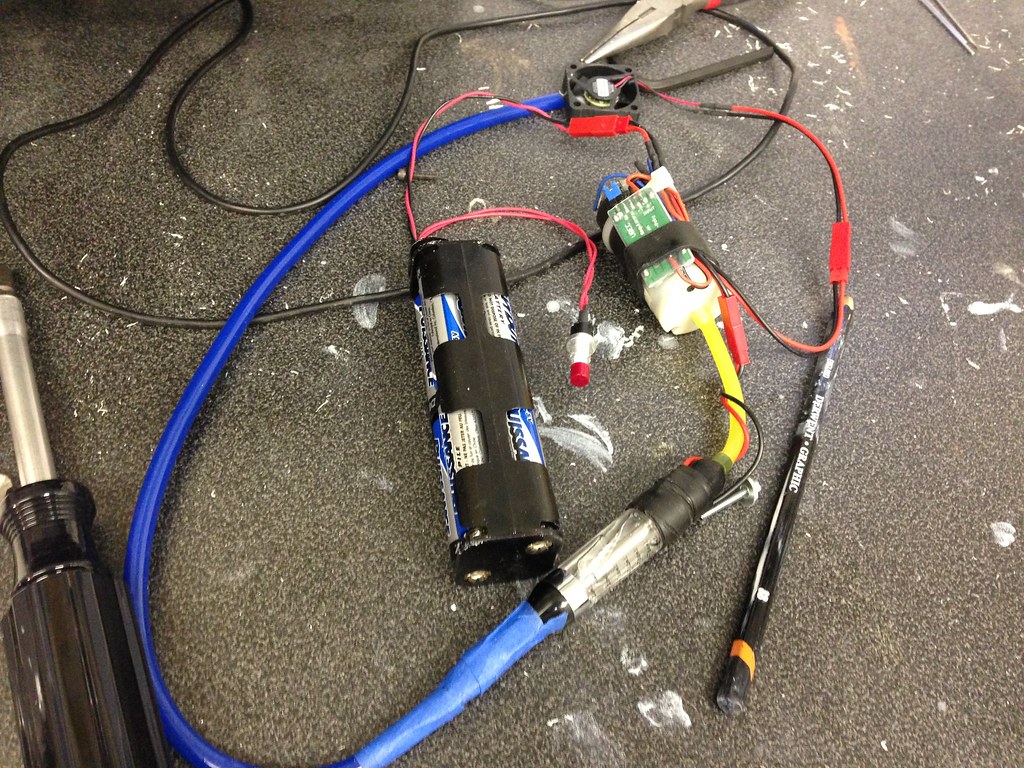
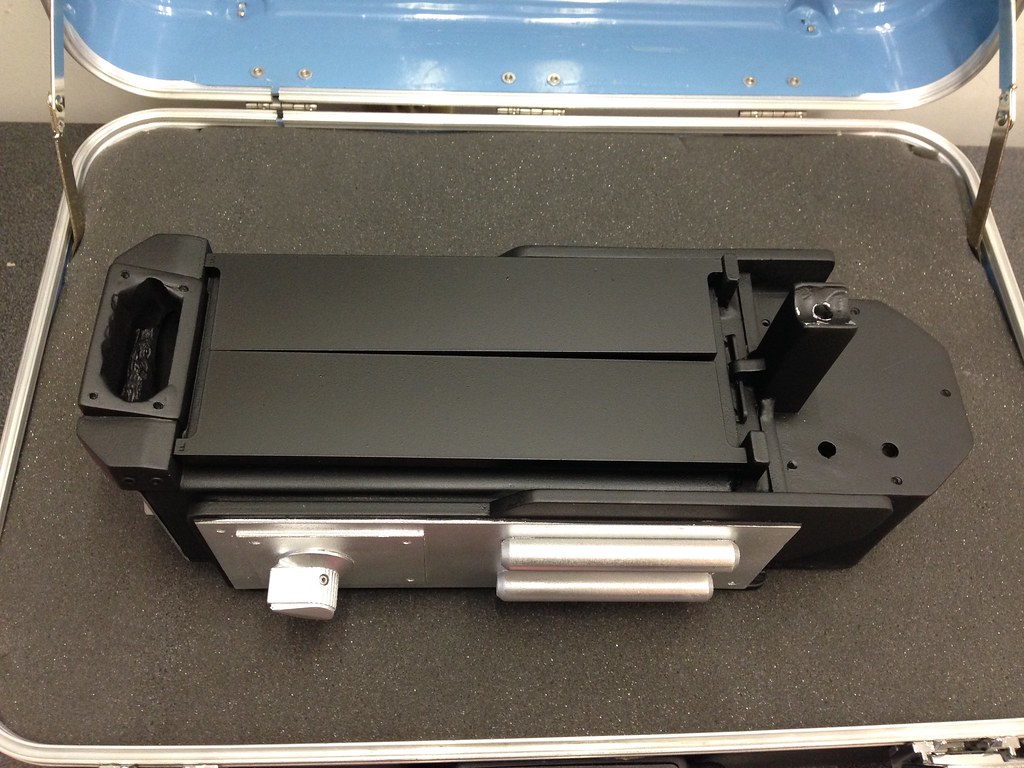
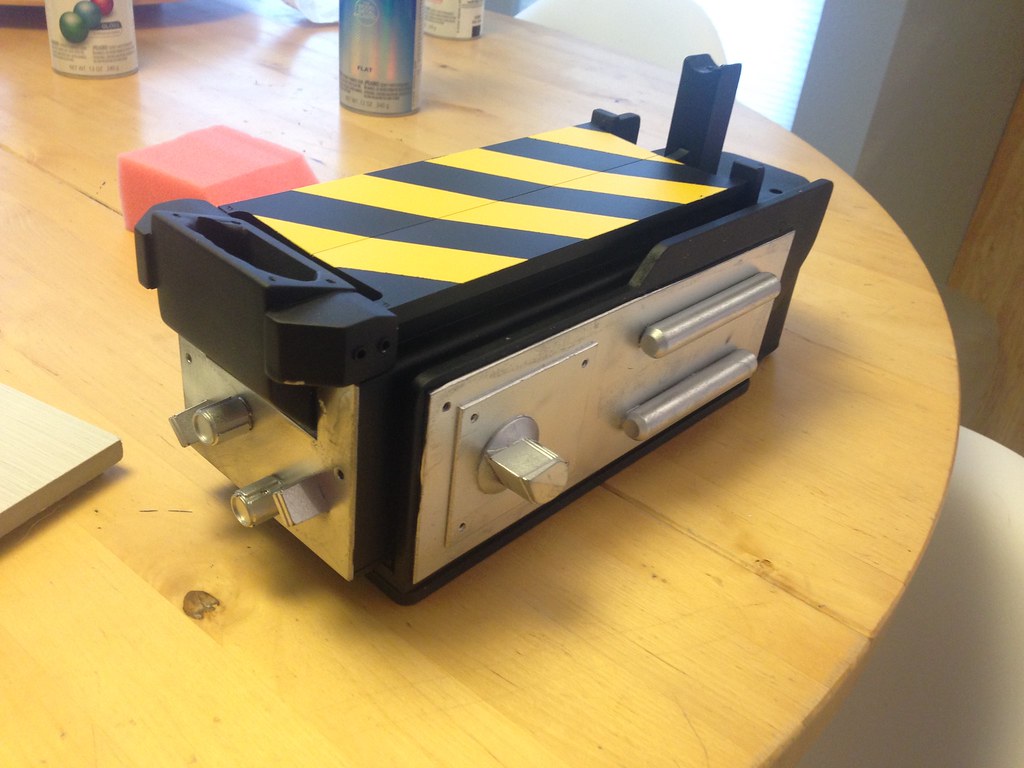
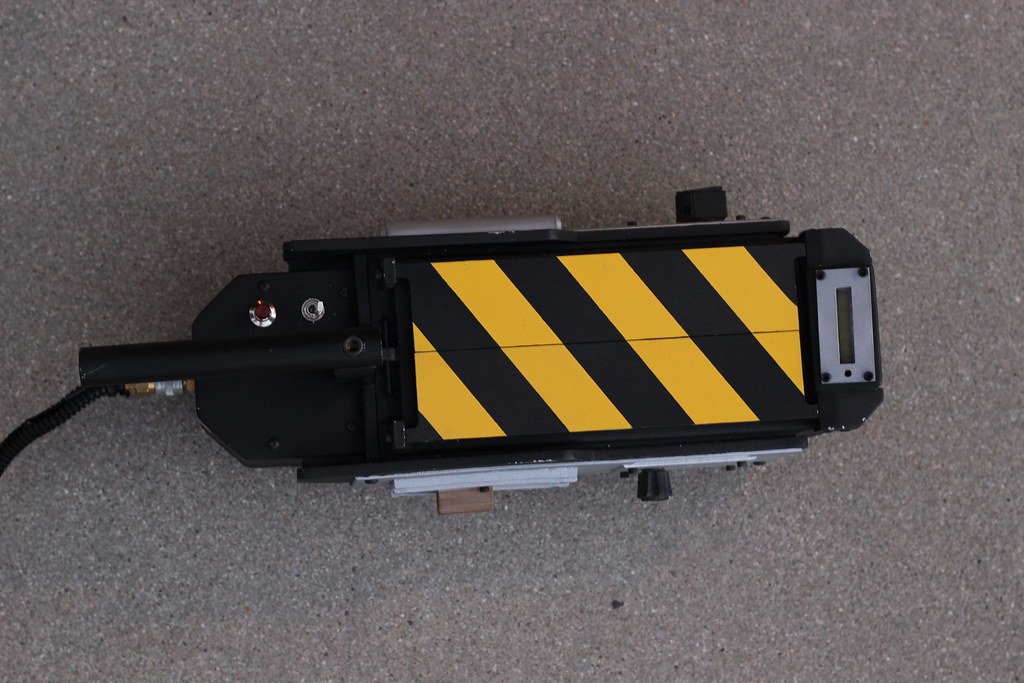
I am cannibalizing some parts off of my MDF stunt trap from GBfan's shop. Mostly the electronics kit. I will need to order a replacement switch for this, but in the mean time it just hangs out on my shelf anyhow. You can see the size difference from GB1 to GB2 really well here.

Image

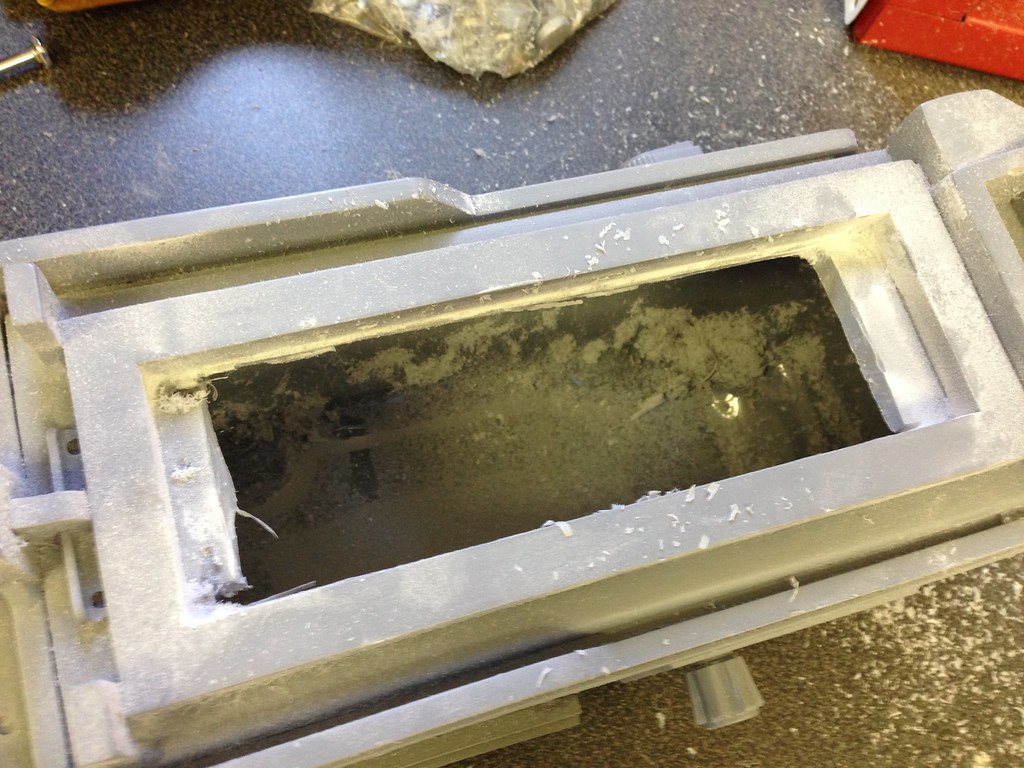
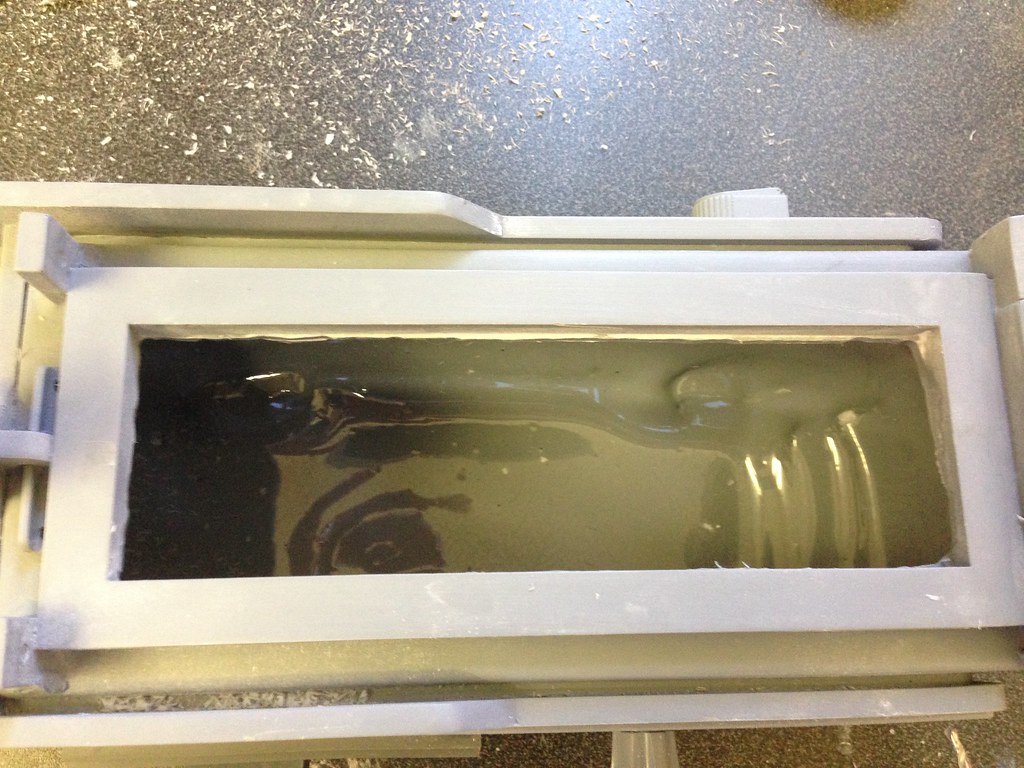
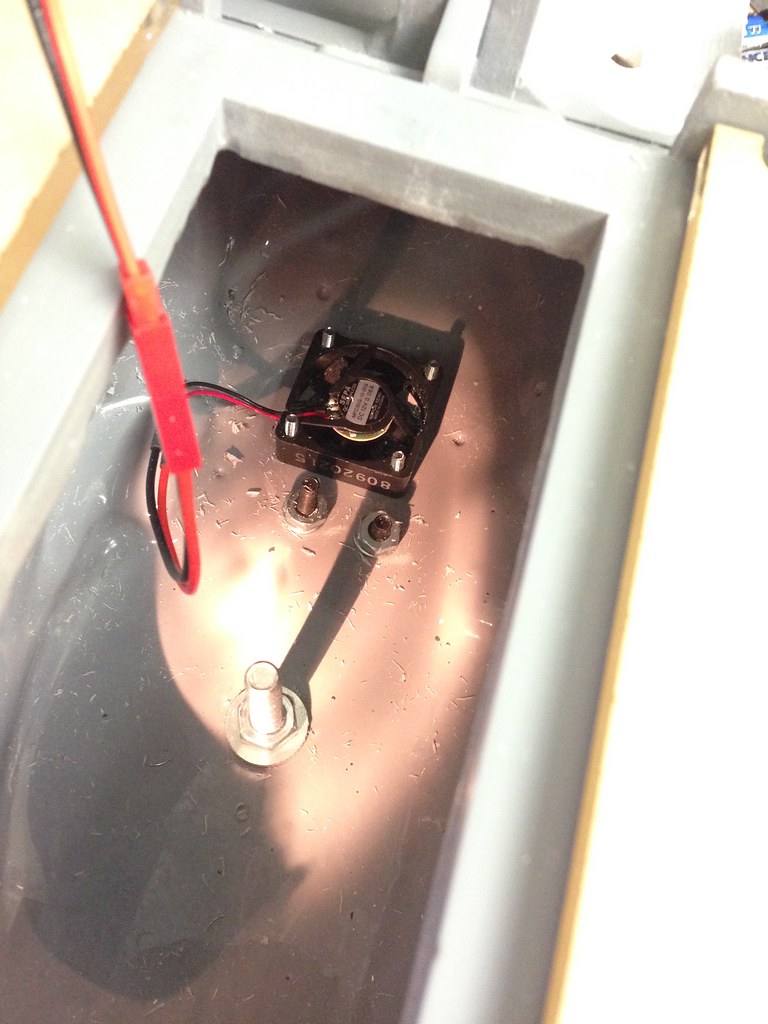
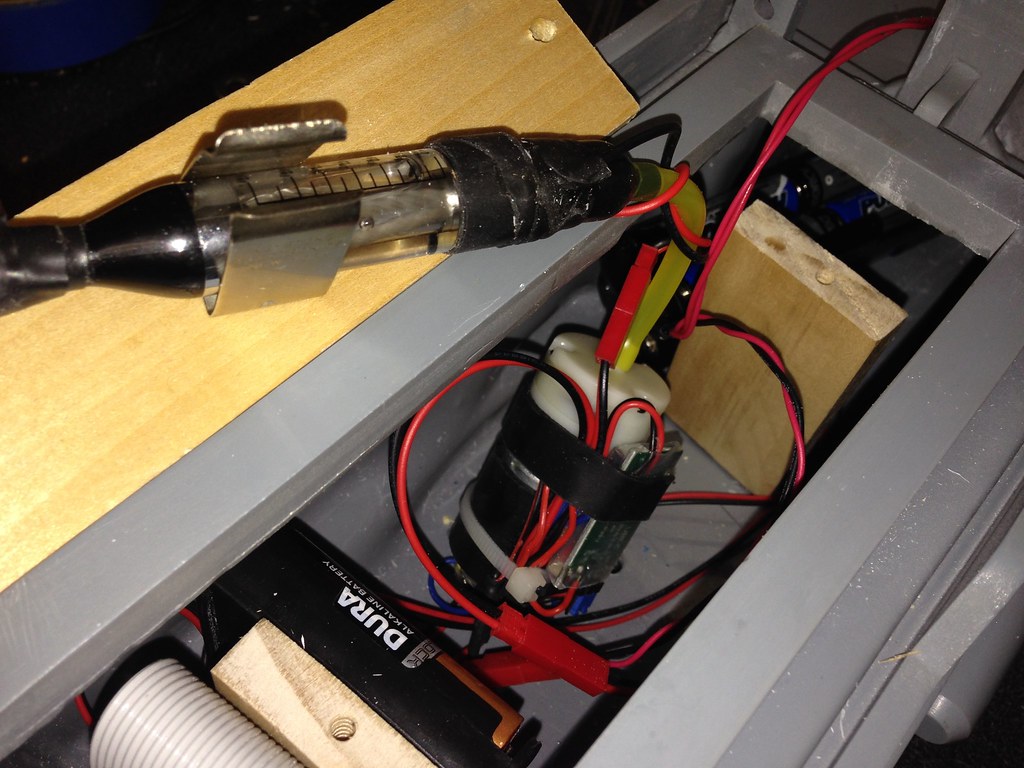
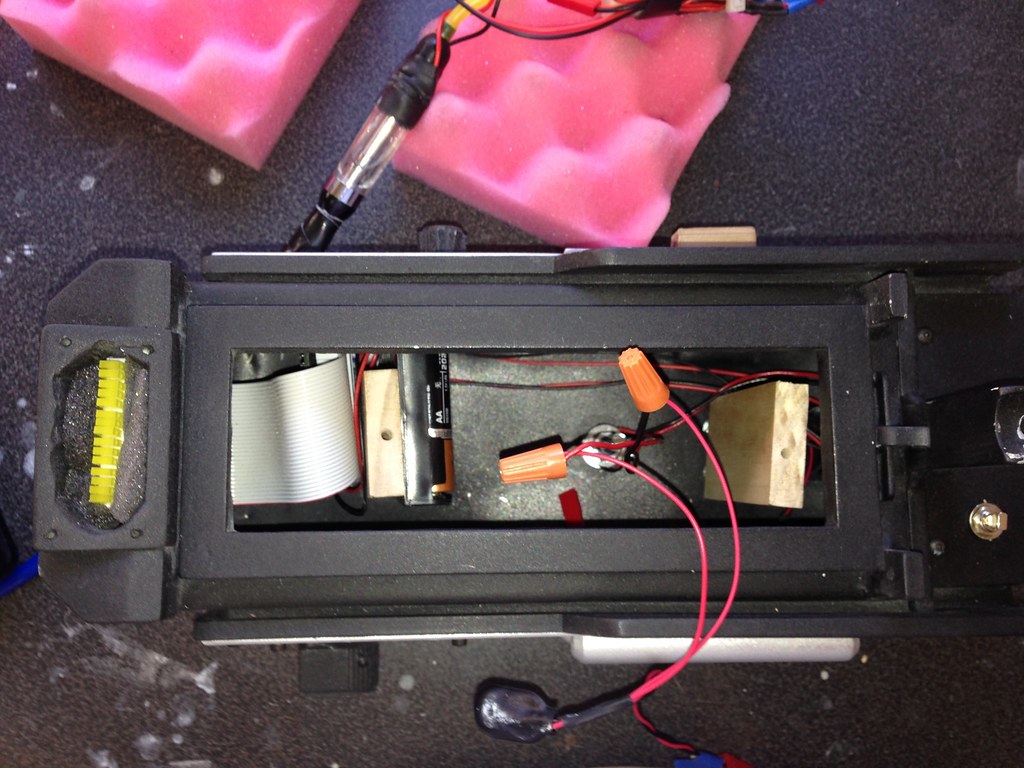
And the first snag of the project:

Image

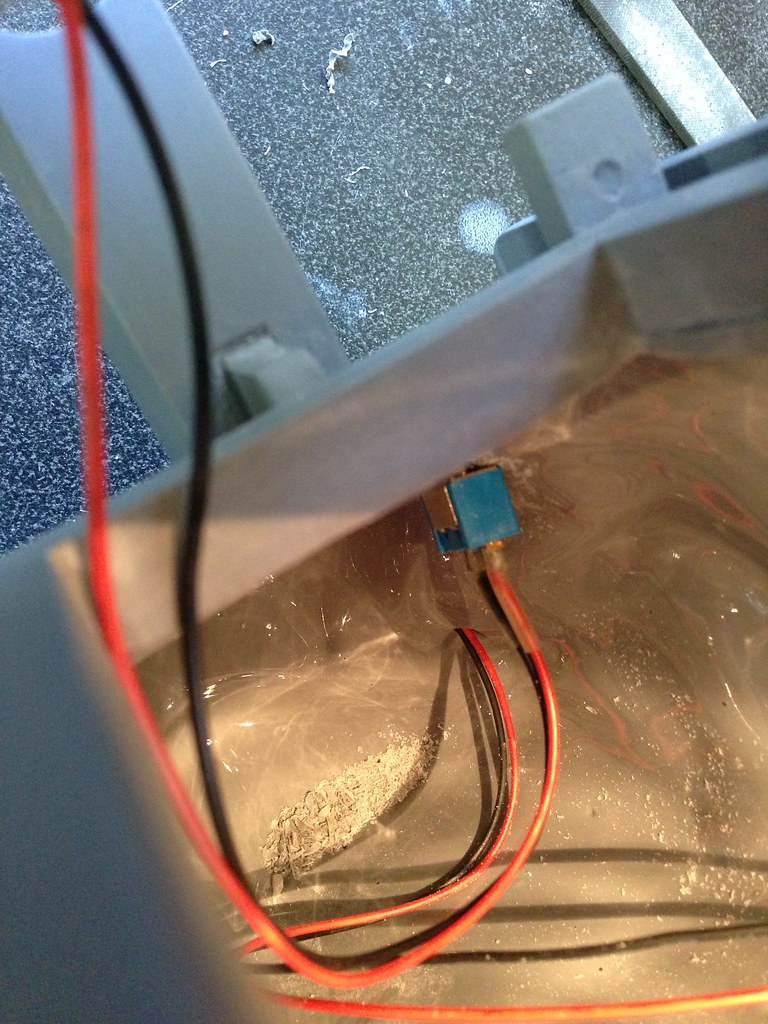
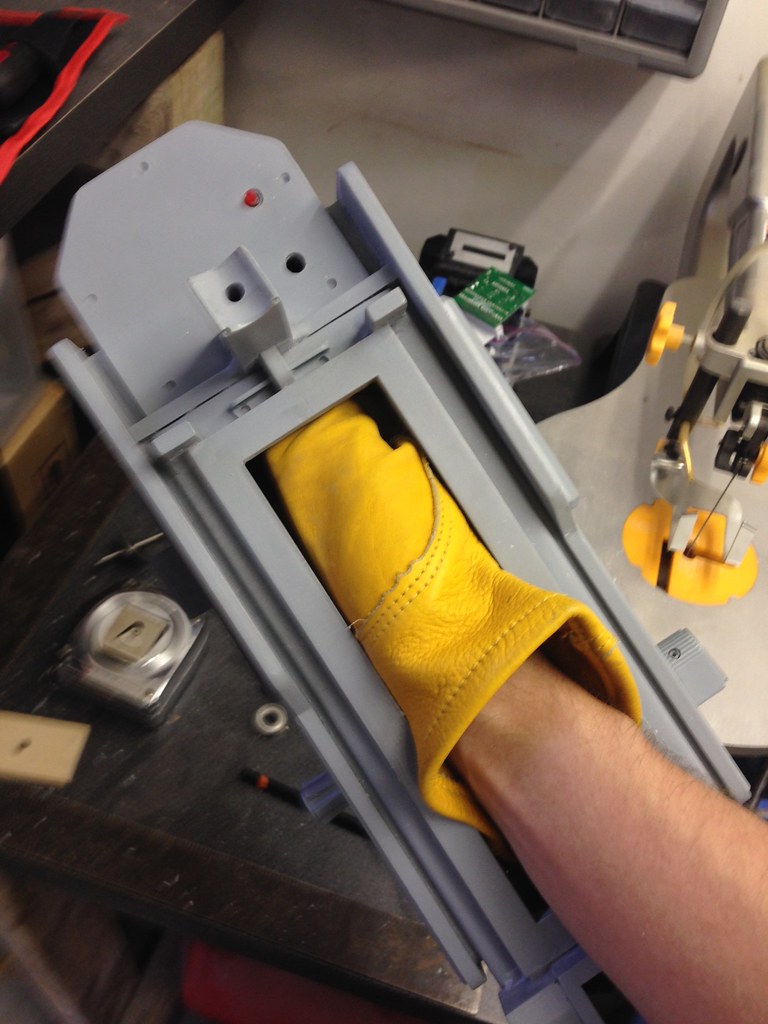
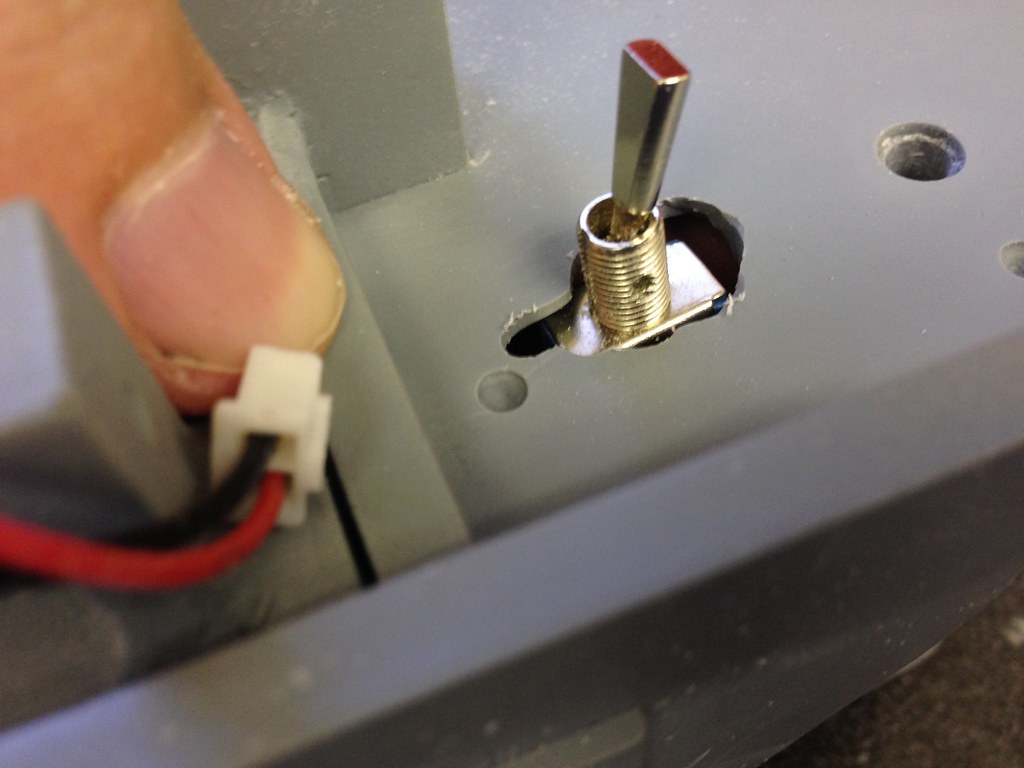
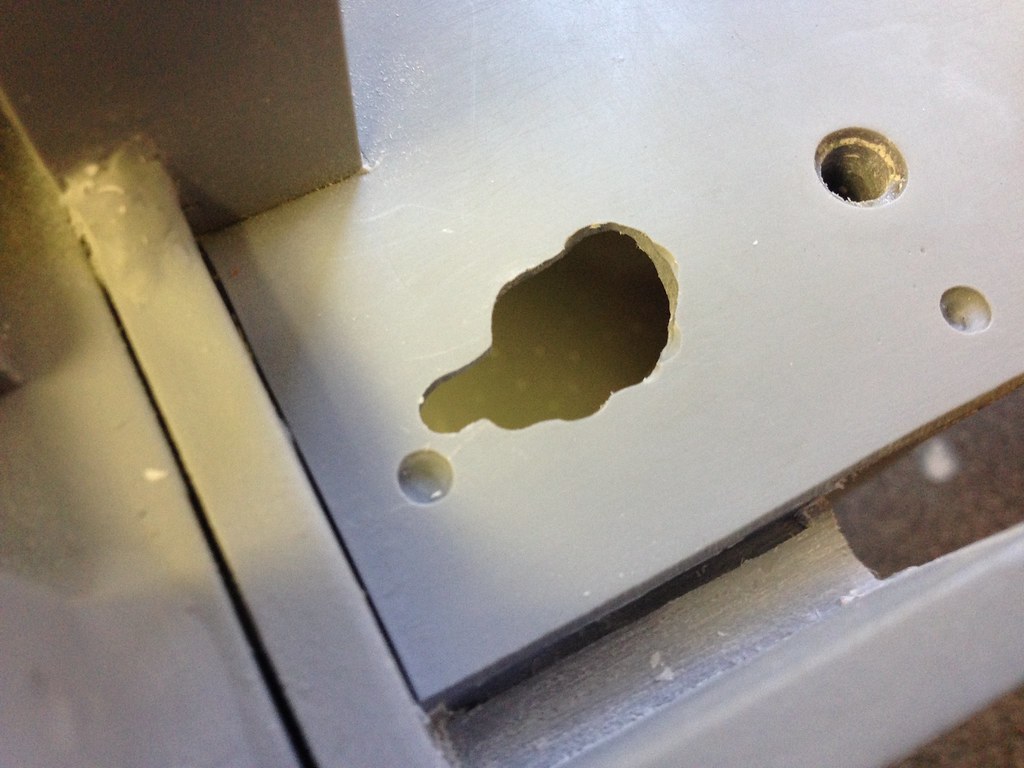
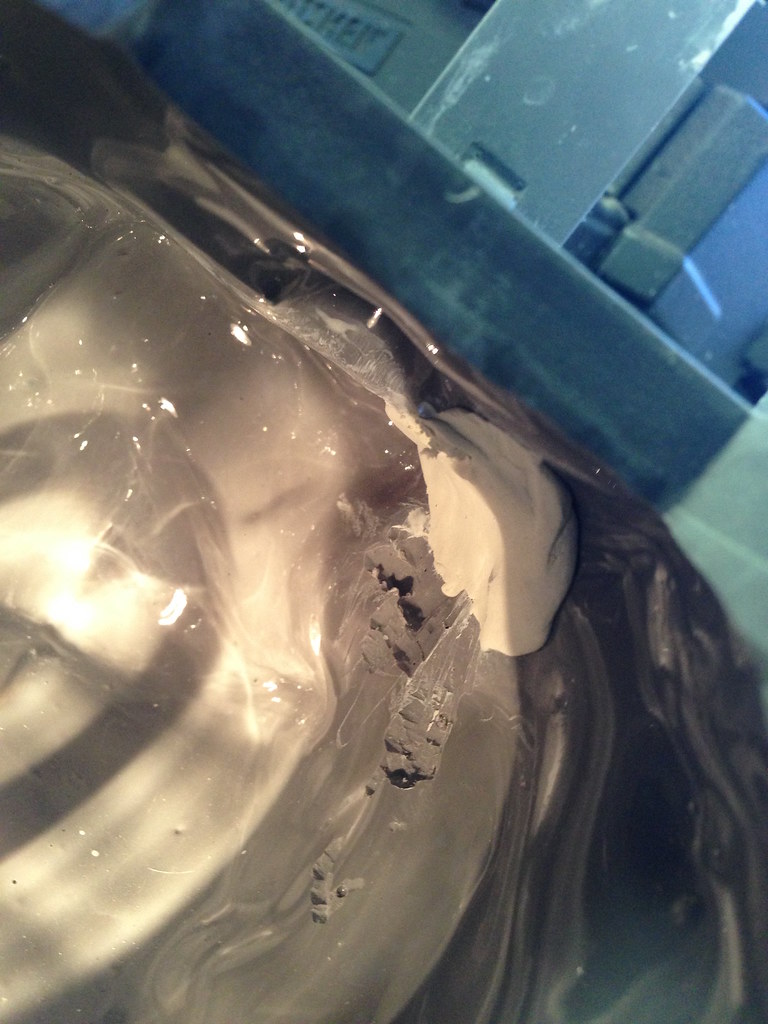
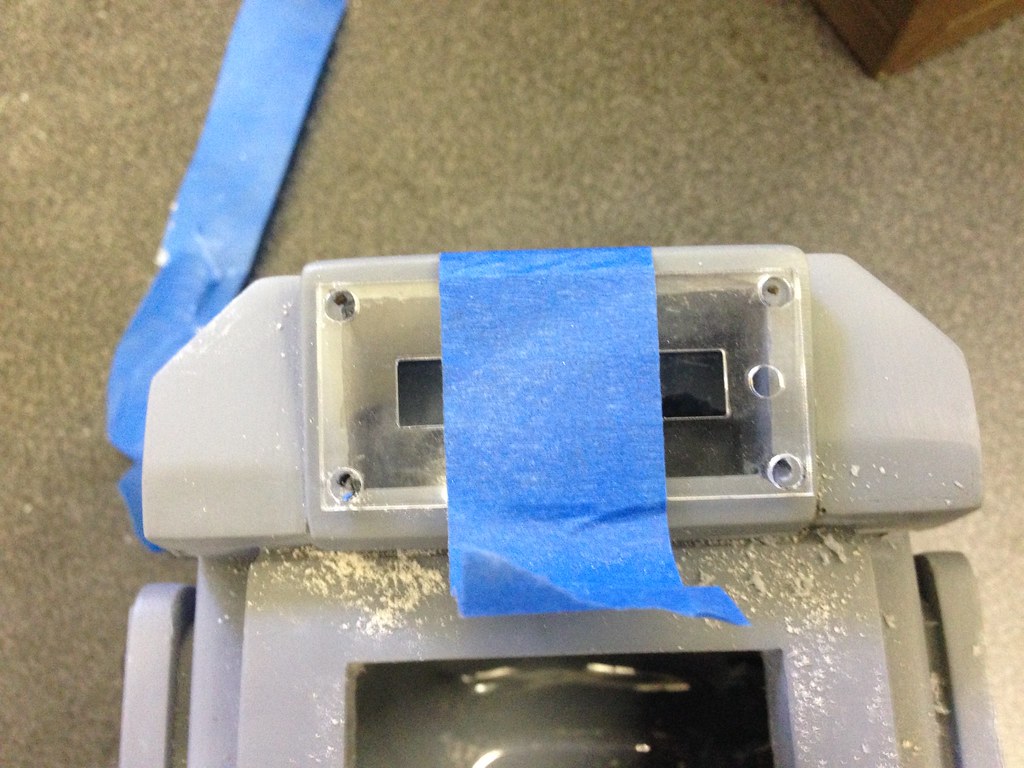
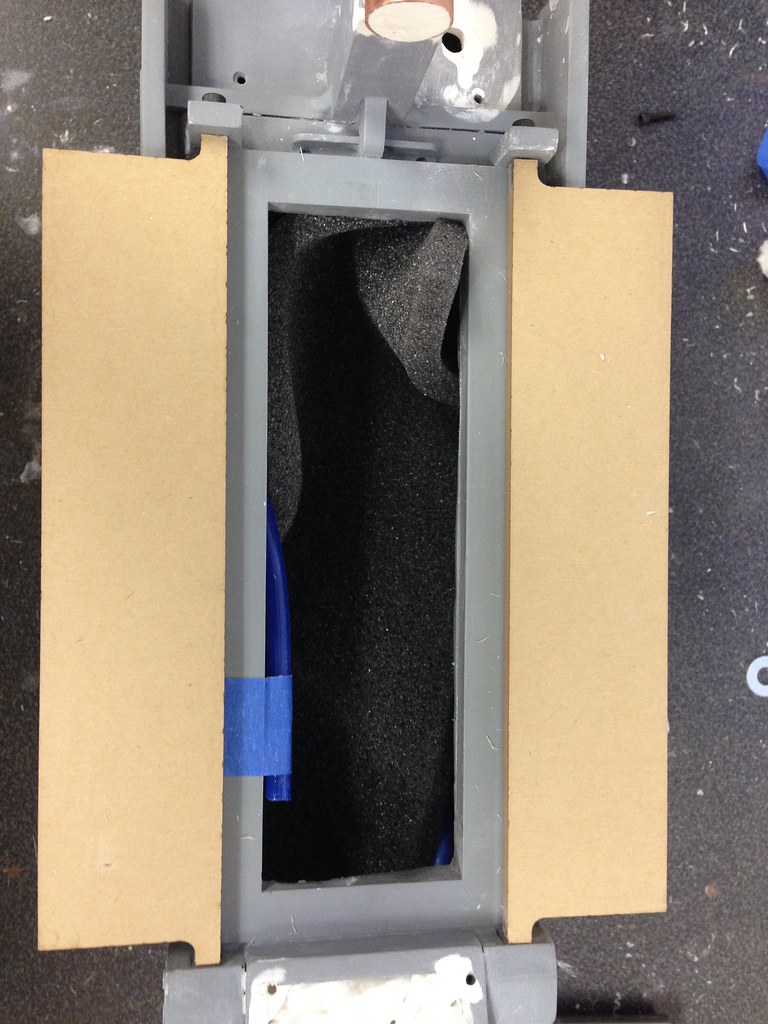
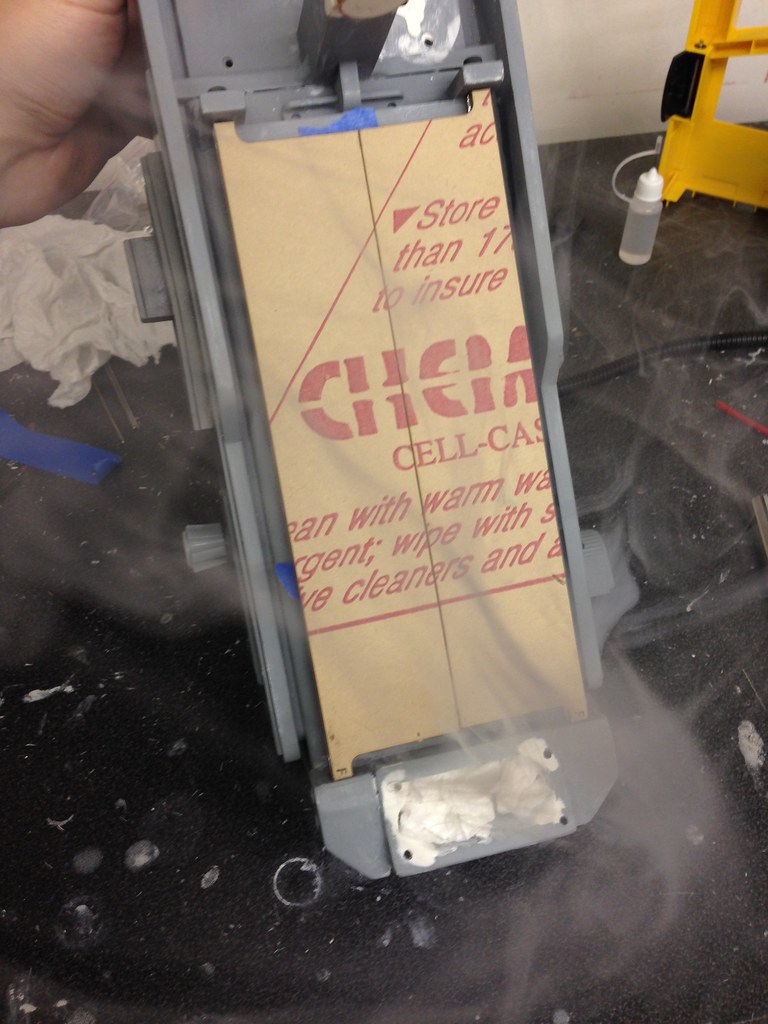
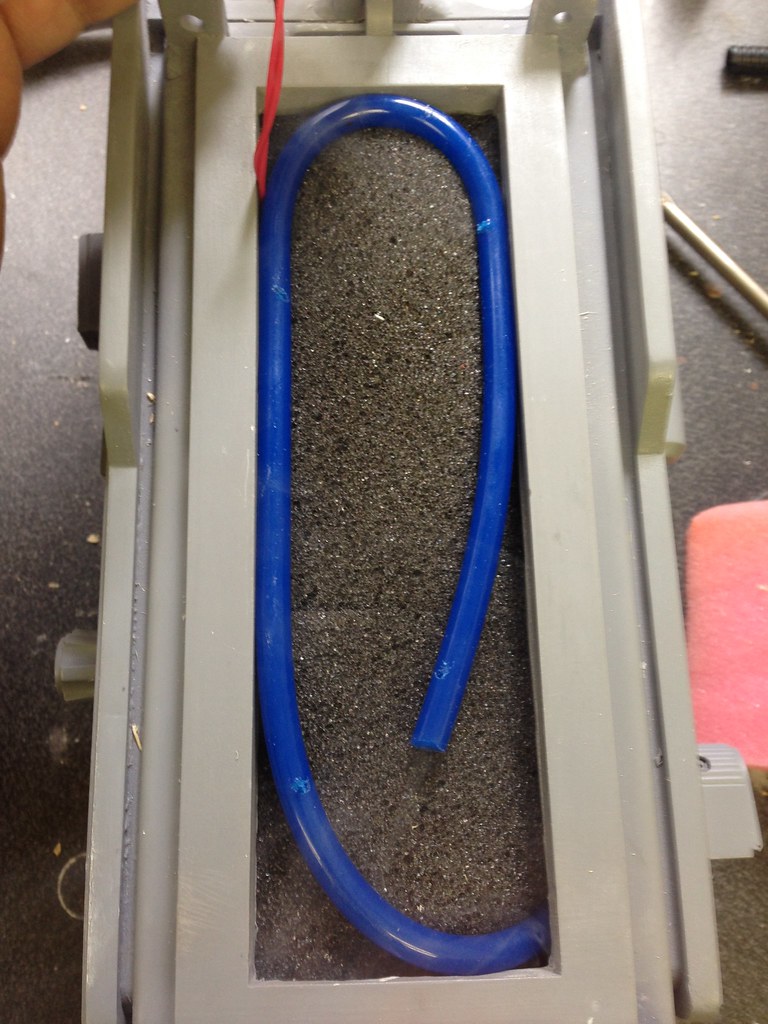
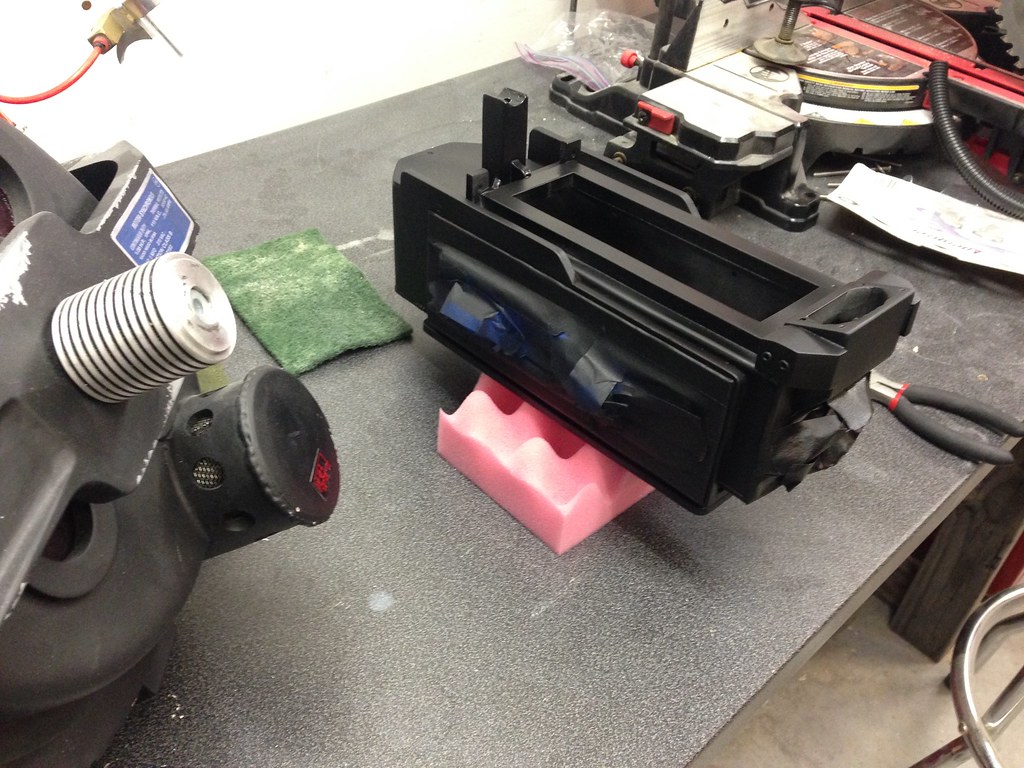
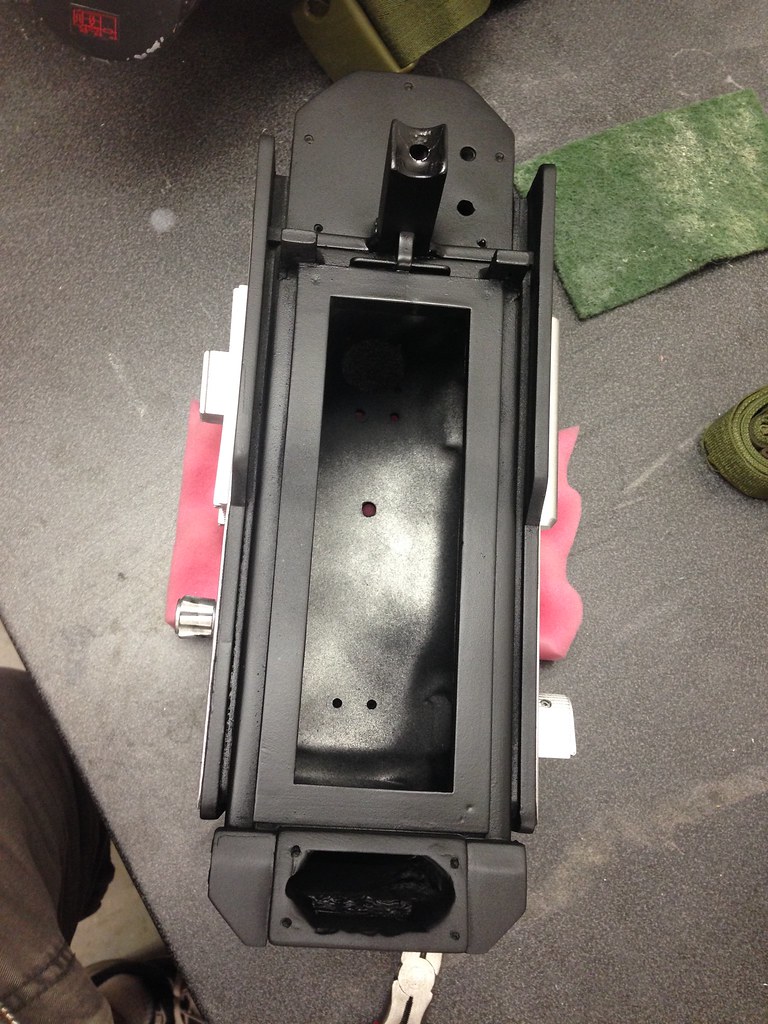
The inside of the trap's mold has a steep incline that prevents the switch from being flush on the inside of the trap. You can see I tried to jam my hand inside with a metal file, but very little progress was made. I decided the best course of action was to drill out the bump from the top of the battery box. This saved a lot of time and effort. The plan is to go back to this and use some two part putty to remold the top.

Image

Image

Image

Image

Image

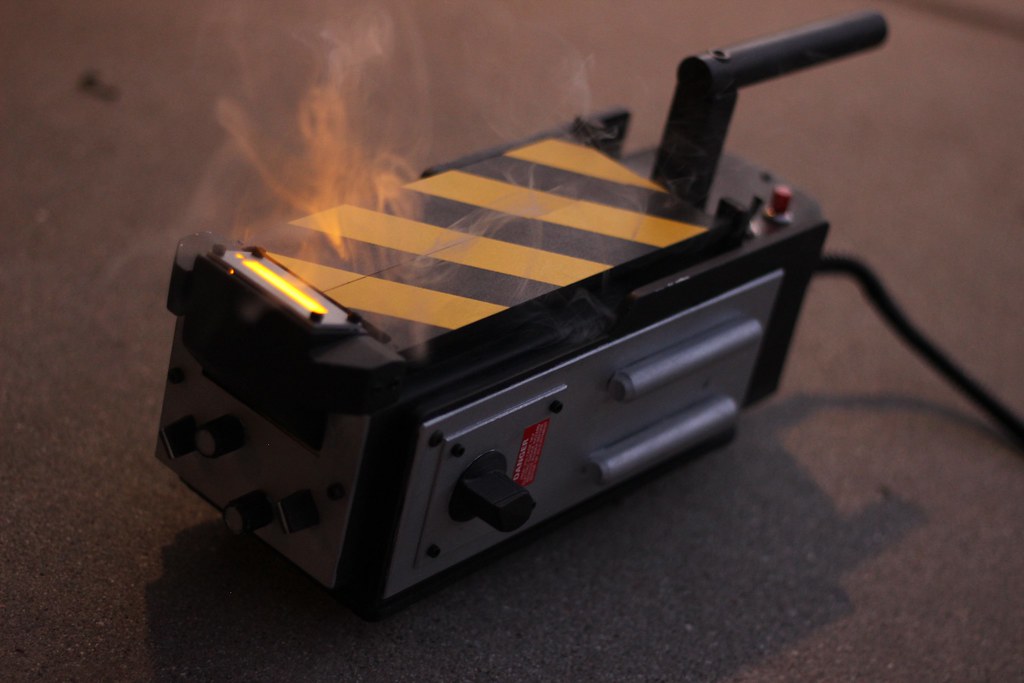
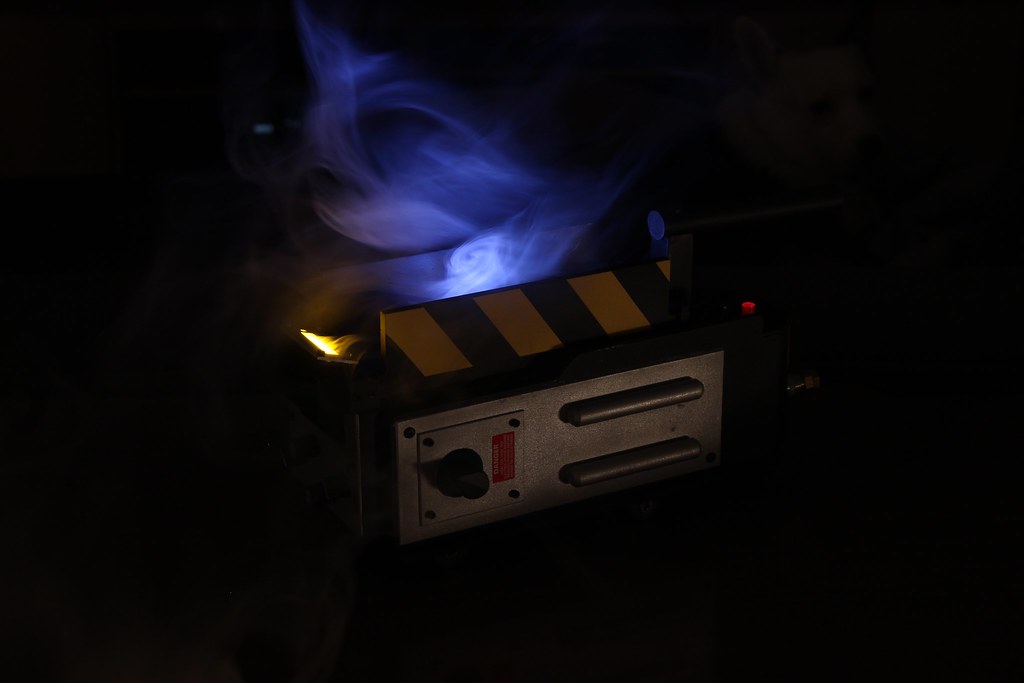
That's all of the progress for this weekend. I placed an order in the shop for a few misc things, and I'm hoping to putty up a few of the blemishes and the battery box this evening. I was also researching the smoking N-Filter stuff on the forum. Does anyone have much experience with this? It feels so unsafe, but also so damn cool. I thought about installing one in here.
proletariatron, KoCo, alphabeta001 and 1 others liked this
#4842149
I experienced the same issue with the battery box. I reamed a larger hole with a step bit then epoxy putty to bond and centered and redrilled.... Fit like a charm.
As for the smoke kit they are very safe, if I can make a recommendation is to either figure a way to tie into the toggle switch or hack a knob off to make a rotary on the side.
#4842195
Thanks Rob, I've really enjoyed the kit thus far. Very very light.

Hoot, glad to know it wasn't just me. And thanks for the advice on the smoke kit. I contemplated putting a push button somewhere hidden and then a kill switch inside or something.

More progress from last night. I spent the evening puttying up the switch whole, an imperfection on the handle post, and the axels on the bottom.

Image

Image

Image

Scuffed up the area, and then wiped it down with some paint thinner. Next up, milliput.

Image

Image

I tried very hard to keep the bump from being too large. Sanding this stuff is like sanding a rock. It gets incredible hard. I also did my best to keep the inside layer thin as to not recreate the same problem I had previously.

Image

Image

Next up, new switch hole and some sanding. Hoping to get the screws I need before the weekend so I can get the trap doors put together as well.
#4842342
ThrowingChicken, I think the trap is great. I knew putting a light kit into it would require some finagling. I still love the kit :) As far as the long screw, I am planning to swap that out with a #8 socket head and use some washers to have it stick out of the top of the handle. Functional AND sexy.

Parflagush, I just, I just can't get them even! I think I need to use a drill press to drill all the way through the axle make certain they are even.

So, lots of progress last night. Drilled all of the cap screw holes. Sanded down all of the Milliput and drilled a new whole for the switch. It's still a little off, but much much better. I am sure I'll fiddle with this more each night.

Image

Lining up the yellow light bar plate, it's just shy of being big enough to comfortably drill the holes I need. I decided to use some of Milliput to beef up the corners a little. I also need to swap out the side plate screws with some shorter ones. 1/2" was way too long.

Image

Image

I also got the handle ends sealed up. Probably best out the belt sander for this one. Sorry for the blurry photo, my iPhone 5 is on it's last legs as we wait for the new phone to be released.

Image

I ordered a smoke kit from jimfin. I have a pretty good idea how I want to set up the push button for the smoke. If I can make enough progress on this, I am going to start a carrying case for this trap and the other accessories that tend to get beat up in transit.
#4842586
BusterJones, I love Throwing Chicken's kit. I understand he currently has some available. I haven't tried Nick-a-tron's, but I've heard good things.

Luckily this weekend I was able to make lots of progress. To start, the Milliput gave me plenty of room on the corners to drill the wholes for the top light plate.

Image

Image

In the photo below I cleared out some of the Milliput to make room for the right LED spot. The light kit I have doesn't quite line up with it. I may add some reflective material to give it a bit of an ambient glow.

Image

A little bit of foam to give the yellow lights a tight fit.

Image

Image

Time to clean the Milliput off of the handle.

Image

Image

Image

Image

I spent some more time cleaning out the space for the switch in the battery box to help it line up more parallel to the shape of the trap. Finally perfect.

Image

I love this big GB1 trap. Super light from TC's build, but lots and lots of room inside.

Image

I decided to swap out the bolt I had with a #8 socket head screw. It will stick out a bit on top and give it a nice aesthetic. This will keep it functional if I ever need to remove or adjust the handle.

Image

Now for the scariest part of the build; drilling the doors for the socket screw and pins. We set up this rig with my Dad's drill press. We used the wood to clamp the doors and keep them vertical. I would line them up by eye, doing my best to center the bit. This was especially stressful for the #6 socket screw holes. Those suckers are almost as big as the area left to screw.

Image

Image

Image

Tapping the #6 hole for the screw 1/2 inch screw.

Image

Now for a bit of ingenuity and luck. To screw the pin holes on the door ears we used this surgical drill bit. This is actually used when you break a bone and need pins. The surgeon uses this to drill into the bone, and then cuts it off at the length the require. We were able to flex it and use our hand to keep the tip lined up where we marked. This made the job super easy.

Image

Image

Doors!

Image

One of the holes needs a little adjustment and Milliput, but I am very pleased with how it worked out.
alphabeta001 liked this
#4842599
Wanted to follow up with you on the smoke kit - because the whole kit is hollow and retains the smoke, I recommend a fan intake of sorts. I'm using one of Jimfins kits and asked him for a fan to be attached...it'll help keep most of the smoke going outward
#4843165
Time for a big update. Lots of pictures incoming.

Hoot, thanks for the advice. I ended up picking up a kit from jimfin just as you described. Now for the updates. The first photos are of the dixie bracket being attached to the trap. To get it to work with my MMM holster, I had to add a bunch of washers to stick out a bit further. I don't love that, but realistically who is going to see it?

Image

Image

Next up for the cable attachment. I fished in some wire for holding up the weight of the trap. I fasten this in between two washers on the dixie bracket bolt.

Image

Image

A little test fit. I actually really dig how bulky it is.

Image

Image

Next up, jimfin's smoke kit. This thing is awesome and well worth every penny.

Image

Image

Image

I attached a rubber hose to the end of the exhaust to control where my smoke went. I also cut holes all along the tube.

Image

Testing the hose with a little foam to protect the interior from getting any residue from the fog.

Image

Image

Filling up the entire interior with fog felt like a bad idea. It's a waste of fog, plus the electronics were all bouncing around when I would move the trap. So I started to construct an interior compartment. Hoot's build inspired me a bit on this front. Here are the pillars. I drilled out holes that would rest over the screws from the axle mount.

Image

Image

Image

Image

In the next photo you can see some of the organization. Crix's kit in the far front. The battery pack mounted to the front pillar. The large battery pack and fan go behind the second pillar in the battery compartment. The vacuum goes in the main area. Lots of room to get air from the fan to the middle. The e-cig portion gets mounted to the top of the board at a downward angle to encourage the solution towards the heat element. I left just enough room in the wood to wedge some foam and sneak the hose on top of it.

Image

Image

Decent.

Image

After this I took a break to work on my gizmo kit, my sound kit in my pack, and then a little on a secret weird thing I'll post more about if it works out. Thanks for looking, and thanks to Hoot for the props on his thread.
#4843965
Sorry it has been a while everyone, been doing lots of boring painting steps. First up primer:

Image

Metal:

Image

Taping off in prep for black:

Image

Image

Image

The sexy reveal

Image

Image

Image

I didn't coat the inside with black. I liked the look of an industrial paint job. Just get the job done.

Image

All black has kind of a sleek look. I wonder about doing doors in the future that are more of a stealth trap. Blues and blacks.

Image

My masking tape is a little wider than it should be, but I am okay with that. Below is a little trick for lining up the angle and the spacing correctly. Using an extra piece of tape is perfect for this. We don't want wonky stripes.

Image

Yellow stripes! I had a little trouble with some smudges and some peeling of the black paint. I do a primer coat, sand, metal, no sand, black. I don't sand the layer with the metal so that the black gets beat up easier to give it the worn look. This makes it difficult to tape, though. I may rethink this process in future builds. I clear coated at the end to keep the wear from getting too out of hand.

Image

She's almost there:

Image

My wife spent last night painting the knobs for me. She is an oil painter, so I let her steady hand do all of that. Afterwards I clear coated it, but to my dismay it left a sand paper texture that was full of speckles, almost like a frosted window glass. This morning I used some scotch bright to smooth it out, and then some paint thinner to wipe away the dust. I don't know if I just got a bad can or didn't prep it correctly.
alphabeta001 liked this
#4845409
Thanks again, everyone. Sorry for the delay. I finished just in time for our Comic Con, and then was too burned out too get back on GBfans for a while.

For those of you looking to do a Ghost Trap soon, I may be involved with some upcoming kits. I'll post more details soonish. Now for the rest of the progress pictures:

Some electronics work. The red and black wires are from the external cable and push button. I have wrapped these around the nut for the dixie bracket, and then used two washers and a bolt to squish them. This makes it so I can hold the trap up by the chord without worrying too much about damaging anything. Nor the trap falling to my dismay.

Image

Foam is your friend.

Image

A little bit from a CD jewel case for a nice effect. Thanks to Hoot for this idea I got from his thread.

Image

Image

Unfortunately the clear coat added a really weird bumpy texture, as well as a frosted look. Similar to what you'd spray on your windows during the holidays. I took some fine grit sandpaper to clean up the texture. Unfortunately the clear coat didn't work out well enough to protect the paint job. It gets nicks and wear more than I had hoped, but it also gives the trap some personality. I may repaint it one day.

Image

There are a few progress pics I lost along the way. I changed out the top shelf inside for a piece of plexiglass. I also added a string of LEDs and a kill switch that controls said LEDs and the smoke device. This switch is in the plexiglass under the doors. The white LEDs make for some cool lighting.

And now for what everyone came here for, the finished trap:

Image

Image

Image

Image

Image

She smokes!

Image

Image

    I've ordered one of these for a friend to use off […]

    GB News is calling the Pink Camo Tint the last m[…]

    Sugarland Express.Very early Spielberg movie,it's […]

    Also probably different release dates. USA[…]