User avatar
By GohstTarp
#4854842
Made some progress recently with the body plate...
Image
Everything is by CPU64 except for the knobs (Ejgunth87) and bent s-hook (umoribawar). I had Chris attach the track and vhook to the base plate. He went with 8-32 flatheads for the vhook, which I prefer to the 6-32's on gEkX's list. I used 8-32's to attach the knobs and shook. They only thing I had to do to get the shook and knob to play nice was to dremel the inside of the hook where is touched the knob.

Chris did a great job with the beautiful track and vhook. The s-hook from RJ was totally worth the $3 and it worked with minimal effort with Eric's knobs. Such great parts available on this site.

Here is a view from the bottom...
Image

Everything is nice and secure and I added some washers under the vhook bolts for a bit of added security.

And as a small bonus, marvel at the amazing 8-32 cap head that lives between the side adjustment knobs...
Image

I'm expecting some smooth adjustment knobs with 8-32 flat heads from Chris soon, so I'll have more updates then!
Last edited by GohstTarp on April 16th, 2018, 9:03 pm, edited 2 times in total.
barison82, EctoRalph liked this
User avatar
By GohstTarp
#4855046
Venkman's Swagger wrote:Look at all that beautiful Aluminium. Very jelly!! You're absolutely nailing this GT
Thanks, VS. The support is really appreciated :)

Moving things forward a bit, I attached the top knob...
Image

My plan is to get RJ's Pop Mech installed next and I'm really looking forward to that!
Last edited by GohstTarp on April 16th, 2018, 9:04 pm, edited 2 times in total.
User avatar
By Venkman's Swagger
#4855075
Honestly mate this is a fantastic build so you're very welcome. Thank you for sharing it with us. Really looking forward to seeing how you tackle the pop mech.
GohstTarp liked this
User avatar
By Venkman's Swagger
#4855197
Hahaha isn't that just the way it goes......... Plan 1 thing, do another [emoji1]

You may want to hit up Pyhasanon or Thebigone about that. I know they have both used RJ's pop mech
GohstTarp liked this
#4855237
GohstTarp wrote:
Venkman's Swagger wrote:You may want to hit up Pyhasanon or Thebigone about that. I know they have both used RJ's pop mech
Thanks, VS. Great idea :) I'll review Pyhasanon or Thebigone's build threads again and reach out to them with questions.
You're welcome man. Good luck in your hunt for accurate [emoji41]
User avatar
By GohstTarp
#4855252
I reached out to RJ on how far the extended tip should stick out. He said that, "usually, the back bevel lines up with the end of the top tube." After thinking about that and reviewing Pyhasanon's and Thebigone's build threads, I'm considering this position...

Image

When I took pictures, I forgot to see how the tip would look in the "latched/unextended" position. As long as that looks OK, I should be good to go :)
Last edited by GohstTarp on April 16th, 2018, 9:04 pm, edited 2 times in total.
barison82 liked this
User avatar
By GohstTarp
#4860916
As I'm building my pack and wand, I realized there are some details that I have some very strong feelings for exactly how they should look, and some things... not so much. The wand tip and trigger fall into former group, so I wanted to make it look just so :)

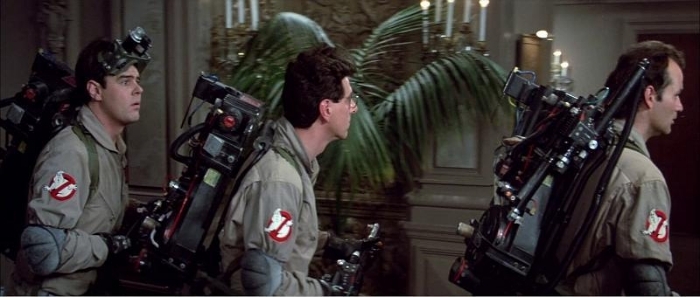
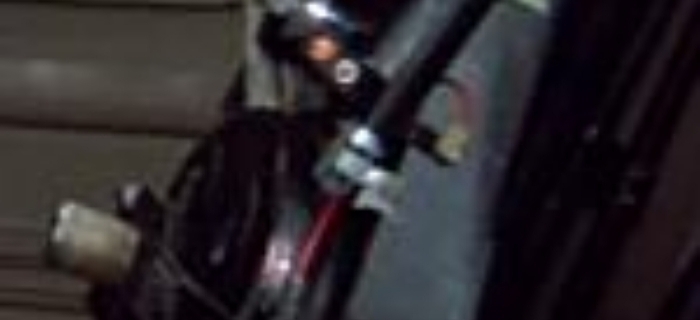
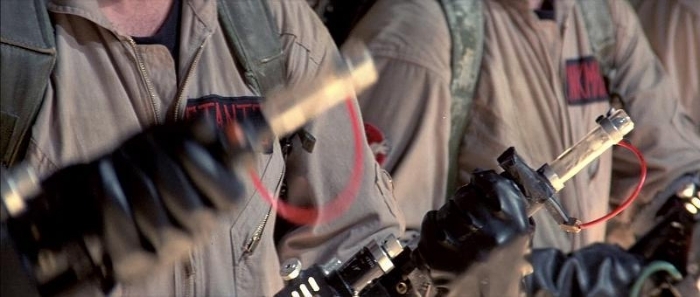
Here are some screenshots I used to figure out the position of the trigger tip and how it looked in the "latched/closed" position...

Image
Image
Image

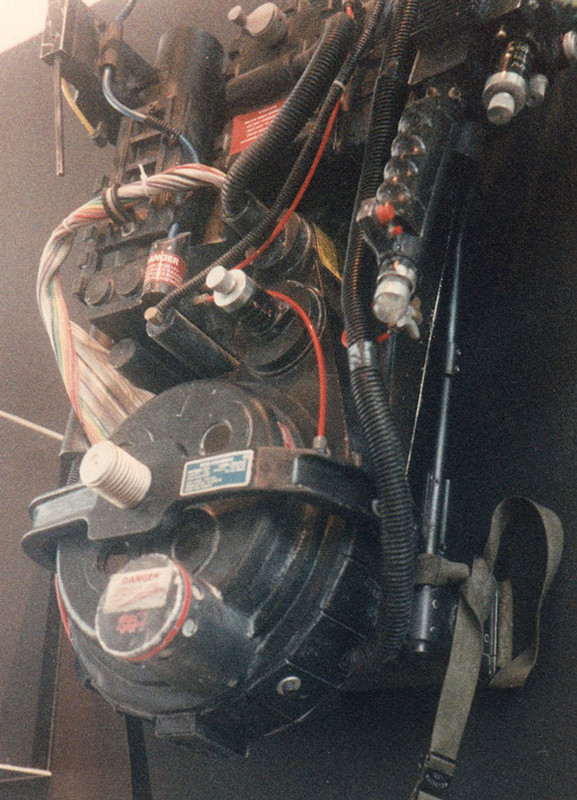
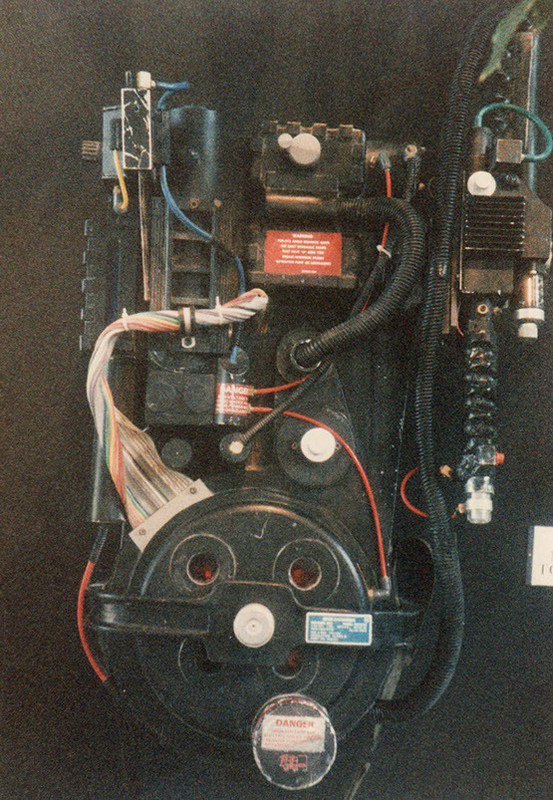
I also referenced some of Shawn Marshall's 1984 photos of the Spengler pack...

Image
Image

I started out with a GBfans 
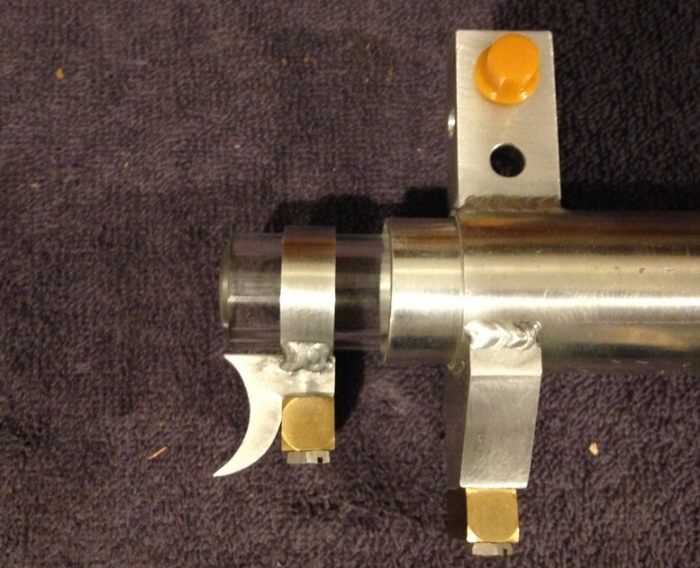
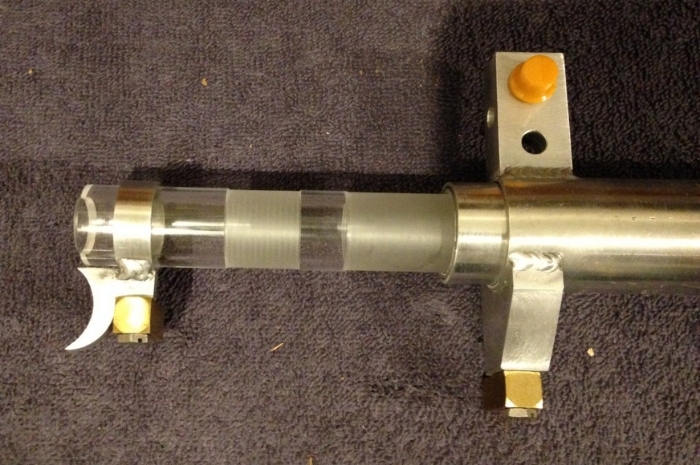
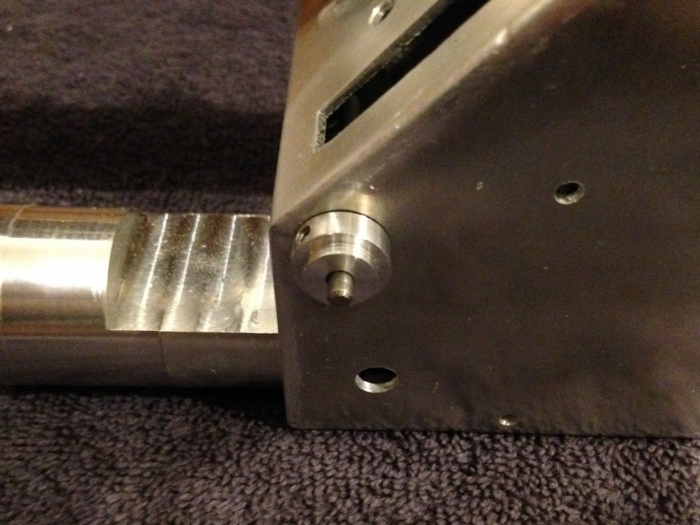
Acrylic tube and a CPU64 Trigger tip. Both are very nice parts, but I found I got much closer to the look I wanted with RJ's Acrylic tube and Trigger tip. His tube being slightly longer and the trigger tip ring being slightly shorter made all the difference...

Image
Image

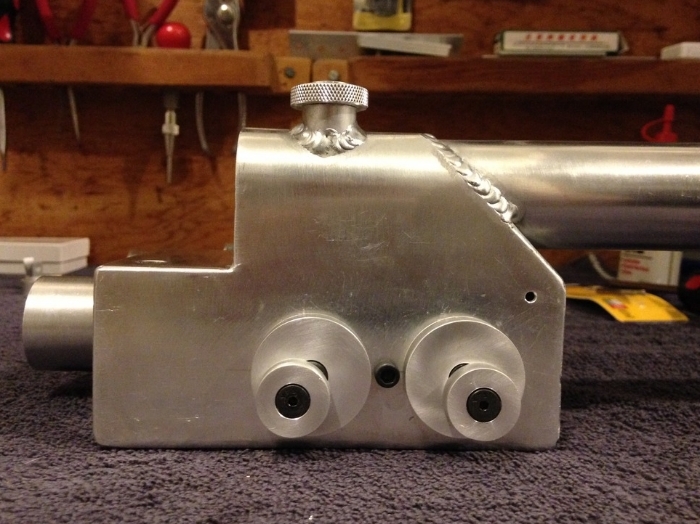
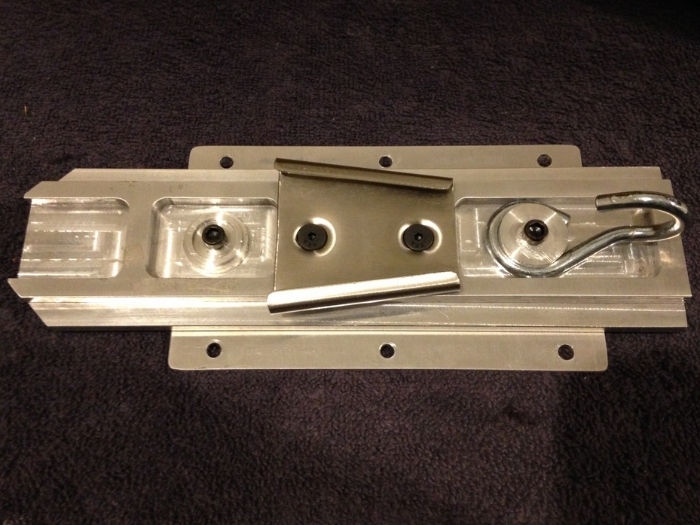
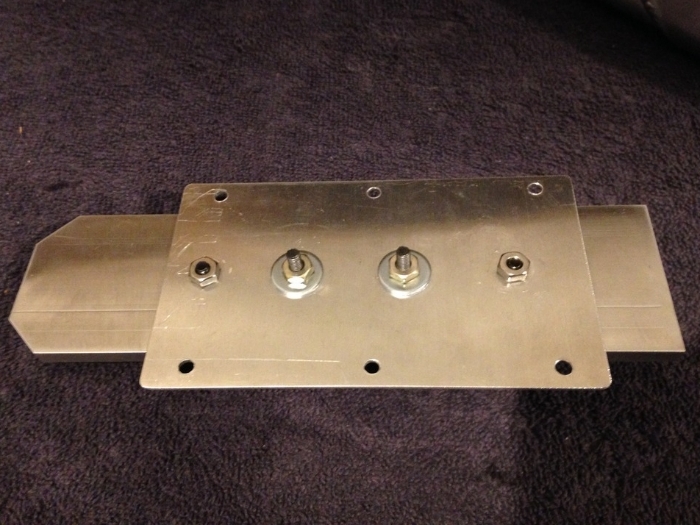
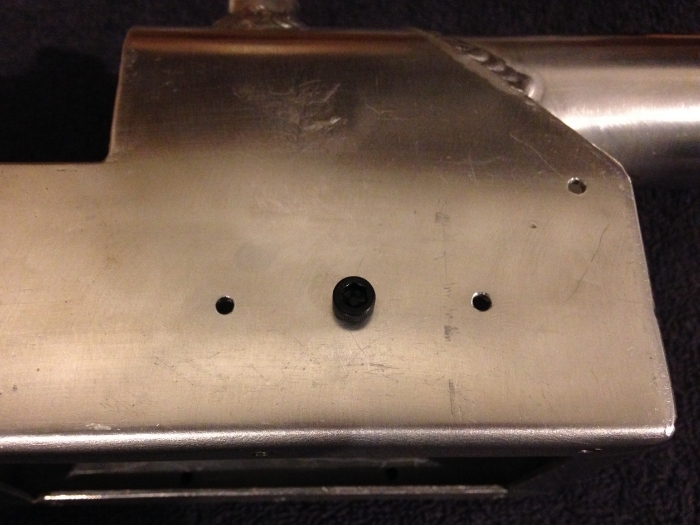
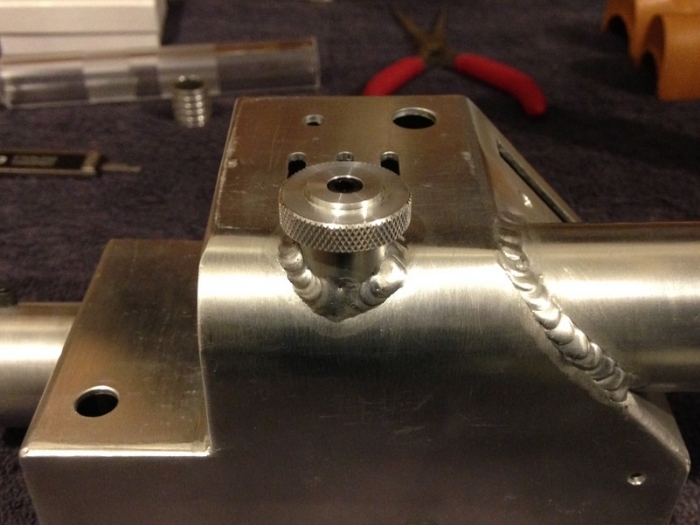
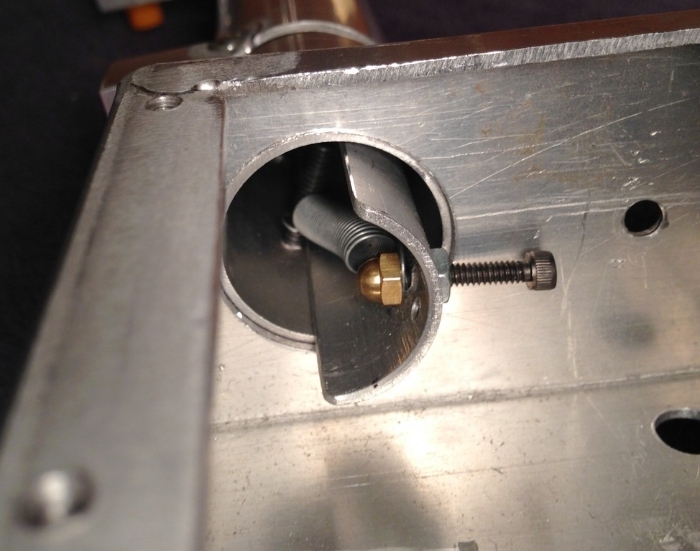
I also took the time to fix a couple of mistakes I made with the thrower that were bothering me. First, my Stream Adjuster Knob wasn't very centered, and the right Side Adjustment Knob was mounted slightly higher than left one. It was basically only stuff that I would notice, but you know how that goes :sigh:

After some fussing, I'm much happier with the knobs...
Image

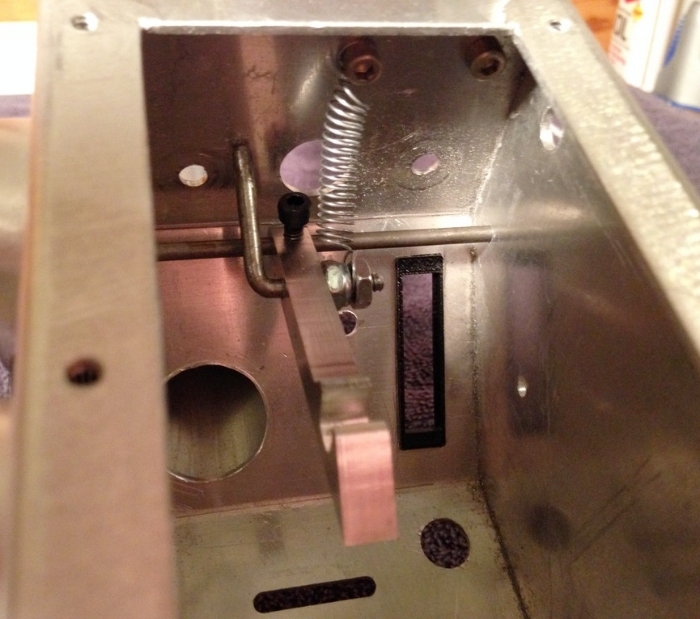
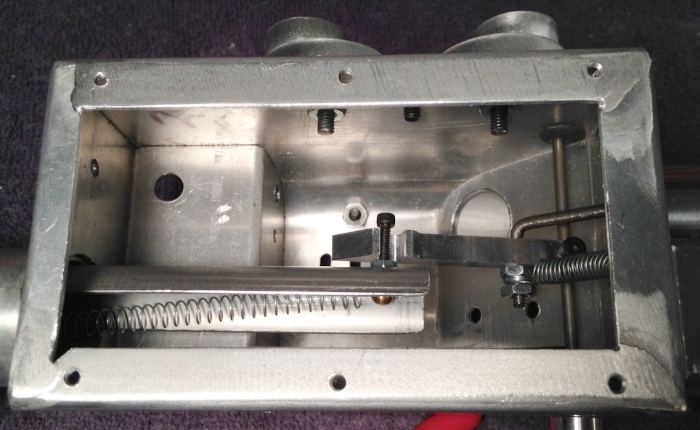
That's all I have for now. Next, I will be installing the Pop Mech lever, catch system and all the springs. Really looking forward to pressing that lever for the first time!
Last edited by GohstTarp on April 16th, 2018, 9:05 pm, edited 2 times in total.
barison82 liked this
#4860917
Wonderful job you are doing. Great little details.
GohstTarp liked this
User avatar
By GohstTarp
#4861222
Venkman's Swagger wrote:Nice to have you back GT. Those little details name this pack all the more immense. Love the attention to detail on the Thrower tip
Thanks, VS! Going the do-it-yourself route has it's advantages. I had considered commissioning a pack at some point, but I'm glad I took this path.

Speaking of details on the Thrower tip, I just picked up some new old-stock AG-1 flashbulbs...
Image
...and will mod one to fit in Spongeface's White Strobe LED.
Last edited by GohstTarp on April 16th, 2018, 9:06 pm, edited 2 times in total.
#4861285
GohstTarp wrote:
Venkman's Swagger wrote:Nice to have you back GT. Those little details name this pack all the more immense. Love the attention to detail on the Thrower tip
Thanks, VS! Going the do-it-yourself route has it's advantages. I had considered commissioning a pack at some point, but I'm glad I took this path.

Speaking of details on the Thrower tip, I just picked up some new old-stock AG-1 flashbulbs...
Image
...and will mod one to fit in Spongeface's White Strobe LED.
The pack build process is certainly enlightening. Props to you for taking it on and doing such a great job on it. The flashbulb/Spongeface mod is something I'm looking at doing too so can't wait to see what you come up with
User avatar
By barison82
#4861829
Awesome build thread dude! Looks fantastic.

I'm still a bit stuck with the washer sizes, and your detailed thread has really helped with this part. In the UK the sizes are all different. If you can help confirm if I've got this right, I would be extremely grateful :)

Bumper Bar - 1/4" Flat washers, brass (the same as #14S?)

Shell to Motherboard - 1/4" Flat Washers, steel

Not sure on the brass washers for the Booster Frame

The inside washers with the bolts are the same 1/4" size in steel?
User avatar
By GohstTarp
#4861904
barison82 wrote:Awesome build thread dude! Looks fantastic.
Thanks, Barison! I've gotten this far on a bit of skill and a lot of determination.
barison82 wrote:I'm still a bit stuck with the washer sizes, and your detailed thread has really helped with this part. In the UK the sizes are all different. If you can help confirm if I've got this right, I would be extremely grateful :)
Glad to hear that I'm not the only one obsessed with washer sizes. I answered you questions the best I could below and included the OD of the washers in mm, so you can compare with what you are able to find in the UK.
barison82 wrote:Bumper Bar - 1/4" Flat washers, brass (the same as #14S?)
Correct, #14S brass washers on the bumper. The OD is 14.3mm.
barison82 wrote:Shell to Motherboard - 1/4" Flat Washers, steel
That sounds right. I used the washers that came with Ejgunth87's 'L Bracket Mounting Set.' They are 1/4" flat washers with an OD of 15.8mm.
barison82 wrote:Not sure on the brass washers for the Booster Frame
Those are #10S brass washers. In my booster frame post, I mentioned that I will try to switch those out for regular sized #10 brass washers, but I never found any, and I think the #10S look perfect, anyway. The OD for the #10S brass washers is 11mm.
barison82 wrote:The inside washers with the bolts are the same 1/4" size in steel?
For washers used with mounting bolts inside the shell. I just used whatever the matching washer size was... if it was a 1/4-20 bolt, I used a 1/4" washer, if it was a 8-32, I used a #8 washer, and so on.

Hope that helps and good luck with your washer quest!
barison82 liked this
User avatar
By barison82
#4861924
Hi GohstTarp

You're welcome. Such a detailed thread with lots and lots of really helpful information, and such a clean, methodical, high quality build - very inspiring.

Thank you so much for getting back to me with this detailed information - this has been an enormous help! I've found a company called 'American Integrated Supply' and they appear to have a large stock of these type of washers...Lol yeah I was thinking when I was writing the details of my question that people would think I'm a bit obsessed with all these unusual little details. Never thought I'd be getting so involved with washer sizes, as with many other things with this hobby!
User avatar
By barison82
#4862212
GohstTarp wrote:Grimmy, CPU64 and Bish - Thank you all so much for the suggestions. Very helpful!

I really wanted to have the shell tapped for these straights, but unfortunately, I was not careful enough and they ended up screwing in too crooked for my tastes. No worries, though, as I just drilled out the holes a little bit with the step bit and extender and used some 1/8 NTP nuts to secure. Now the straights are straight enough and very secure...


Image

Image
Hi GohstTarp, sorry to bother you again lol...I just got hold of a couple of these 1/8 NTP nuts for my Legris Straights (GBFans replicas)...is it right that the nut does not screw all the way up the thread? They only secure a little of the way round then stop - which made me think they are the wrong size, but they are definitely 1/8! They fit the SMC Elbows perfectly however, so I can use these anyway if they are wrong.

Many thanks!

Many thanks
User avatar
By GohstTarp
#4862263
barison82 wrote:I just got hold of a couple of these 1/8 NTP nuts for my Legris Straights (GBFans replicas)...is it right that the nut does not screw all the way up the thread?
That is correct. IIRC, the threads are tapered so that they create a water-tight seal. Luckily, I was able to get the 1/8 NTP nuts secured on the straights before the theads bottomed out/locked up. If my shell were thinner there, I would have had to add some washers to make things secure. Hope that makes sense.
#4862539
Venkman's Swagger wrote: Props to you for taking it on and doing such a great job on it. The flashbulb/Spongeface mod is something I'm looking at doing too so can't wait to see what you come up with
Thank you, VS! My AG-1 and AG-1B flashbulbs arrived, so I took a shot of a couple along with the Spongeface's White Strobe LED...
Image
It looks like the LED will be a perfect fit. I'm leaning toward using the more accurate AG-1B's , but I like that the clear bulbs match the Acrylic tube better... decisions, decisions :) I will probably end up doing something similar to Bishop's Flashbulb setup, except with the strobe LED wired in. But I'm getting ahead of myself now... LOL.
Last edited by GohstTarp on April 16th, 2018, 9:07 pm, edited 2 times in total.
barison82 liked this
#4862591
GohstTarp wrote:except with the strobe LED wired in
Building out my aluminum thrower is on my agenda for Summer. I'd like to incorporate a flash bulb over an LED strobe as you suggest so I am very interested in seeing how you accomplish that. The "daylight" bulbs are coated with a blue plastic cover and the magnesium filament ignites around 3v if I recall. I assume they can be safely disassembled but I've never worked on one.
User avatar
By GohstTarp
#4862653
Venkman's Swagger wrote:Really looking forward to seeing what you come up with dude.
bishopdonmiguel wrote:I'd like to incorporate a flash bulb over an LED strobe as you suggest so I am very interested in seeing how you accomplish that. The "daylight" bulbs are coated with a blue plastic cover and the magnesium filament ignites around 3v if I recall. I assume they can be safely disassembled but I've never worked on one.
Thanks for the interest and support, guys! I'm planning on following Julz's lead to carefully cut the ends off the bulbs. His post can be found here and here is how he did it in his words...
julz wrote:The process I followed to cut the flash bulb glass open was to use a glass cutter tool and carefully scoured the end. This removed the very light film of blue plastic. Then I used my dremel with a crystal head and slowly started etching into the rear of the bulb. You have to be prepared as I wasn't for the tube to pop open with the pressure being released. I almost dropped my dremel as the end exploded off and launched itself far away.
Sounds dangerous and exciting!
User avatar
By GohstTarp
#4862725
I'm happy to report that I was able to get RJ's Pop Mech installed and it went fairly smoothly. I only ran into two small issues that were easy to fix. The first was the the pre-drilled green-lever hole on the left of my thrower body was a little too low, but a little JB Weld Steel Stick and my drill fixed that up. The next issue was the location of the 4-40 screw catch on the pop tube. To get around that, I installed everything and noted the ideal placement. Then I removed the pop tube and re-drilled and tapped... piece of cake.

The instructions for the Pop Mech were clear and easy to follow. Here are some shots of how I installed everything...

Green lever on the left side of the gun body...
Image

Right side showing the small side knob attached to the green lever...
Image

Catch, stop and spring all installed (I shorted the spring by 1/3 to make it more snappy)...
Image

Pop tube, catch bolt and spring installed. I used an acorn nut to help secure the spring on the catch bolt. Others have wrapped the spring around to the other side of the bolt, but this simple attachment worked well for me...
Image

The Pop mech catch engaged...
Image

RJ provided great support for his Pop Mech kit and I couldn't recommend it more!

Now I need to figure out how to get a video if it all in action posted here.
Last edited by GohstTarp on April 16th, 2018, 9:07 pm, edited 2 times in total.
barison82 liked this
#4862726
Nice job you did there. Great idea with the acorn nut.
  • 1
  • 7
  • 8
  • 9
  • 10
  • 11
  • 18

This is awesome, One time. I love reading explanat[…]

And, lastly, for now, the video that prompted me t[…]

At some point, probably just better off opening up[…]

Spengler/84 wand Gun Track

So...I had more than a little problem with dis[…]