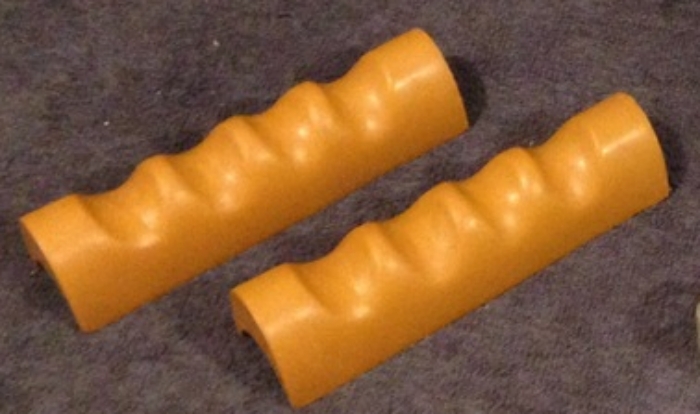
For my thrower grips, I went with Nick-A-Tron's
brown grips and I'm very happy with the parts...
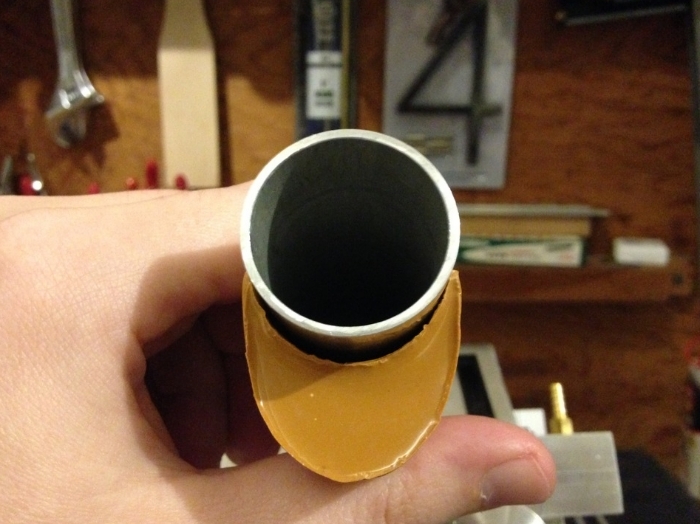
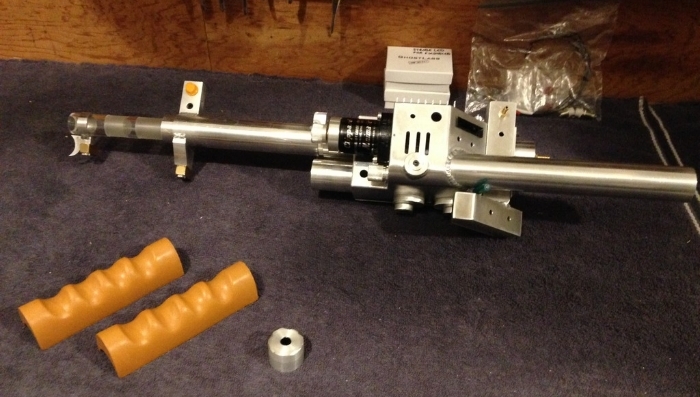
My first step was to get a better fit with my thrower handles. As you can see here, they didn't mate as well as I would have liked...
Maybe there is a better way, but it was an easy fix to wrap some sand paper around the handles and sand down...
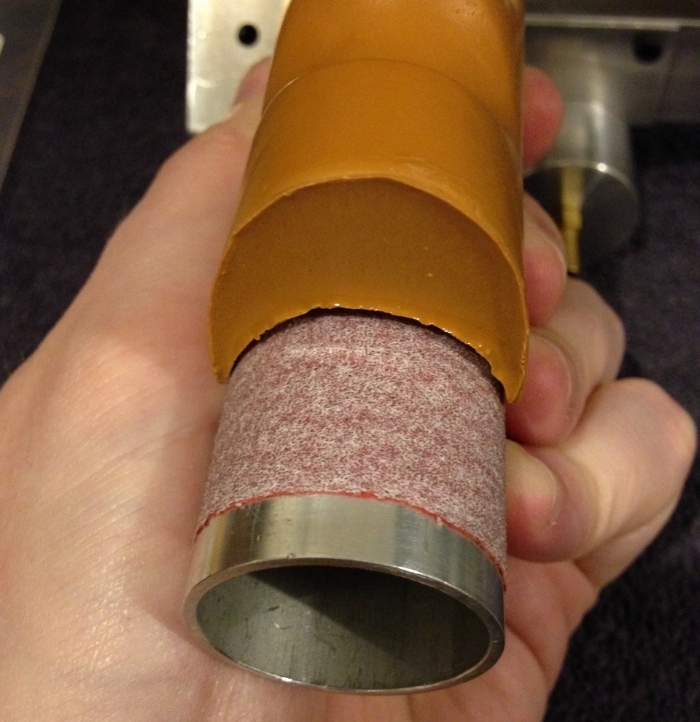
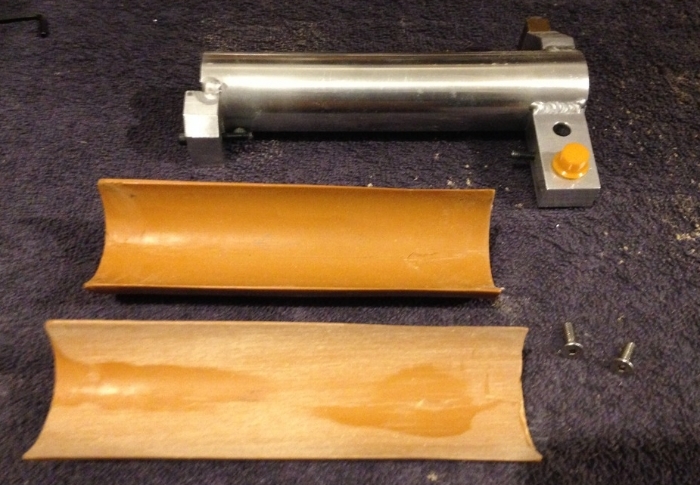
Before too long, I had the bottom grip sanded down...
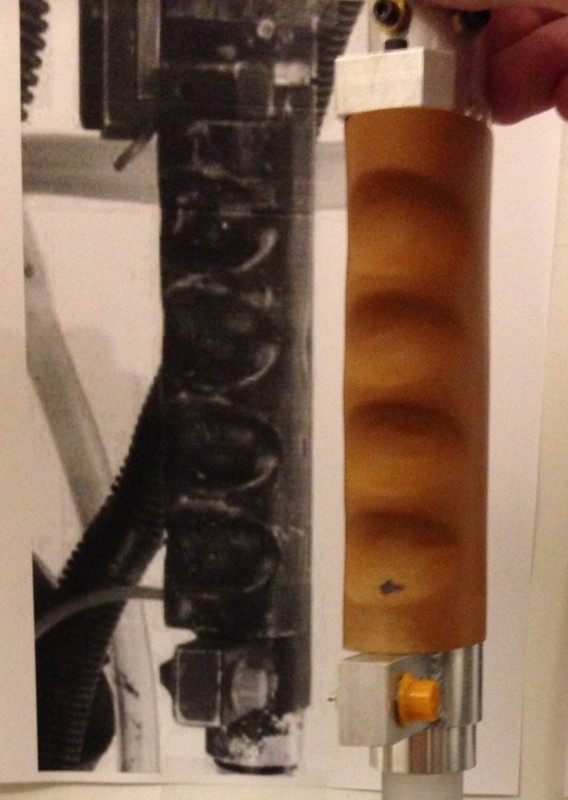
Next, I found some reference pics to determine how to I wanted the front grip to look...
Shawn Marsall's 1984 Spengler Pack Photo
Profiles in History Spengler Pack Photo
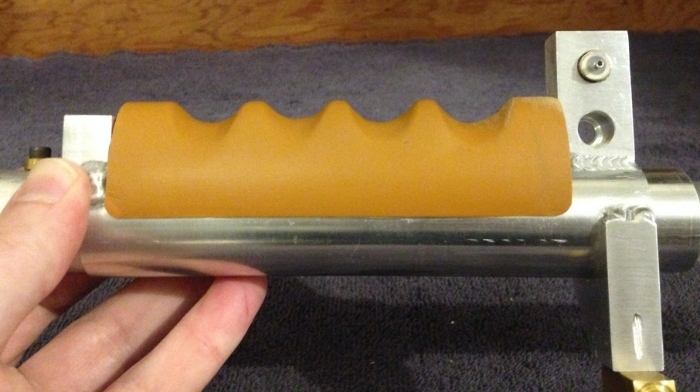
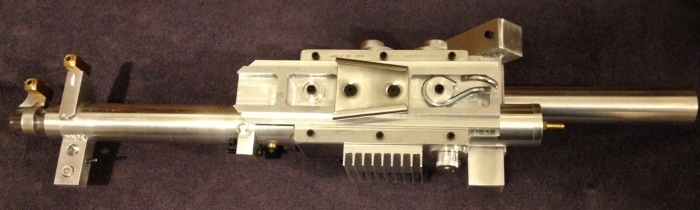
After that, I sanded down the front of the grip about 2.5mm and the rear about 2mm (IIRC). As I got close, I checked the fit often until I got it nice and perfect. With the grip in place, I marked the location of the rotation handle cap head and drilled out the area using a 1/4" Forstner bit...
Then I positioned the grip for attachment on the front handle and drilled pilot holes through the pre-drilled screw holes and into the grips, using the bit that came with the 6-32 drill/tap set. I got a little too overzelous with the drill for the angled hole and went right through the grip. But it was an easy fix with some black milliput. After drilling the pilots, I removed the grip again and re-drilled the holes using a 1/8" drill bit. Finally, I placed the front grip back on the handle and screwed in 1" 6-32 cap head bolts all the way. The 1/8" holes make for just the right amount of resistence with the 6-32 bolt and a nice strong connection. Here is what I ended up with...
You can see where were I repaired the grips with a little black milliput

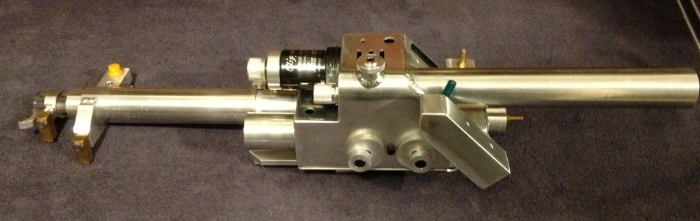
It turned out better than I had hoped and the front handle feels like a dream with the grip attached.
Just two more items to attach before I move on to electronics...
- Rear Grip
- Loom Attachment piece
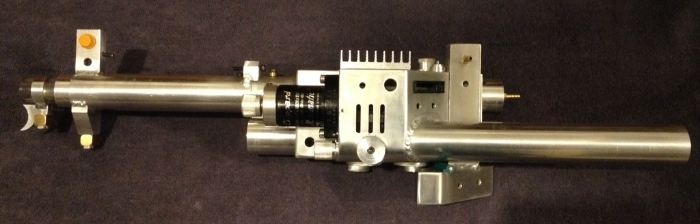
Almost there.


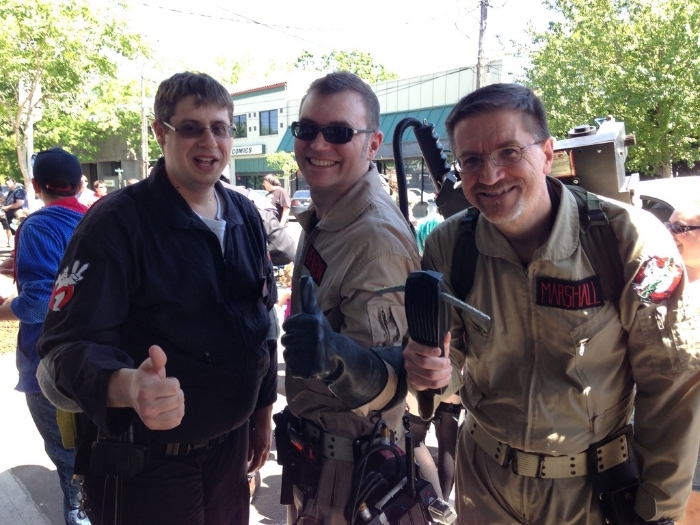 (from L to R... Dr. Frisby, Dr. Benton and Dr. Marshall)


 - By Threadender
 - By tylergfoster