
- May 19th, 2016, 9:55 pm#4864693
Hi all,
With just one week to go to MegaCon I decided it was time to mod my matty trap to make it more realistic. While matty toys will never be as great as getting one of the awesome kits from Nick-A-Tron, TC or Franchesky, the matty stuff works well enough for those of us who have just started our ghosthead addiction. So after spending almost two years gathering inspiration from members such as Lund12, Redvirtue and The Rockman who have great tutorials, I finally got the courage to take the dremel to my ridiculously expensive collectors item.
The mods I want to complete are: ribbon cable mod, add Franchesky trap door, change the relay, add the hat light, gold resistor, upgrade the handel, change out all the allen screws if possible.
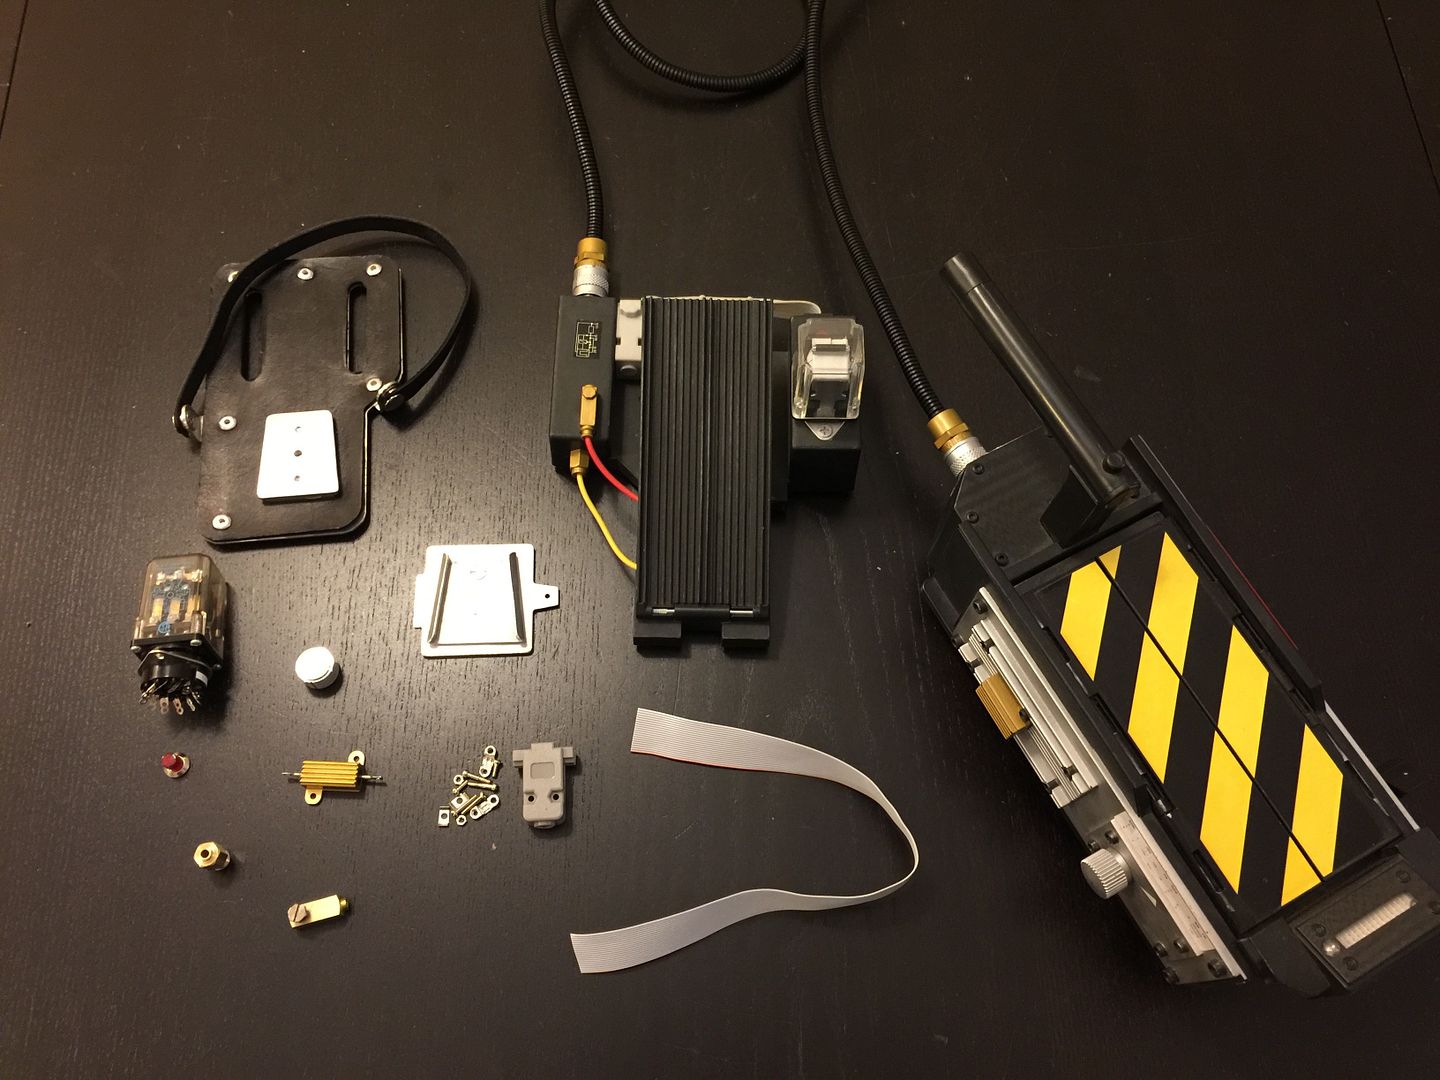
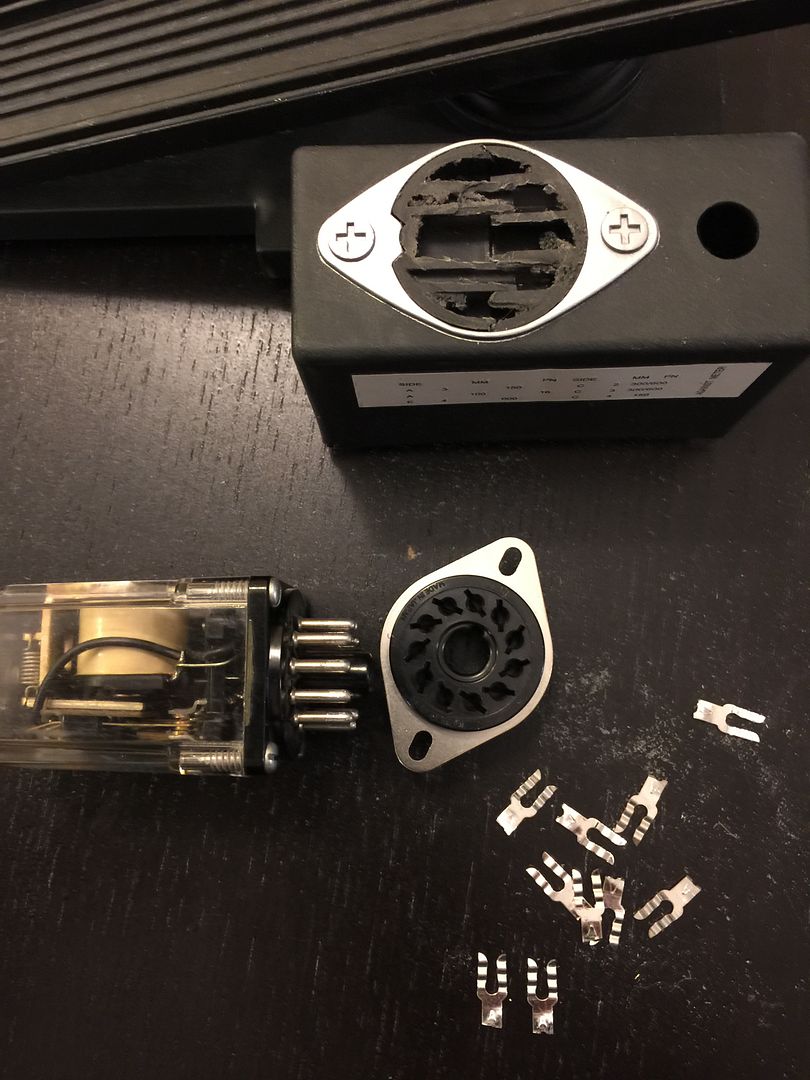
My parts so far:
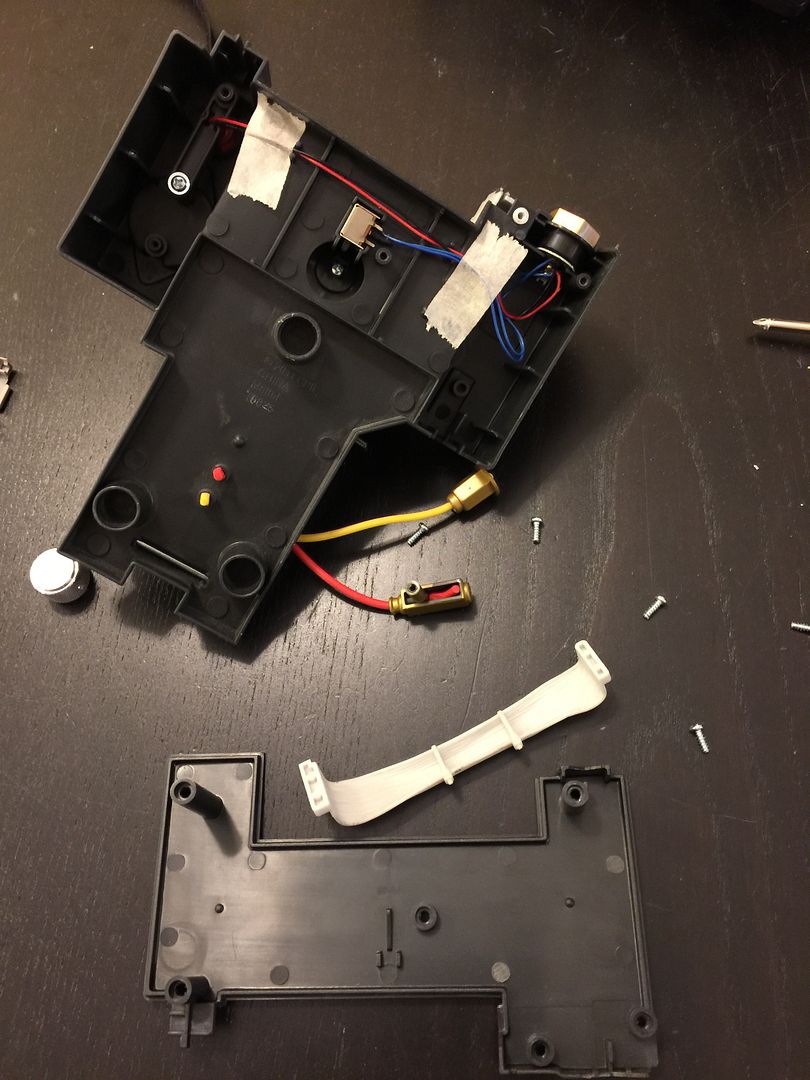
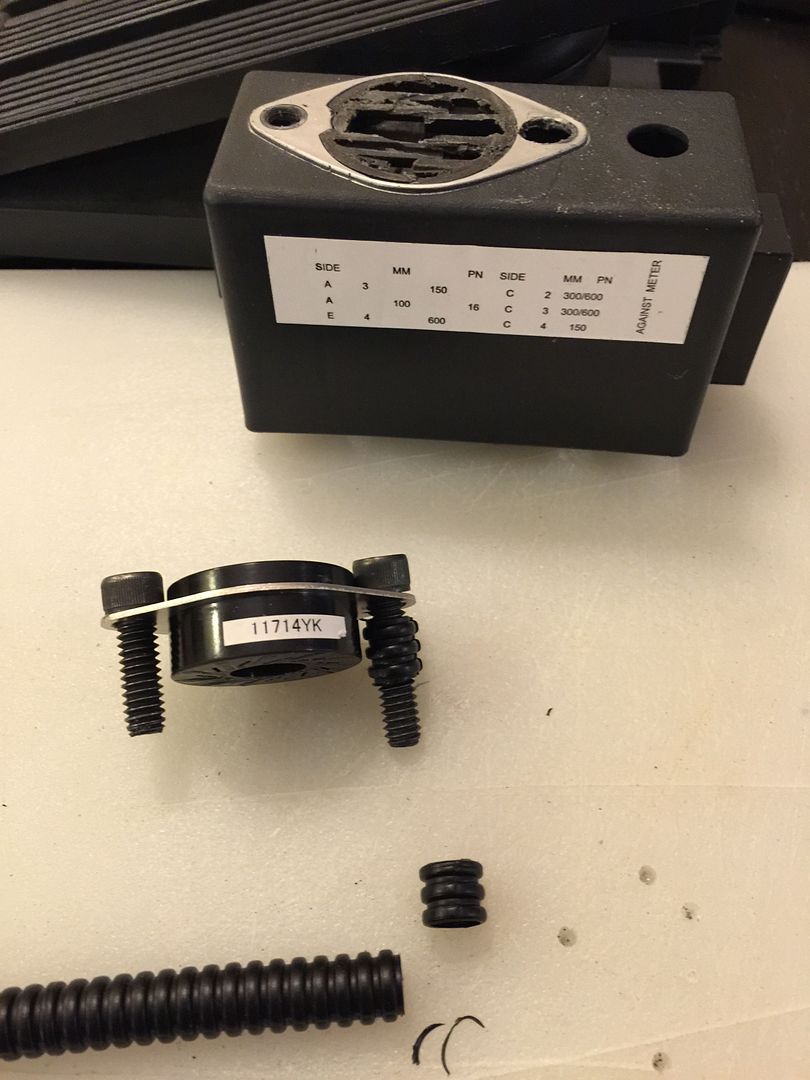
When I took it apart I realized a lot of the fake components had anchor points for the screws. So I had to figure out a way to keep those screw points.
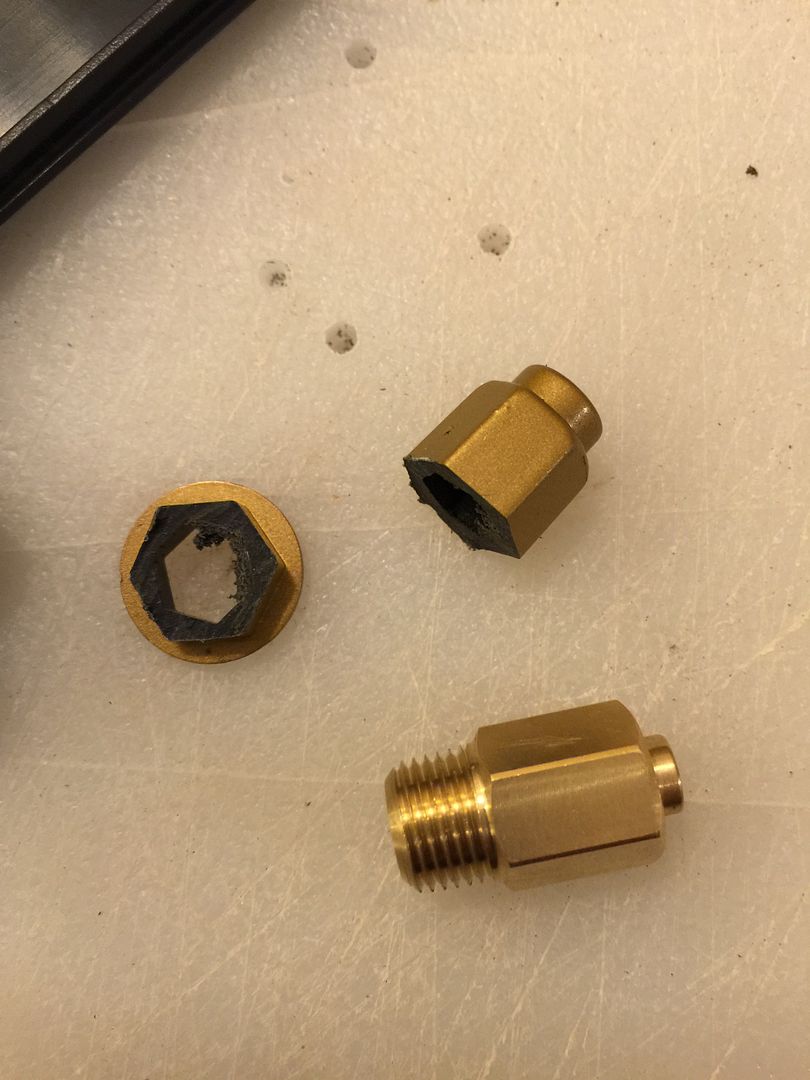
For the banjo fitting for instance I cut the plastic banjo in half to keep the anchor point.

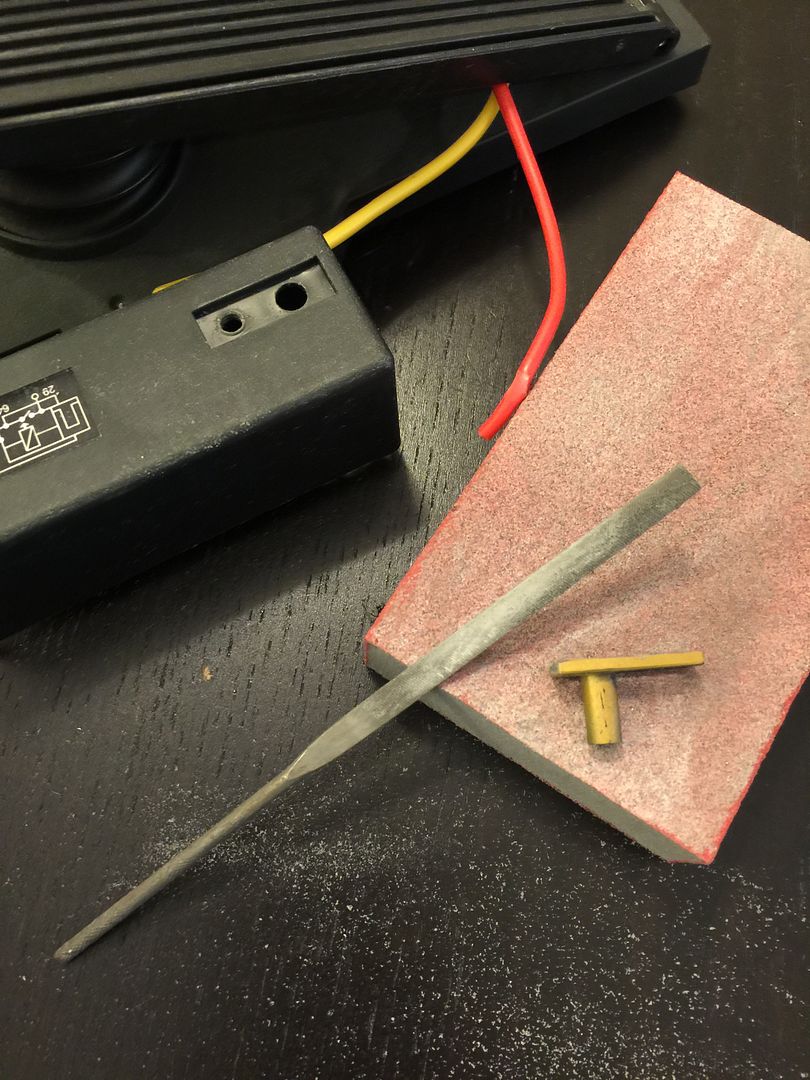
Then after sanding it down you put it back in and it creates a nice foundation for the real brass banjo fitting.
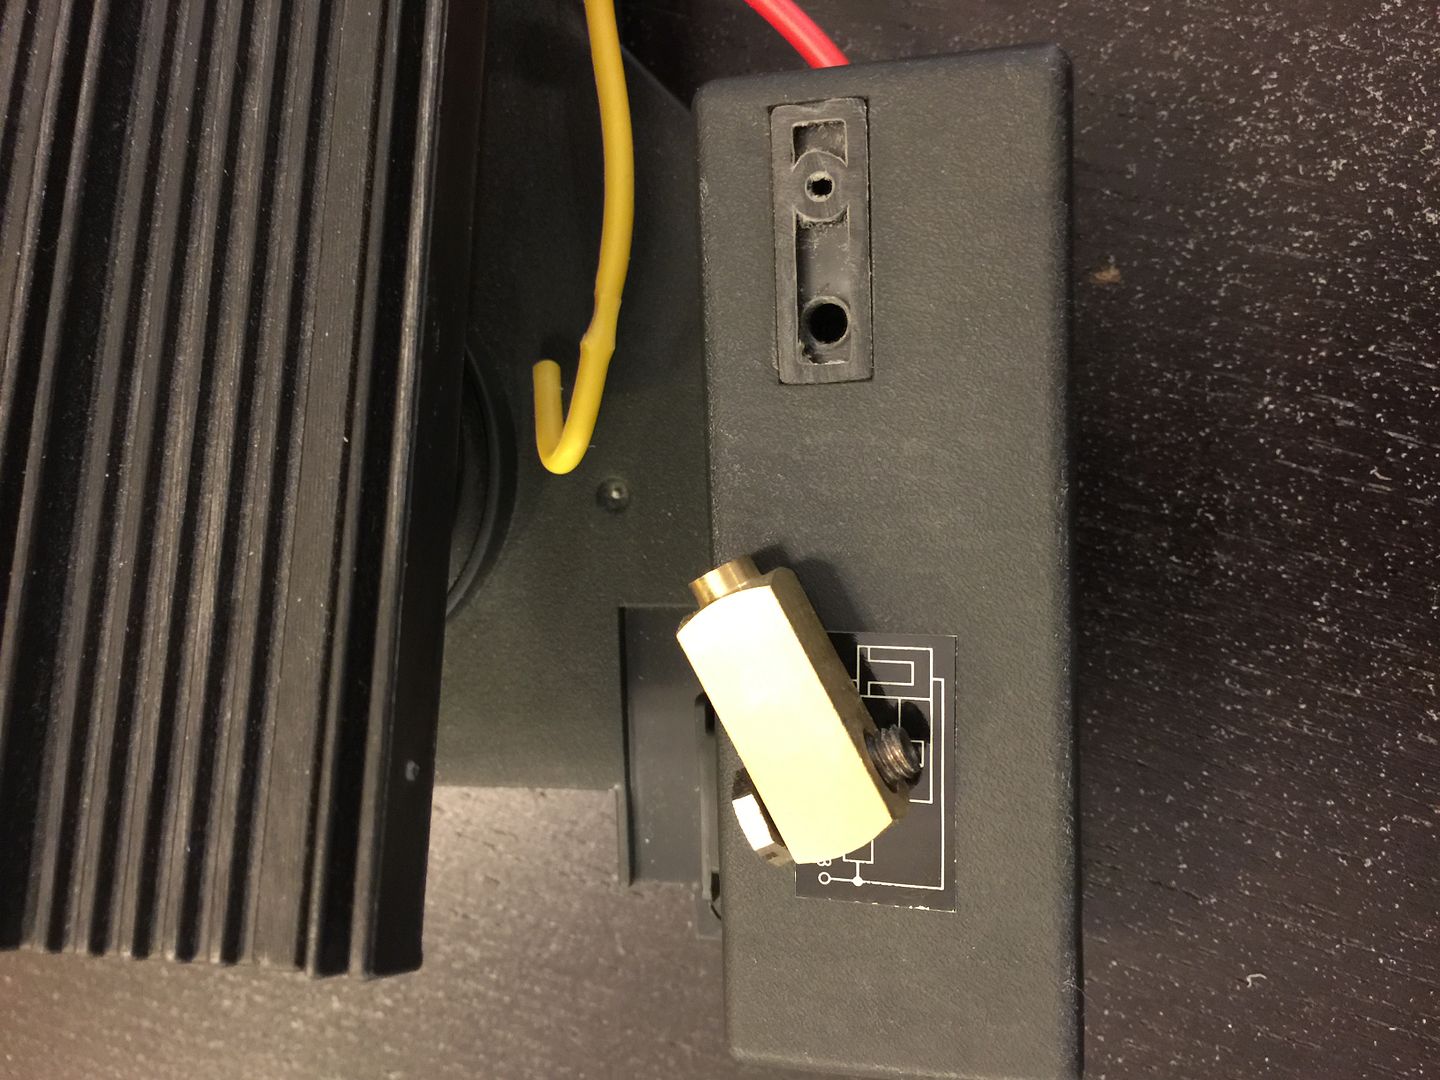
I did a similar modification for the straight brass fitting so it has something to cover the hole and provide a way to screw the brass fitting in:

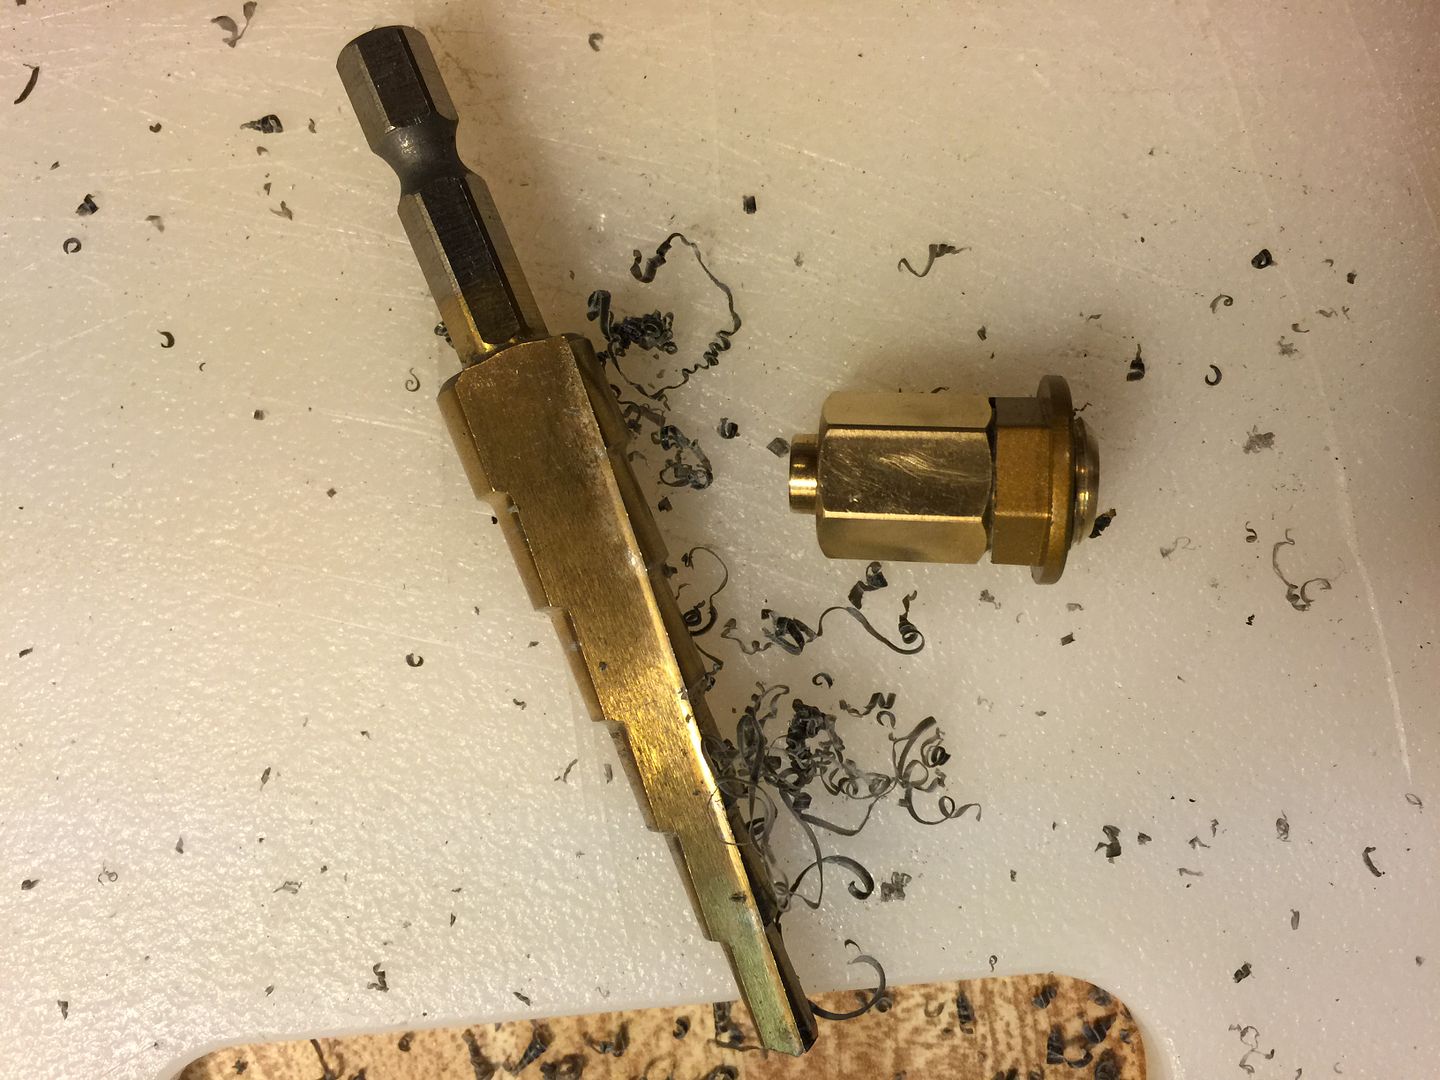
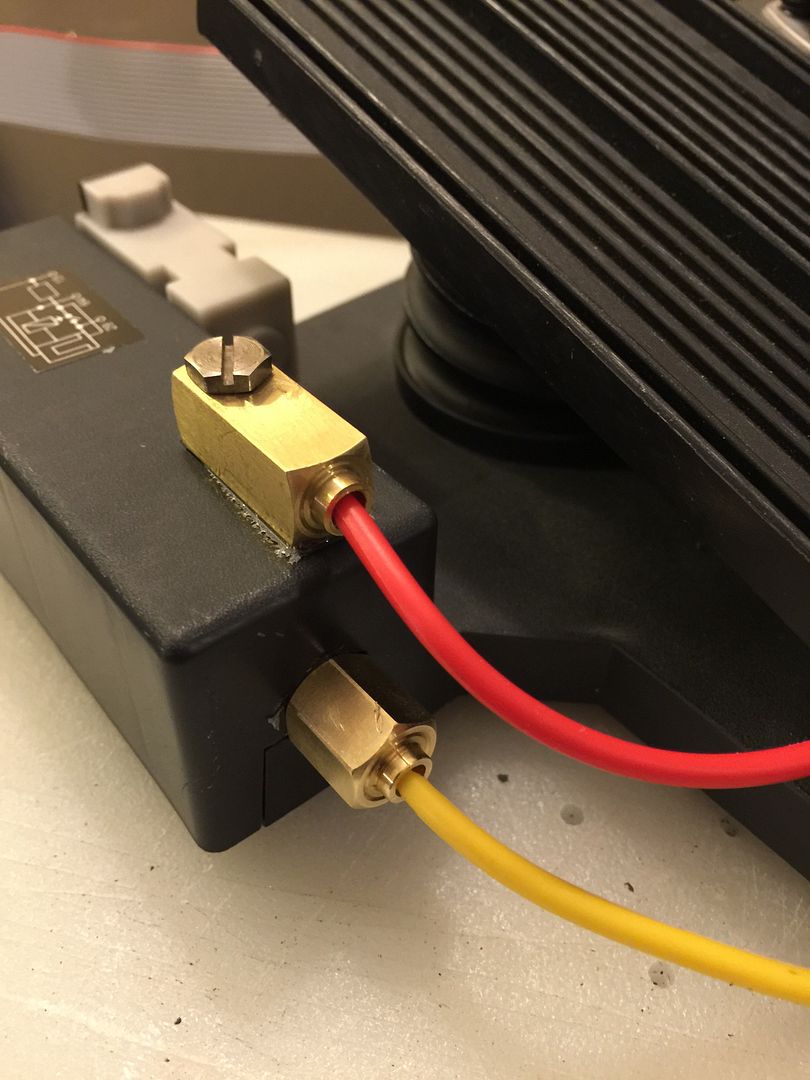
Once installed with a few drops of epoxy they look pretty damn good:
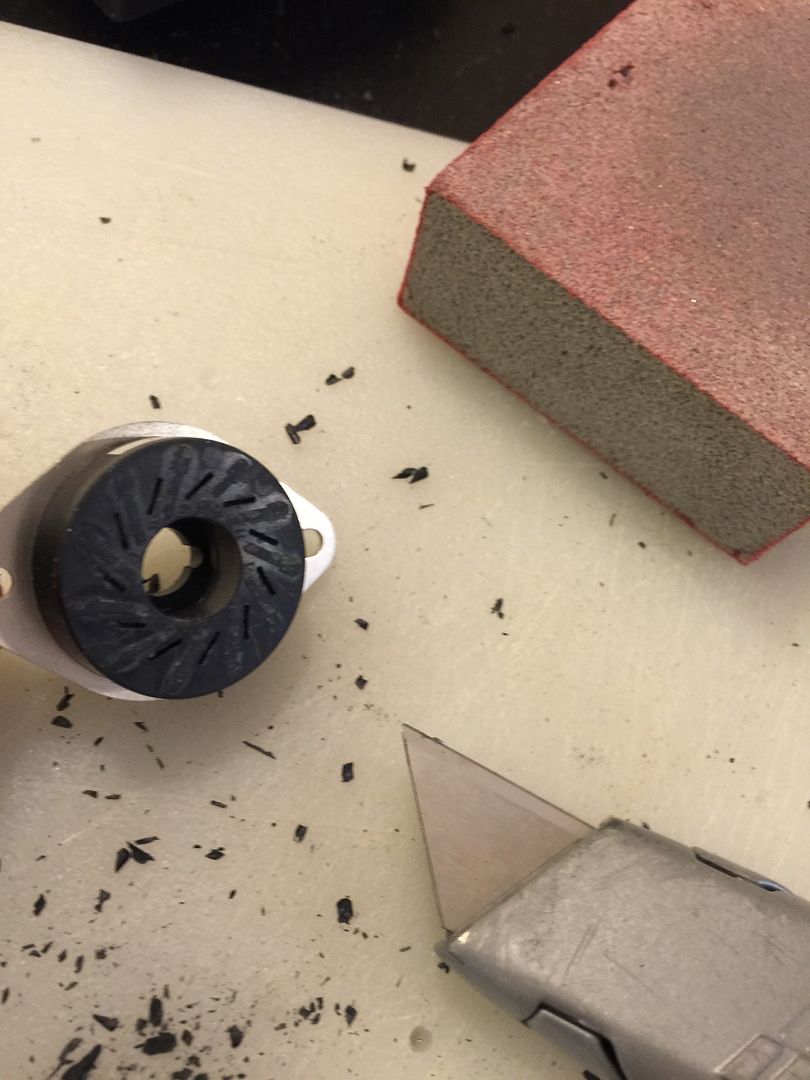
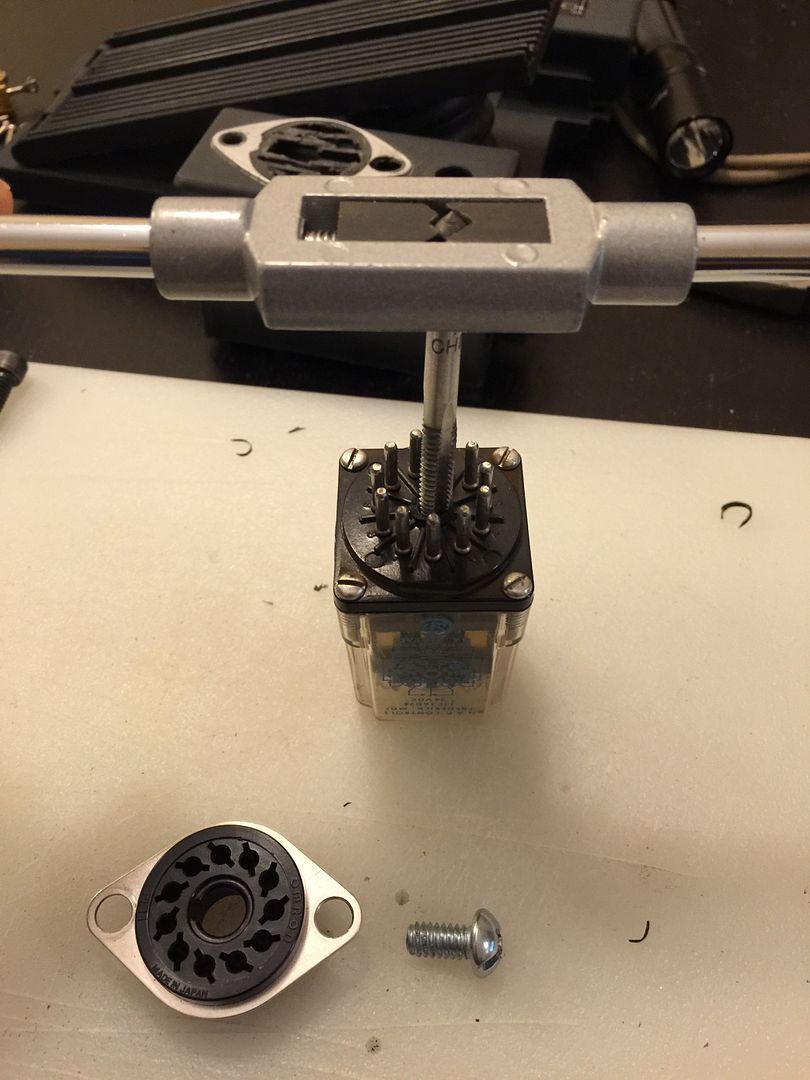
Next up was the relay which of course had two screw point I had to maintain as well. So the same procedure applies along with modifying the real relay by taking off the bottom metal connectors, sanding it flush, tapping it to keep it together(because the metal tabs that were removed usually hold the relay to the base):
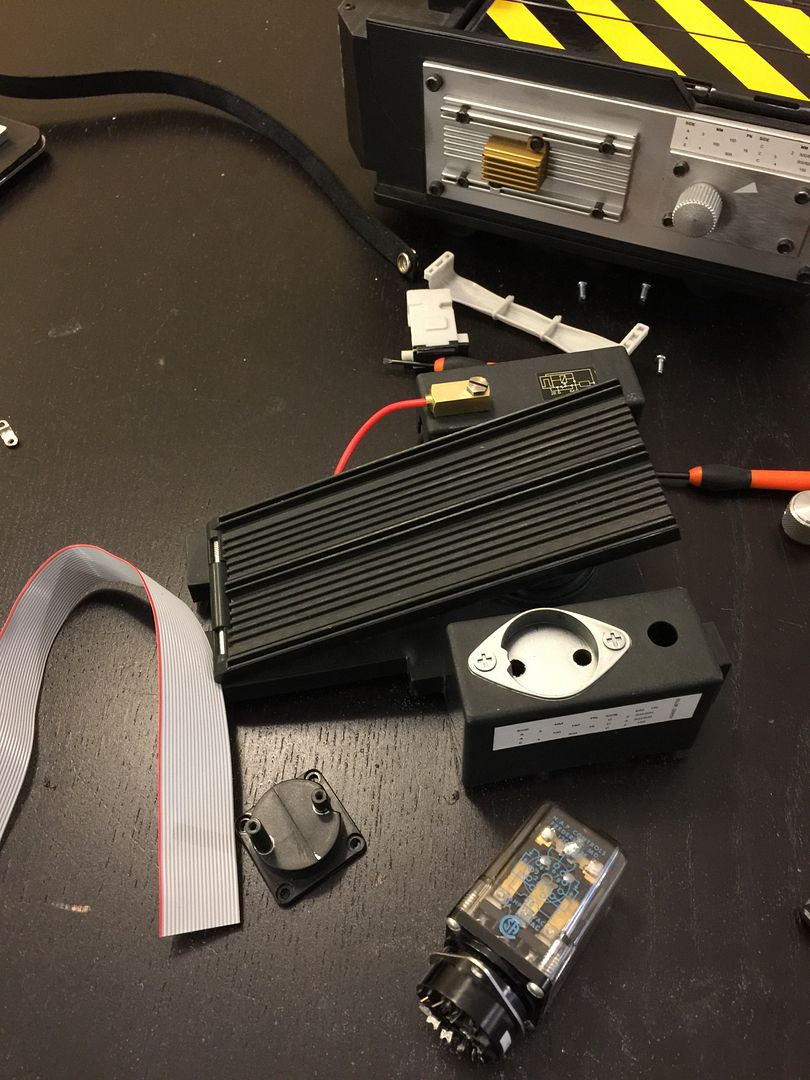
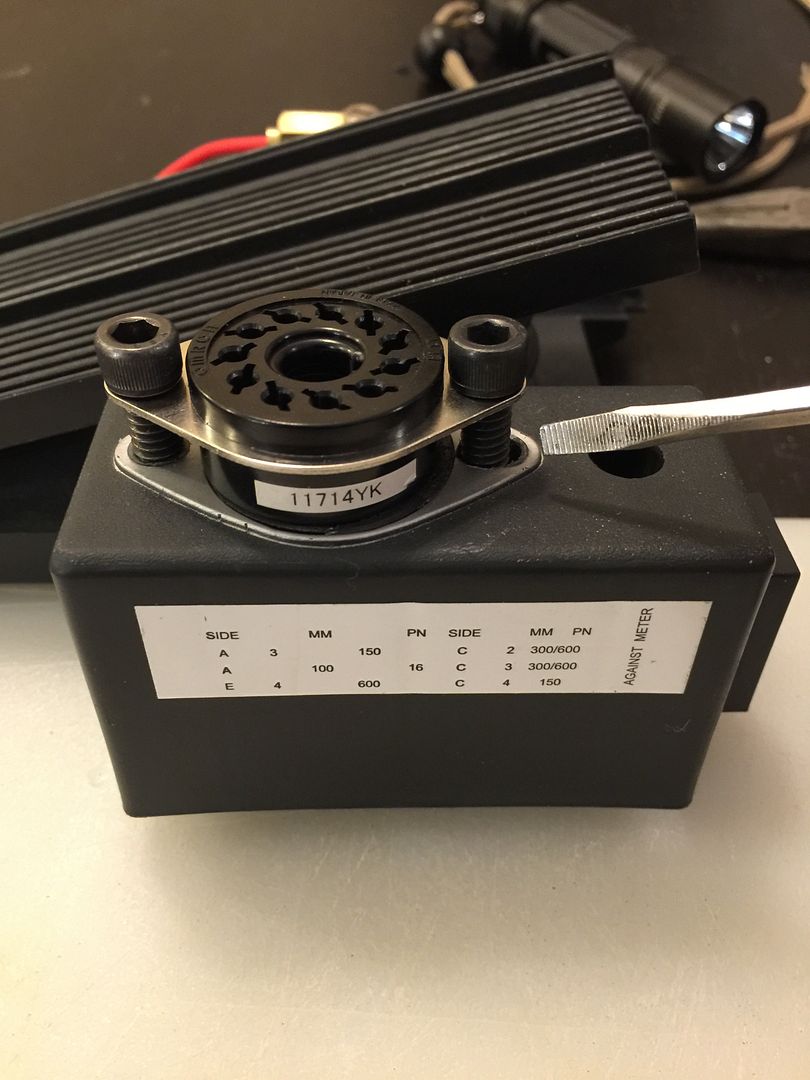
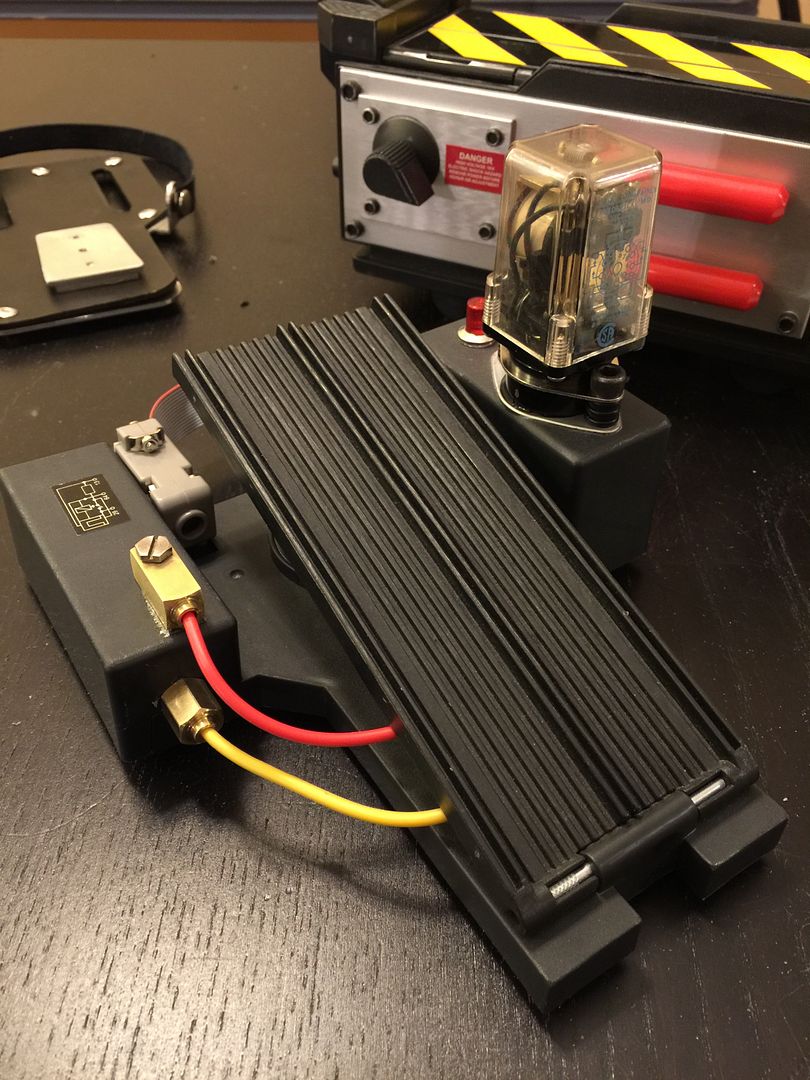
Once mounted the screws did not line up with the fake ones and there was a gap I did not like, so I took some wire loom and made spacers, which I think look pretty good.
Here is the finished pedal so far:
With just one week to go to MegaCon I decided it was time to mod my matty trap to make it more realistic. While matty toys will never be as great as getting one of the awesome kits from Nick-A-Tron, TC or Franchesky, the matty stuff works well enough for those of us who have just started our ghosthead addiction. So after spending almost two years gathering inspiration from members such as Lund12, Redvirtue and The Rockman who have great tutorials, I finally got the courage to take the dremel to my ridiculously expensive collectors item.
The mods I want to complete are: ribbon cable mod, add Franchesky trap door, change the relay, add the hat light, gold resistor, upgrade the handel, change out all the allen screws if possible.
My parts so far:

When I took it apart I realized a lot of the fake components had anchor points for the screws. So I had to figure out a way to keep those screw points.

For the banjo fitting for instance I cut the plastic banjo in half to keep the anchor point.


Then after sanding it down you put it back in and it creates a nice foundation for the real brass banjo fitting.

I did a similar modification for the straight brass fitting so it has something to cover the hole and provide a way to screw the brass fitting in:


Once installed with a few drops of epoxy they look pretty damn good:

Next up was the relay which of course had two screw point I had to maintain as well. So the same procedure applies along with modifying the real relay by taking off the bottom metal connectors, sanding it flush, tapping it to keep it together(because the metal tabs that were removed usually hold the relay to the base):


Once mounted the screws did not line up with the fake ones and there was a gap I did not like, so I took some wire loom and made spacers, which I think look pretty good.


Here is the finished pedal so far:

EctoRalph's Proton Pack Build: viewtopic.php?p=4861809#p4861809
EctoRalph's PVS-5 Ecto Goggle Build: viewtopic.php?f=12&t=41249
EctoRalph's Matty Trap Mods: viewtopic.php?f=3&t=41361
EctoRalph's PVS-5 Ecto Goggle Build: viewtopic.php?f=12&t=41249
EctoRalph's Matty Trap Mods: viewtopic.php?f=3&t=41361


 - By ecto 1 rocks
 - By mardin_chatzuk
 - By The_Y33TER