
- January 22nd, 2017, 8:56 am#4888945
55. THROWER: LABELS
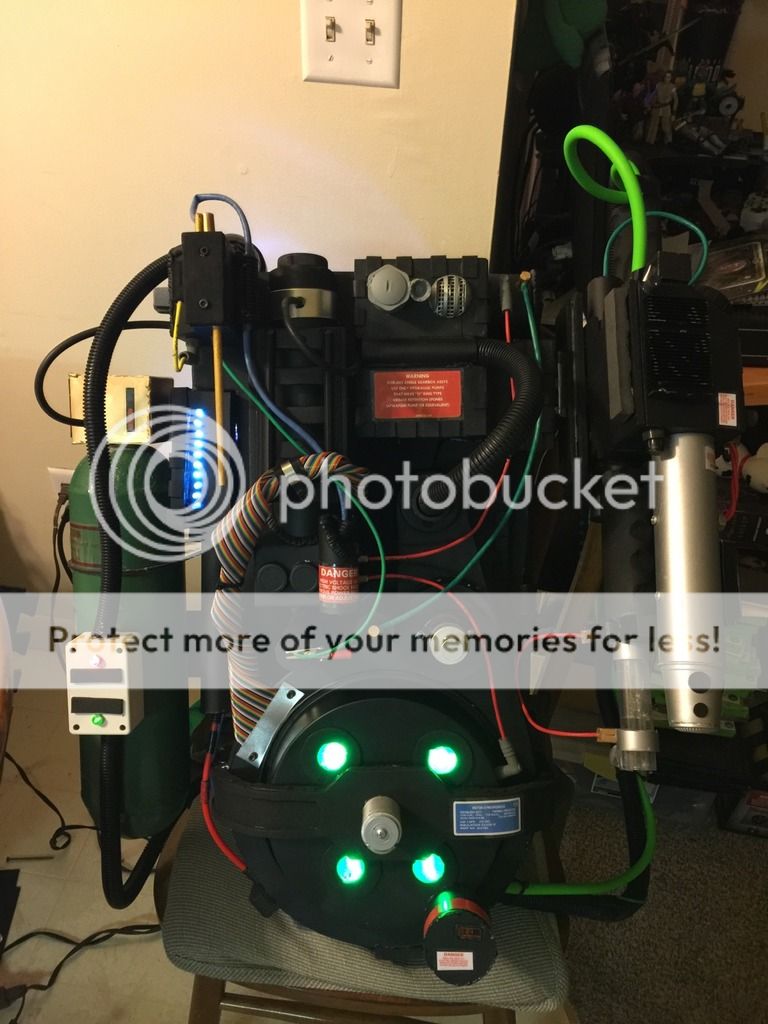
There aren't very many labels to put on a proton thrower, but what labels I have are pretty small and somewhat difficult to work with.
My technique was the same as before: the one metallic label was peel-and-stick, and the remaining laminated labels I applied with spray adhesive. In order to take the reflective shine off the laminated labels, I rubbed them all (except the bar graph) with some 800-grit sandpaper.
First, the left side. The one metallic "Danger" label goes above the side discs (upside down or right side up are legit). The little wiring diagram goes to the left of the side discs.
Note: For labels that have a black background (such as the wiring diagram, I used a Sharpie on the white edges of the card stock. It's hard to tell, but this helped them blend in much better.

The remainder of the labels go on the gun body, trigger box, and instrument bar, all facing toward the back. These are all laminated, so I used the Sharpie on the edges of most of them.

The bar graph (or power indicator) is usually behind a piece of clear plastic, and has a thin black bezel all around it. I opted not to use clear plastic, instead leaving the laminated plastic shiny.
For the bezel, I carefully measured and cut one out of leftover sign plastic with an extra-sharp x-acto blade (I went through three blades just to make sure I was cutting with precision). The technique here is to cut lightly, many times, and not cut too deep at a time.
Once I cut it out, I flipped it over, so that no cuts past the window could be seen. Then I painted it black to match the rest of the thrower.

Once the paint was dry, I used spray adhesive on the back of the bezel and stuck it directly onto my laminated label sheet. Then, I cut around it very carefully with a fresh x-acto blade.

Finally, more spray adhesive on the back of the whole thing, and it stuck nice and securely to the gun body. Note that I put the "pie charts" label on first, and used that as a guide to help locate the bar graph correctly.

I do see that maybe I should have installed my toggle switches a little more to the left, creating more space between them and the bar graph, but I'm still happy with it.
That's it for labels. Next post, I will finally take on the clear plastic barrel tip.
Thanks for reading,
Bill
RUNNING PARTS COST:
-- NO MONEY SPENT --
TOTAL: $401.30
There aren't very many labels to put on a proton thrower, but what labels I have are pretty small and somewhat difficult to work with.
My technique was the same as before: the one metallic label was peel-and-stick, and the remaining laminated labels I applied with spray adhesive. In order to take the reflective shine off the laminated labels, I rubbed them all (except the bar graph) with some 800-grit sandpaper.
First, the left side. The one metallic "Danger" label goes above the side discs (upside down or right side up are legit). The little wiring diagram goes to the left of the side discs.
Note: For labels that have a black background (such as the wiring diagram, I used a Sharpie on the white edges of the card stock. It's hard to tell, but this helped them blend in much better.
The remainder of the labels go on the gun body, trigger box, and instrument bar, all facing toward the back. These are all laminated, so I used the Sharpie on the edges of most of them.
The bar graph (or power indicator) is usually behind a piece of clear plastic, and has a thin black bezel all around it. I opted not to use clear plastic, instead leaving the laminated plastic shiny.
For the bezel, I carefully measured and cut one out of leftover sign plastic with an extra-sharp x-acto blade (I went through three blades just to make sure I was cutting with precision). The technique here is to cut lightly, many times, and not cut too deep at a time.
Once I cut it out, I flipped it over, so that no cuts past the window could be seen. Then I painted it black to match the rest of the thrower.
Once the paint was dry, I used spray adhesive on the back of the bezel and stuck it directly onto my laminated label sheet. Then, I cut around it very carefully with a fresh x-acto blade.
Finally, more spray adhesive on the back of the whole thing, and it stuck nice and securely to the gun body. Note that I put the "pie charts" label on first, and used that as a guide to help locate the bar graph correctly.
I do see that maybe I should have installed my toggle switches a little more to the left, creating more space between them and the bar graph, but I'm still happy with it.
That's it for labels. Next post, I will finally take on the clear plastic barrel tip.
Thanks for reading,
Bill
RUNNING PARTS COST:
-- NO MONEY SPENT --
TOTAL: $401.30


 - By edspengler