By jhusel
#4888762
First I want to say thank you to all of the great build threads here, and awesome reference pics. It's nice to be able to find everything in one place. I had a Proton Pack years ago, traded it, and have regretted it ever since. So I finally decided to build my own. I still have a ways to go, but it's getting there. I hate waiting on parts to arrive, but that's what I get for buying parts as I sell props to fund this project.

Image
Image
Jonobiwan, Xandrew Bull liked this
By jhusel
#4888816
Thanks! The inspiration from some of the packs I've seen here is phenomenal! I've so many cool tricks I want to add to this, it's very exciting to see!
User avatar
By xyster101
#4888896
What? I feel like I just watched the stay puft exploded and it is over. Do you have build pictures?
Those are some nice shots of a sweet looking pack. Details!
By jhusel
#4888900
Thanks guys. I put a few stickers on tonight. I'm at a stopping point until I get some more parts in. Everything is ordered tho.

I do have a few build pics, I'll upload and post some tomorrow. What an awesome project!!
By jhusel
#4888912
So I'm not the best at taking progress shots, when I'm working, I get caught up in getting it done and forget. But I did take some.

First, here is the fiberglass shell I started out with. Not bad, but did require some filing, filling, and sanding to true things up some. You can see where I needed to bondo the N-Filler in the first pic. There was a recessed area all the way around it here.
Image
Image

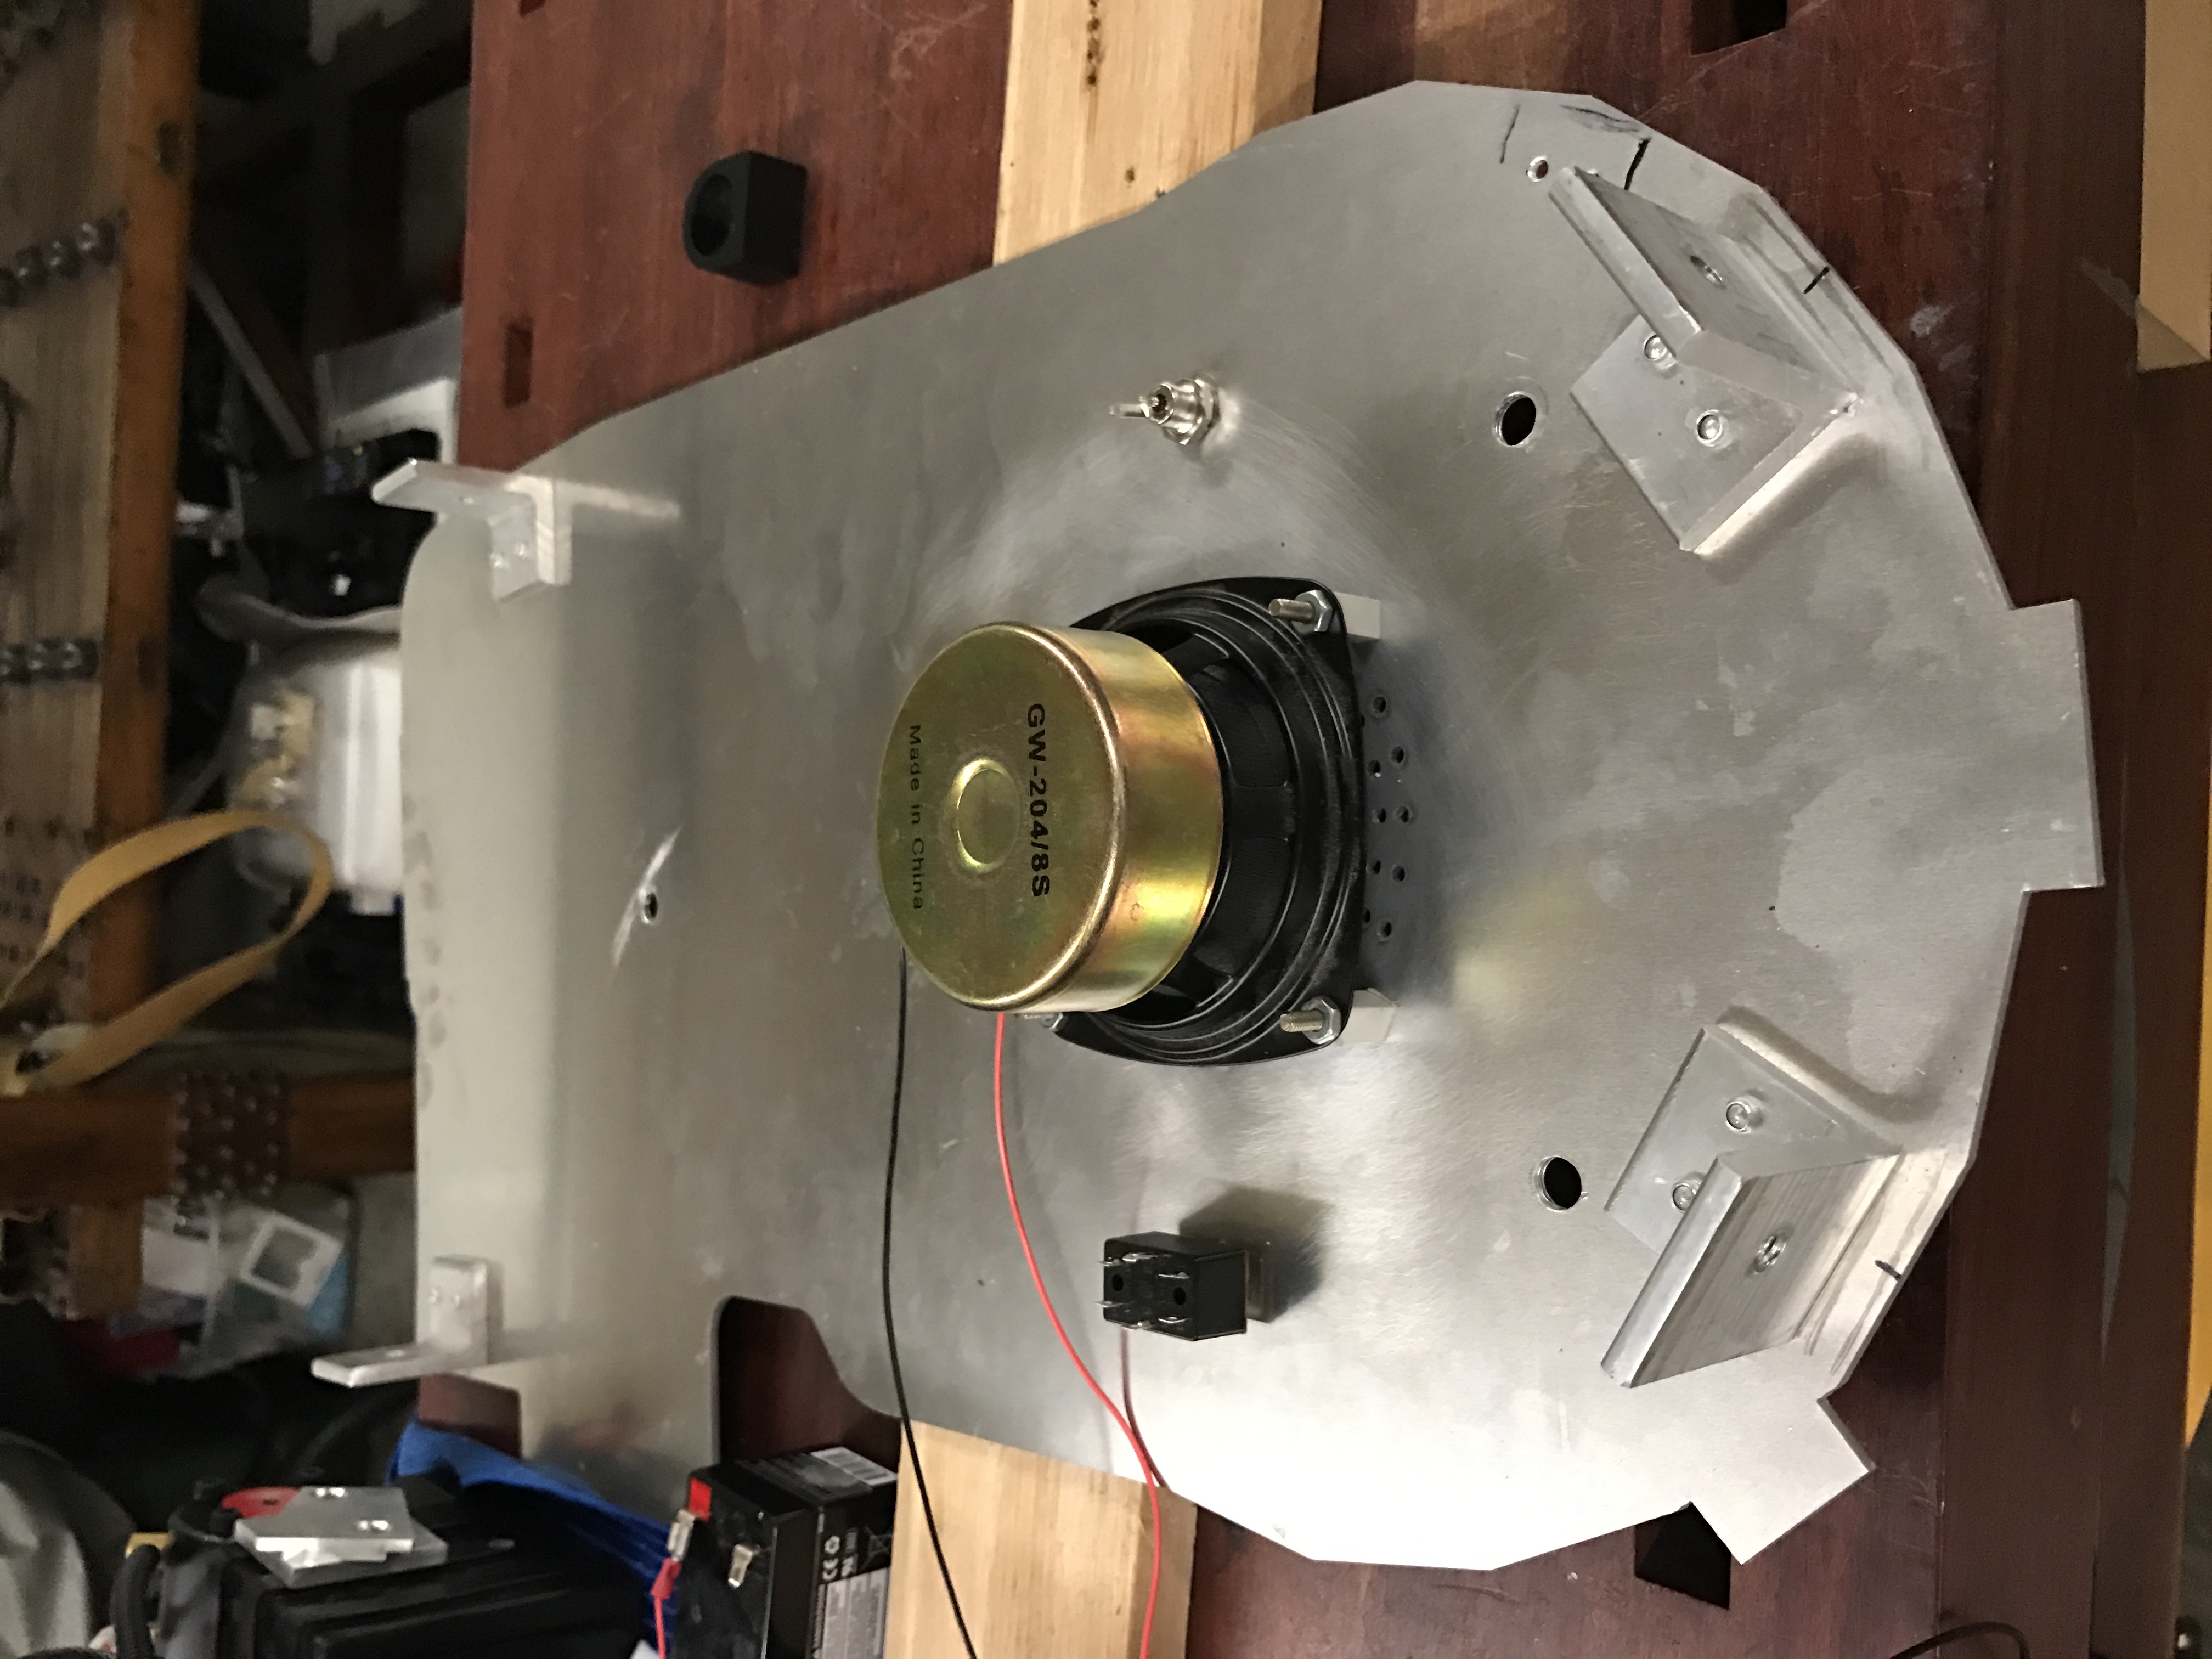
Got some parts in and started drilling and tapping them to fit on the pack
Image

Then started attaching all of the parts so I could disassemble and start painting. The ribbon took more work than I thought to get it where I wanted it.
Image

Here are a lot of the add-on pieces painted in a low gloss black, automotive finish. And reference pages I printed off from here to see how things line up.
Image

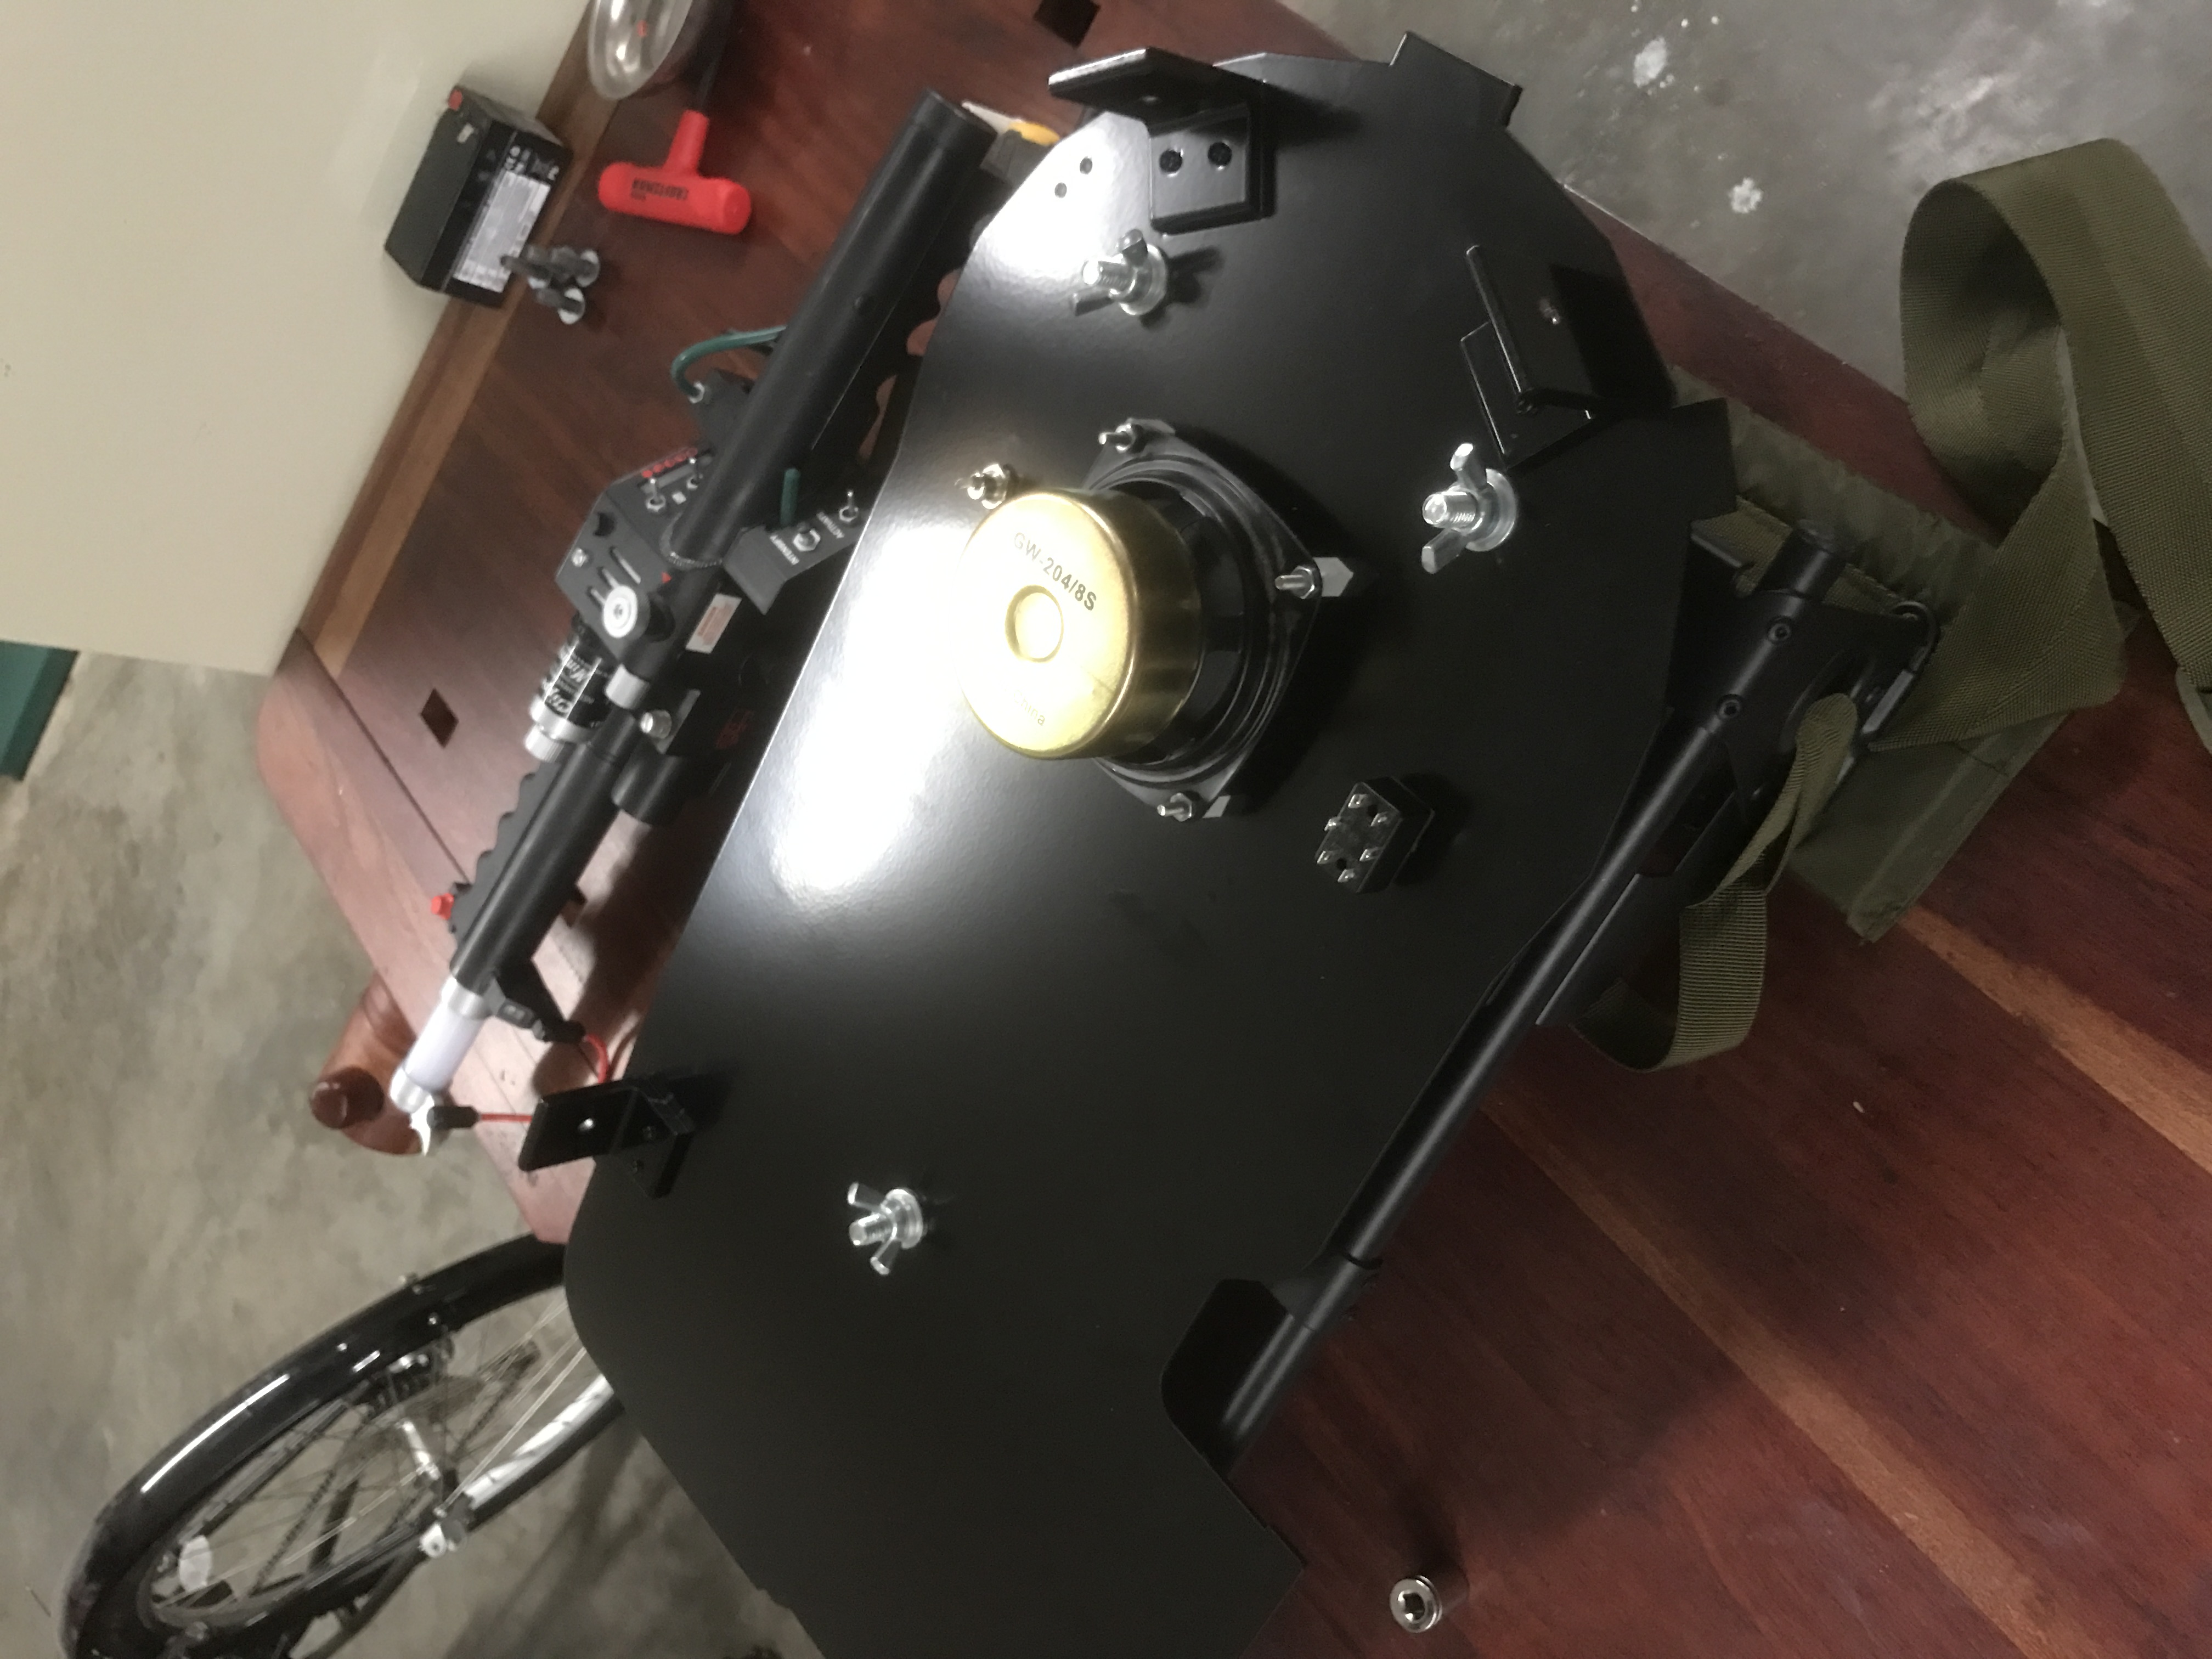
Then I masked off parts of the pack that should be smooth and textured the pack with a Paintable Spray On Bedliner. Removed the masking tape and sprayed the whole thing low gloss black to match the parts. I like the liner I got, it wasn't rubbery. (Ignore the ugly holes on the Ion arm...ugh. But it fits snug and isn't visible)
Image

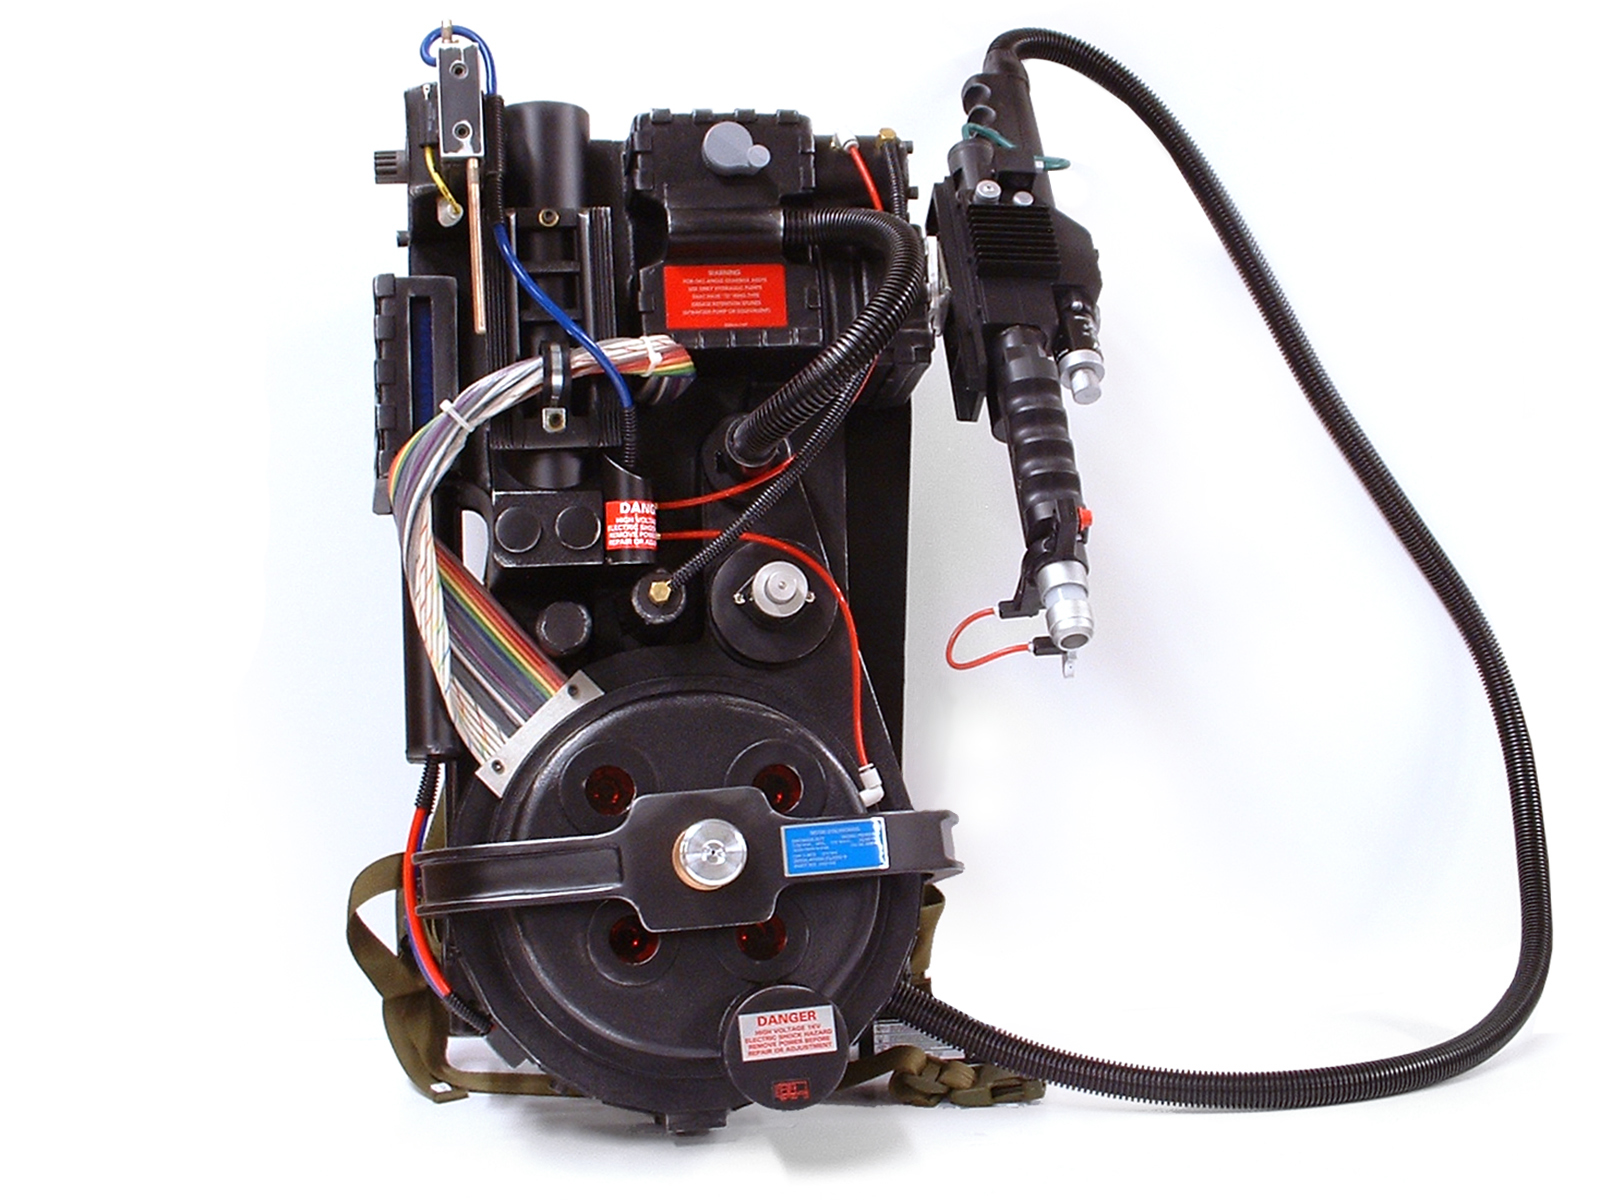
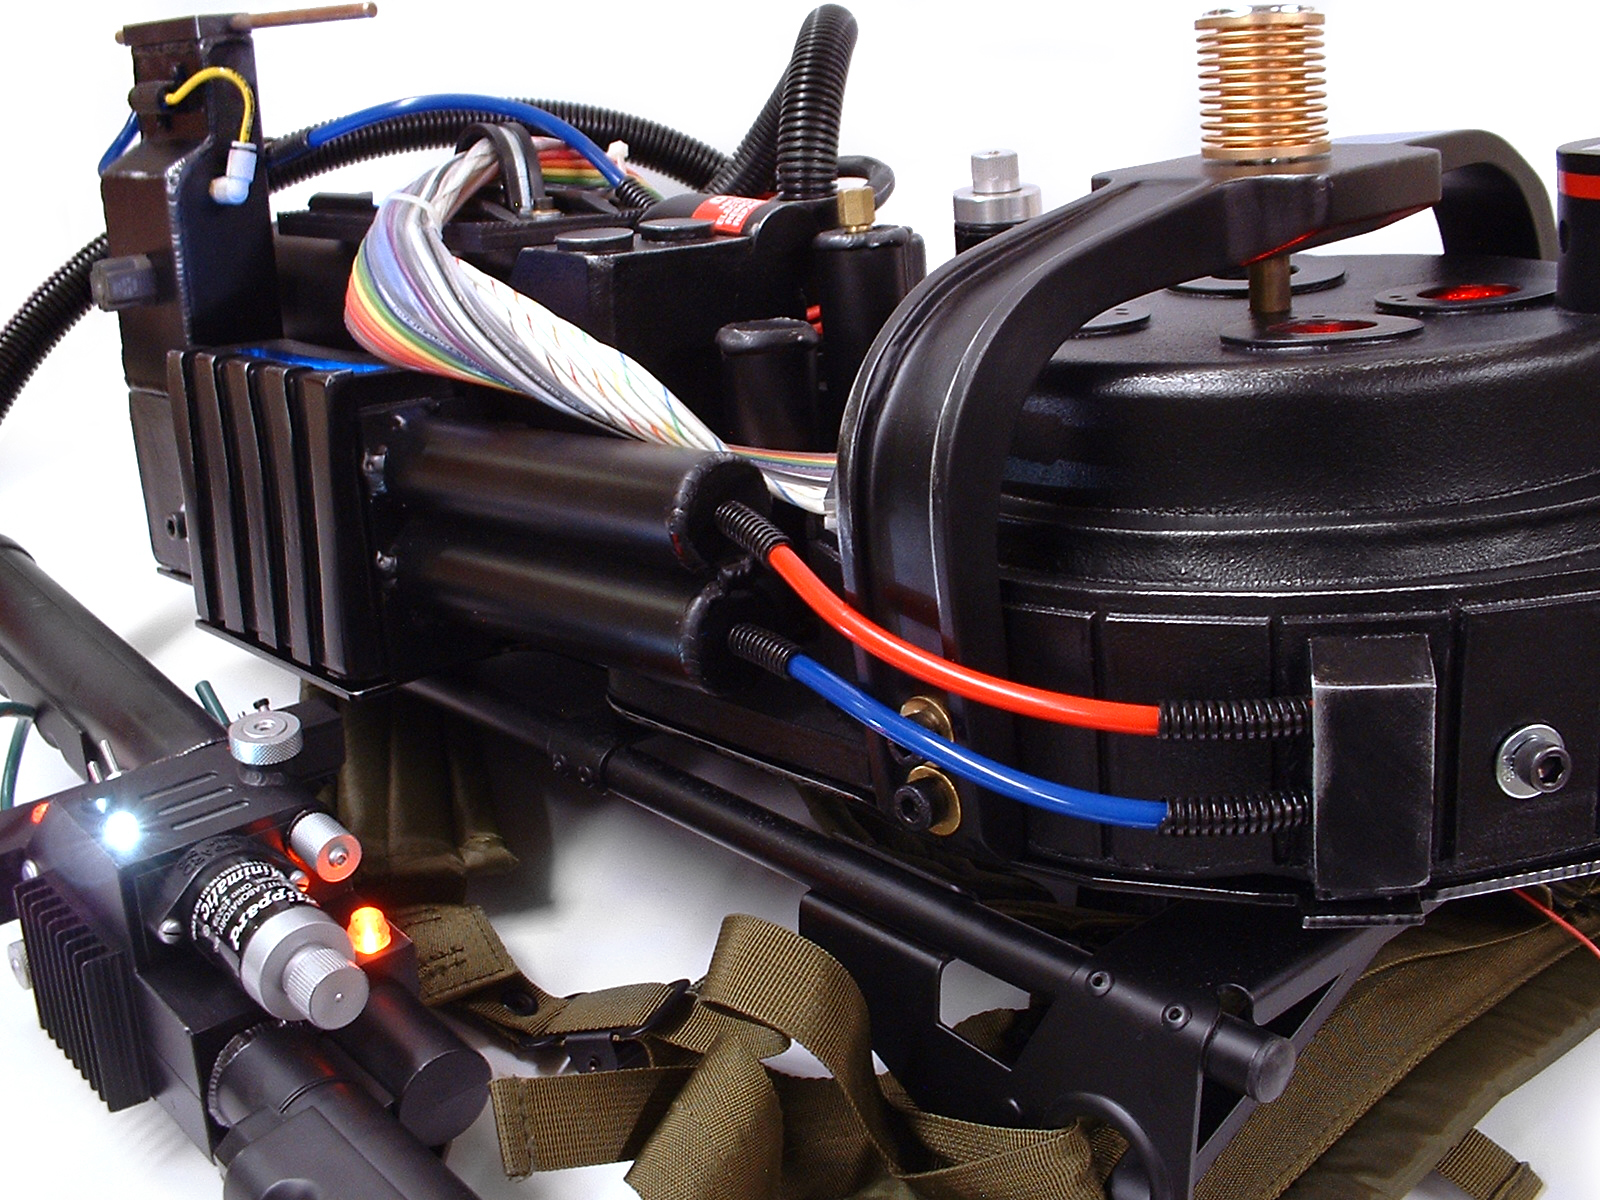
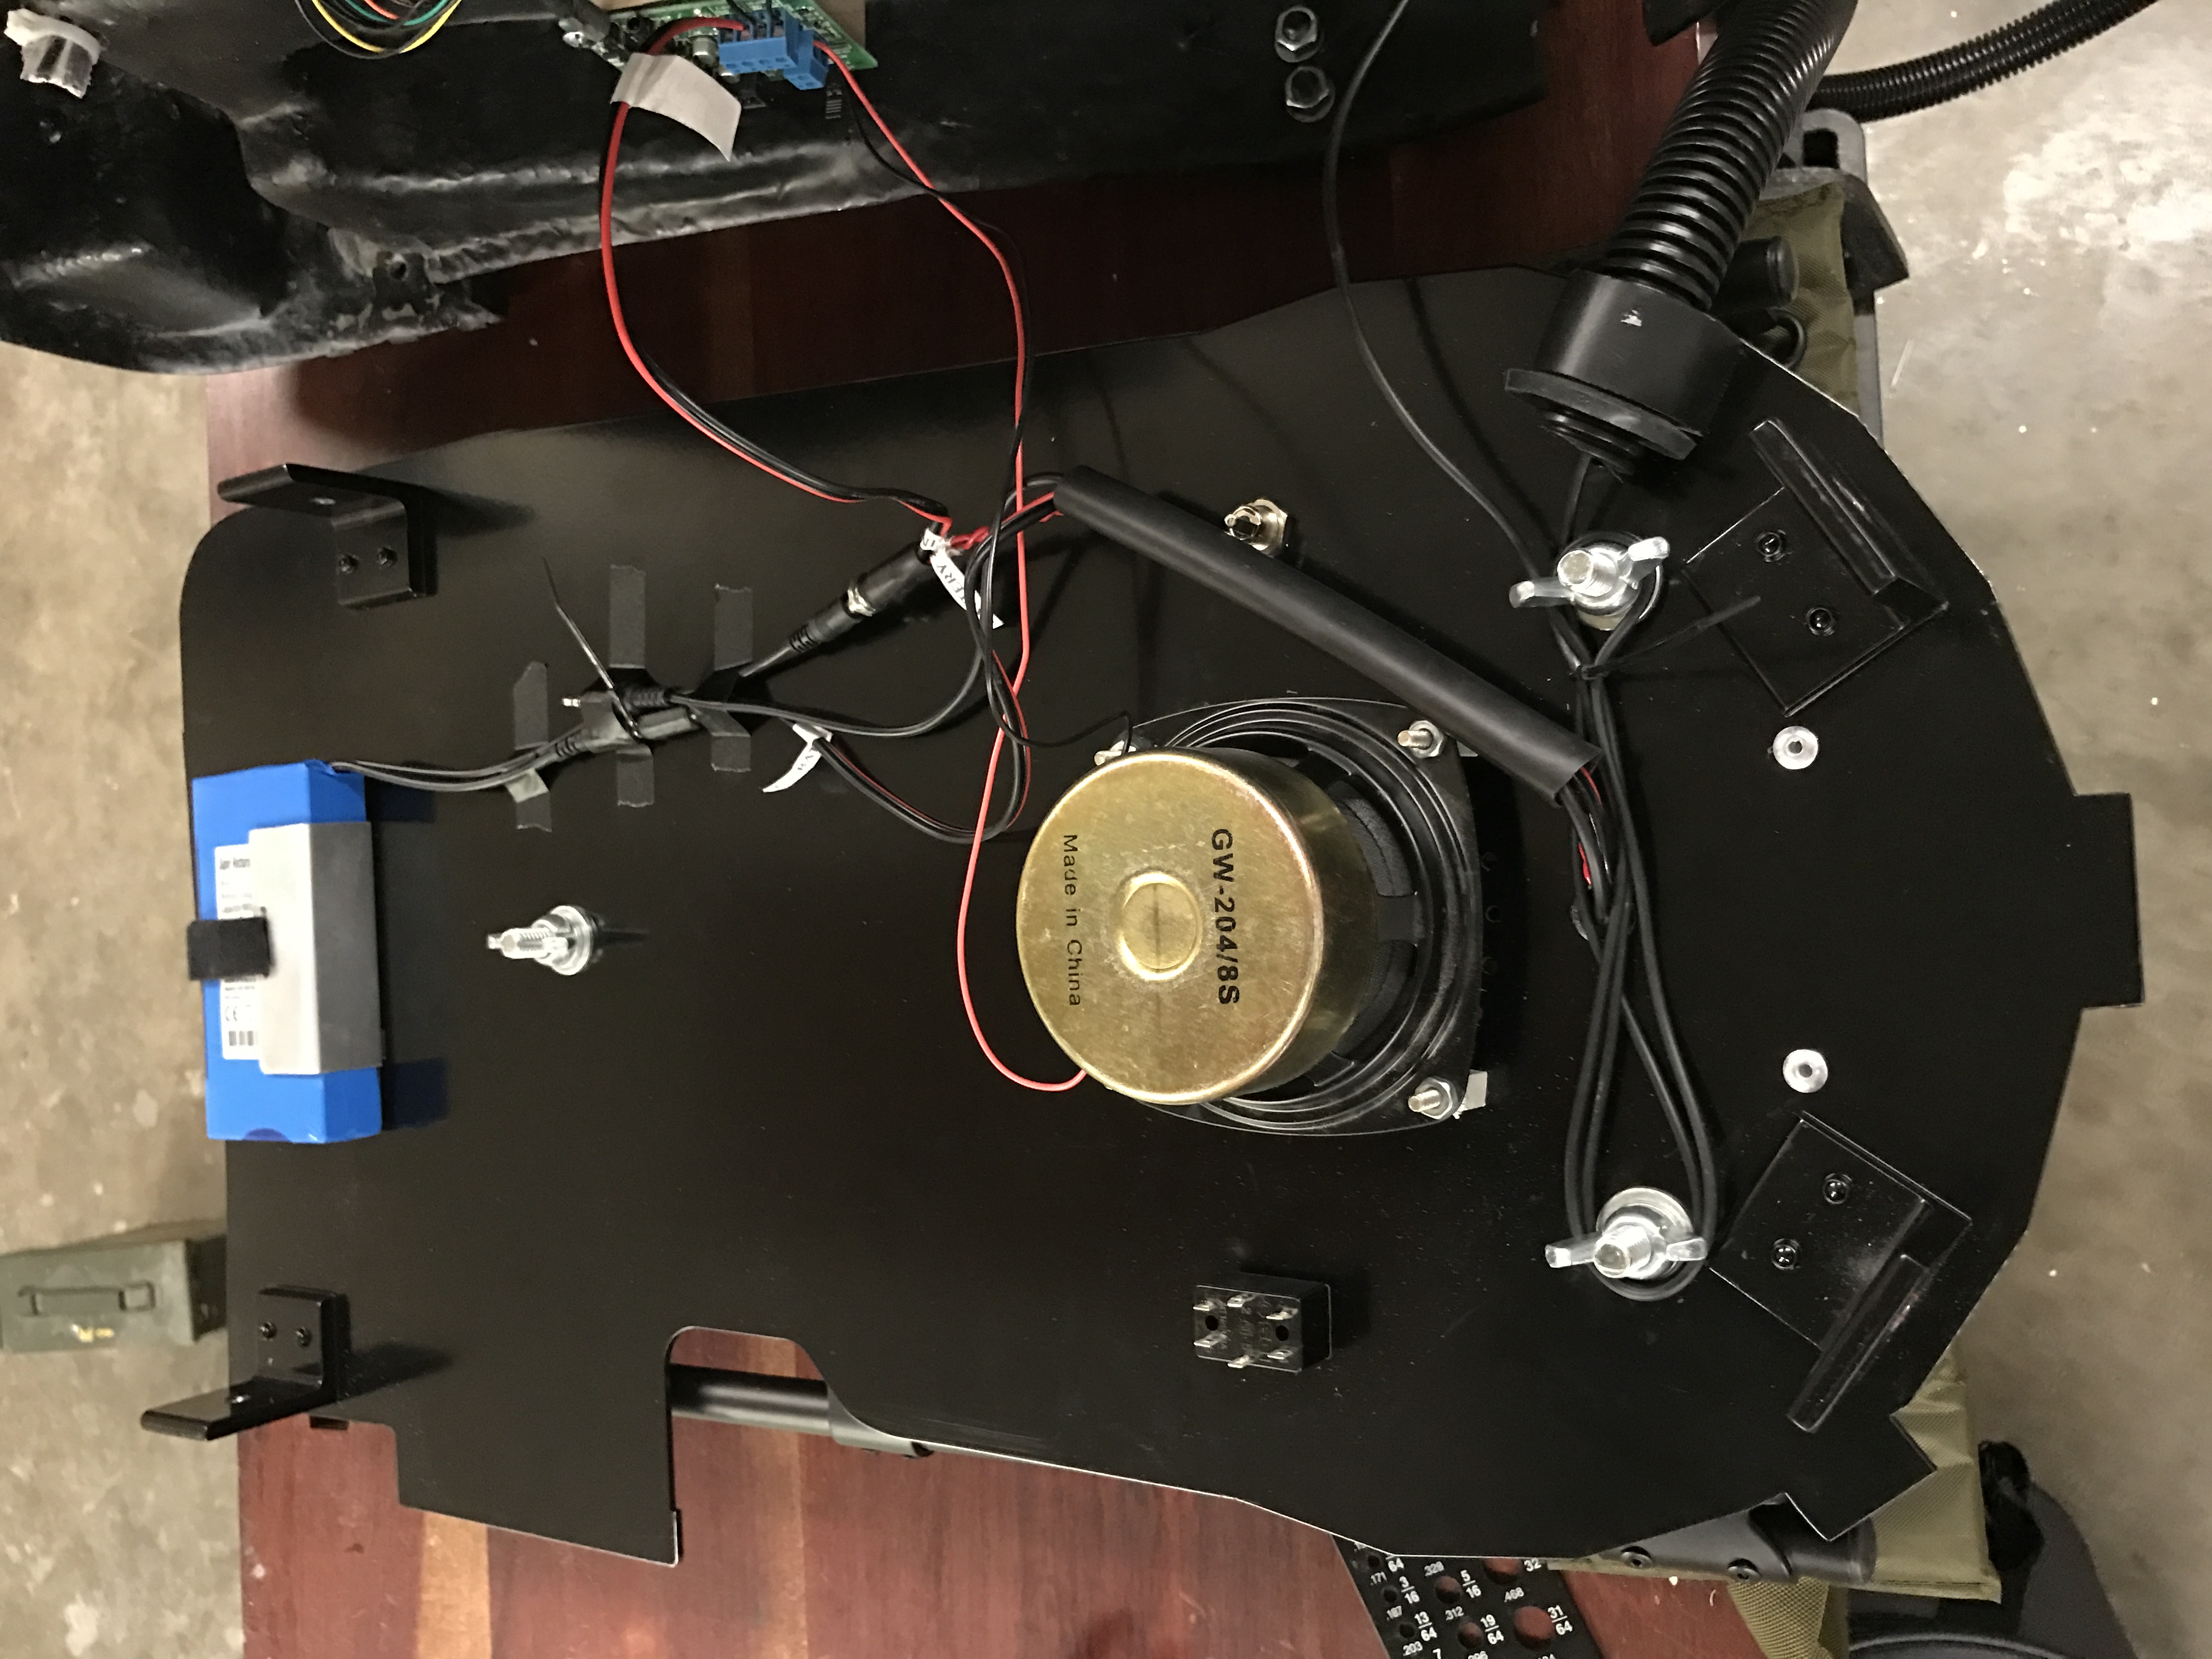
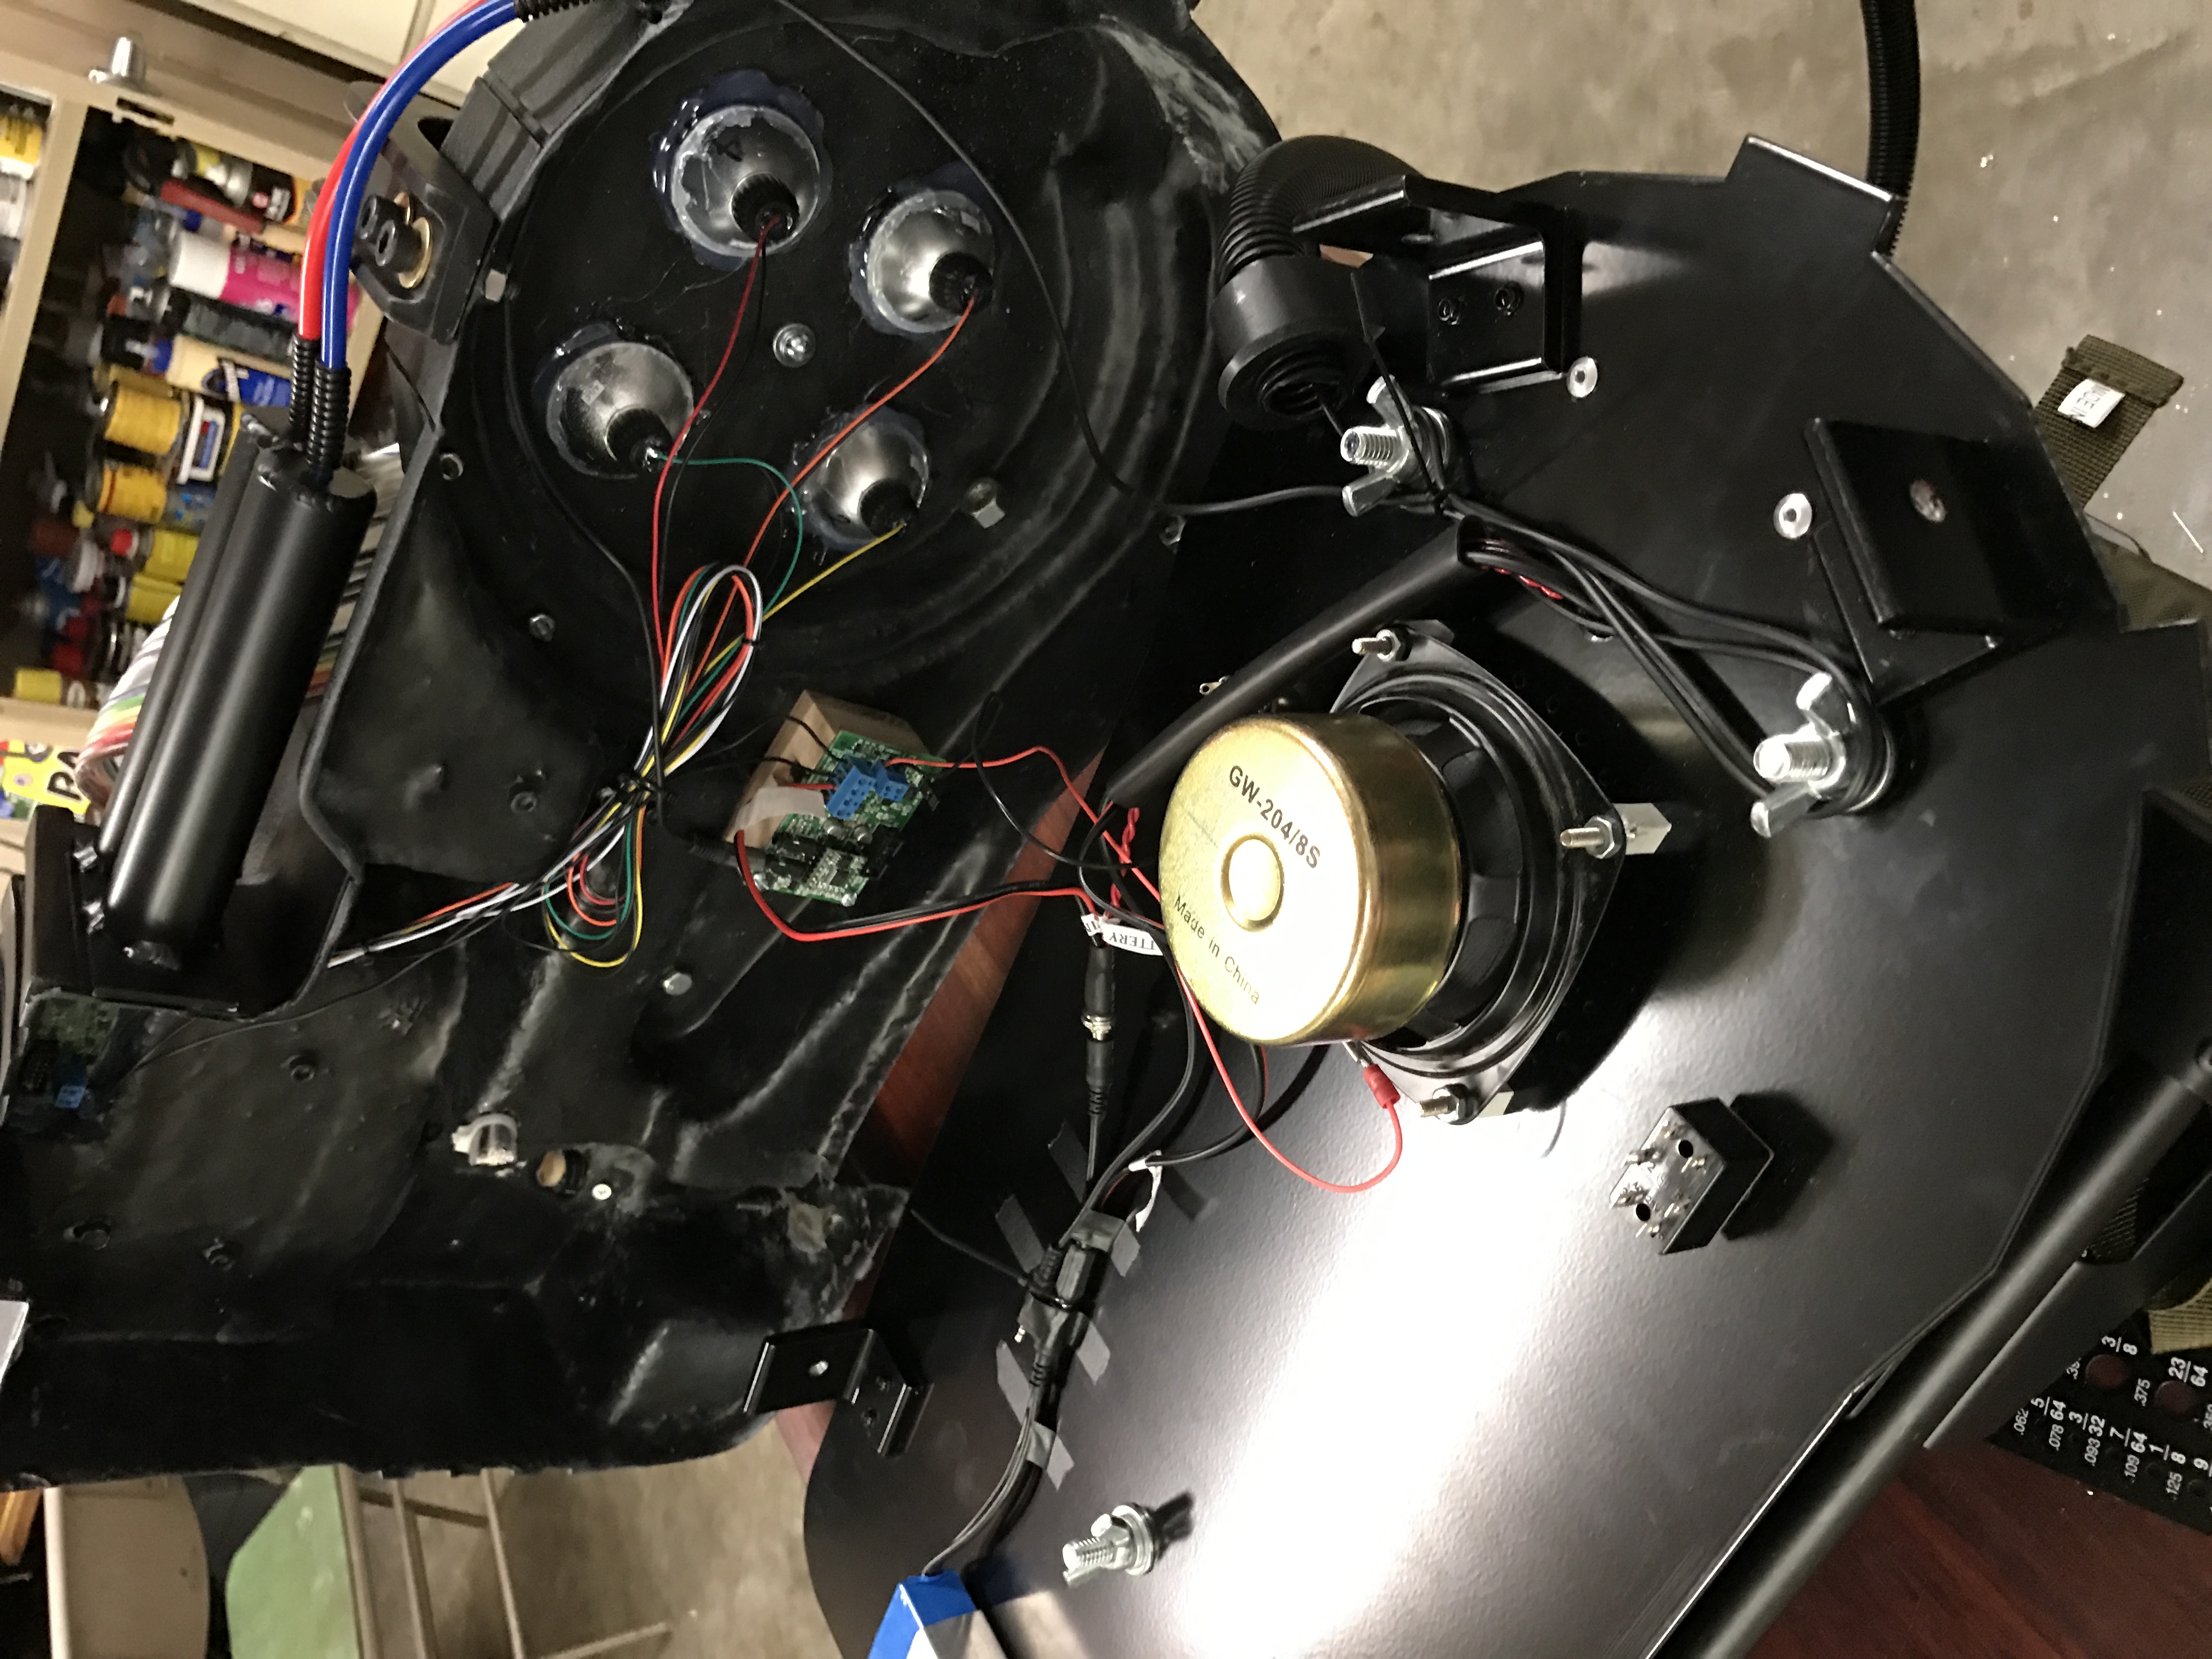
Now was the fun part, putting everything back together!!
Image

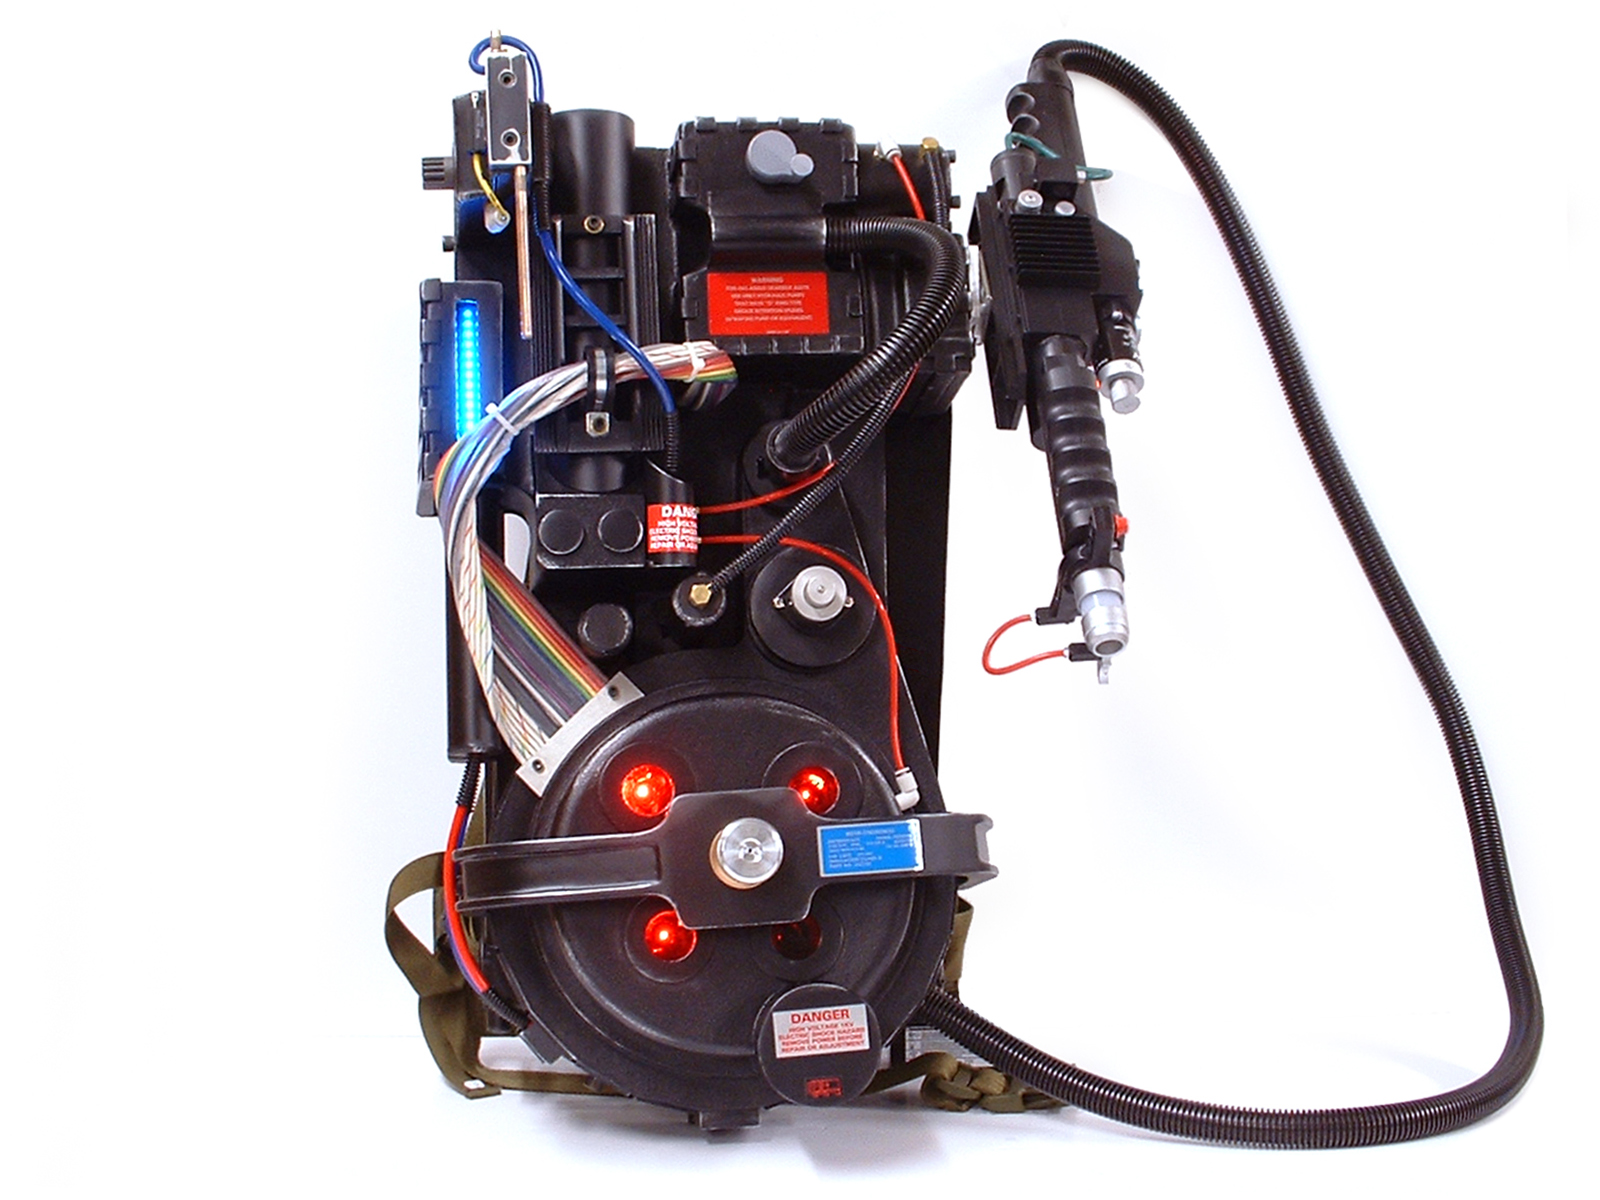
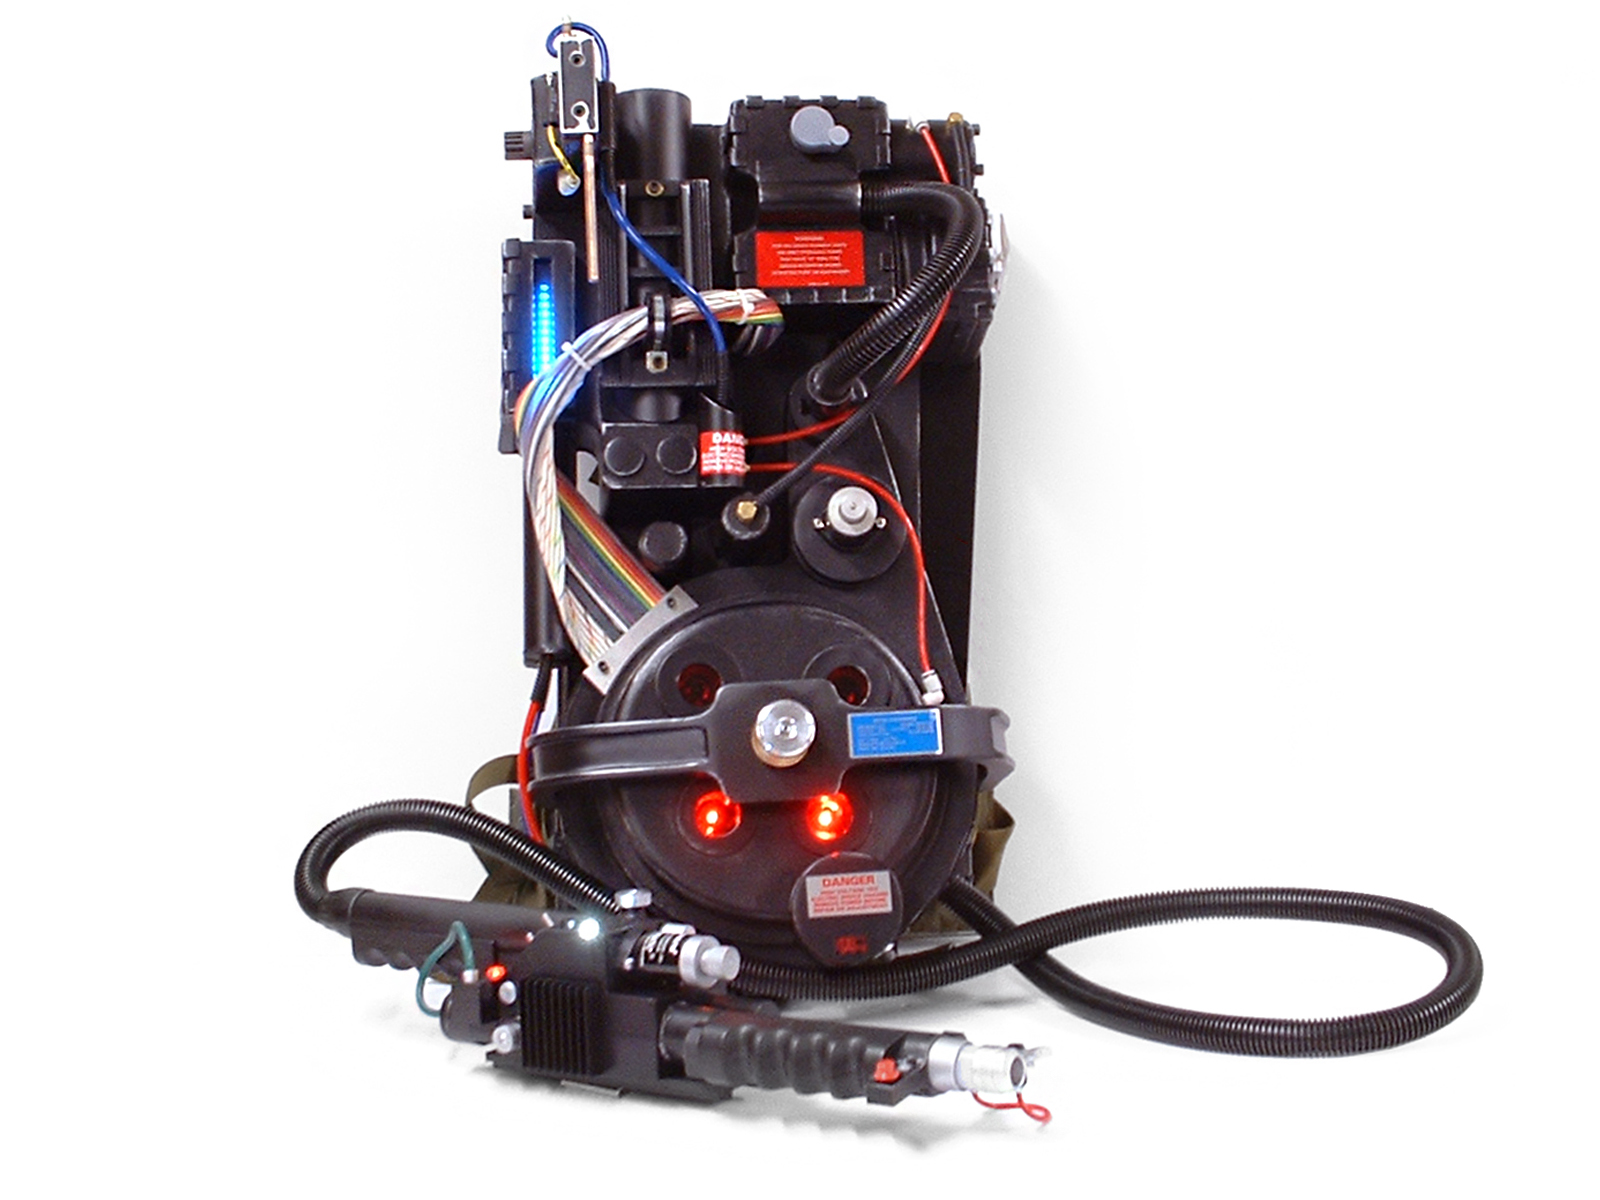
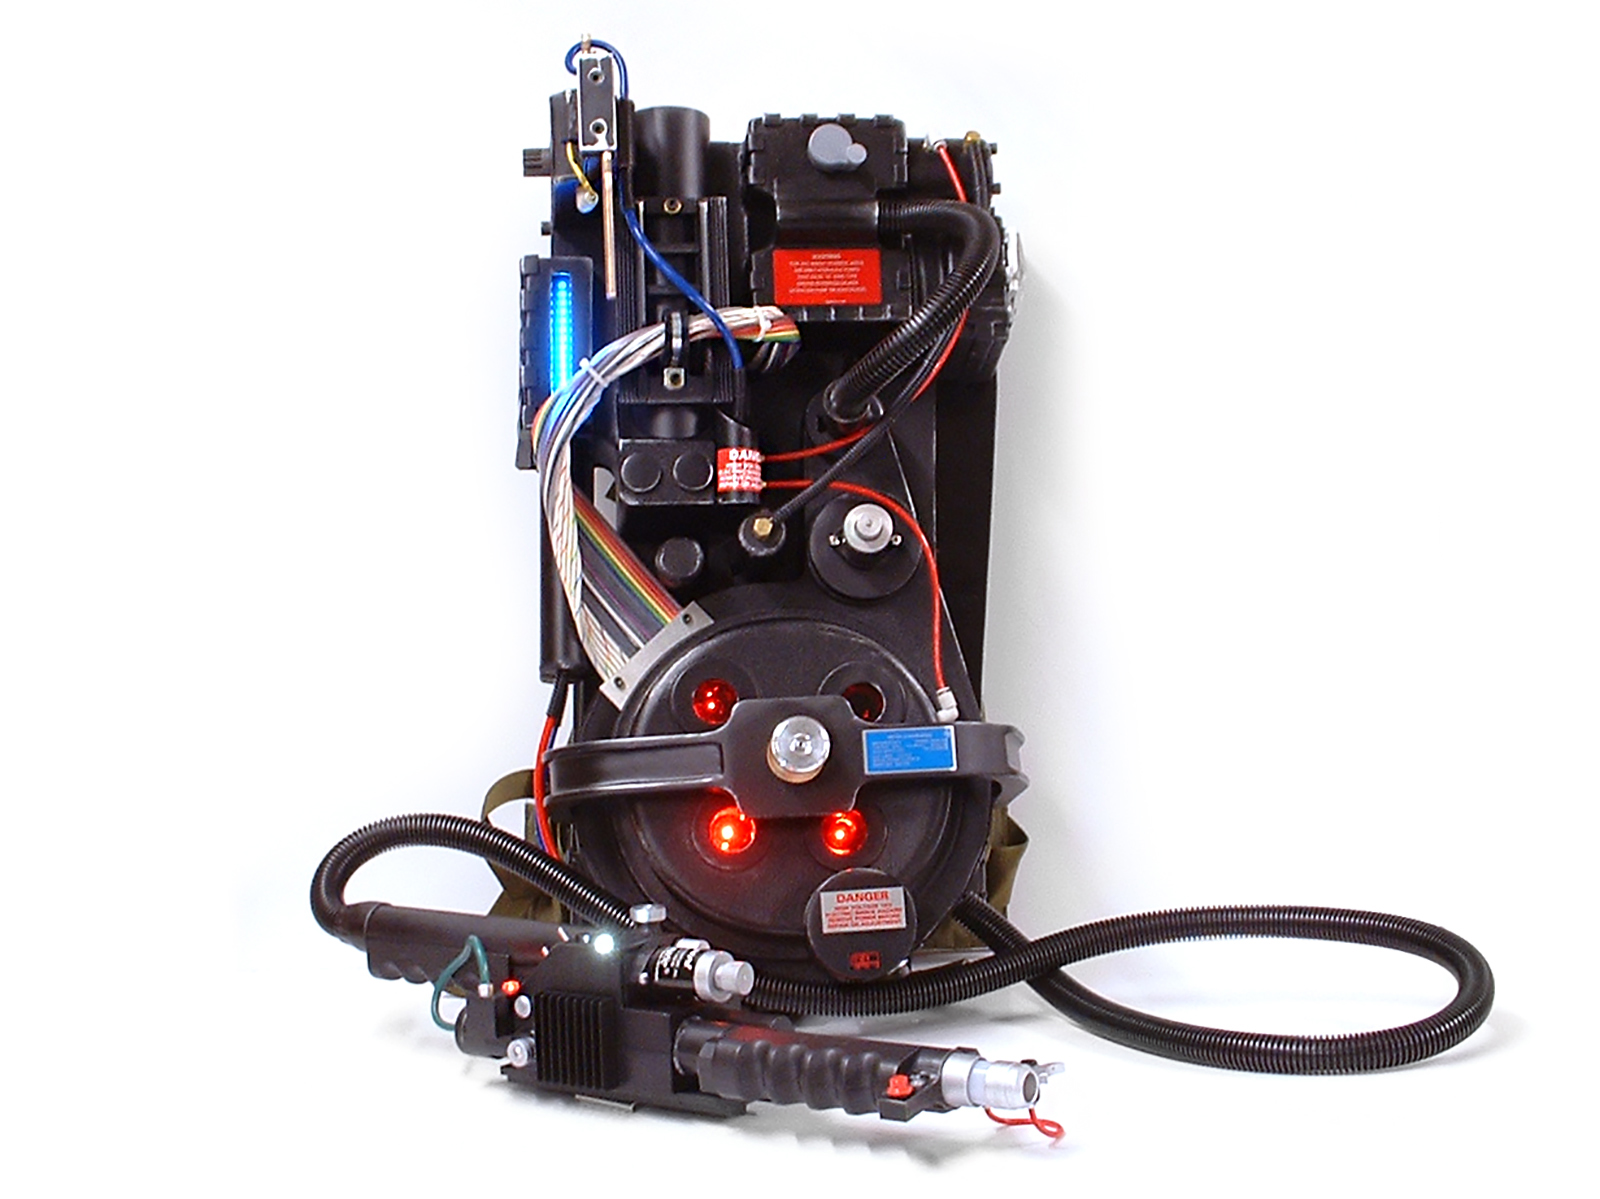
And here is how she sits today. Still have parts I'm eagerly waiting on! I can't wait!! Well actually I lied, I put some stickers on last night. And I will still need to add some welding and details, distressing, etc.
Image
By jhusel
#4889444
Thank you Sephiroth! I added some stickers and cables. Got in the motherboard and brackets, so I need to mount it all together, run electronics, add some welding, some weathering, etc.

Image
Jonobiwan liked this
By jhusel
#4889775
Got some more work done. Stickers added, mother board mounted to the ALICE frame, brackets added (drilled, tapped, and riveted), electronics installed, foam pad added...

Still waiting on a few things. Next is to drill the speaker hole pattern, mount the battery pack, then painted the motherboard. Still a work in progress, but getting there! Video coming soon

Image
Image
Image
Image
Image
Image
By jhusel
#4890018
Ok, finally got to the electronics! I had thought an AWESOME idea would be to have a speaker hole pattern like a radiation symbol. I spent a lot of time working on it, and then to find out someone already did it on this board. LOL Great minds I guess..... ha
Image
Image
Image

I got the motherboard all cleaned up and ready to paint. However, I decided to go with a powdercoat finish since we have a place here in town that does that. And here is a short video of the electronics! It's ALMOST done!!
https://youtu.be/cMYppDtFpKo
By jhusel
#4890110
I finally finished! I decided I couldn't wait any longer and machined my own Ion Arm end cap. For the motherboard, I decided against paint, knowing that it would look terrible after a while. So a I had a local company powder coat it for me yesterday, turned out great!!
Image


So here are the final pics!
Image
Image
Image
Image
Image
ccv66, twmedford23, jacklawyer and 2 others liked this
By jhusel
#4890168
Thanks for the feedback guys.

Yep, had it on backwards! Classic newbie mistake lol

I know I still need to do a few things, add some welding lines on the N Filter, etc. and straighten up the bumper (didn't notice until the pics), and add the new wiring harness for charging the battery, then mount it on the wall.
User avatar
By Theoderic
#4915533
jhusel wrote: February 15th, 2017, 7:26 am I finally finished! I decided I couldn't wait any longer and machined my own Ion Arm end cap. For the motherboard, I decided against paint, knowing that it would look terrible after a while. So a I had a local company powder coat it for me yesterday, turned out great!!

So here are the final pics!

Image

Really another epic build - it's totally awesome! Congrats on this! :crunch:

    We're bringing you the latest updates to the GBFan[…]

    Proton Props UK

    Hey guys, I just wanted to give a quick update on […]

    Ecto Containment Unit

    First off awesome work!!! second of all where did […]

    https://i.imgur.com/cMwtW9y.jpg Where do th[…]