By gEkX
#370178
I've seen a lot of guys trying this method and it has pushed me to get my own build thread going.
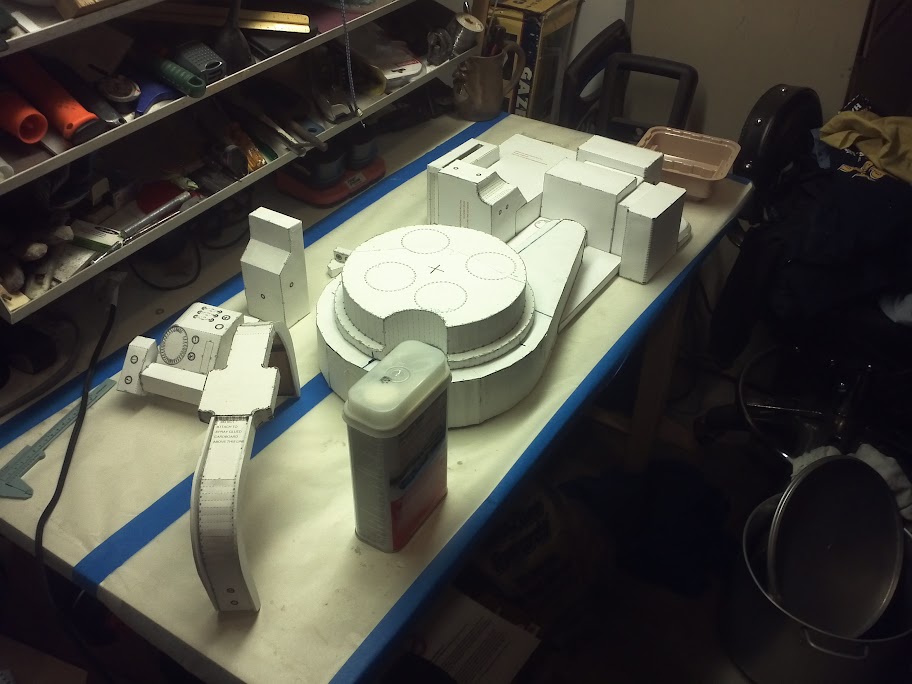
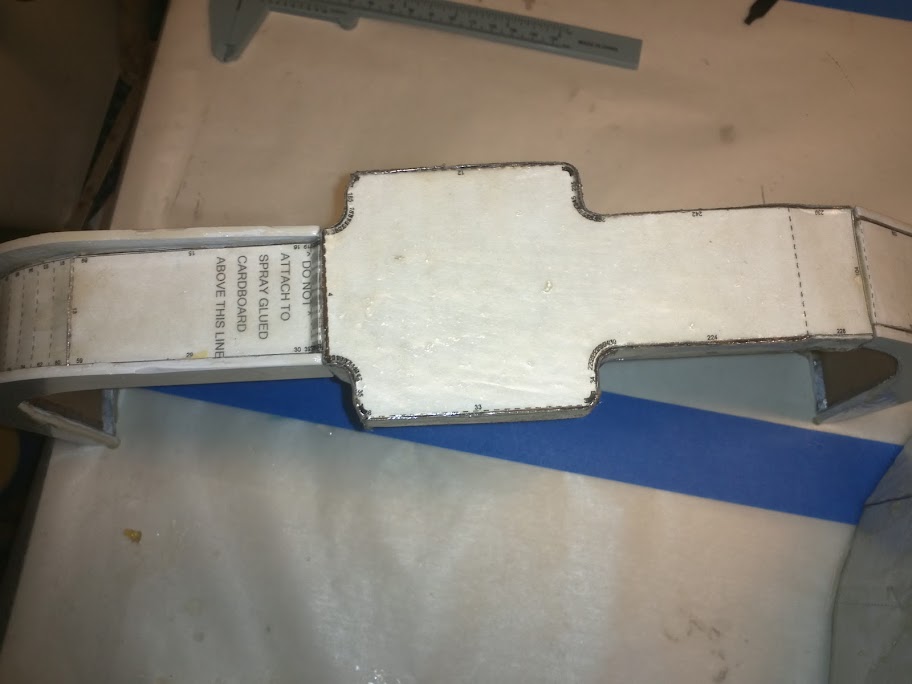
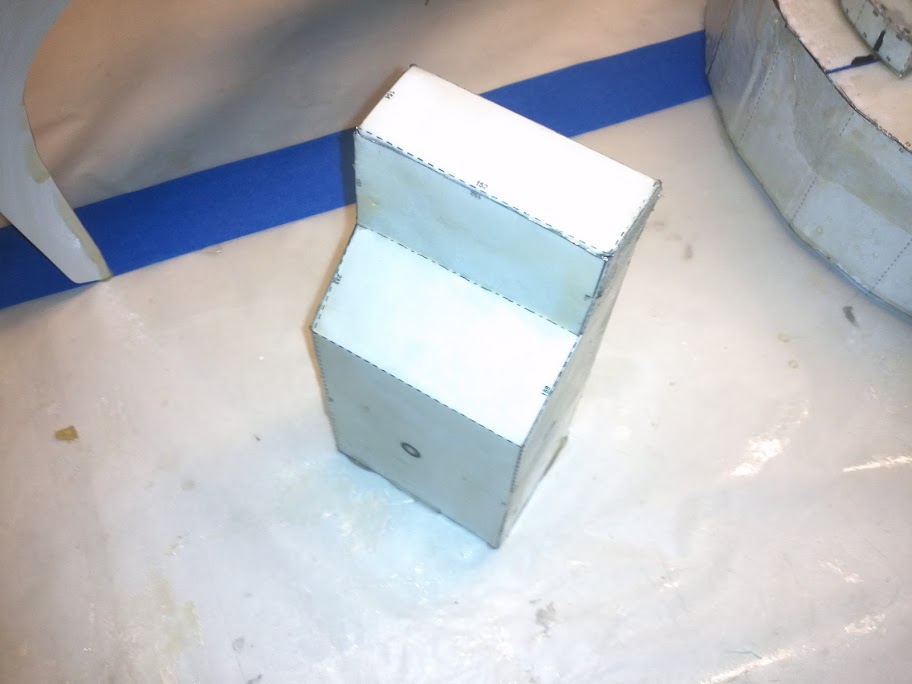
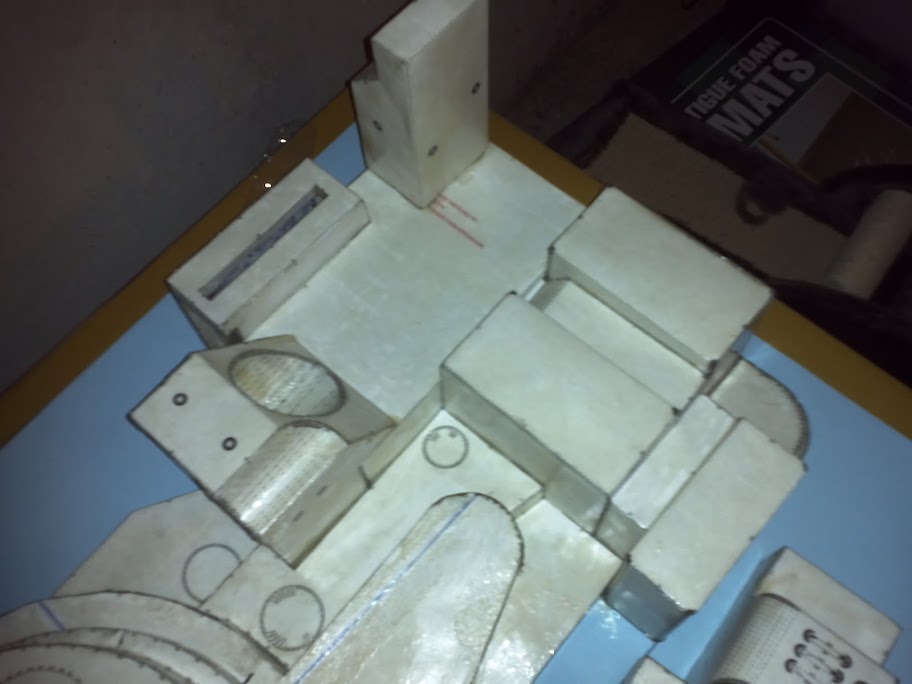
Here are some progress pics of the build up to where I'm at right now. Comments and pointers are welcome :)
Image

Image

Image

Image

Image

Image

Image

Image

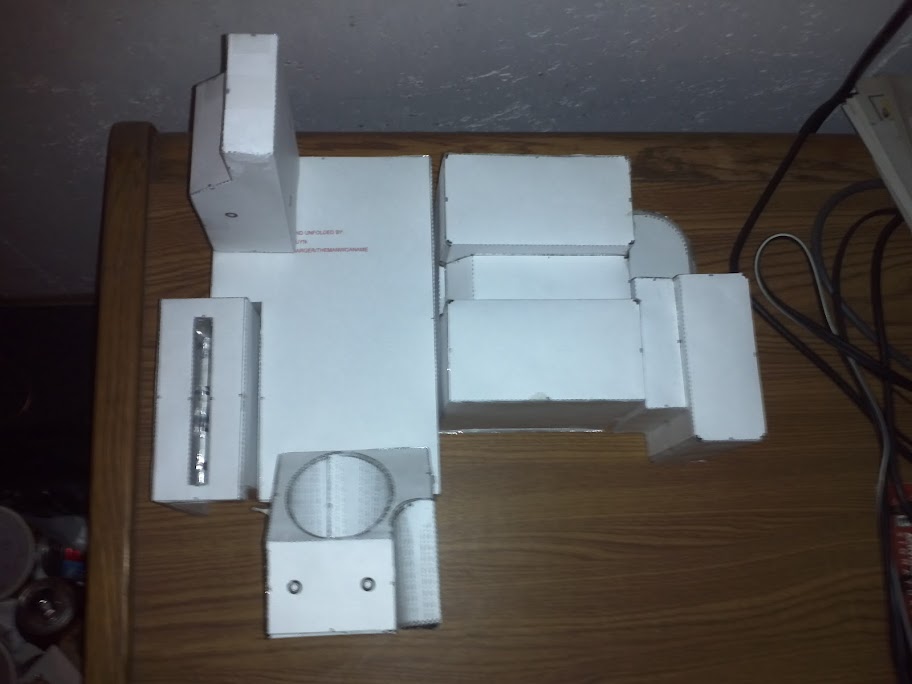
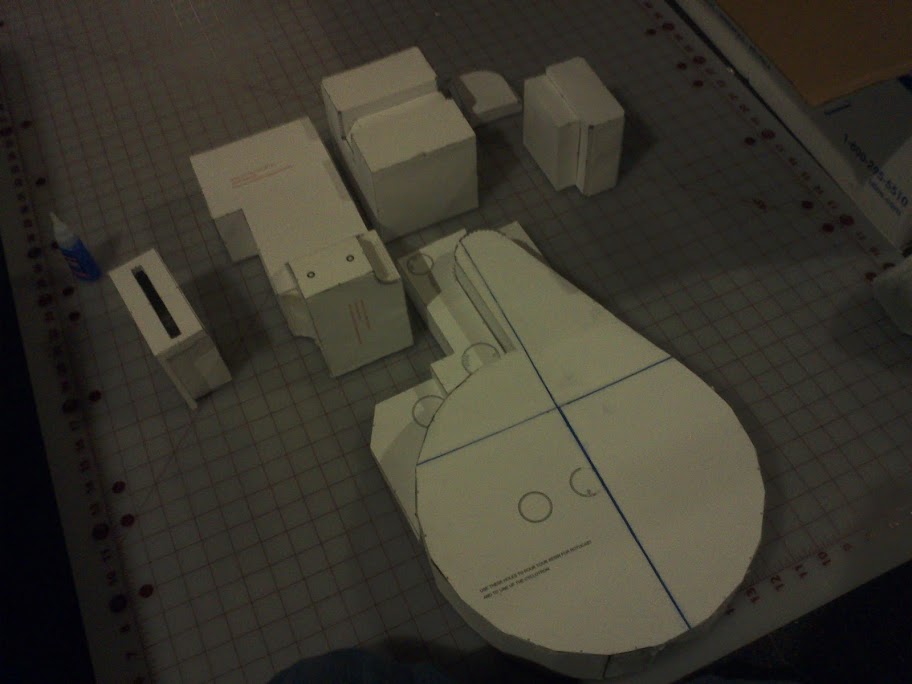
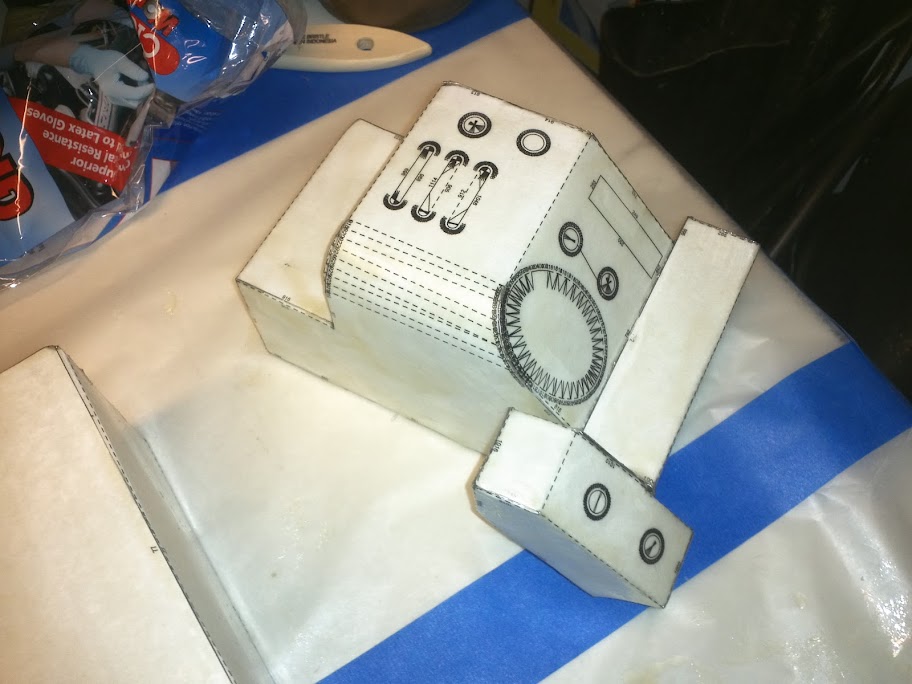
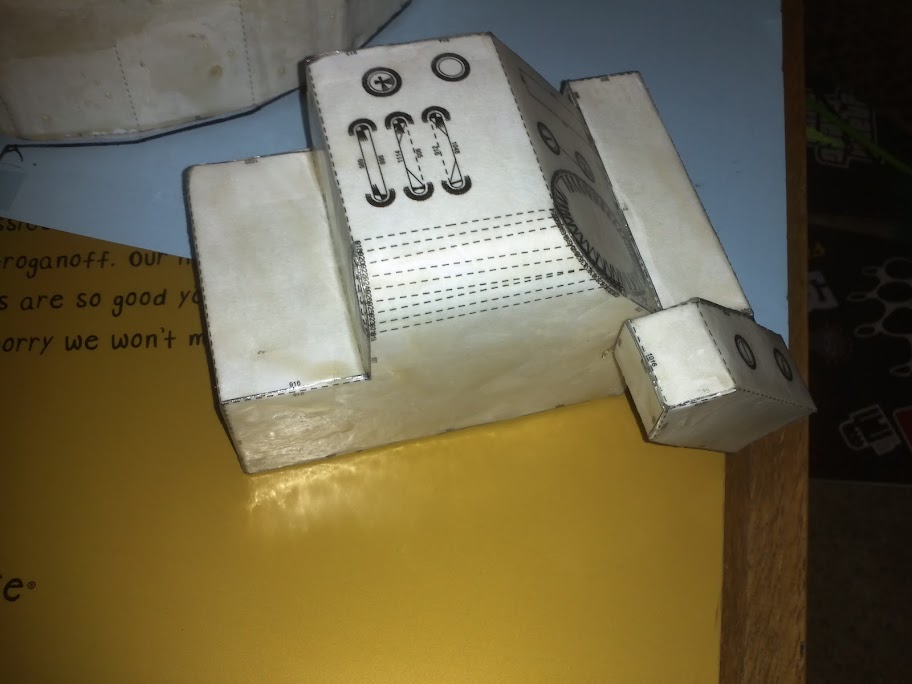
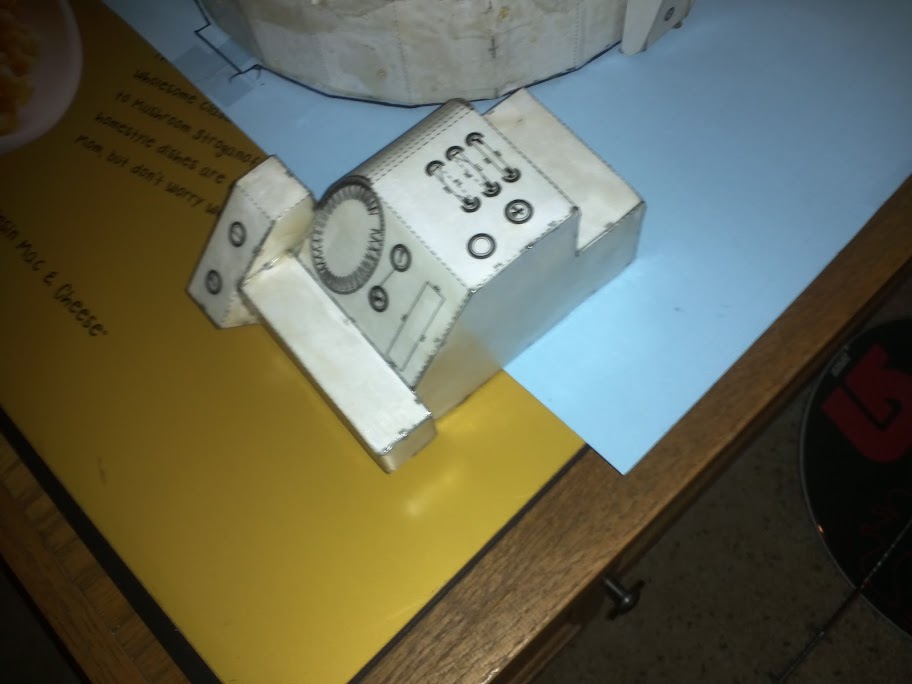
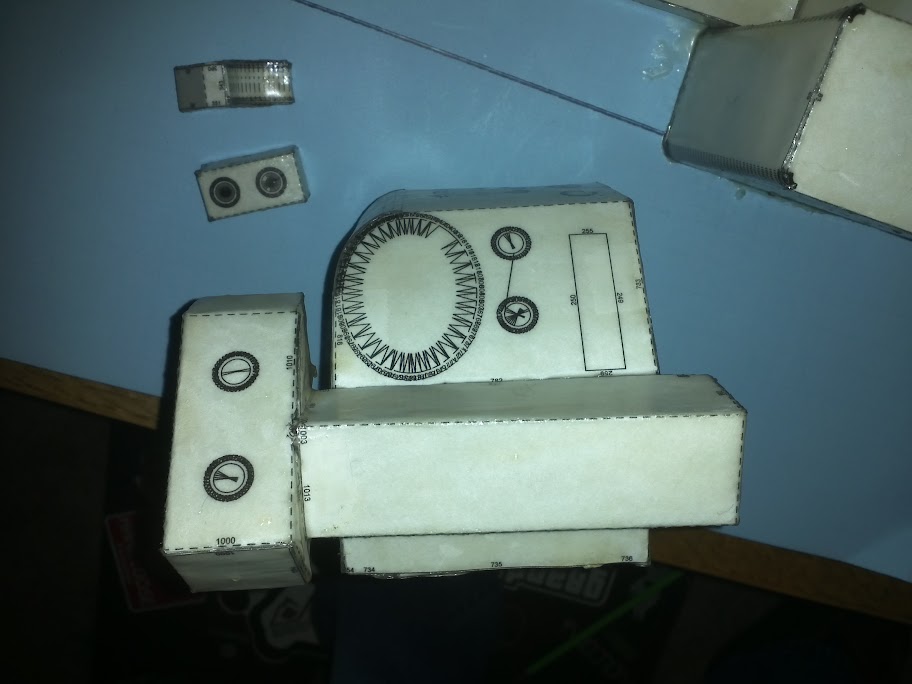
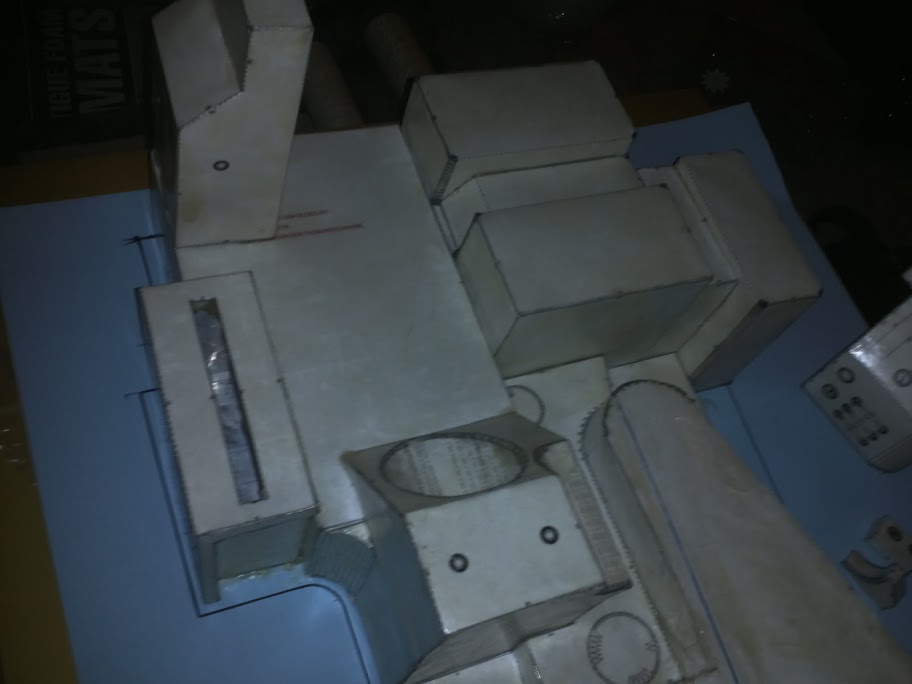
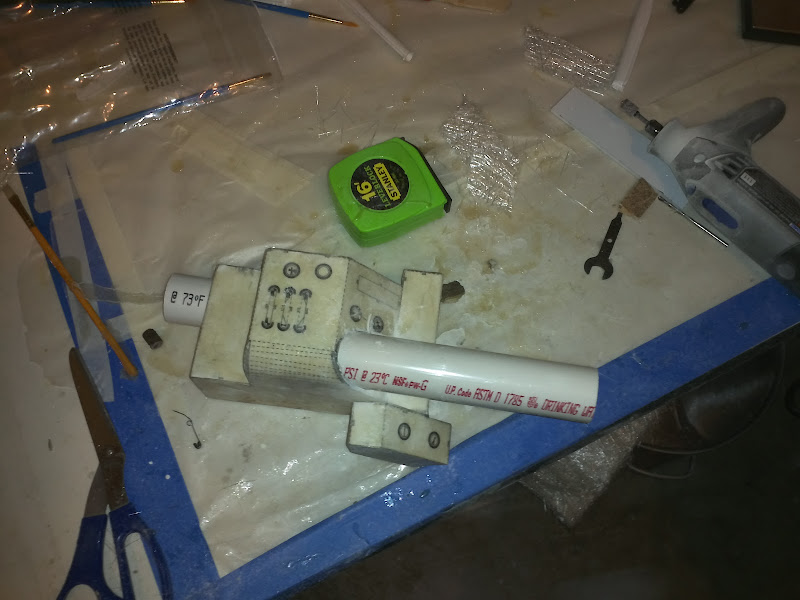
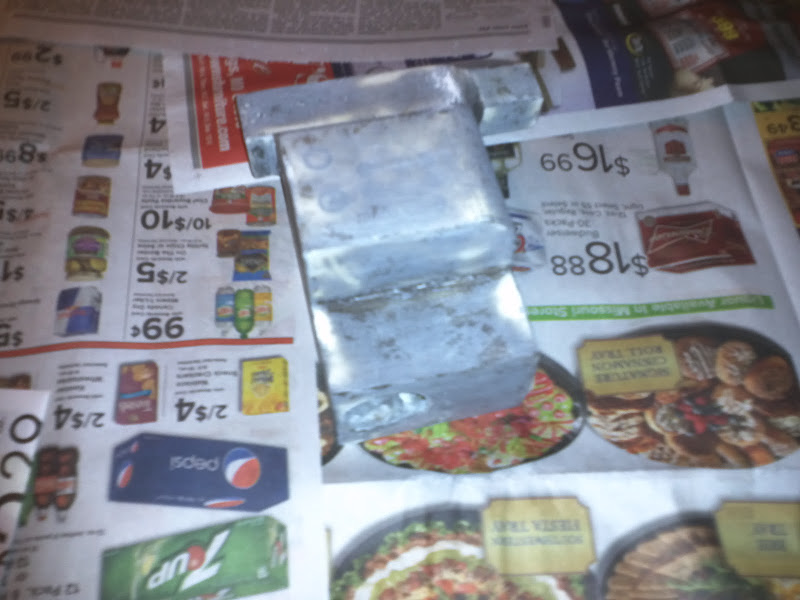
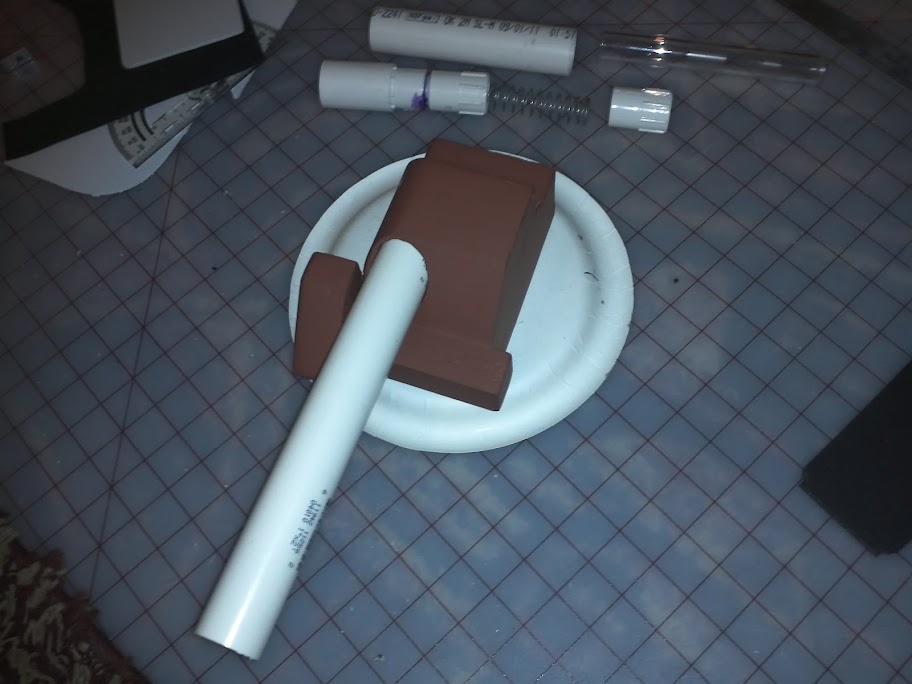
Heres a good shot of the tools-of-the-trade and mid process of the Thrower.
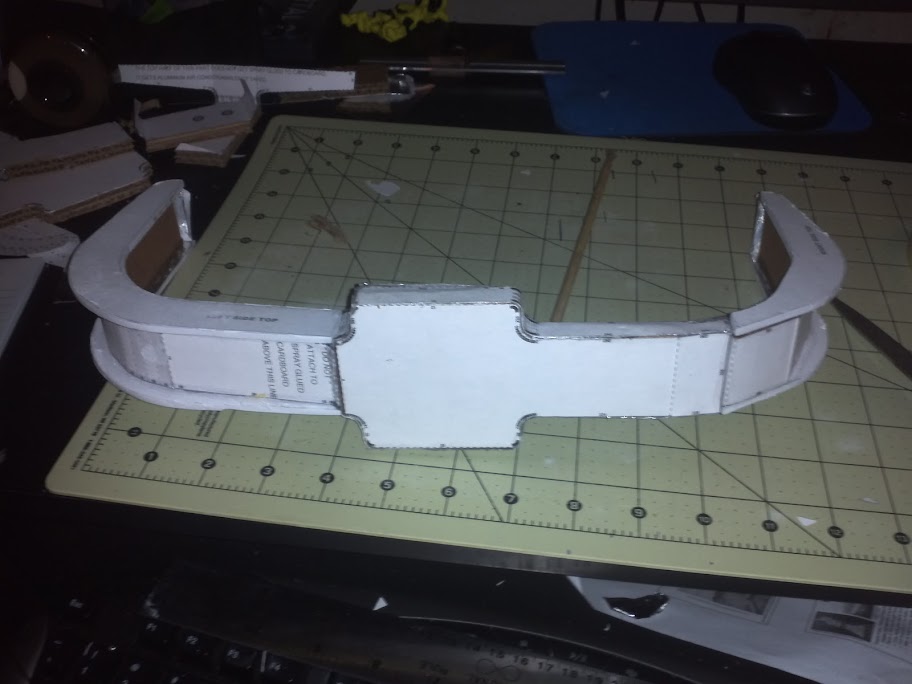
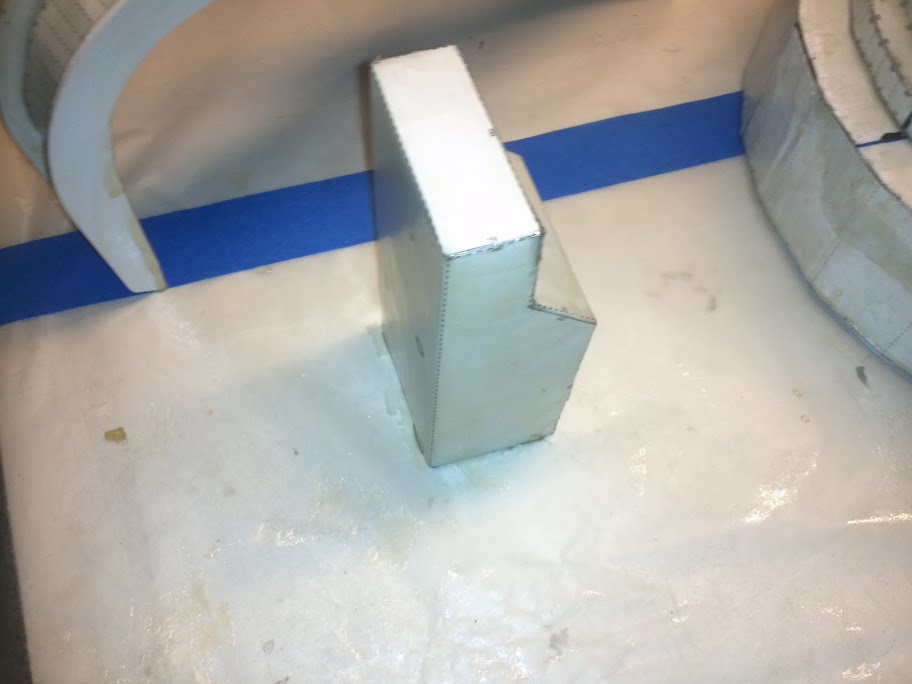
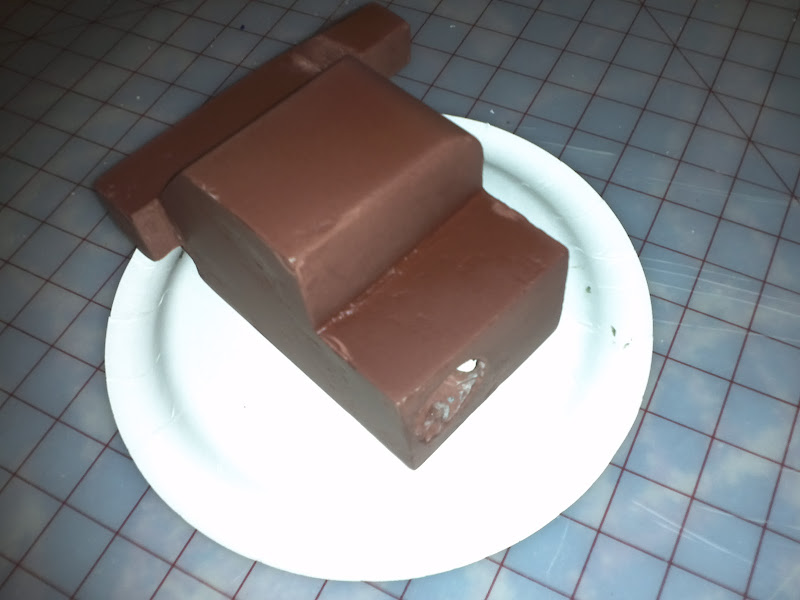
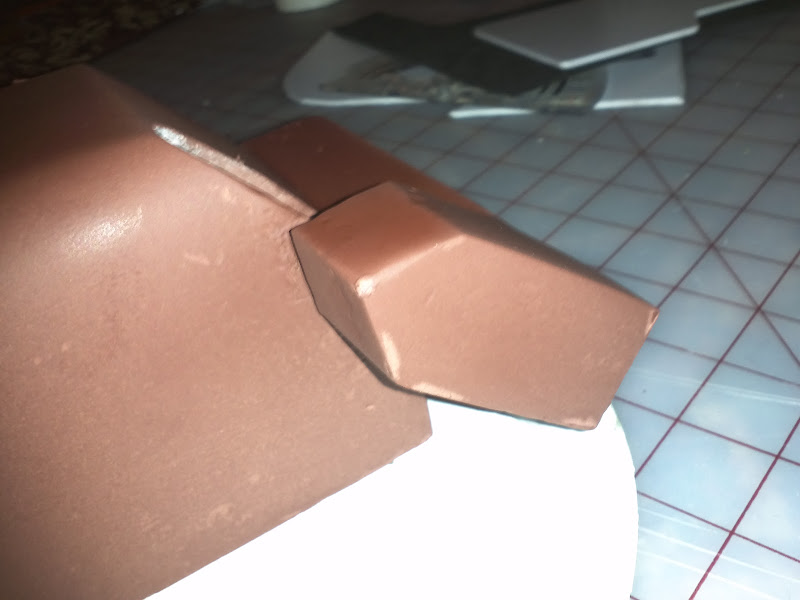
Image

The bumper.
Image


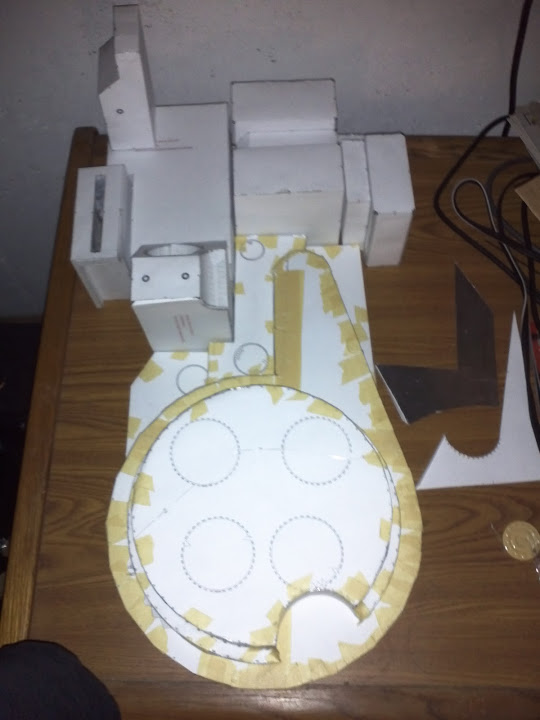
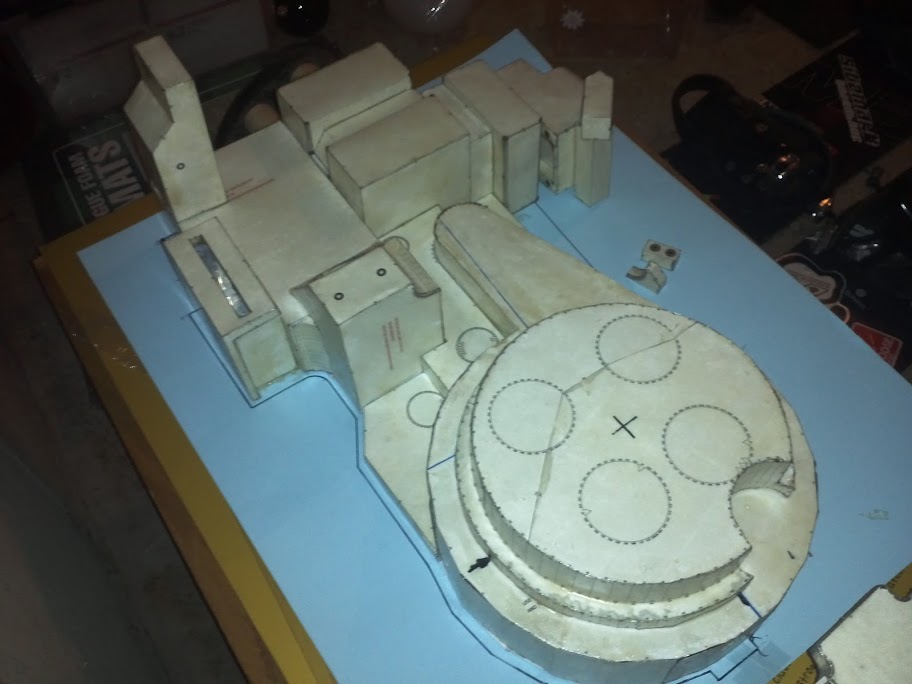
That about all the good pics I took up the build process. This next one is of my Pepakura build by a Venkman71 shell I bought.
Image

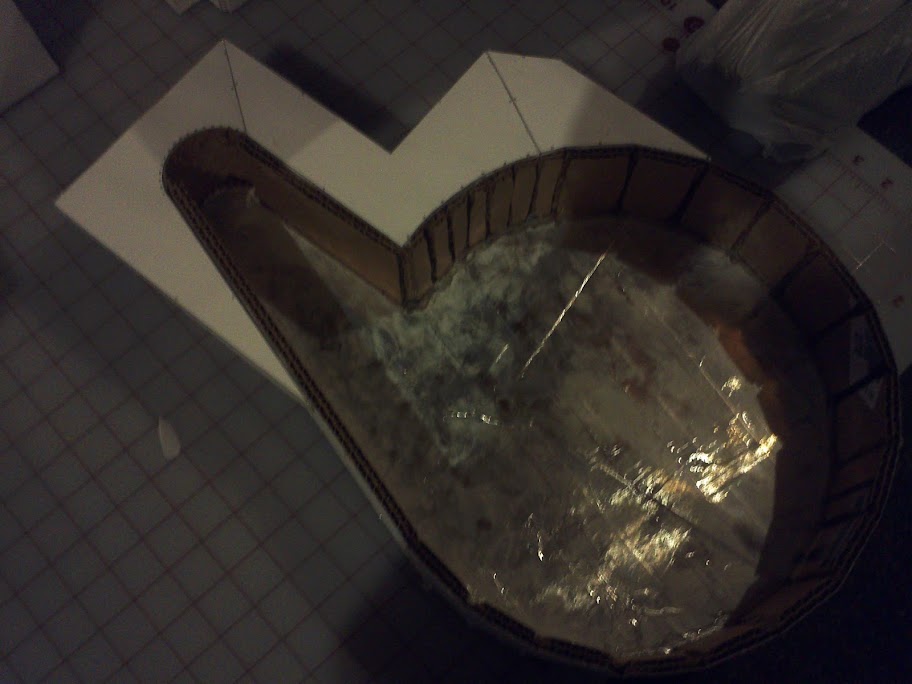
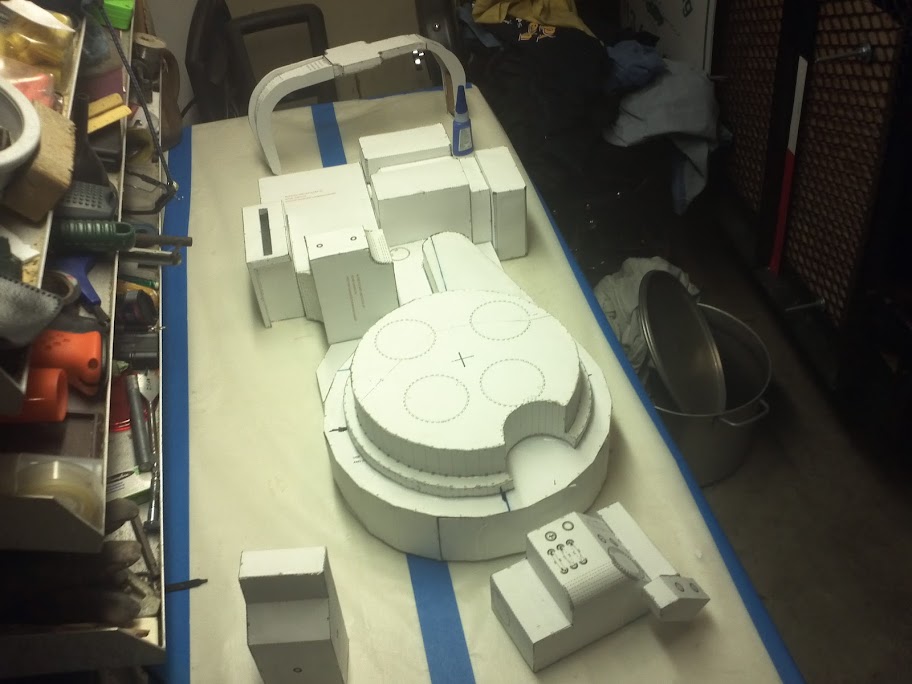
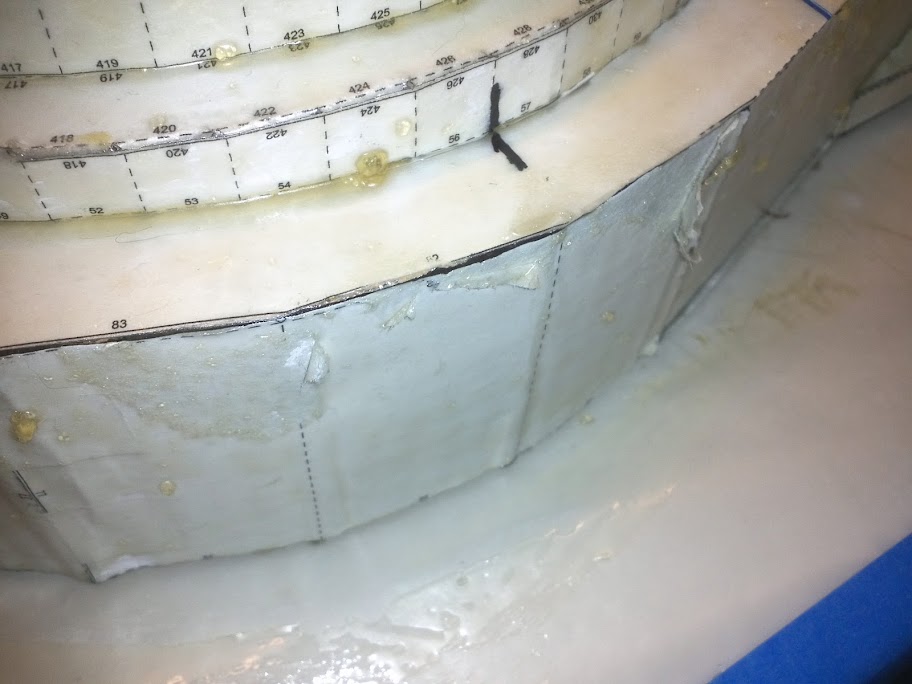
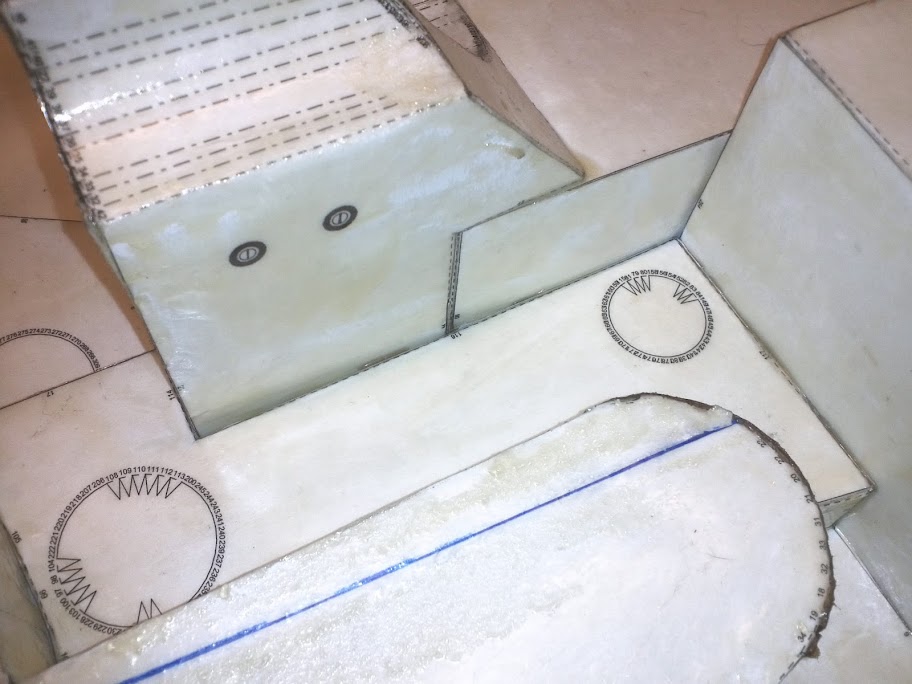
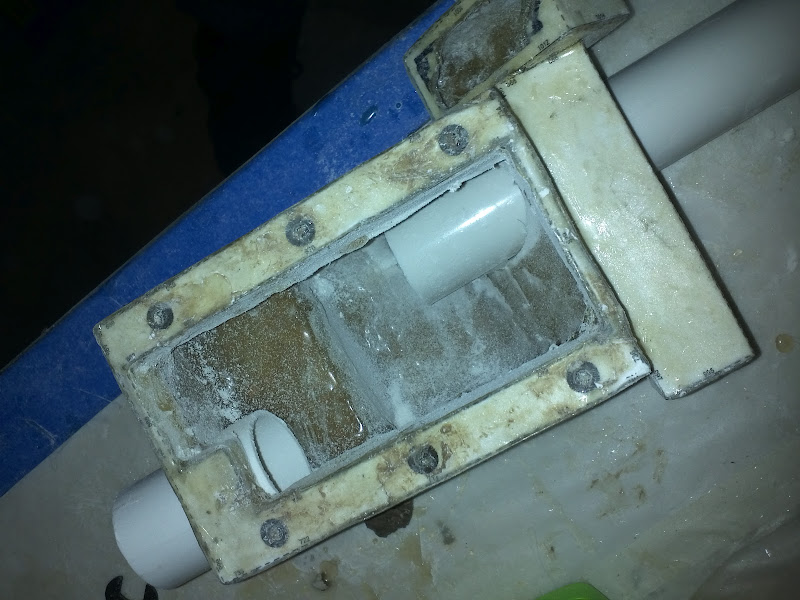
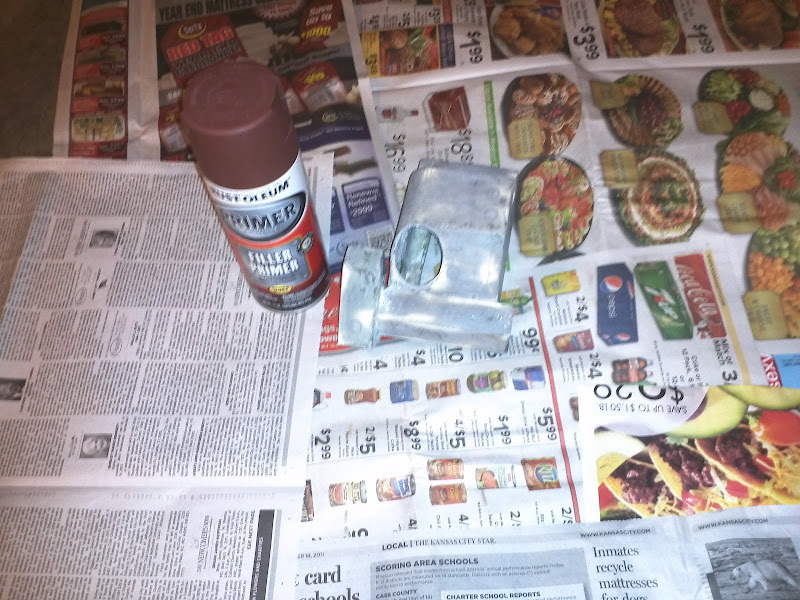
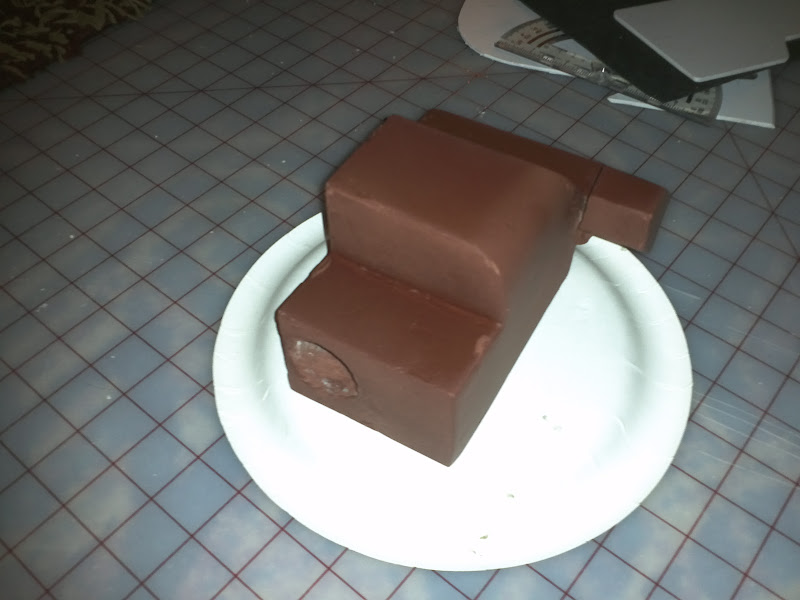
Getting ready for resin..
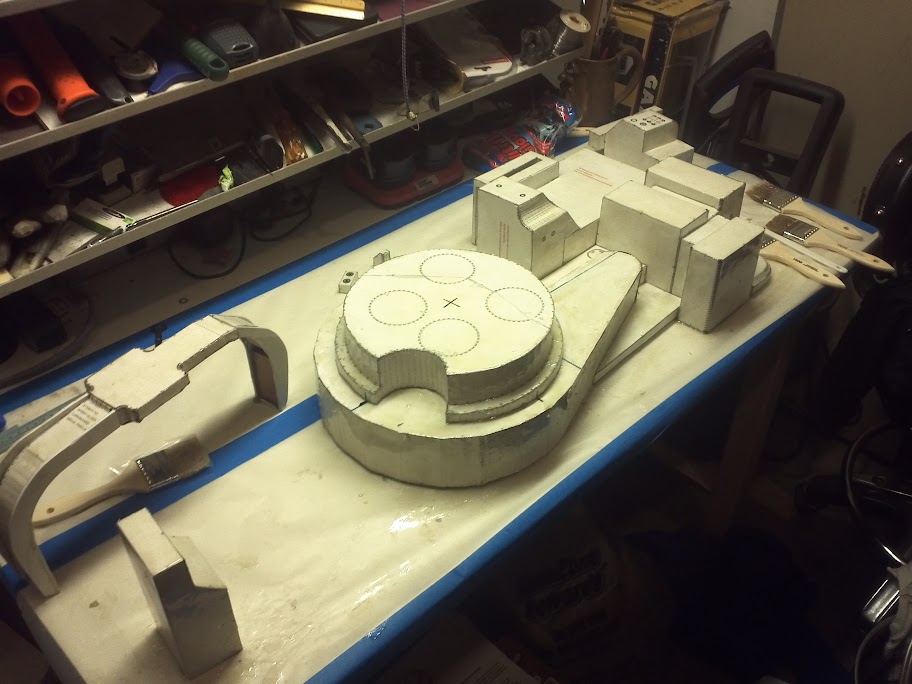
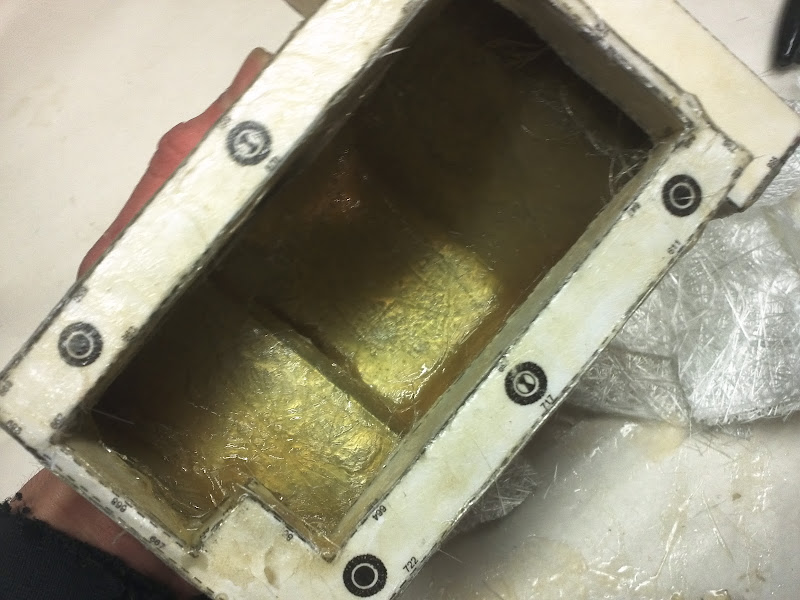
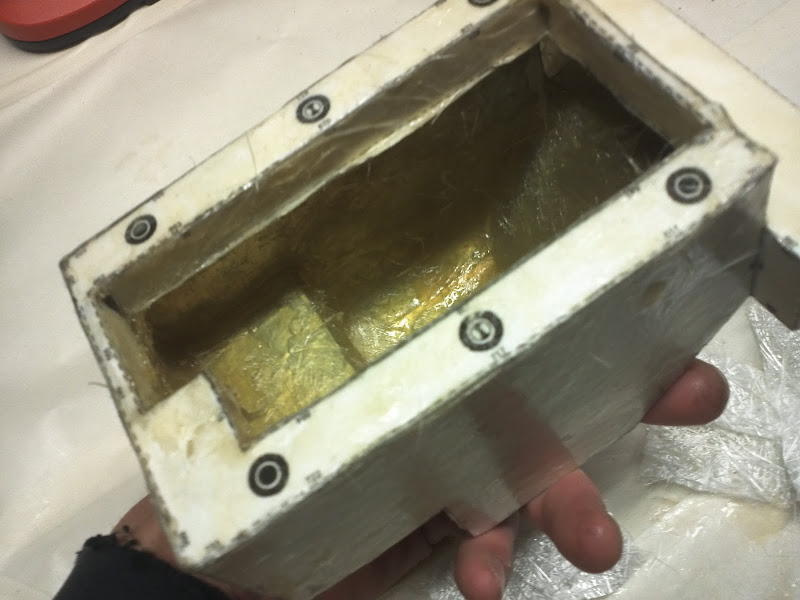
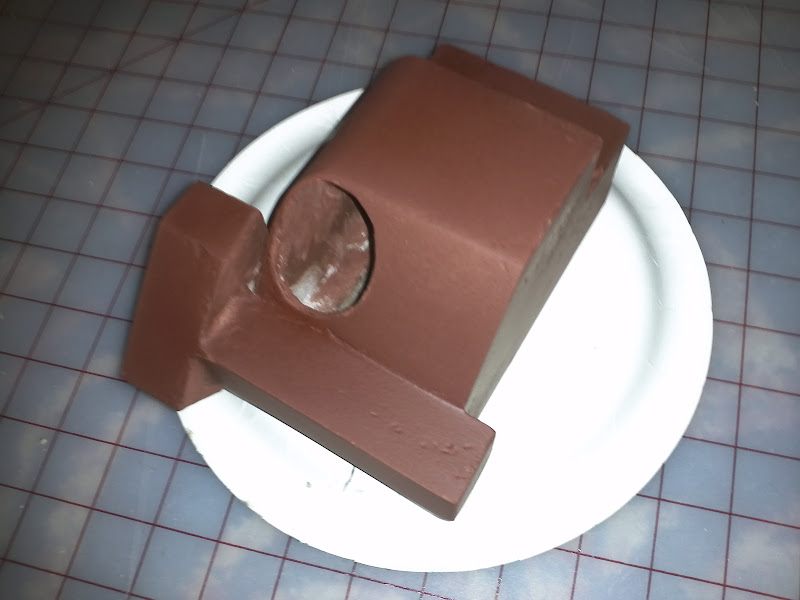
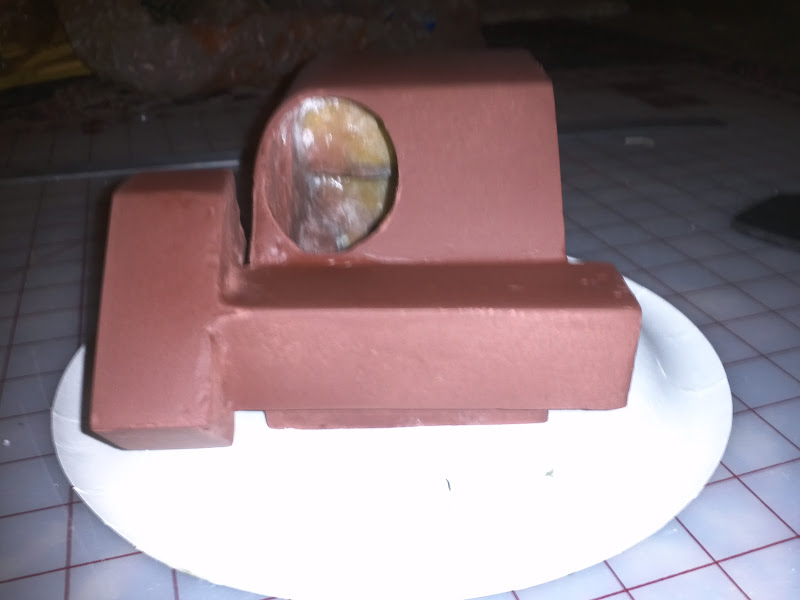
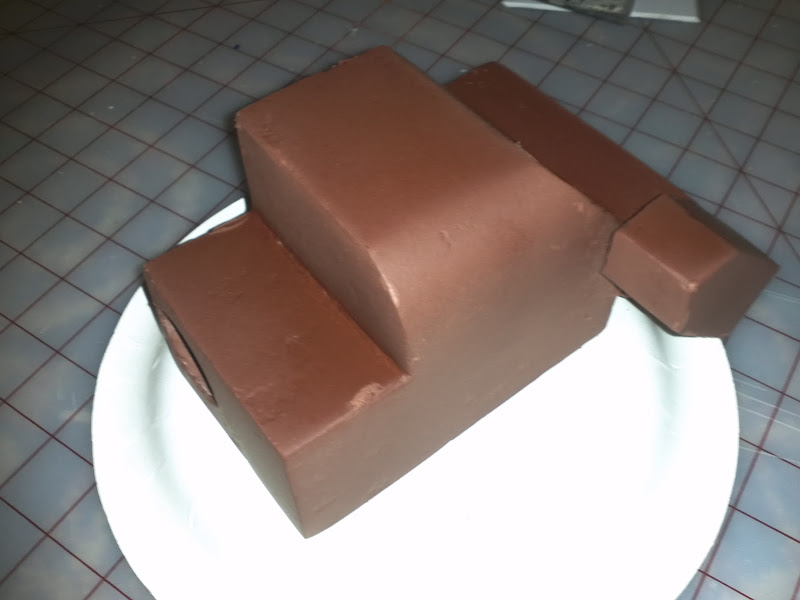
Image

Image

..and post resin
Image
Image
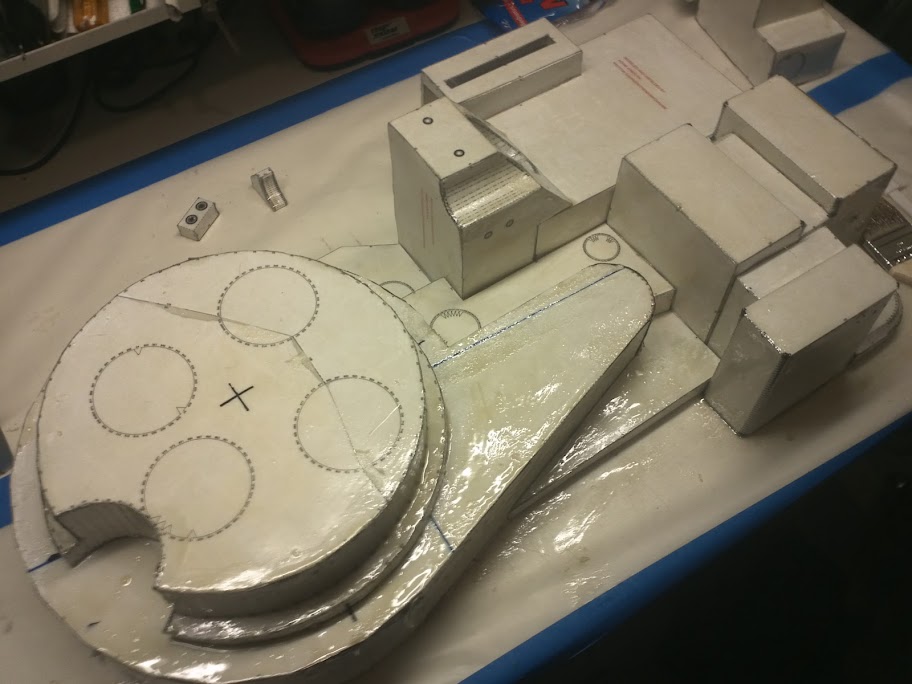
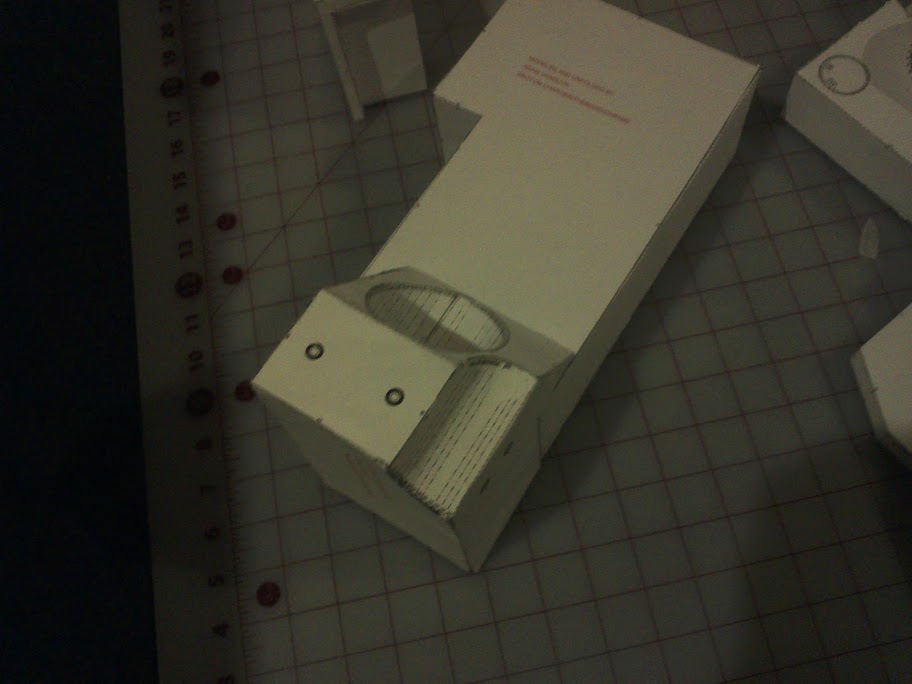
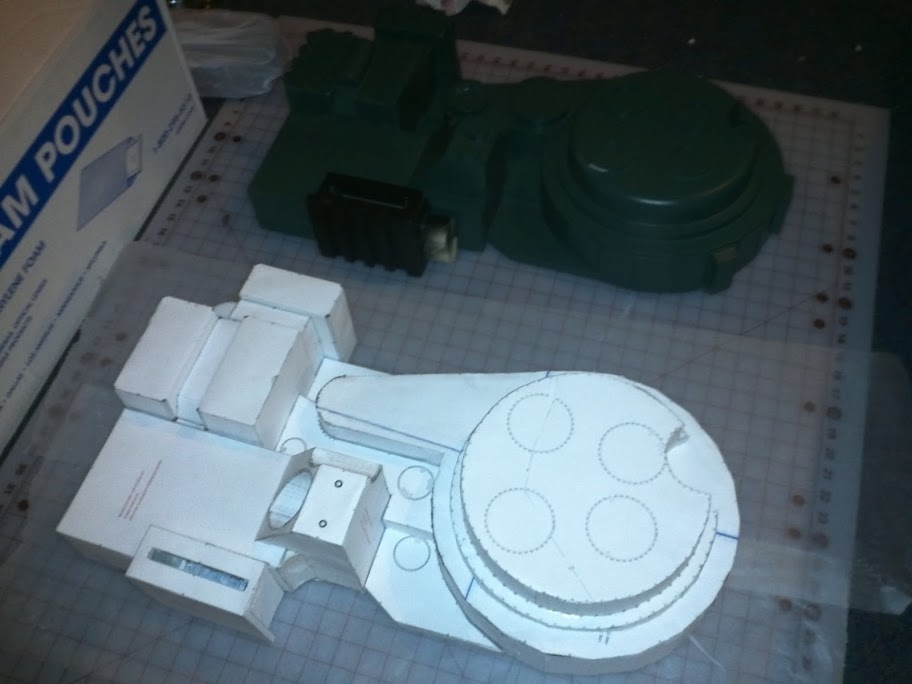
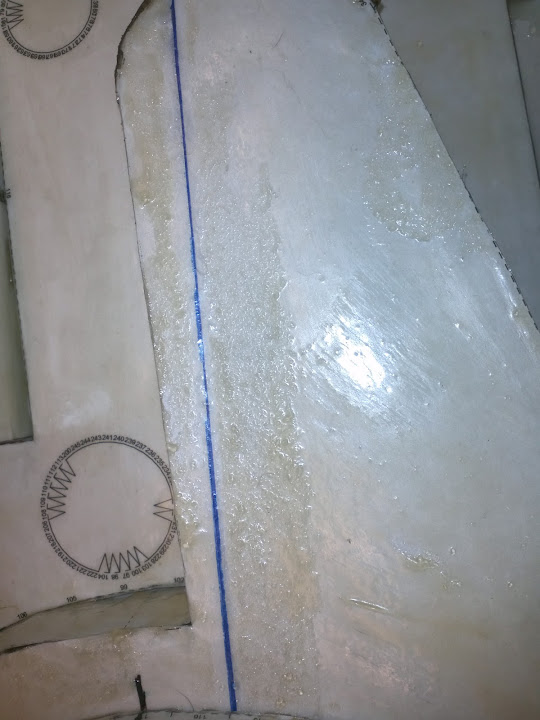
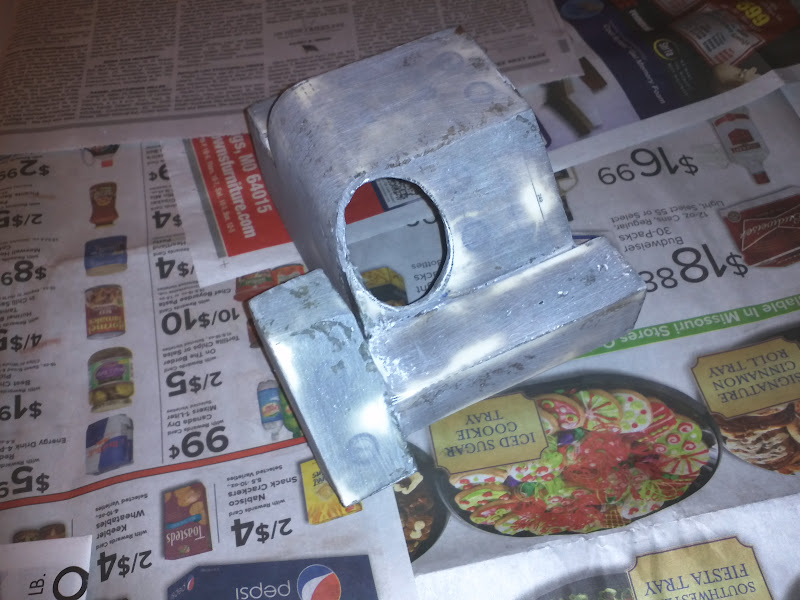
A little thick in some spots I know but here are the final results:

-Thrower-
Image

Image

Image

Image

Image

-Bumper-
Image

-Ion Arm-
Image

Image

-Pack-
Image

Image

Image

Image

Image

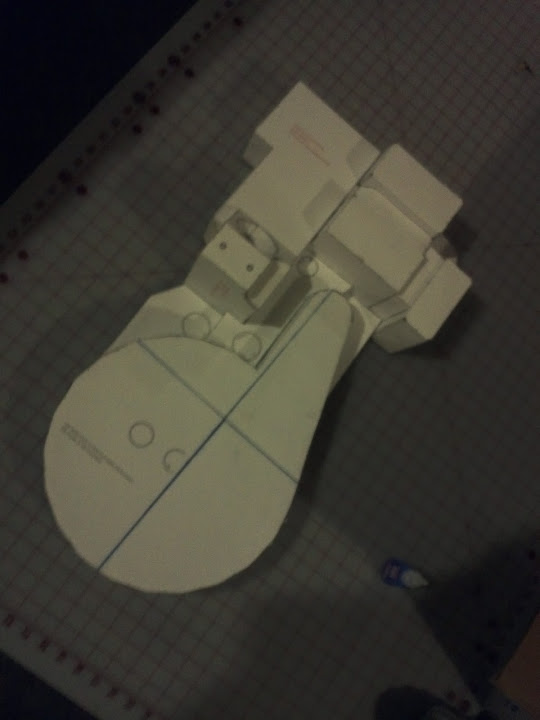
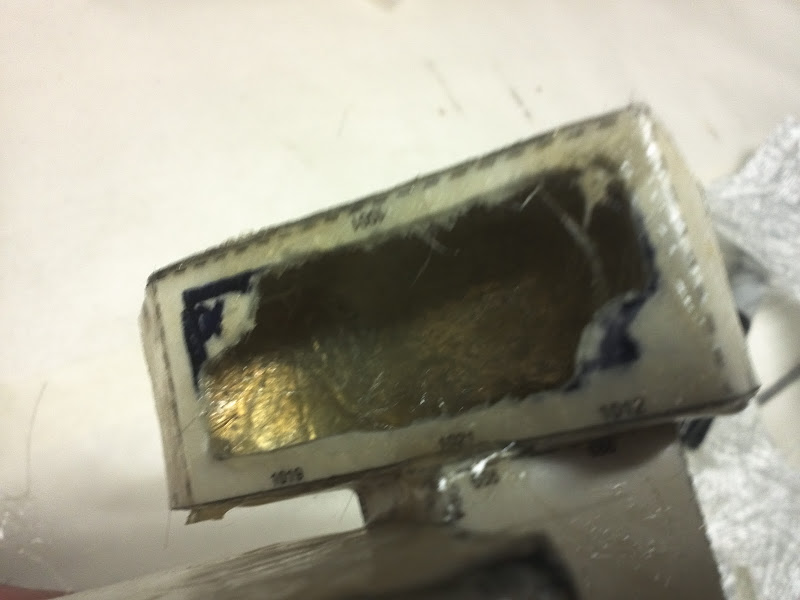
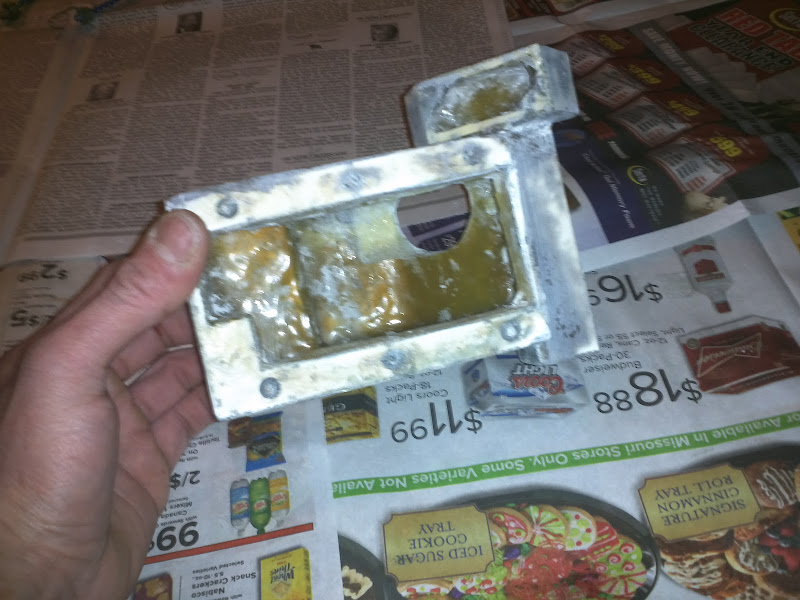
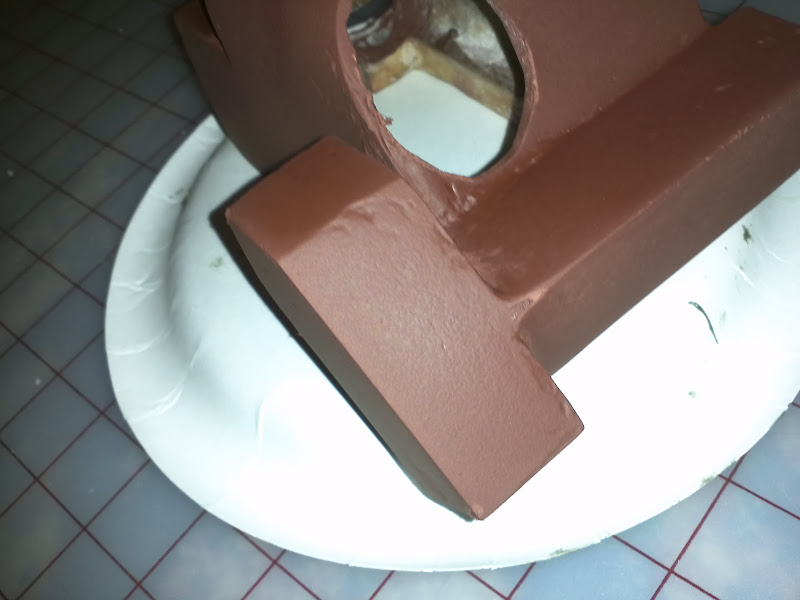
And now the bad news ea. the problem areas:
A lot of this was caused by masking tape tearing the paper. So don't do what I did and take your time pulling that stuff off.
Image

Image

This is where when putting it toghether i had an issue with alignment:
Image

Image
By gEkX
#370233
Thanks alot guys!
The alignment marks are something that just came to me while doing the final assembly and they were very helpful.
Its been a work in progress for a while and still is but its nice to see fruit from all the hard work.
With any luck I'll get another spell of good weather and move to the next step of laying glass.
#374122
Two Questions - Did you glue your parts together before resin? I saw what you were talking about with the misaligned part.

And did you cut a hole in the spacer for the Cyclotron or are you planning on doing that later?

I'm at the point where I wake up thinking about my next three moves on this project...
By gEkX
#374132
Yeah everything was glued together before resin. For the cyclotron I measured from four points on each side until it was even, held it in place, and then put on some alignment marks. I didn't cut any holes yet though because it would probably affect the stability of the piece. Right now I'm in the process of cutting hardboard to reinforce some places on the pack. Thanks again PC for the heads up on that.
By dmolson89
#374980
it looks really good so far im really pickin up alot of tips from all of your guys' build posts to start planning on doing one myself thanx again! and great build!! i would like to see a pic of it finished!
By gEkX
#378921
The weather has been really nice a couple days this week so with this I decided to get the fiberglass out :)

This is my first time working with the stuff so I started small with the thrower. These next couple pics are of the initial layers

Image

Image

Image

More layers and then test fitting the barrels

Image

Image

Just a scrap piece I had laying around on the rear barrel for the test fit.

These next ones are after fiber-bondo and lots and lots of sanding.. maybe a little too much sanding in some spots.
Pay attention to the areas where you can really see the paper.

Image

Image

Image

Image

Image

Ready for paint to see where I'm at.

Image

And here she is so far.

Image

I need to bring the bottom right corner up a little on the Instrument Bar

Image

This side needs a little love.. remember the paper spots :(

Image

A little sanding and some filler in a couple spots. I may wait until I have the clippard and everything test fitted to decide on what needs work.

Image

Image

Image

Image

I fumbled and smuged the paint a little :walterpeck:

Image

This area needs a little love as well

Image

With my barrel setup so far. I was thinking it would be cool to twist the hand to release the acrylic tube. Then pull the green lever to bring it back in. This may require twisting the handle and pulling the lever at the same time but I'm ok with that. Plans are being thought out right now but I don't have anything to share as it is all very crude sketches.

Image

Baa ba dee, Baa ba da deee, BAA BA DAA DEEEE* Thats all folks!

Up next.. Stop being lazy and get those pieces of hardboard cut out to reinforce the pack. Up dates on all of this may be slow as I have another pack I'm working on right now too... :blush:
By gEkX
#379039
Thanks man. I forgot to mention air bubbles suck. I had a large one that I ended up having to drill out on two spots and then poured resin into one end. This was an easy fix after the resin had cured. I then figured out; poking it with a toothpick at the highest point when you see it forming helps. So keep some tooth picks handy :)
By Hammer
#4902003
I'm not sure there are any good files out in the wild anymore. I made my own patterns. I think it turned out pretty good. Granted, I'm a bit biased.
User avatar
By Kingpin
#4902006
the.will wrote:Hello,
where can I find the pep files of the proton pack ?
Thank you
Sadly the person who made them eventually withdrew them from public use, I'm not sure if someone has subsequently made a new set, or if the community has moved on from pepakura to 3D printing as a replacement.
User avatar
By Kingpin
#4917436
martinisaias wrote: April 28th, 2019, 11:37 am hola comoHi how are you? my name is martin i just joined the page you could help me I would like to know if you can pass me the pdo files of the protonpack that you have done. Thank you very much ...
Unfortunately the original poster hasn't logged in here in almost three years.
    Ecto Containment Unit

    First off awesome work!!! second of all where did […]

    https://i.imgur.com/cMwtW9y.jpg Where do th[…]

    Greetings from Montana

    Hey and welcome

    The amount of people participating in the milest[…]