Happy new year folks! Welcome to the first 2017 edition of my extremely slow trap build (I realised today that I started this in 2015!) I'm going to pick up the pace and hopefully finish it this year

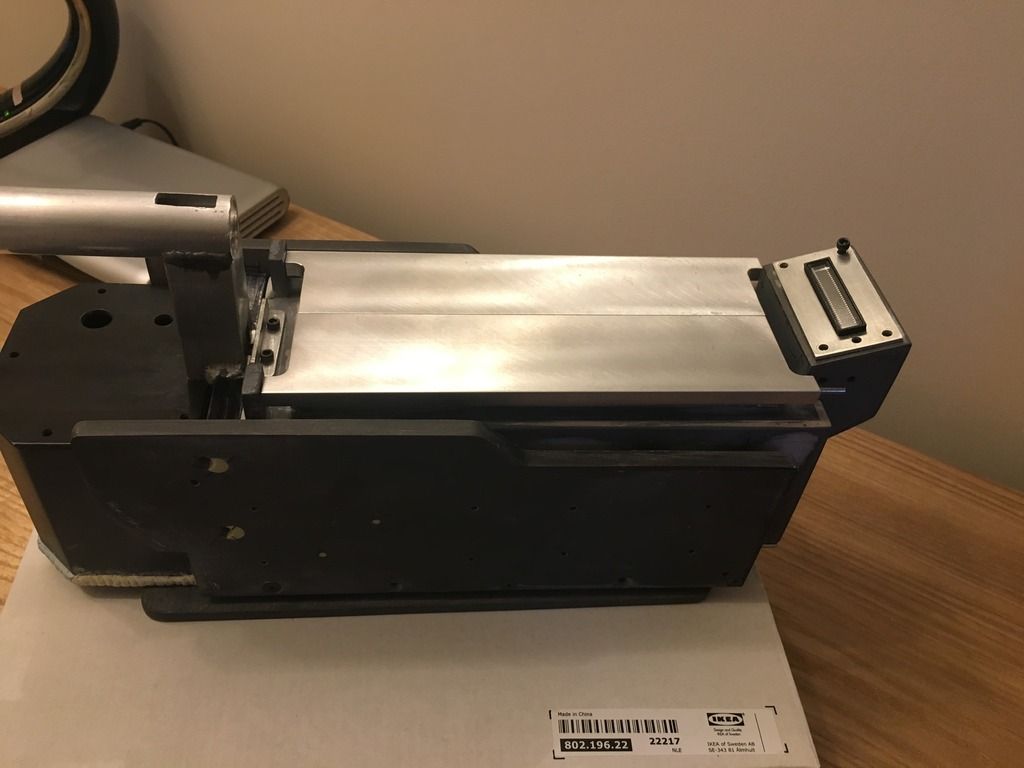
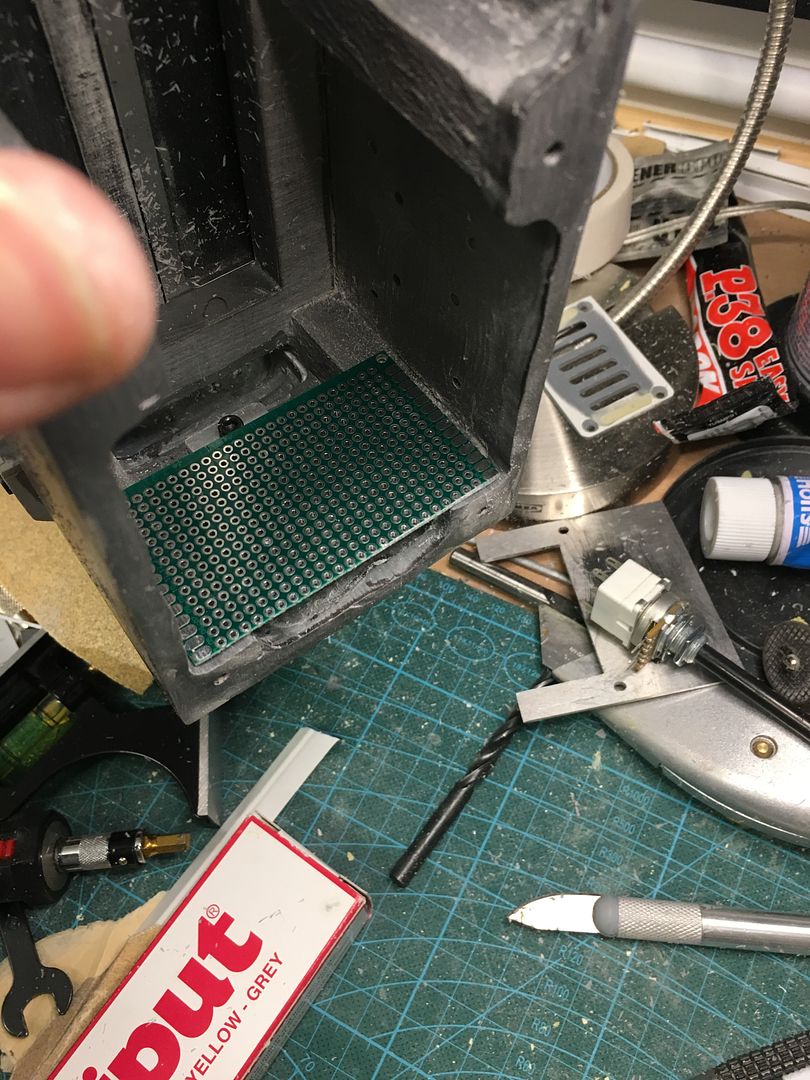
Small steps today but I'm ready to get underway now after a difficult 2016. Onto the build- Started to fit the doors, which are a bit fiddly to get right for a first timer.
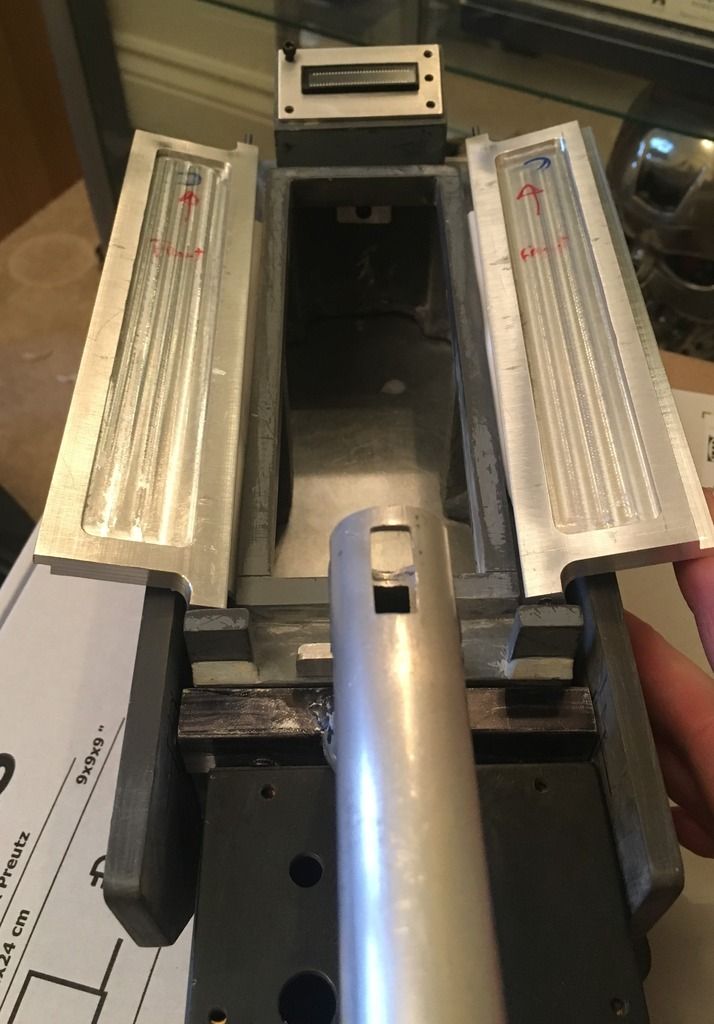
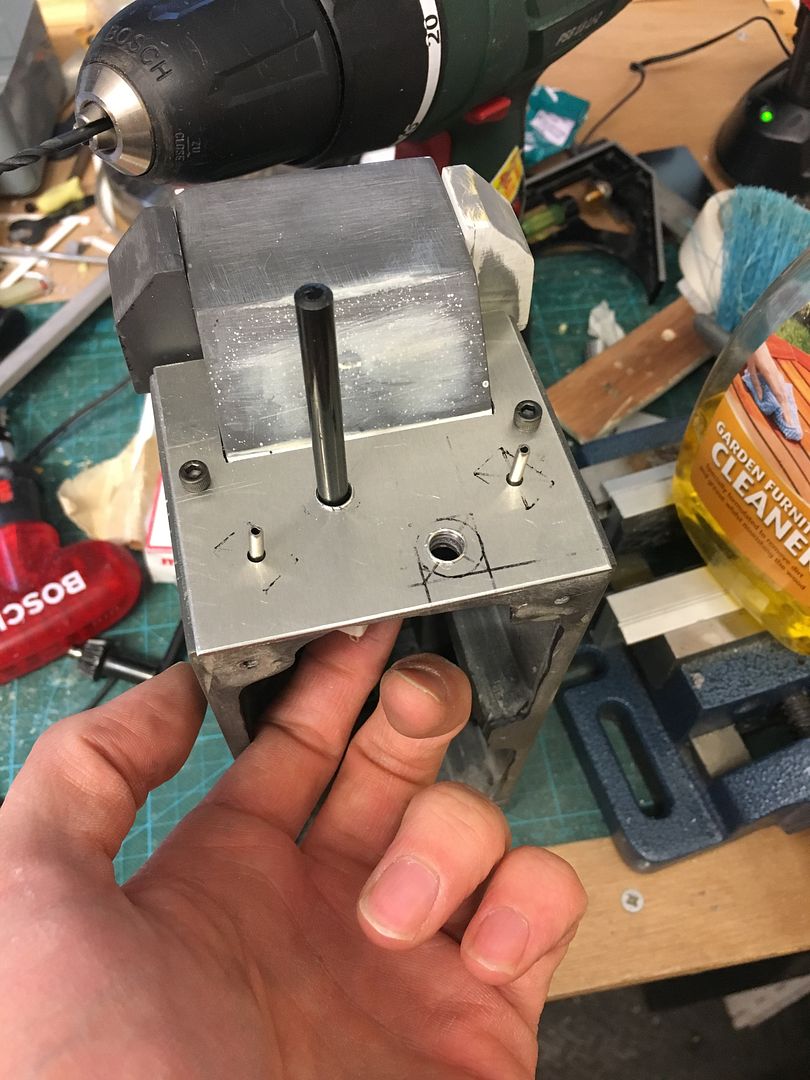
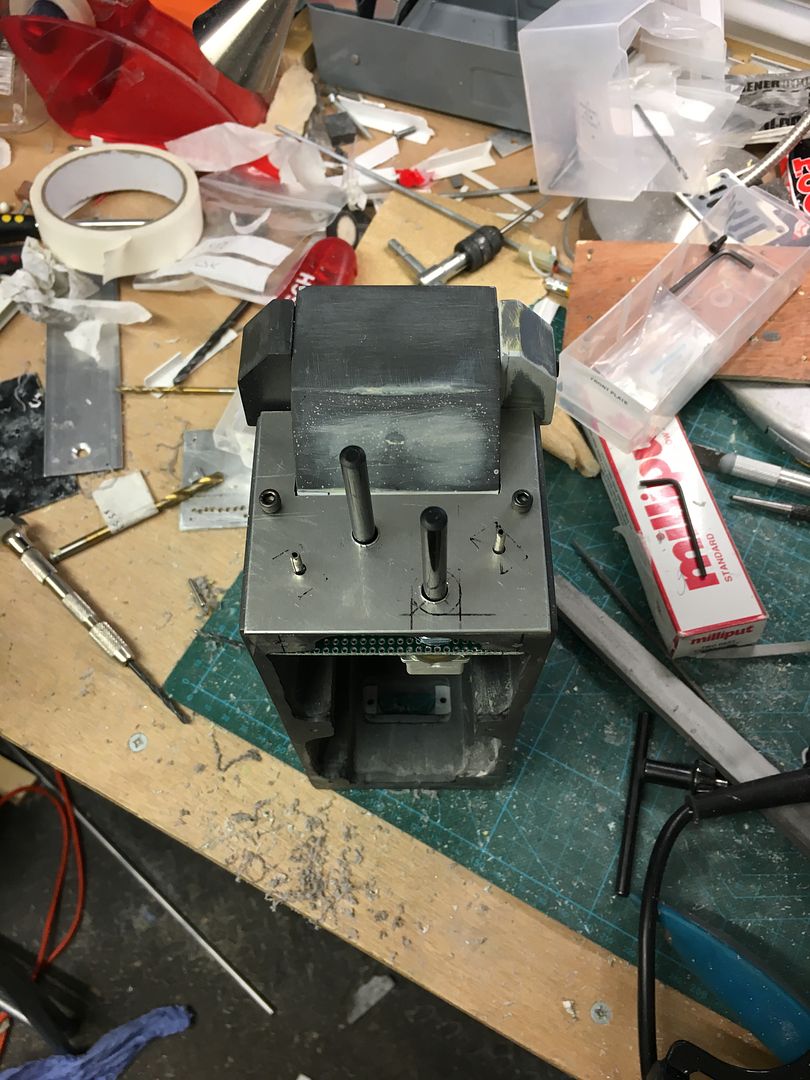
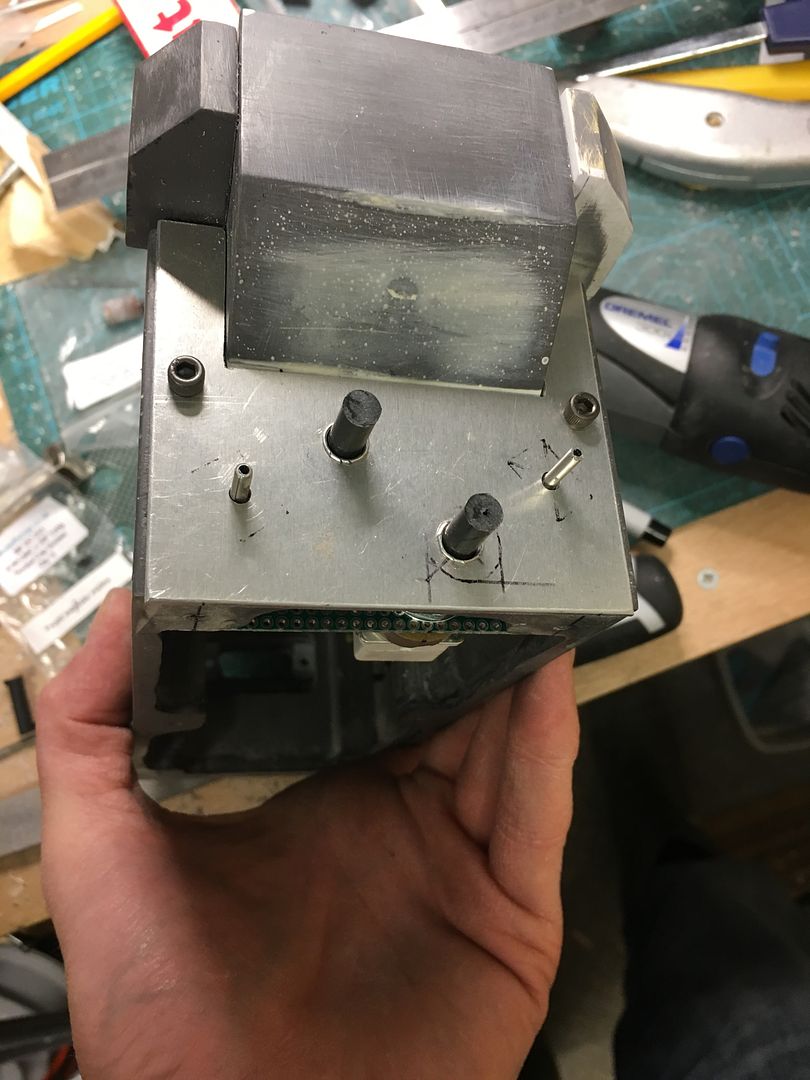
Marked out the bolt locations by drawing round the door lugs and finding the centre by drawing intersecting lines.

One hole ended up in the right place but the other one drifted off and I've had to fill it in to re-do it. While I had the milliput out I've done a few other things on the to-do list at the same time:
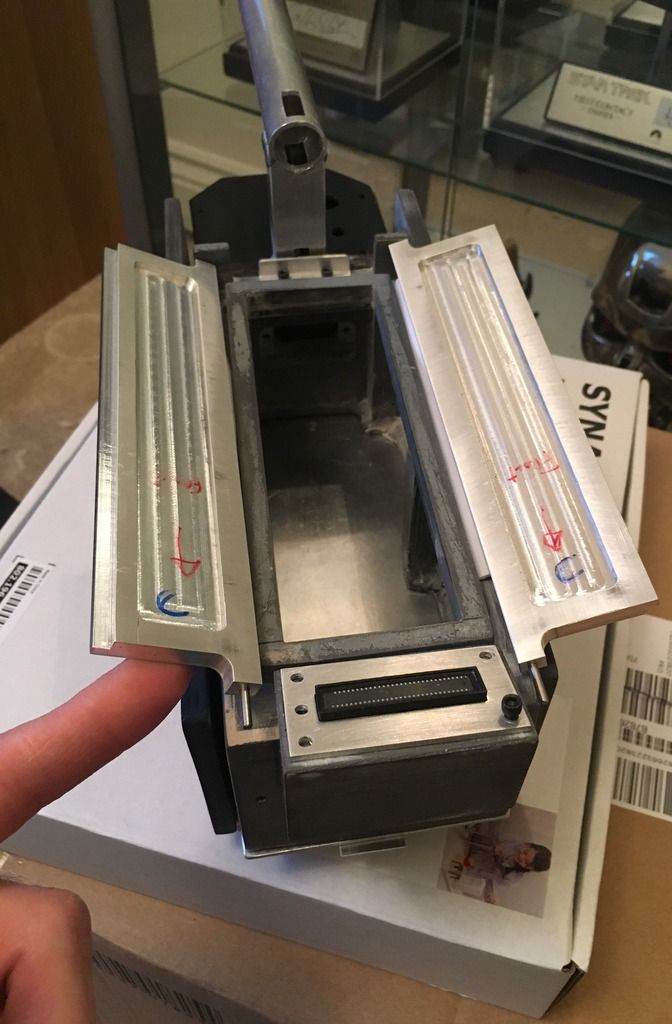
- Filled in the unwanted extra vent holes in my cartridge vents

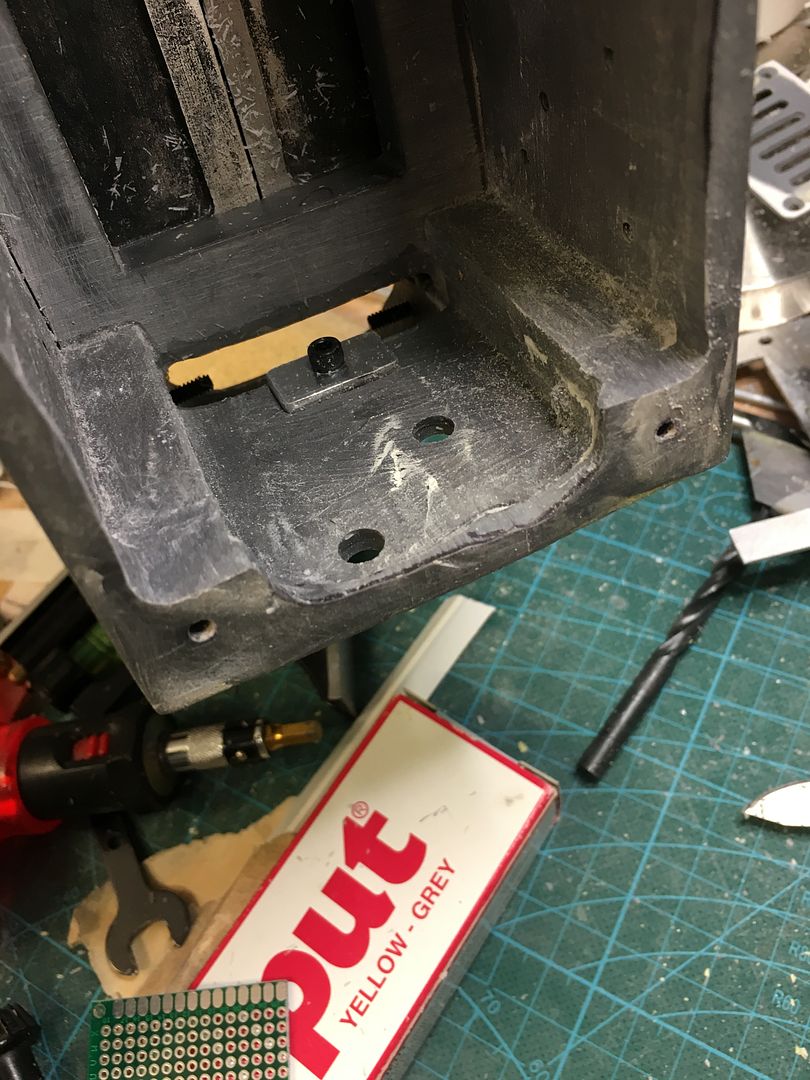
- Added a bit more to the door lug "welds" as I wasn't totally happy with them (yellow section is the newly sculpted part)


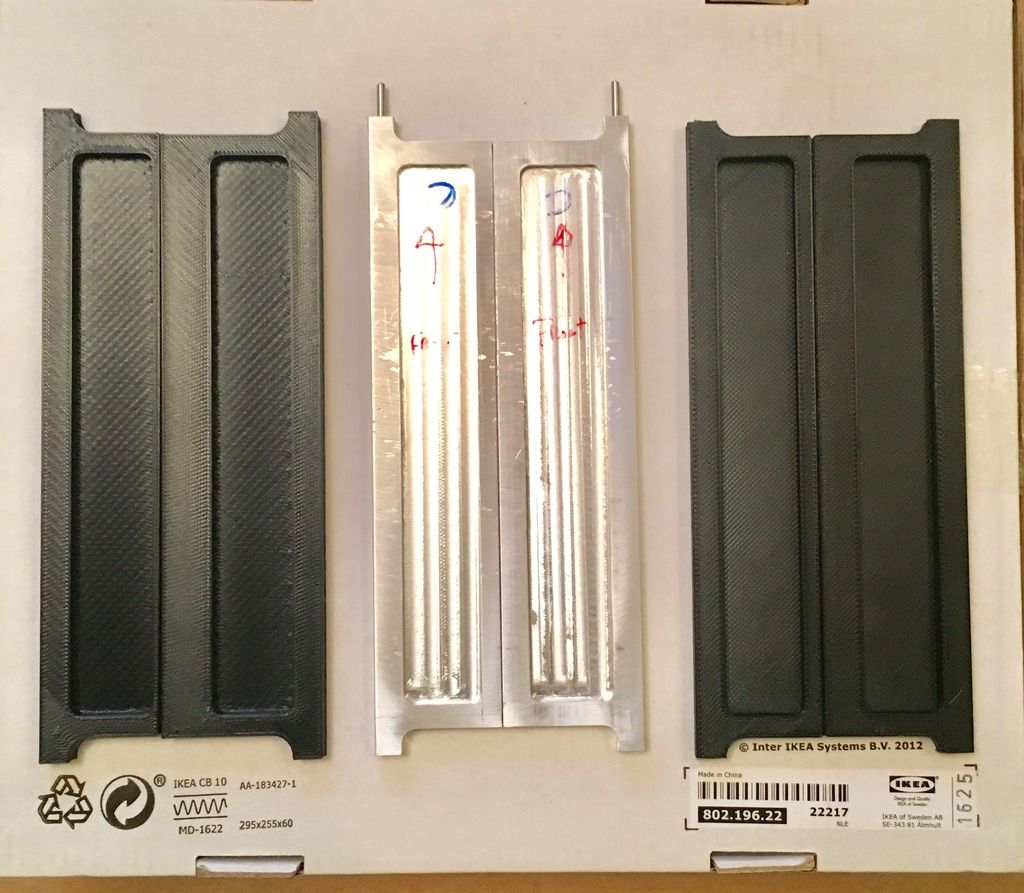
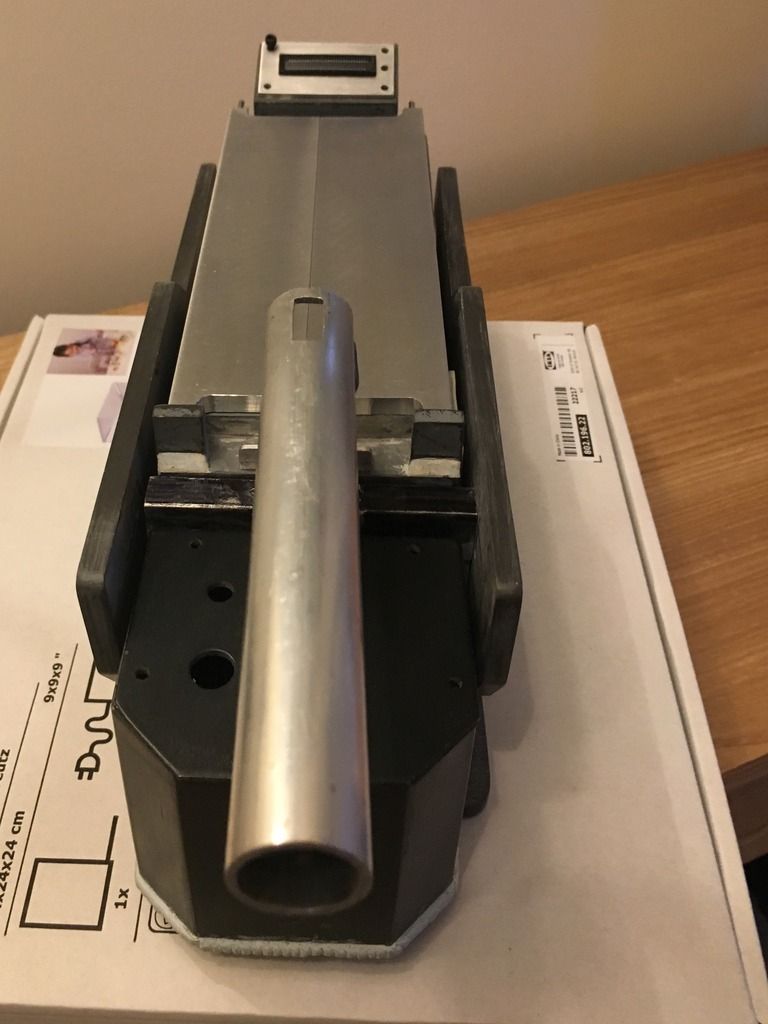
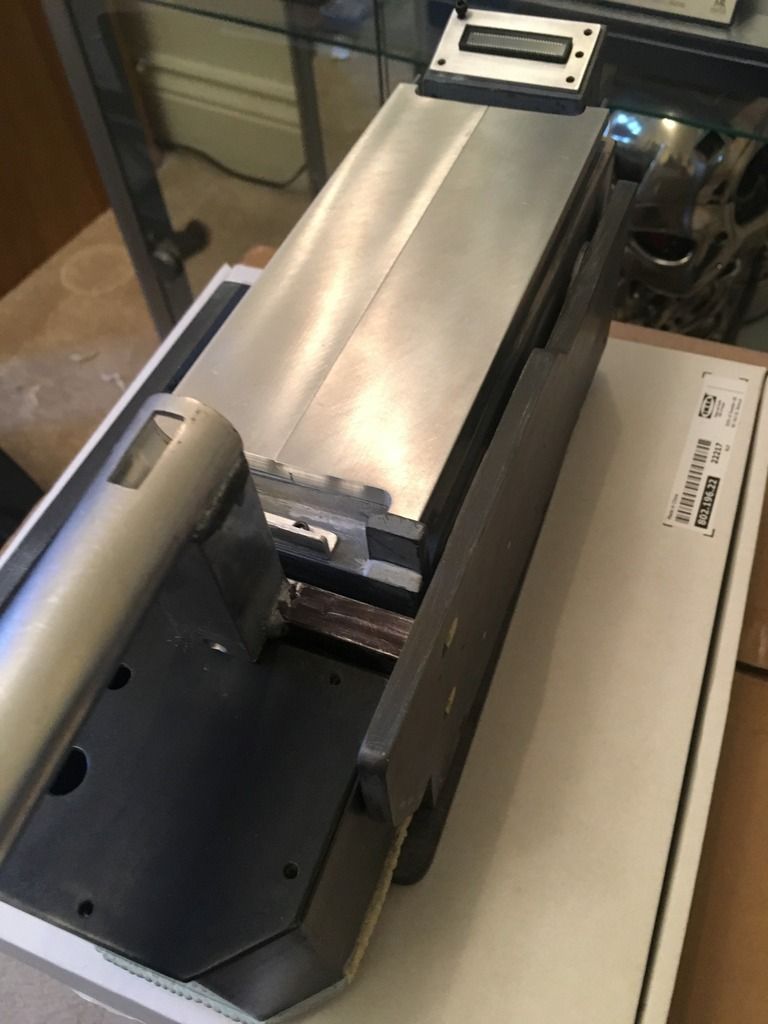
and.... Started to make another new vent in light of a new detail I've just noticed. You may remember that for the RH side of the cartridge I went with a mirror image of the known side with an inverted metal disc? Seems that I'll have to change it as the real thing has another vent there!
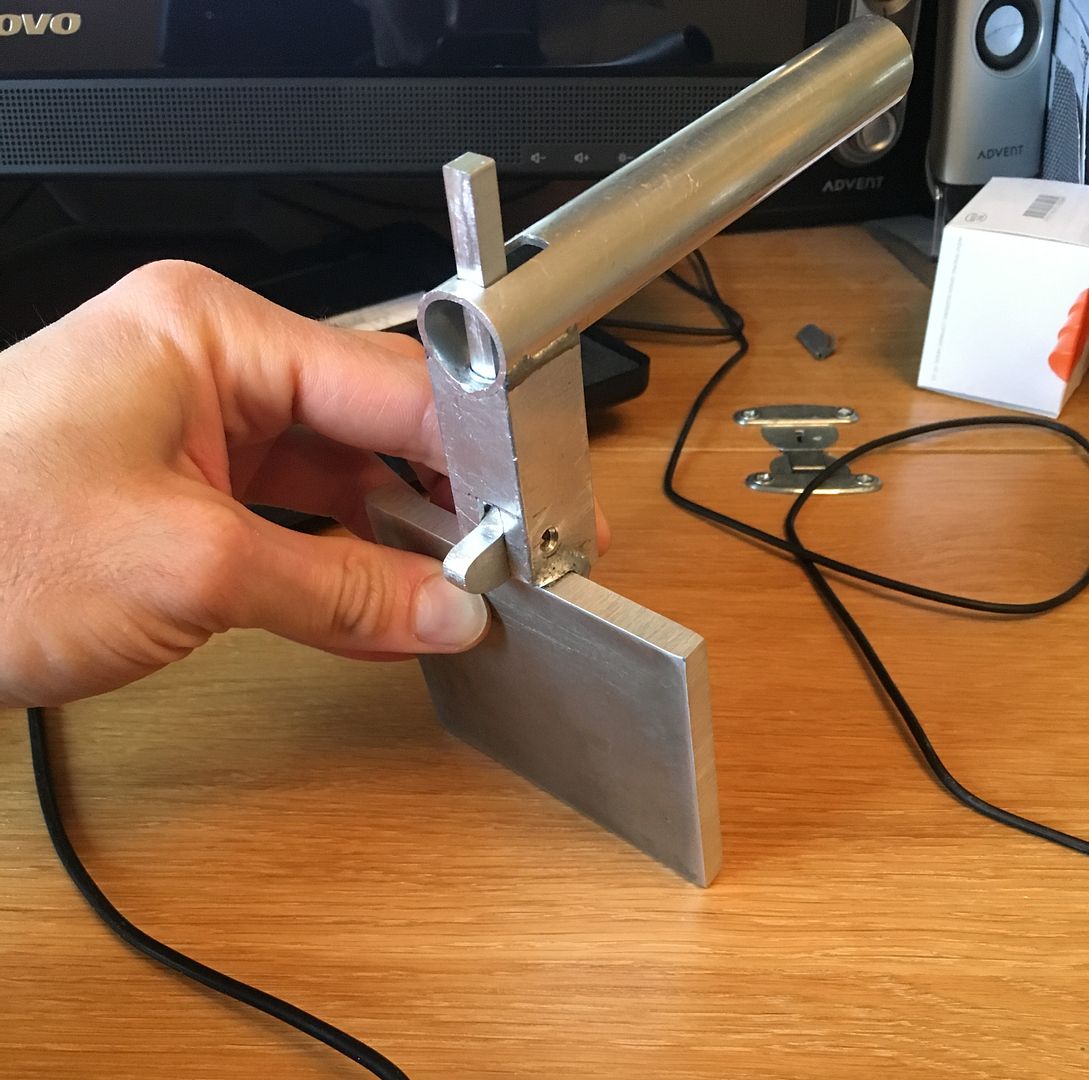
It's different to the other vents in that the slots seem to run longitudinally

Ok I'd better make one then. I didn't show how I made my other vents in much detail so I thought I would this time in case anyone else wants to add them to their builds.
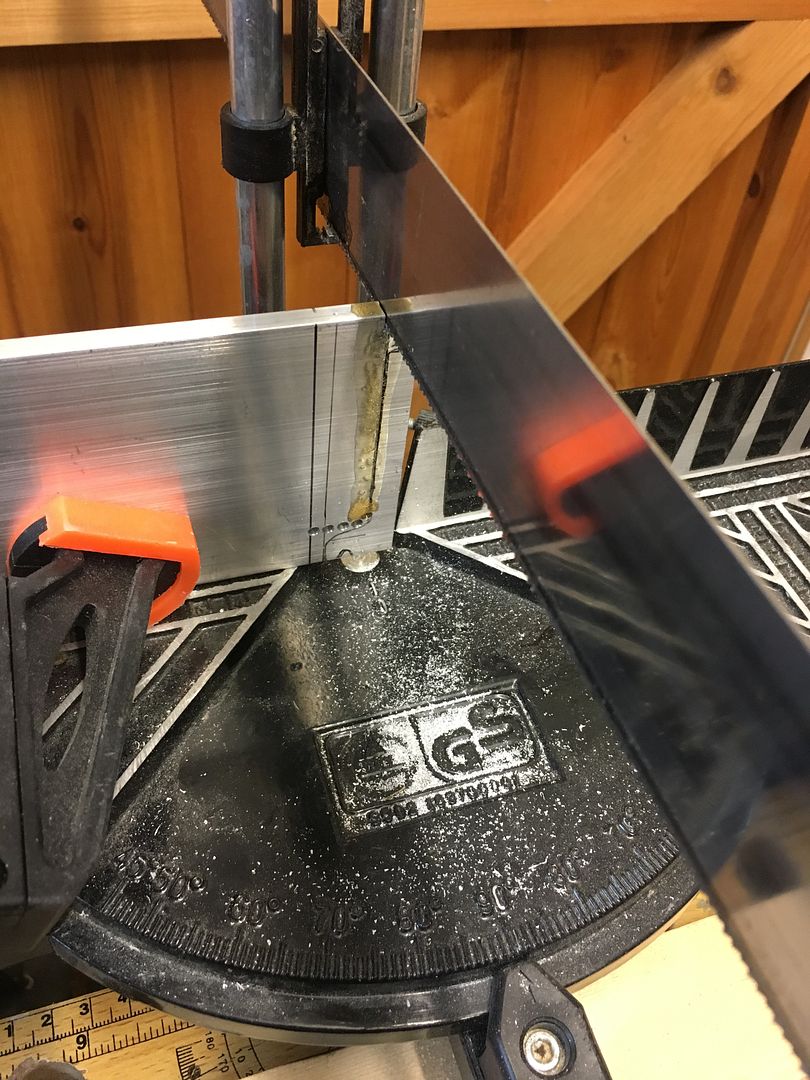
You start with some soffit vent strip from a DIY store. Mark your vents out and score along the lines carefully with a sharp knife and a steel rule 3-4 times

turn the strip over and using some side cutters snip through the channels on the back level with the scored lines

Then bend the strips back and forth a few times along the scored lines to snap the strip into sections leaving you with this

Now we want to remove the plastic channels from the back. As before, score with a knife a few times near the base of the channels

and snap off

This will leave a couple of ridges to file off

one nearly done

then give it a light sand

You need to do this to two sections of soffit to make each vent as we will be layering them up

Sand the rear of one section and the front of the other with course sandpaper to provide a key for the glue. Then get yourself some 5 min epoxy, clear sellotape/scotch tape and some clamps if you have them (tape will do if not)

Apply glue to one surface only and tape/clamp together

Leave until glue has set to full strength then sand the edges flat and smooth

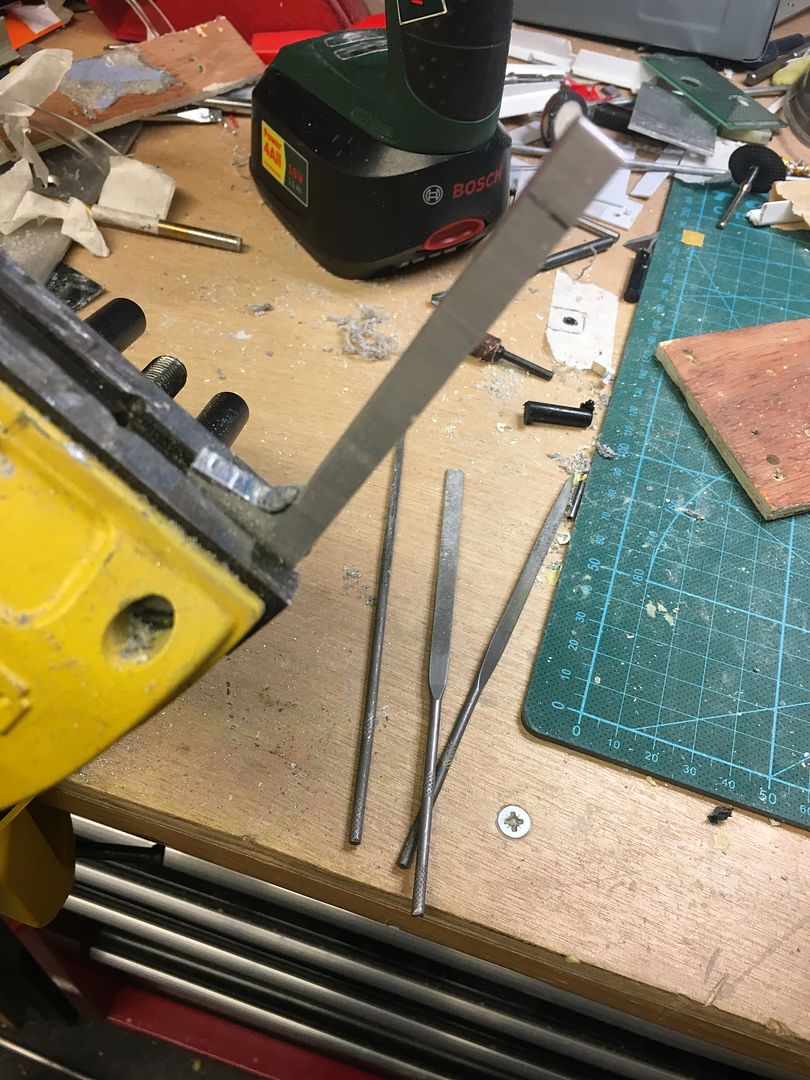
After this it will need shaping with a jewellers file and sanding smooth ready for paint which I will do next time.


 - By hawkbatsquadron
 - By mrmichaelt