- July 26th, 2016, 4:26 am#4874002
I'm feeling a lot better about the repair this morning. Sleeping on it sometimes helps the OCD! I showed it to my brother who loves GB but isn't a member here (he's' a bit forum shy!), and he thought it looked fantastic! He loved the new welds, and he thought the extra thickness wouldn't really show once finished.

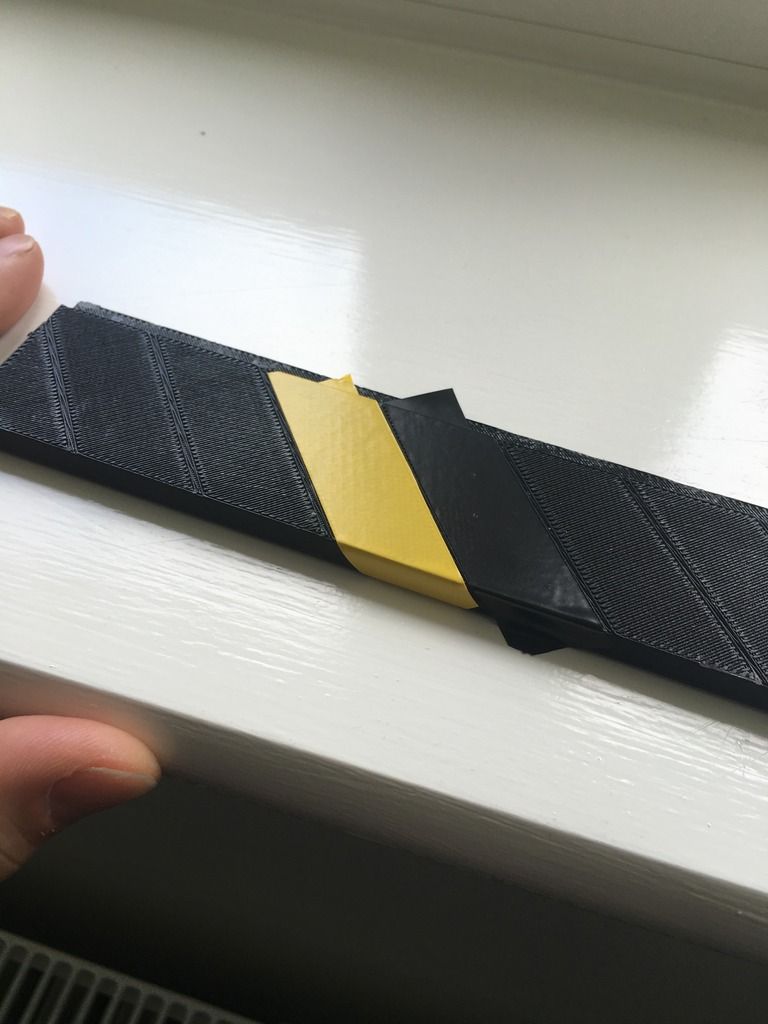
I'll have to fill in the cutout made for the release catch however. The join I was referring to is the one between the two materials:

I can fill it but it means paint must be used rather than alu black. I may try masking the edge and painting the front panel, with the metal parts still being blacked. As they are on different planes, it should make the difference in finish harder to spot.

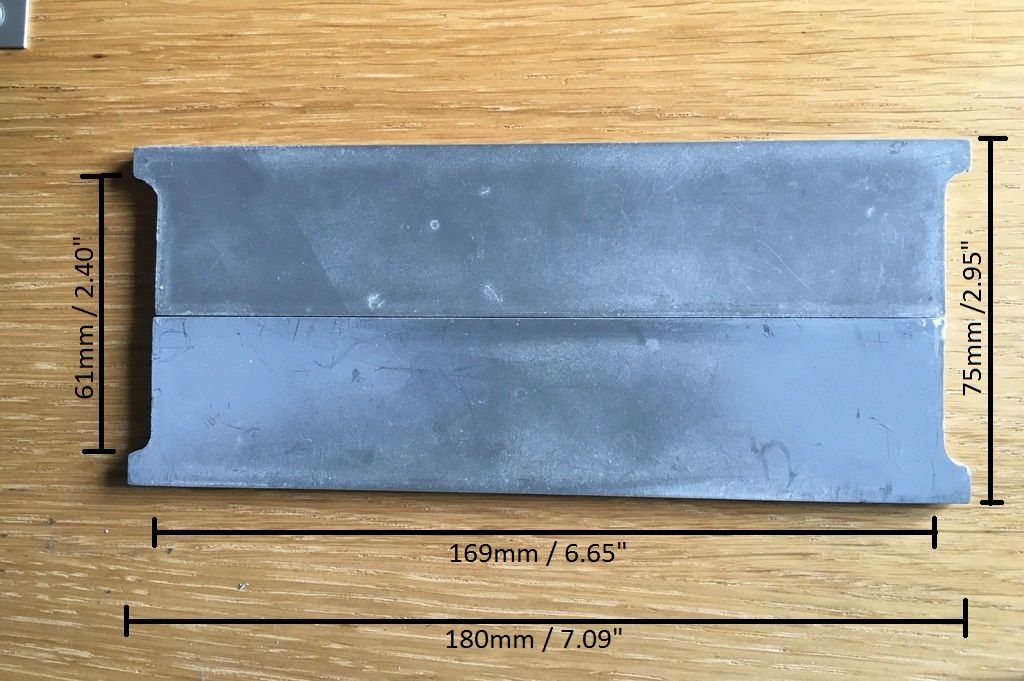
It would be great if you could ask him about doing us a mini-run The door dimensions i've arrived at with the ears mounted GB1 style (further forward) are:

Nicks standard ones will be a bit rattly in there without spacers as his kit is normally built with the ears in a more GB2 position, mounted further back.
The join is a very tricky one - you'd need to make an extra bit to fill in that gap but attaching it to the alloy handle nice and flush may be very difficult, especially as welds are already in place...and then the join would have to be hidden somehow...raising the surface would be the easier solution if you can live with the resulting difference in height...although it would have to be a pretty thick battery box cover needed to do this from what I can see thereI'm not sure what you mean here- I think we may be talking about a different join, the gap underneath the handle seems to be present on the hero so i'm not too worried about that.
I'll have to fill in the cutout made for the release catch however. The join I was referring to is the one between the two materials:
I can fill it but it means paint must be used rather than alu black. I may try masking the edge and painting the front panel, with the metal parts still being blacked. As they are on different planes, it should make the difference in finish harder to spot.
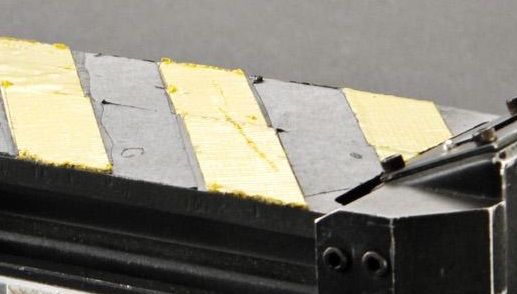
The 3D doors are definitely no good with the off-centre join - shame - as for the side rods, I'll be sticking to the resin kit for these parts if the alloy counterparts are not a possible option. I'll do the same with the doors as well if all else fails. Momeraths24 is definitely fully booked at the moment, I checked out his thread earlier and saw how busy he has been of late. I'm having positive results with my aluminium plates however, as CPU64 is in the middle of producing these, with 45-degree beveled edges to boot! I should ask if he can run up some doors and rods for us as well perhaps?Yeah it looks like i'll be doing likewise for the moment as they will look the part when closed. The best way to get the side plates accurate bevel wise is to have them shear cut. My battery box lid and L/H side plates were both shear cut and it's not a constant 45 degrees. It tends to be slightly more at either end and less in the middle i've noticed. From studying the reference pics zoomed in, i think the hero ones were shear cut AND filed to smooth them out; So that's what I've tried to match. I'm deliberately going for the hand made look the hero has though, you may want yours a bit tidier!
It would be great if you could ask him about doing us a mini-run
Nicks standard ones will be a bit rattly in there without spacers as his kit is normally built with the ears in a more GB2 position, mounted further back.
Thanks so much for the soffit strip - marking out the vent and bolt holes would be very helpful indeed; just send me a PM when ready so that I can cover you for itNo problem at all. Us Brits have to stick together as it's that much harder for us to pull these projects off on this side of the pond! lol
barison82 liked this


 - By edspengler
 - By darthbuster
 - By Indy Magnoli
 - By kahuna900