- May 4th, 2015, 9:06 pm#4832567
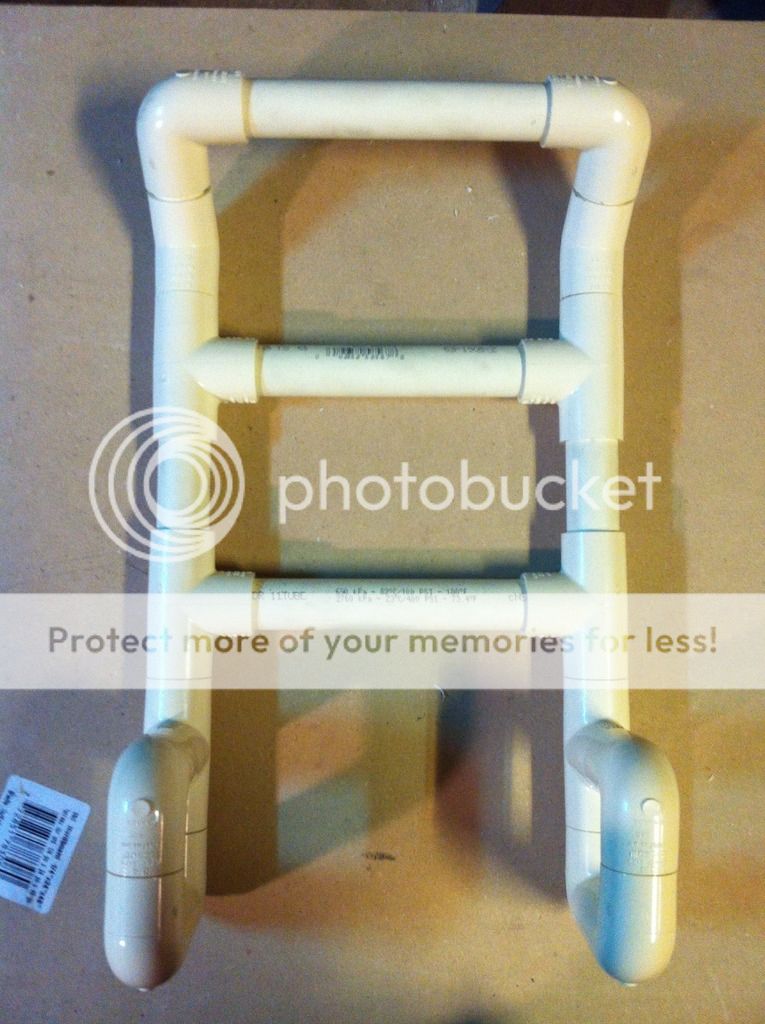
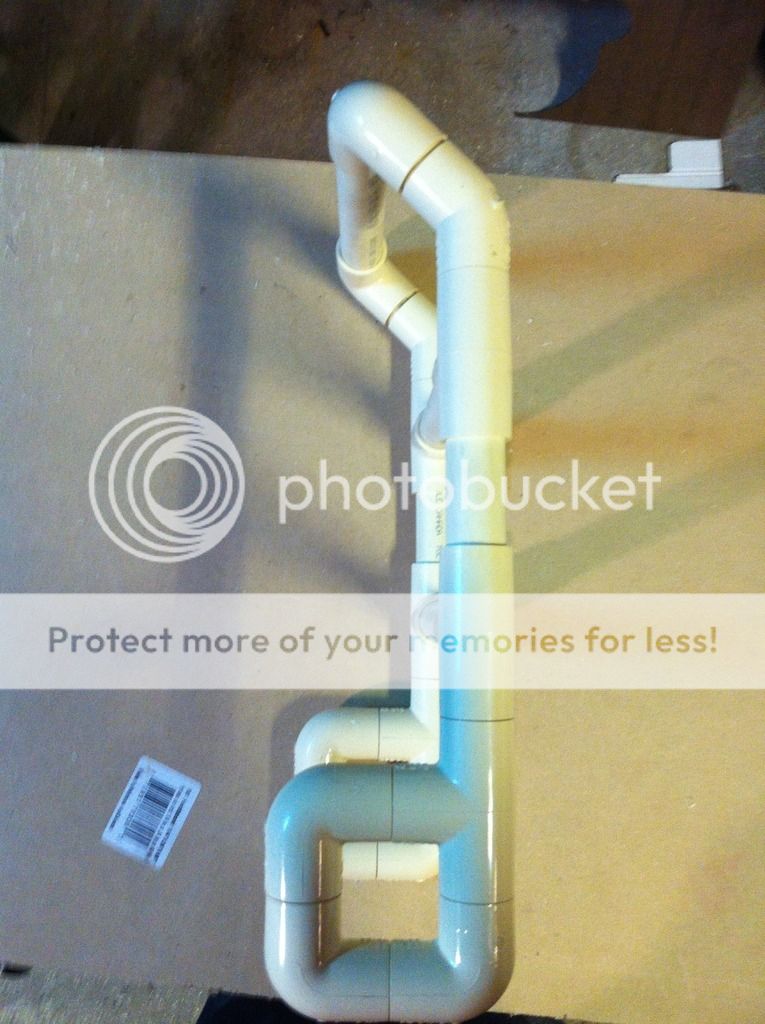
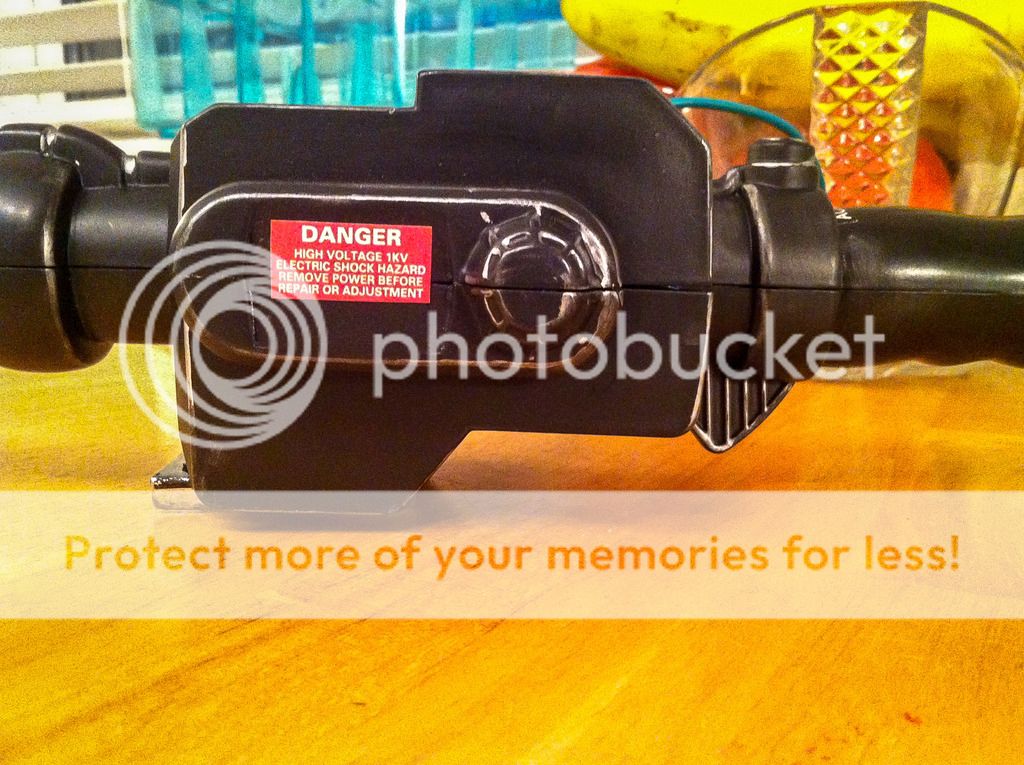
So I tripped over an old Kenner pack in my collection. I still have my original one from when I was a kid that is complete and remembered that years ago my mom found this one at a thrift store for a couple bucks. I didn't realize I even had it! It has the wand and pack, no hose or anything else. So I didn't feel very guilty ripping into it. I've been wanting to build one of these for my daughter since I found this site so I was excited as hell when I saw that I had a spare. I also got to use up some of the surplus parts I had gathered from my pack build. So i decided to build it up now for my wife to wear, and later for my daughter when she wants it.
Big thanks to the Kenner builds on here, theres some greats including Vince (Vincenzo330), Alan Hawkins Pink build (Pics are gone now), jaimanstone, Lunoki, and I pretty much carbon copied Mavericks' build for the most part.
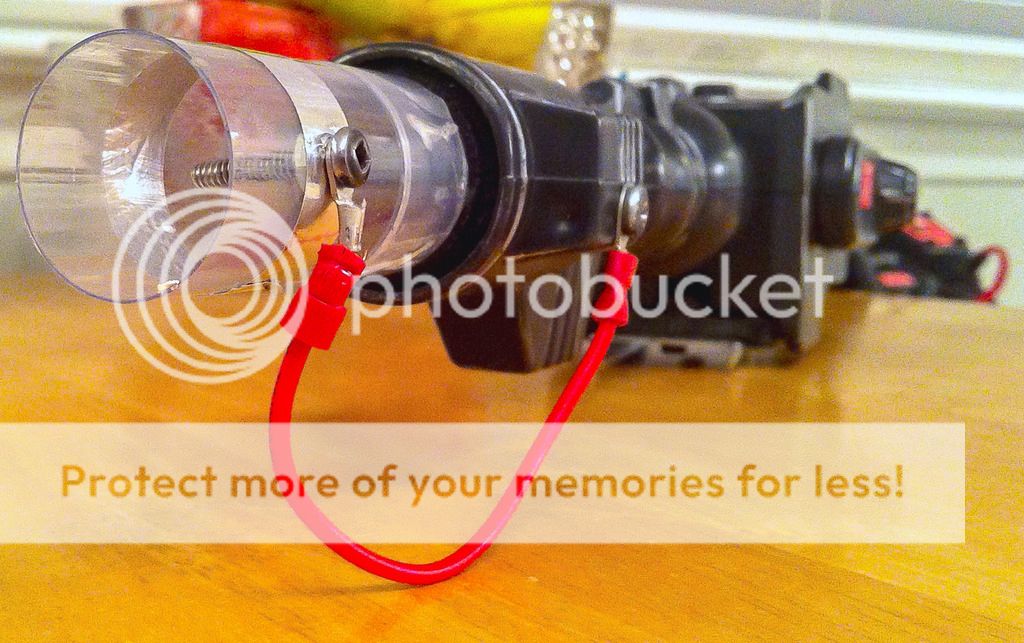
Quick question, both my original and this one have all blue thrower tips, but I have seen them with orange rings around the tip.. Anyone know what the deal with that is?

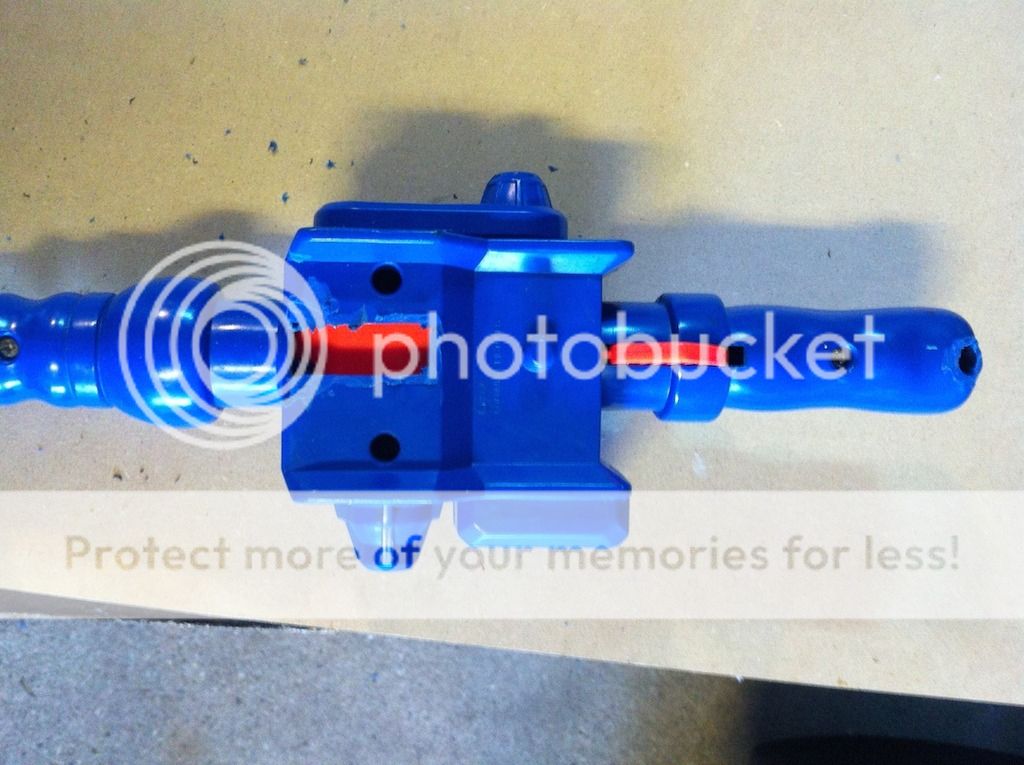
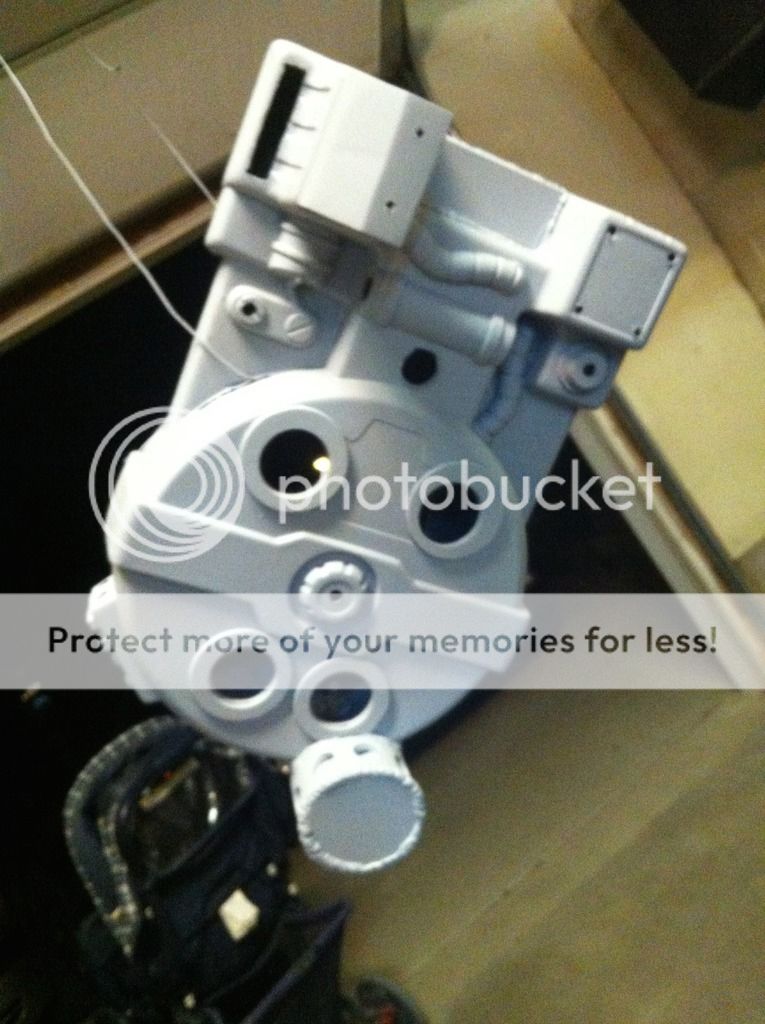
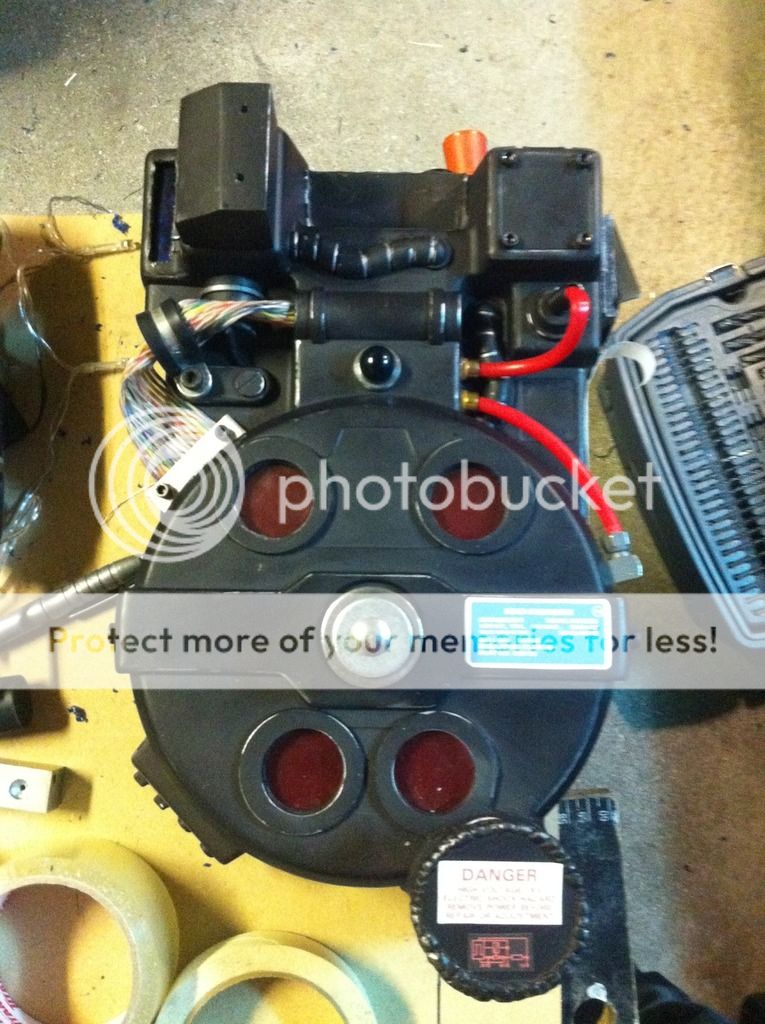
Light holes cut

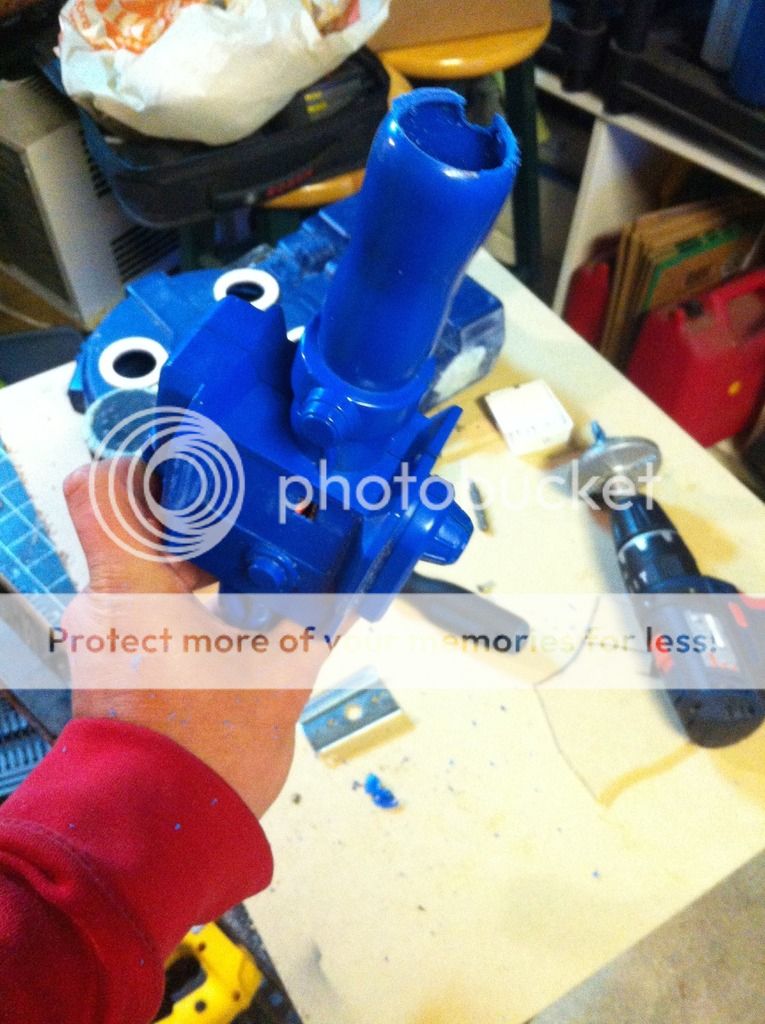
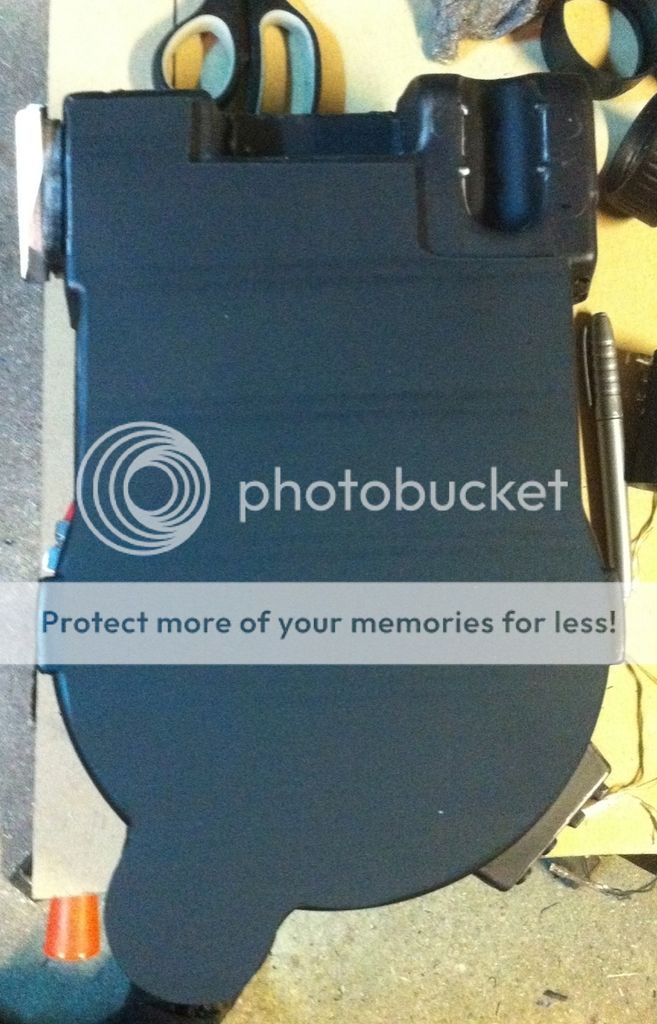
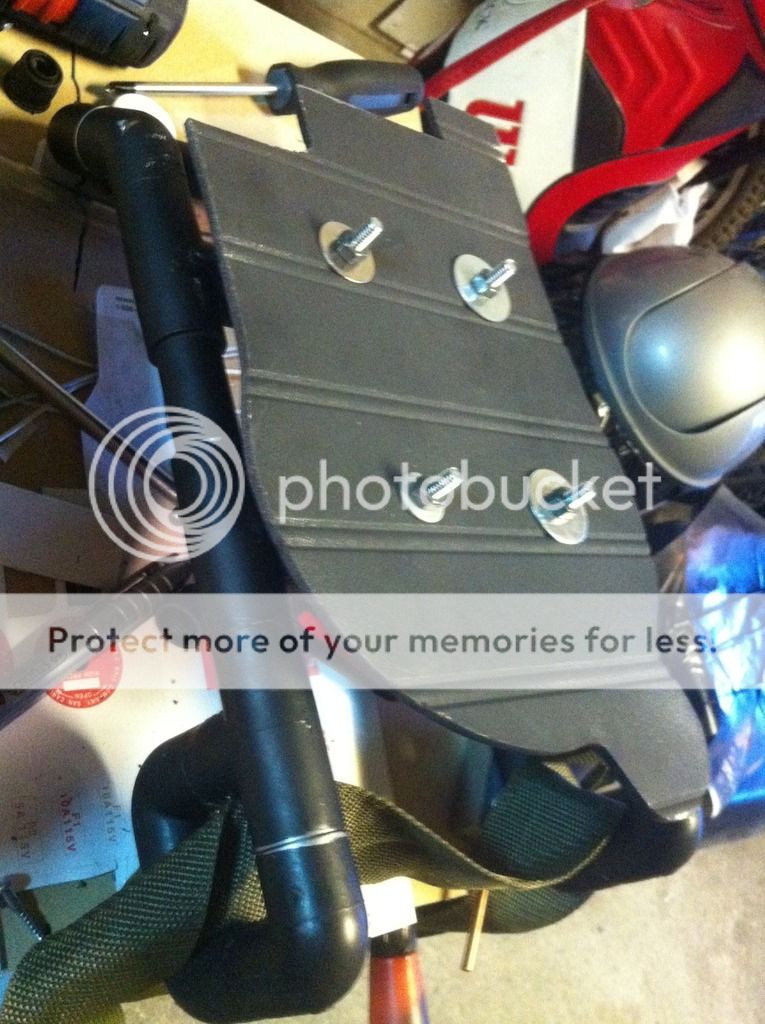
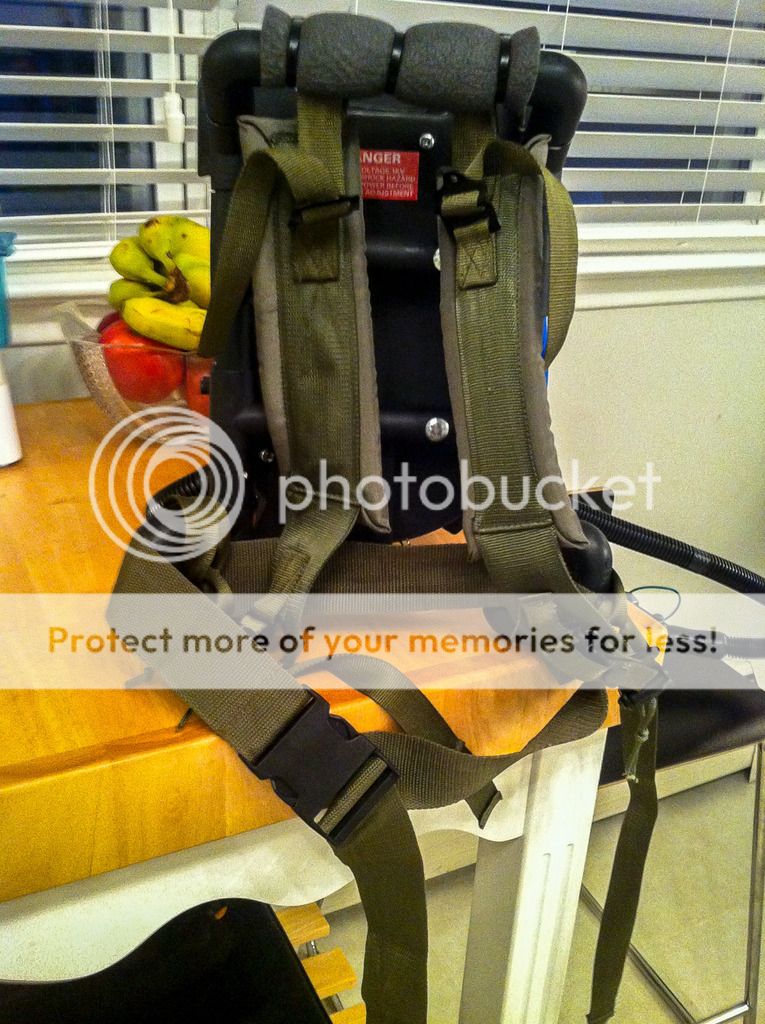
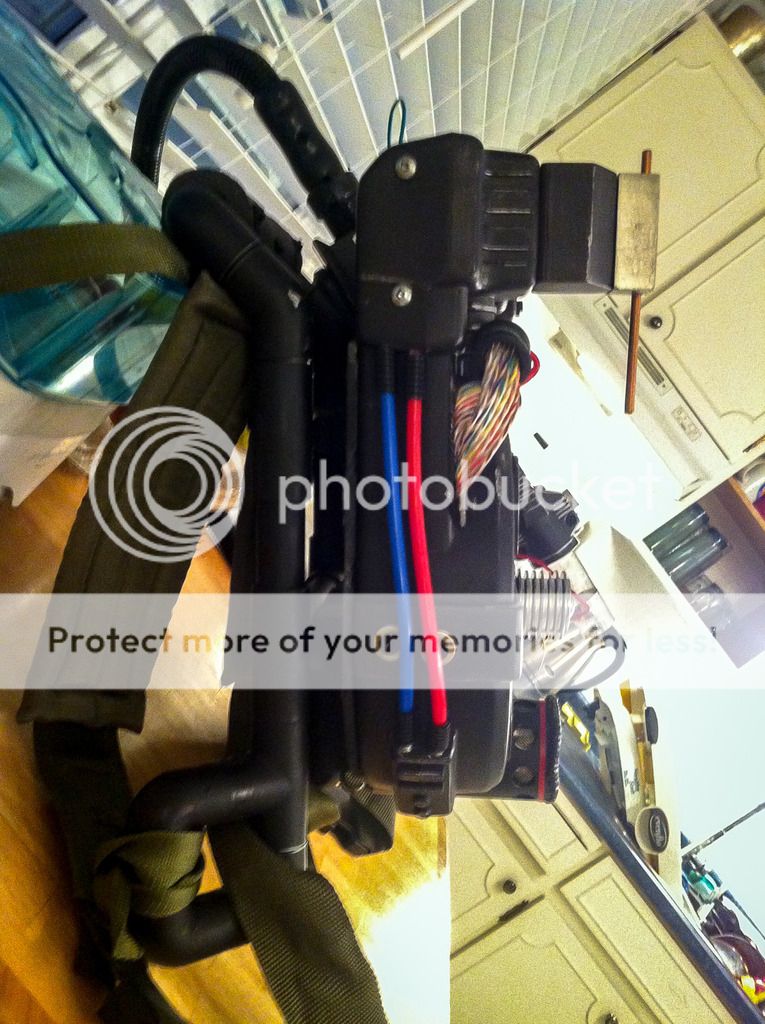
Cut the back out, also used the dremel to shave off the bottom strap connectors

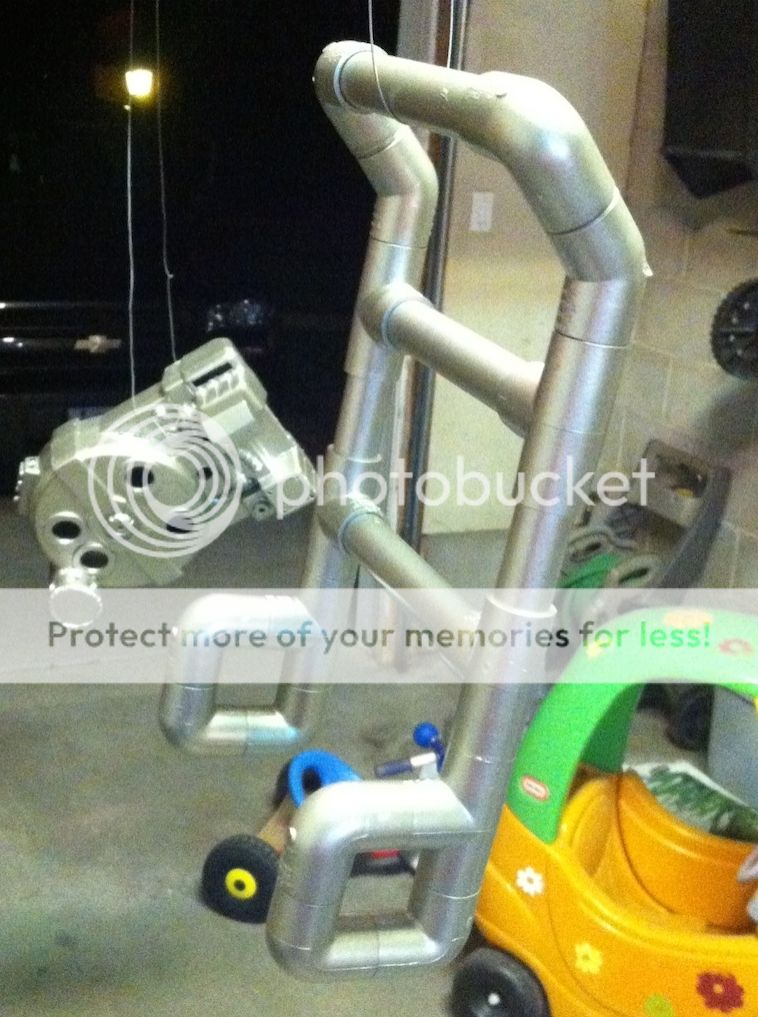
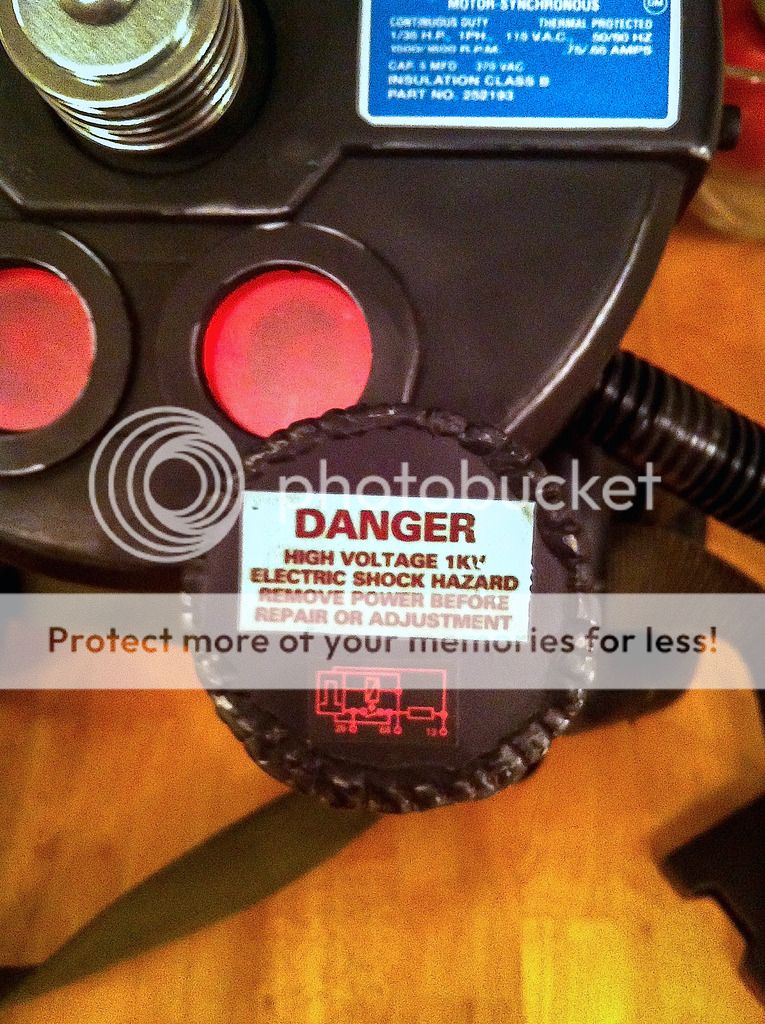
Cyclotron light rings
http://i50.photobucket.com/albums/f314/ ... zgamso.jpg
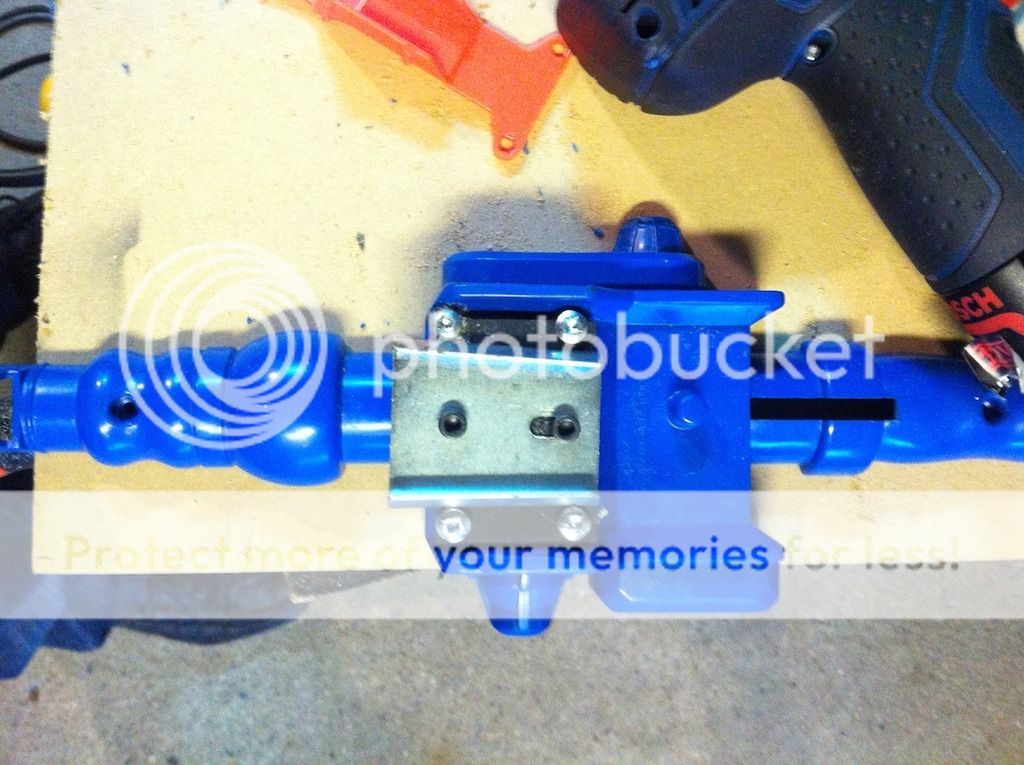
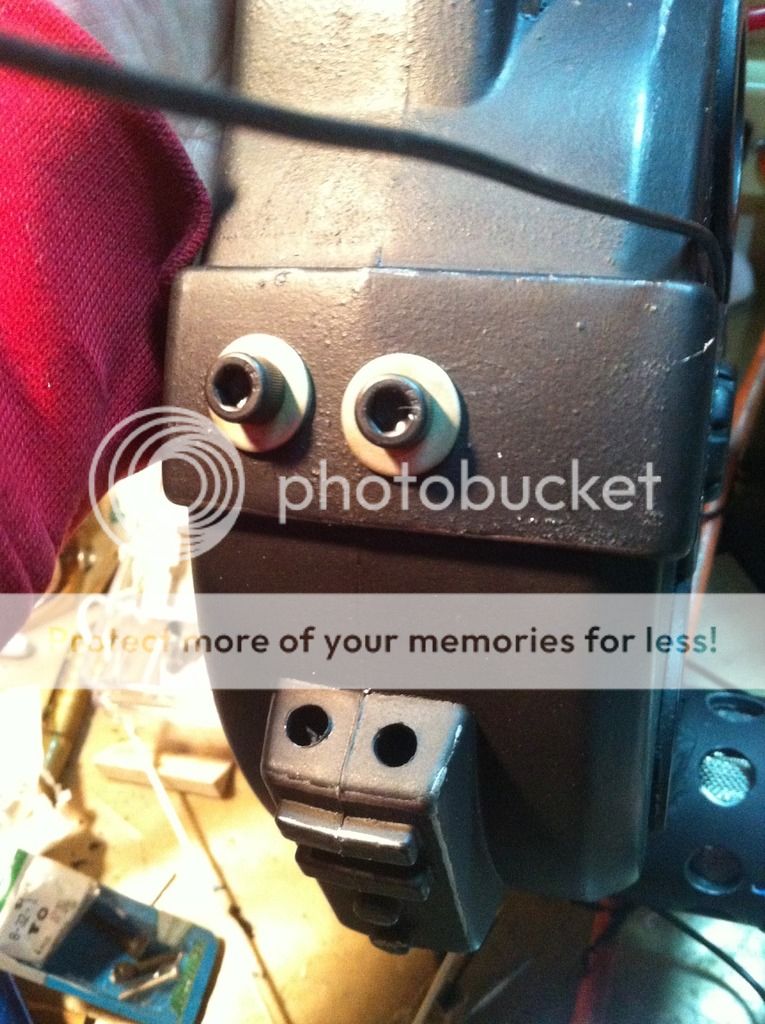
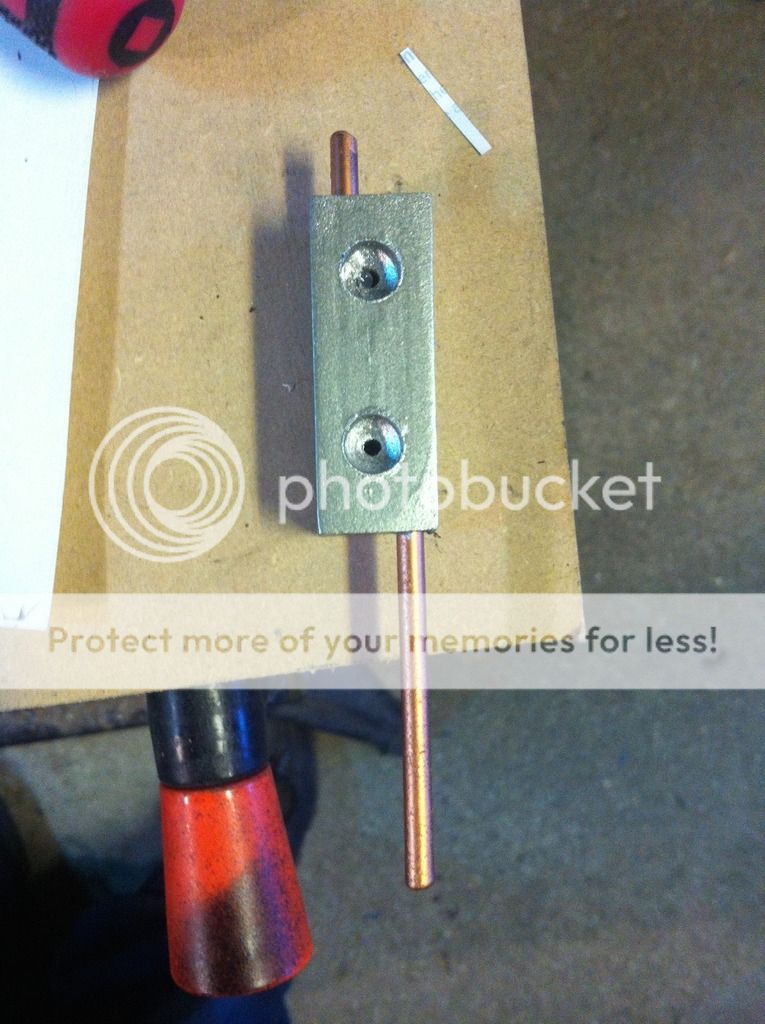
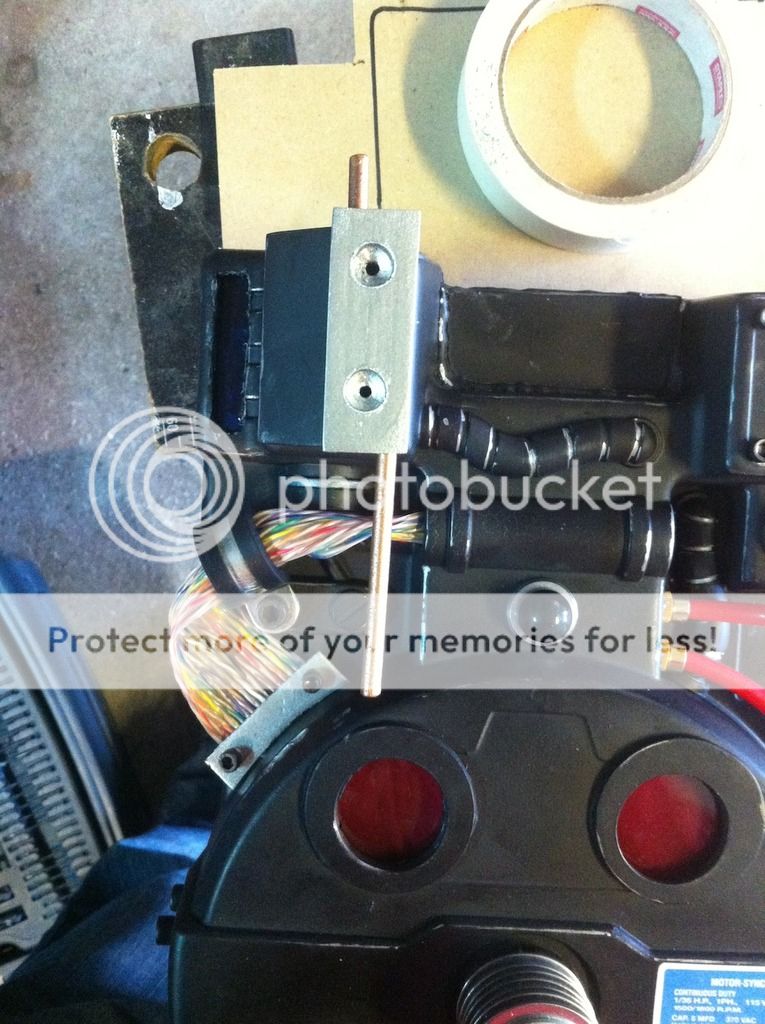
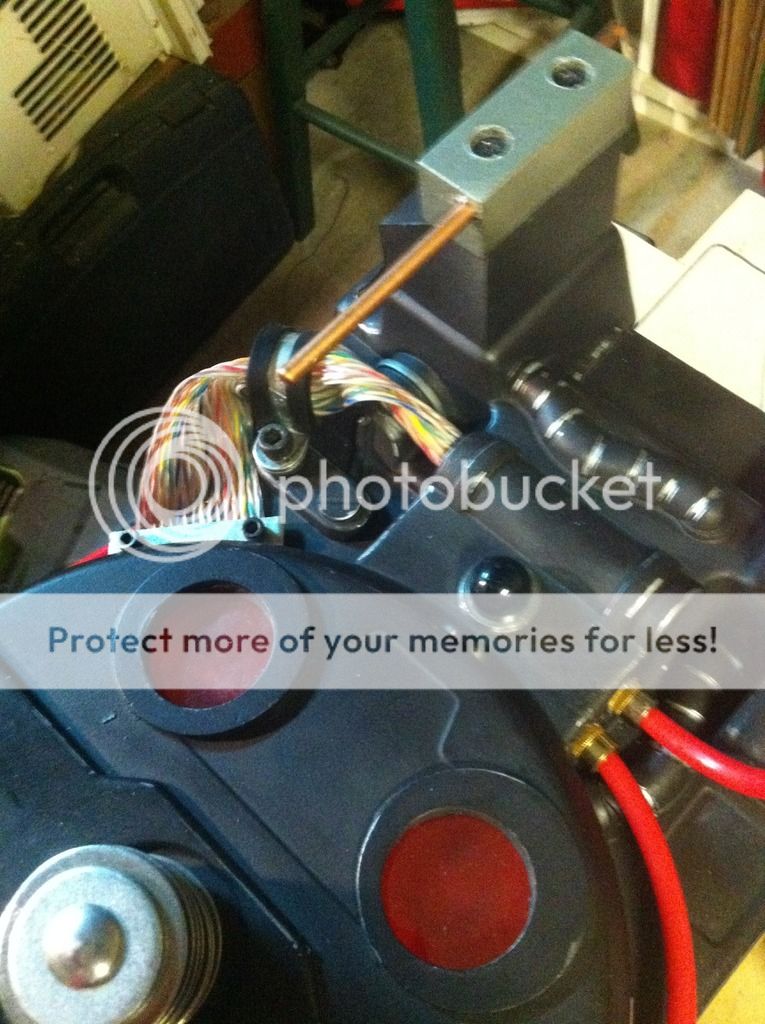
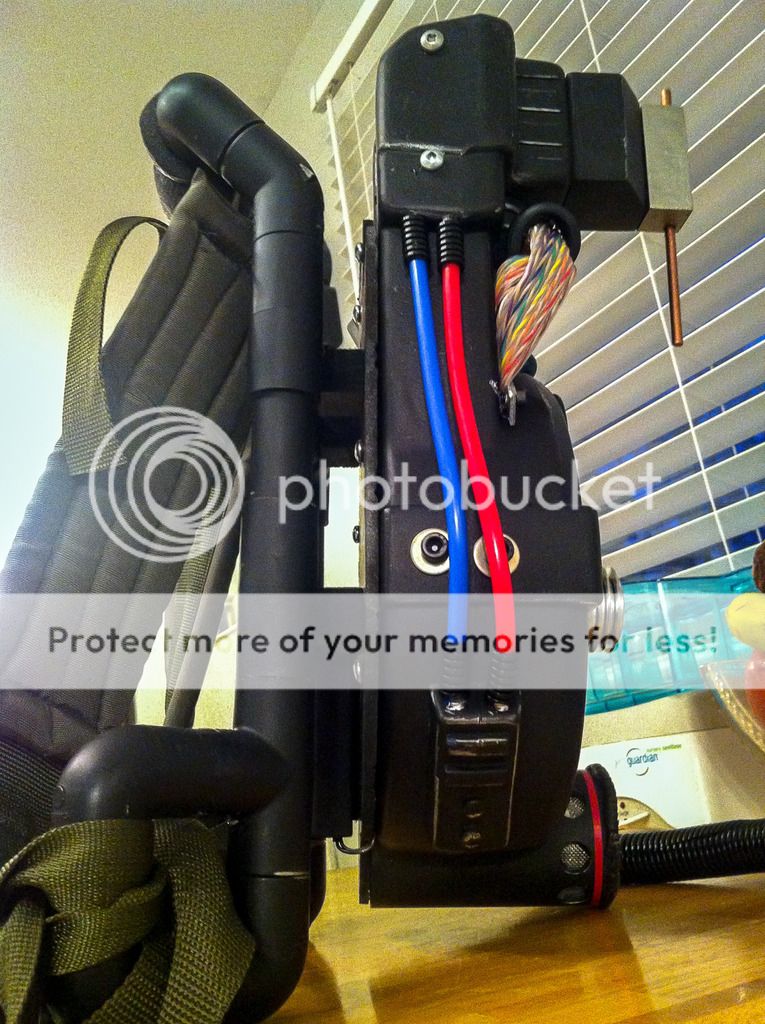
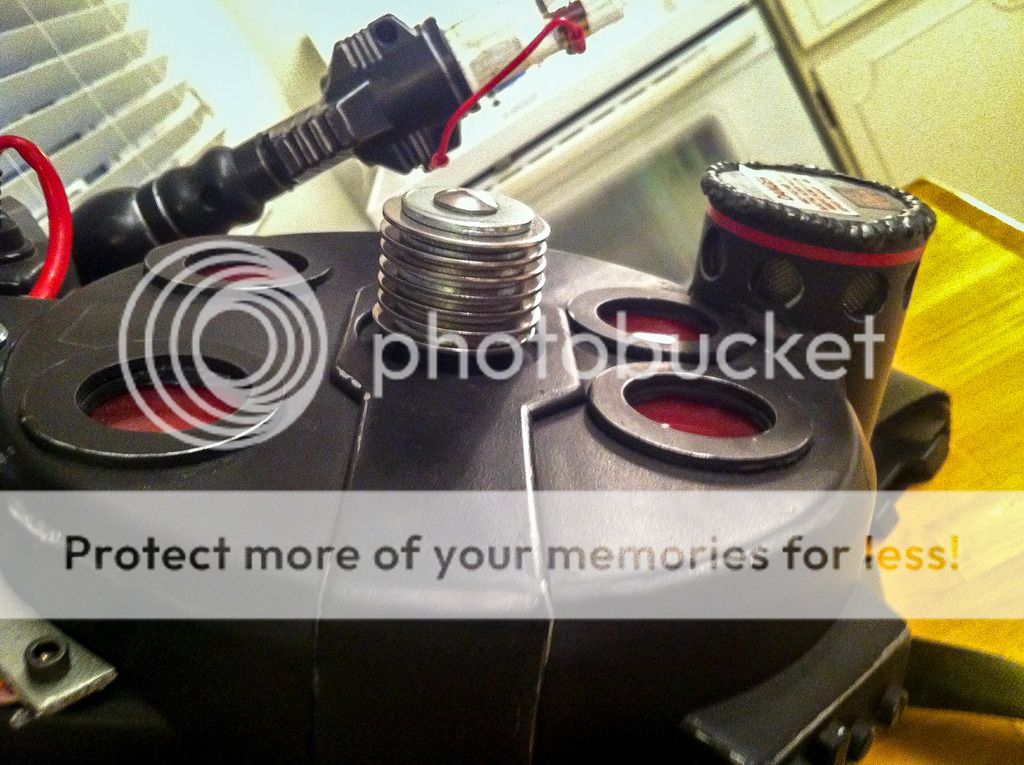
Built a shockmount/ bellows out of washers.

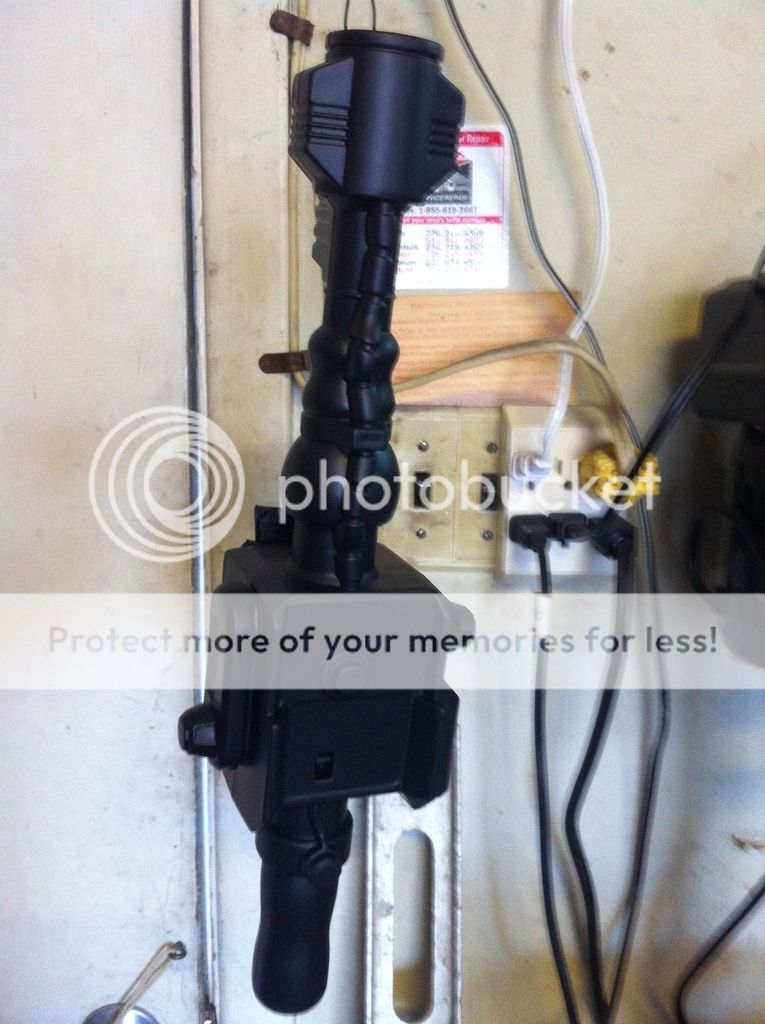
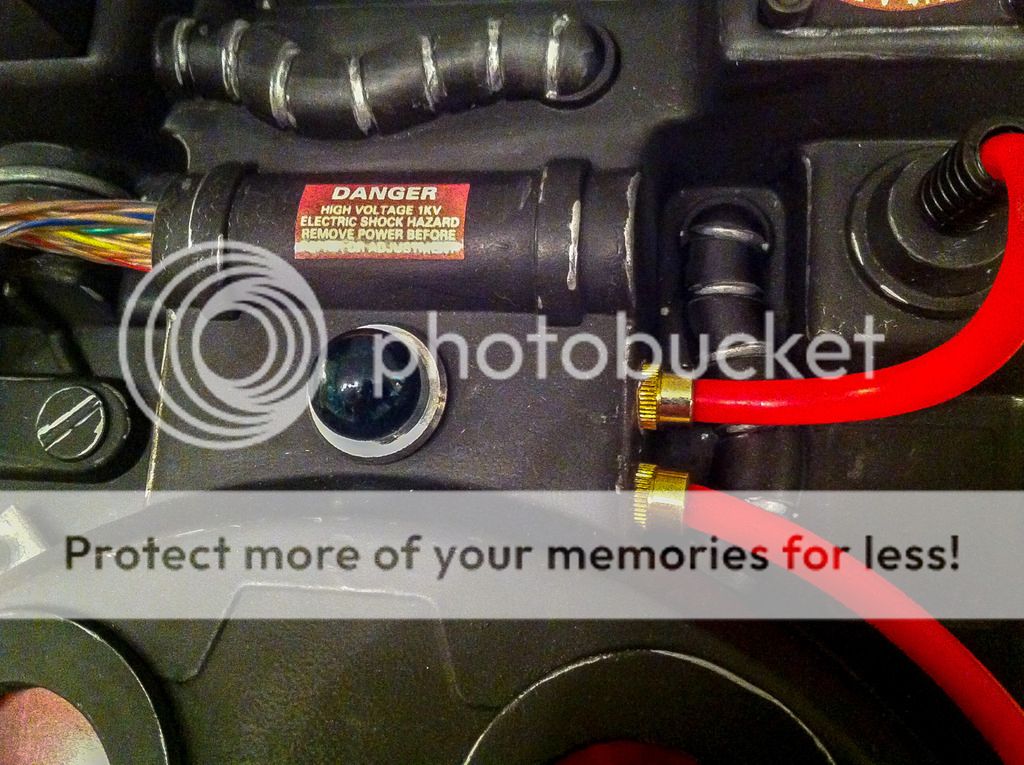
I also drilled out the fake light that was molded into the center, and used an old bulb to fill it in an give a realistic look. (I ended up using a green one instead of the red one as I felt there was enough red already.


Big thanks to the Kenner builds on here, theres some greats including Vince (Vincenzo330), Alan Hawkins Pink build (Pics are gone now), jaimanstone, Lunoki, and I pretty much carbon copied Mavericks' build for the most part.
Quick question, both my original and this one have all blue thrower tips, but I have seen them with orange rings around the tip.. Anyone know what the deal with that is?
Light holes cut
Cut the back out, also used the dremel to shave off the bottom strap connectors
Cyclotron light rings
http://i50.photobucket.com/albums/f314/ ... zgamso.jpg
Built a shockmount/ bellows out of washers.
I also drilled out the fake light that was molded into the center, and used an old bulb to fill it in an give a realistic look. (I ended up using a green one instead of the red one as I felt there was enough red already.
My Studio Creations Build: http://www.gbfans.com/community/viewtop ... =2&t=38641
My Kenner Pack Repaint/Build: http://www.gbfans.com/community/viewtop ... =2&t=39407
My MDF Smoker Trap Build: viewtopic.php?f=3&t=40805
My Kenner Pack Repaint/Build: http://www.gbfans.com/community/viewtop ... =2&t=39407
My MDF Smoker Trap Build: viewtopic.php?f=3&t=40805


 GB1 and GB 2 Uniform Build Thread:


 - By pda4ever
 - By mrmichaelt
 - By UncannyGirl
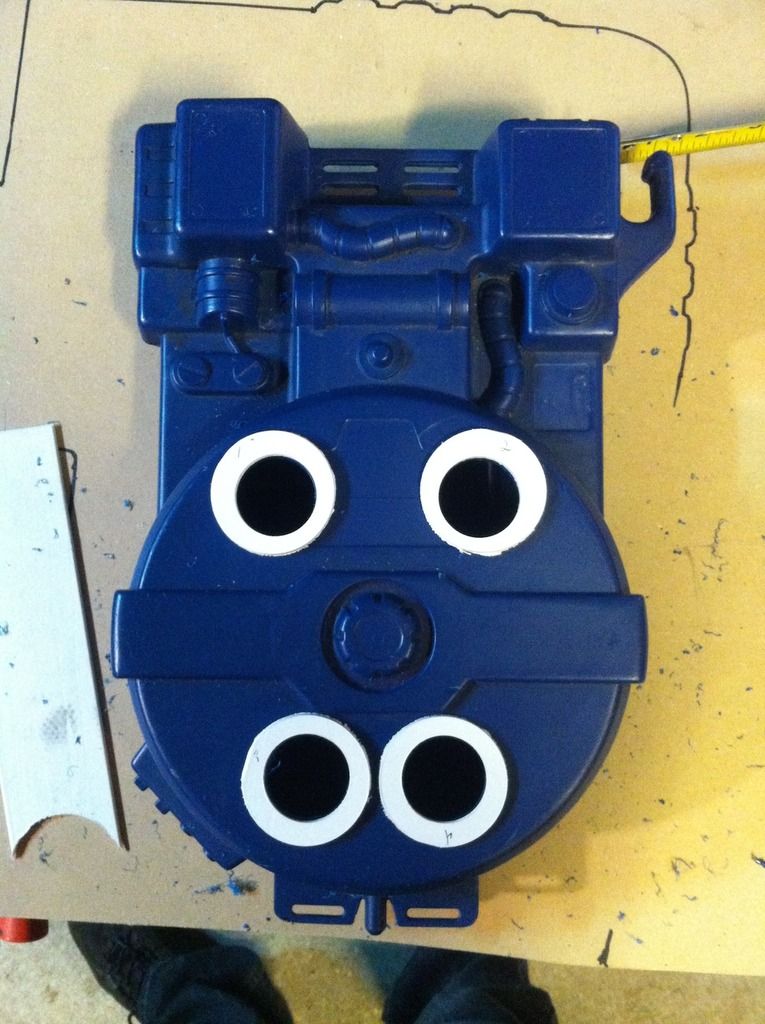